
Wipe-on polyurethane is a popular finish for woodworkers due to its ease of application and fast recoat times. However, achieving a perfect finish can be a challenge, and there are common problems that woodworkers encounter when using this finish. In this article, I will discuss the common problems with wipe-on polyurethane and how to troubleshoot and solve them.
Understanding wipe-on polyurethane and the factors affecting its application is crucial to achieving a perfect finish. Preparation and application techniques play a significant role in the outcome of the finish. Even with proper preparation and application, problems can still arise, such as yellowing, bubbles, haze, cracks, white spots, and tackiness. In the next section, I will discuss the common problems with wipe-on polyurethane and their solutions.
Key Takeaways
- Achieving a perfect finish with wipe-on polyurethane can be a challenge.
- Common problems when using wipe-on polyurethane include yellowing, bubbles, haze, cracks, white spots, and tackiness.
- Proper preparation and application techniques, as well as troubleshooting and solutions, are essential for achieving a perfect finish.
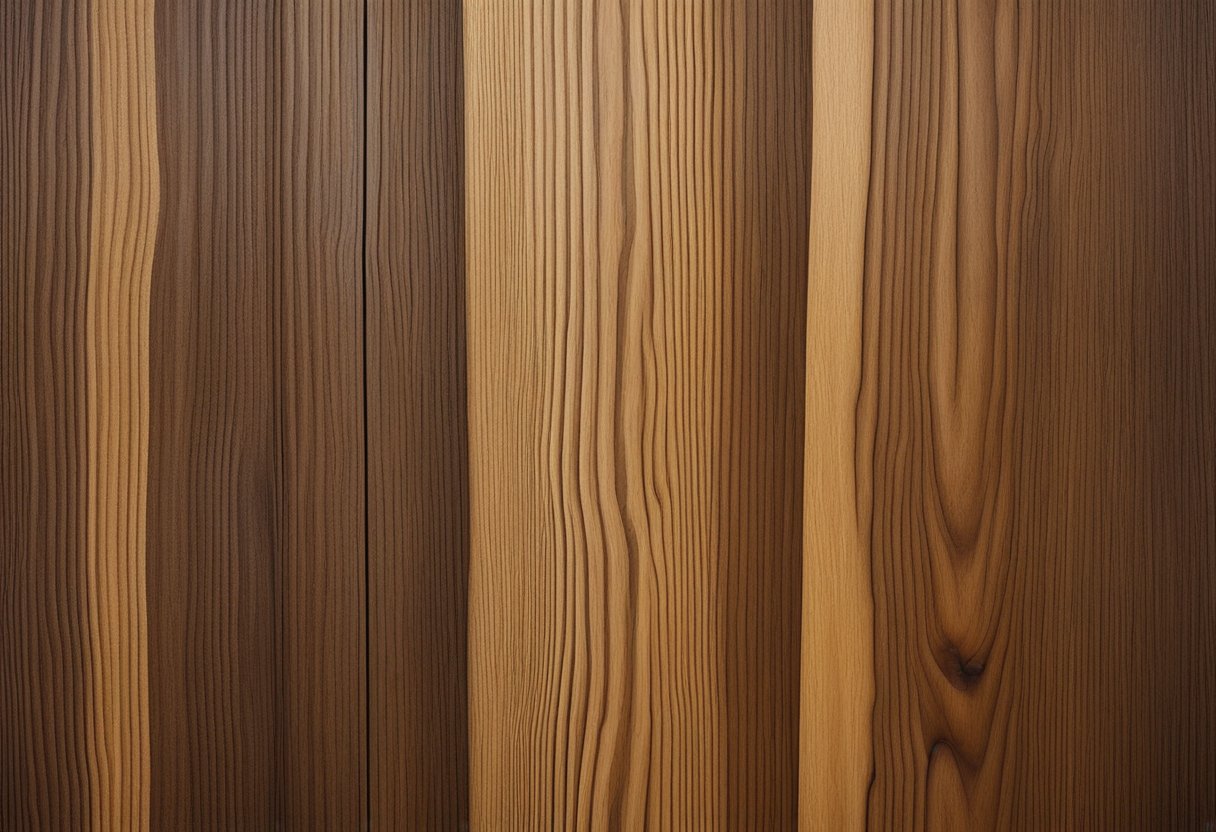
Understanding Wipe-On Poly
As someone who has worked on numerous woodworking projects, I know that choosing the right finish can be a daunting task. A popular choice for many woodworkers is wipe-on poly. Wipe-on polyurethane is a liquid finish that can be applied with a rag, making it an easy and convenient option for those who want to finish their furniture or other woodworking projects.
Polyurethane is a type of plastic that is used to protect and seal wood. It comes in different forms, including brush-on, spray-on, and wipe-on. Wipe-on poly is a thinner version of brush-on polyurethane that can be easily applied with a rag. This type of polyurethane is perfect for small projects like jewelry boxes or picture frames.
Wipe-on polyurethane is a great choice for those who are new to woodworking or those who want to save time. It dries quickly and can be recoated in a short amount of time. However, it is important to note that wipe-on polyurethane is not as durable as other types of polyurethane. It is more susceptible to scratches and wear and tear.
When using wipe-on polyurethane, it is important to prepare the surface properly. The surface should be clean and free of dust and debris. Sanding the surface with a fine-grit sandpaper can help ensure that the surface is smooth and ready for the finish. It is also important to apply the finish in a well-ventilated area to avoid inhaling the fumes.
Overall, wipe-on polyurethane is a great choice for those who want a quick and easy finish for their woodworking projects. It is important to understand its limitations and to properly prepare the surface before applying the finish. With the proper preparation and application, wipe-on polyurethane can provide a beautiful finish for your furniture and other woodworking projects.
Common Problems with Wipe-On Poly
As a woodworker, I have used wipe-on polyurethane as a finish for many projects. While it is a popular finish due to its fast re-coat times, it can come with its own set of challenges. In this section, I will go over some of the most common problems that can arise when using wipe-on poly.
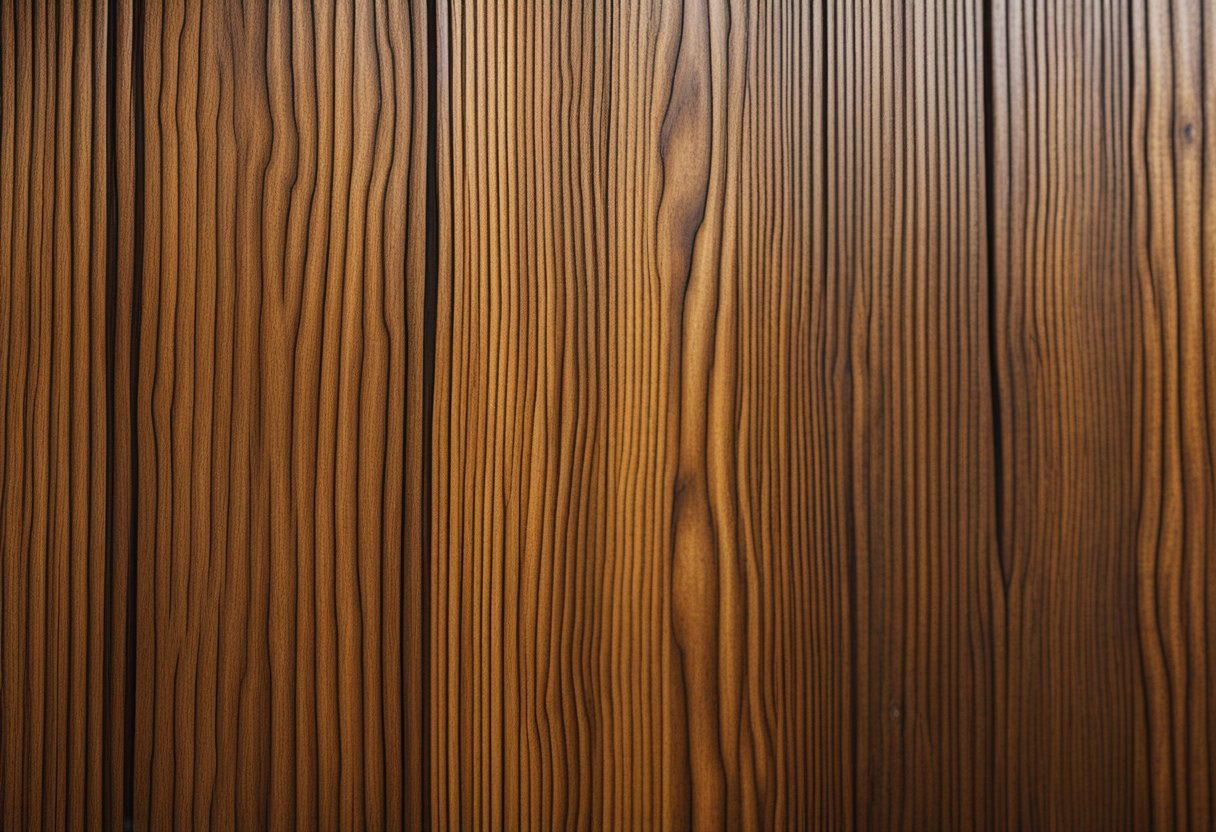
Uneven Application
One of the biggest challenges with wipe-on poly is achieving an even surface. Applying wipe-on poly may seem easy at first – simply wipe it onto the wood with a rag. However, it is easy to miss spots or apply too much in one area, resulting in an uneven finish. To avoid this, make sure to apply the poly in thin, even coats. You can also use a foam brush or a lint-free cloth to help spread the poly evenly.
Tackiness
Another common problem with wipe-on poly is a tacky surface. This can occur if the poly is not allowed to dry properly or if it is applied in a humid environment. To avoid this, make sure to apply the poly in a well-ventilated area with low humidity. If you do end up with a tacky surface, you can try lightly sanding it with a fine-grit sandpaper and then applying another coat of poly.
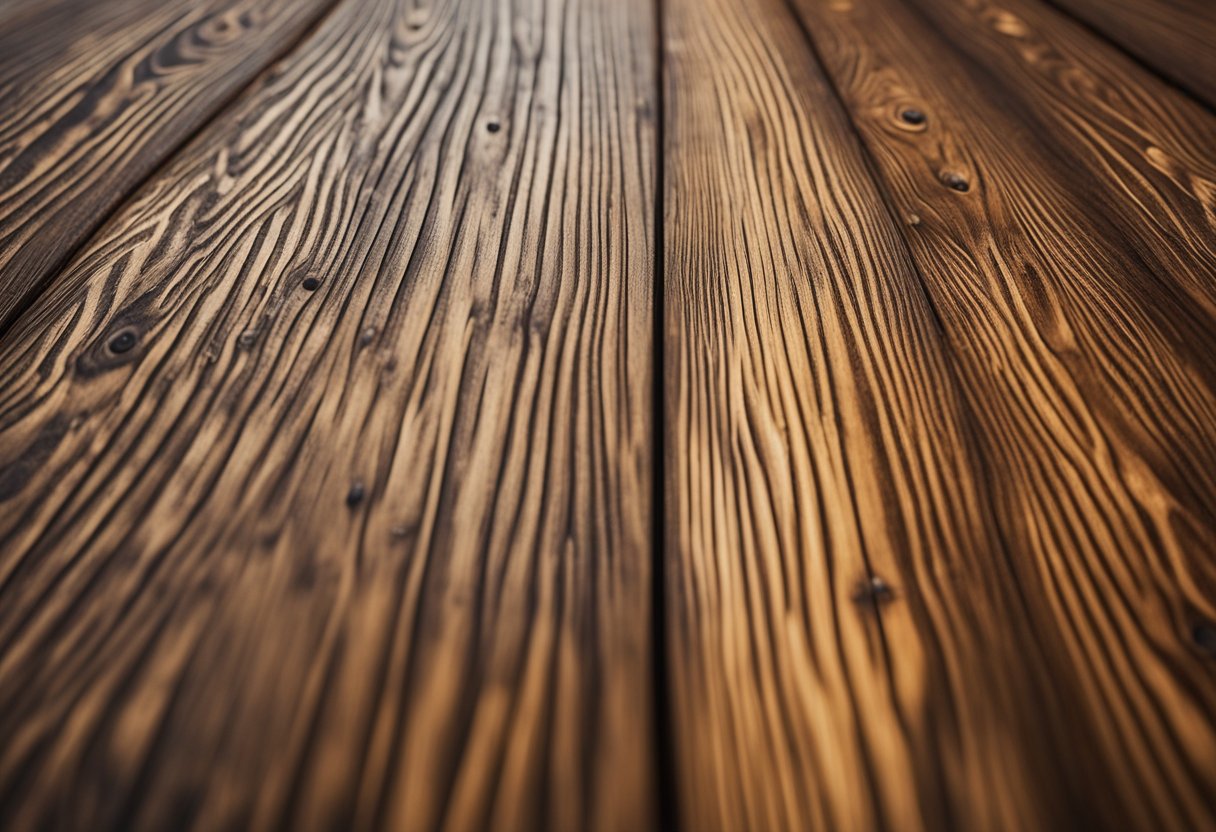
Yellowing
Wipe-on poly can also yellow over time, especially if it is exposed to direct sunlight or a humid environment. To avoid yellowing, make sure to apply the poly in a cool, dry place away from direct sunlight. You can also use a UV-resistant topcoat to help protect the finish from yellowing.
Bubbles and Drips
Bubbles and drips can also be a problem when using wipe-on poly. Bubbles can occur if the poly is not stirred properly or if it is applied too thickly. Drips can occur if too much poly is applied in one area. To avoid bubbles and drips, make sure to stir the poly thoroughly before use and apply it in thin, even coats. You can also try lightly sanding the surface between coats to help prevent bubbles and drips.
White Spots and Haze
Finally, white spots and haze can also be a problem with wipe-on poly. This can occur if the poly is applied in a humid environment or if it is not allowed to dry properly. To avoid white spots and haze, make sure to apply the poly in a well-ventilated area with low humidity and allow it to dry completely between coats.
Factors Affecting Application
When it comes to applying wipe-on polyurethane, there are several factors that can affect the quality of the finish. As someone who has worked with this finish for a while, I have found that the following factors can play a significant role in how well the finish adheres to the surface and how smooth the final result is.
Surface Preparation
The first and perhaps most important factor is surface preparation. Before applying any finish, it is essential to ensure that the surface is clean, dry, and free of any debris or particles that could interfere with the finish. Sanding the surface with fine-grit sandpaper can help remove any bumps or rough spots and create a smoother surface for the finish to adhere to.
Application Method
Another factor that can affect the quality of the finish is the application method. Wipe-on polyurethane is typically applied with a clean cloth, and it is essential to use a slow and steady hand to ensure an even coat. Applying the finish too quickly or too thickly can lead to brush marks or uneven spots, so take your time and work in small sections.
Temperature and Humidity
Temperature and humidity can also affect the quality of the finish. If the temperature is too low, the finish may take longer to dry, and if it is too high, it may dry too quickly, leading to brush marks or bubbles. Similarly, high humidity can cause the finish to take longer to dry and may even prevent it from drying completely.
Work Area
The work area can also play a role in the quality of the finish. Dust, debris, and other particles can settle on the surface while the finish is drying, leading to a rough or bumpy finish. It is essential to work in a clean and well-ventilated area to minimize the risk of these issues.
Number of Coats
Finally, the number of coats can also affect the quality of the finish. Applying too few coats can lead to a thin and uneven finish, while applying too many coats can lead to a buildup of the finish, creating a thick and uneven surface. It is essential to follow the manufacturer’s instructions regarding the number of coats to apply and to allow each coat to dry completely before applying the next one.
By taking these factors into consideration and applying the finish carefully and methodically, you can achieve a smooth and even finish with wipe-on polyurethane.
Preparation and Application Techniques
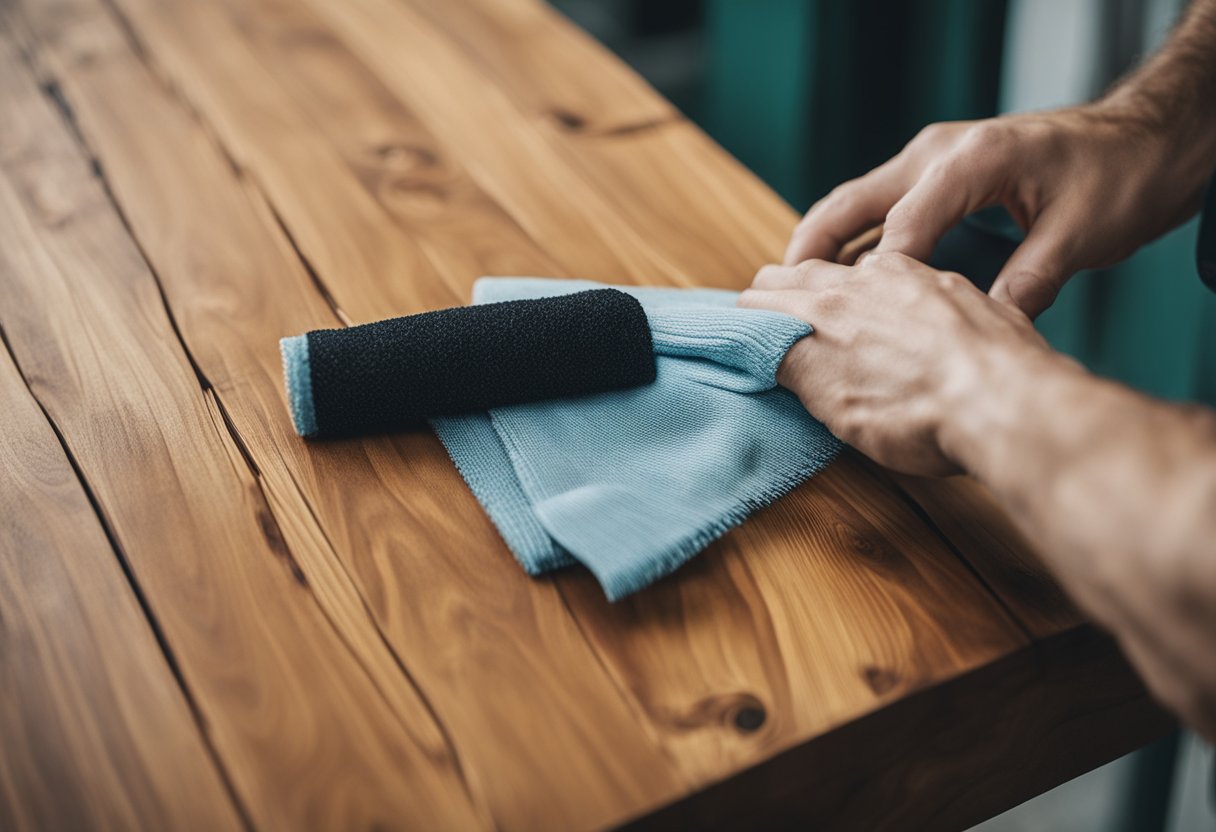
When it comes to applying wipe-on polyurethane, preparation is key. First, make sure the surface is clean and dry. Any dust or debris left on the surface can cause uneven coats and bubbles. Wipe the surface with a clean cloth and mineral spirits to remove any remaining residue.
Next, it’s important to sand the surface properly. Use a fine-grit sandpaper (220-grit or higher) to sand the surface lightly. This will help the polyurethane bond better with the wood. After sanding, wipe the surface with a clean cloth to remove any dust.
When applying the wipe-on polyurethane, use a thin, even coat. You can use a cloth or a pad to apply the polyurethane. If you prefer to use a brush, make sure it’s a high-quality brush or foam brush. Follow the instructions on the label for the best results.
After applying the first coat, let it dry completely. You can lightly sand the surface with a fine-grit sandpaper before applying subsequent coats. Make sure to wipe the surface with a clean cloth to remove any dust before applying the next coat.
It’s important to apply subsequent coats of wipe-on polyurethane in even coats. This will help achieve a clear, matt finish. Make sure to adequately protect the surface while the polyurethane is drying.
By following these preparation and application techniques, you can avoid common wipe-on poly problems such as uneven coats, bubbles, and tackiness.
Troubleshooting and Solutions
When using wipe-on polyurethane, there are several common problems that can arise. Fortunately, there are also several solutions to these problems. Here are some tips to help you troubleshoot and fix any issues that may come up:
Uneven Application
One of the most common problems with wipe-on polyurethane is achieving an even surface. To prevent this issue, make sure to apply thin layers of polyurethane, sanding between each coat with a fine-grit sandpaper. Additionally, use a lint-free cloth to apply the polyurethane, and make sure to wipe off any excess. If you do end up with an uneven finish, you can sand down the surface and reapply the polyurethane.
Tackiness
If the polyurethane feels tacky or sticky to the touch, it may not have fully cured. To fix this issue, allow the polyurethane to dry in a warm, dry area with good air circulation. You can also try using a dehumidifier to reduce the moisture in the air. If the tackiness persists, you may need to sand down the surface and reapply the polyurethane.
Dust and Particles
Dust and particles can easily become trapped in the wet polyurethane, leaving an unsightly finish. To prevent this issue, make sure to work in a clean, dust-free environment. You can also try using a tack cloth to remove any dust or particles from the surface before applying the polyurethane. If you do end up with dust or particles in the finish, you can sand down the surface and reapply the polyurethane.
Scratches and Hard Spots
If you notice scratches or hard spots in the finish, it may be due to the polyurethane not self-leveling properly. To fix this issue, make sure to apply thin layers of polyurethane, and sand between each coat with a fine-grit sandpaper. You can also try adding a small amount of mineral spirits to the polyurethane to help it self-level. If the scratches or hard spots persist, you may need to sand down the surface and reapply the polyurethane.
Repairing Damage
If you need to repair damage to the polyurethane finish, you can use a scrap piece of wood and some paste wax to fill in any scratches or dents. Apply the paste wax to the damaged area and buff it out with a lint-free cloth. Once the wax has dried, sand down the surface and reapply the polyurethane.
Achieving a Perfect Finish
As a seasoned woodworker, I know that achieving a perfect finish with wipe-on poly can be a challenge. However, with the right techniques and materials, it is possible to achieve a flawless, smooth, and durable finish that will protect your project for years to come.
To start, it’s important to choose the right finish for your project. Wipe-on polyurethane is a popular choice due to its ease of use and fast recoat times. However, it’s important to note that not all wipe-on polyurethanes are created equal. Look for a self-leveling formula that will help create an even surface. Additionally, a protective finish will help to prevent scratches and other damage.
Next, preparation is key. Make sure your wood is sanded to a smooth finish using fine-grit sandpaper or steel wool. Any imperfections in the wood will be magnified by the finish, so take your time to ensure a flawless surface. Make sure your workspace is clean and dust-free to avoid any particles from getting trapped in the finish.
When applying the finish, use consistent strokes to ensure an even coating. Work in small sections to prevent the finish from drying before you can spread it evenly. If you do notice any bubbles or streaks, use a clean cloth to smooth them out before the finish dries.
Finally, consider using a satin finish for a more natural look. The satin finish will provide a protective layer while still allowing the beauty of the wood to shine through. And with the right techniques, you can achieve a perfect finish every time.
Conclusion
In conclusion, while wipe-on poly is a popular finish for woodworking projects, it does come with its own set of problems. These problems can range from uneven application to yellowing, bubbles, haze, cracks, white spots, and tackiness.
To avoid these problems, it is important to properly prepare the surface before applying the wipe-on poly. This includes sanding the surface to a smooth finish and removing any dust or debris. It is also important to apply the poly in thin, even coats, allowing each coat to dry completely before applying the next.
If bubbles or other imperfections do occur, they can often be fixed by sanding the surface lightly and applying another coat of poly. However, if the problem persists, it may be necessary to strip the poly from the surface and start over.
Overall, while wipe-on poly can be a great product for finishing furniture and other woodworking projects, it is important to be aware of its potential problems and take steps to avoid or address them as needed.
Frequently Asked Questions
What is the cure time for Minwax wipe-on poly?
The cure time for Minwax wipe-on poly varies depending on the temperature and humidity of the environment it is applied in. However, as a general rule, it takes around 24 hours for the finish to dry to the touch and 72 hours to fully cure.
How many coats of wipe-on poly should I apply?
It is recommended to apply at least three coats of wipe-on poly for the best results. However, the number of coats can vary depending on the desired level of protection and the condition of the wood surface.
What is the difference between wipe-on and spray poly?
The main difference between wipe-on and spray poly is the method of application. Wipe-on poly is applied with a cloth, while spray poly is applied with a spray gun. Wipe-on poly is generally considered easier to use and requires less equipment, but spray poly can provide a smoother finish and is better for large surfaces.
Is wipe-on poly durable enough for kitchen cabinets?
Wipe-on poly can be a durable finish for kitchen cabinets, but it may not be the best choice for high-traffic areas or areas that are prone to moisture. In these cases, a more durable finish such as a catalyzed lacquer may be a better choice.
What are some tips for achieving the best finish with wipe-on poly?
To achieve the best finish with wipe-on poly, it is important to apply thin and even coats, sand between coats with a fine-grit sandpaper, and use a lint-free cloth for application. It is also important to work in a well-ventilated area and to follow the manufacturer’s instructions carefully.
Do I need to sand between coats of wipe-on polyurethane?
Yes, it is recommended to sand between coats of wipe-on polyurethane with a fine-grit sandpaper. This helps to smooth out any imperfections in the previous coat and allows the next coat to adhere better.

Hi, I’m Sal Muller of Tooltrip.com. My DIY experience led me to understand essential power tools for home projects. Tooltrip.com guides enthusiasts and professionals in choosing right tools for any job. I provide concise top tool reviews for easier, efficient DIY.
