
Fixing a rough base coat is an essential part of any car painting job. A rough base coat can make the surface of your car look uneven and unprofessional. It can also cause problems when you apply the clear coat, leading to an unsatisfactory finish. Fortunately, there are several ways to fix a rough base coat and achieve a smooth, even surface.
Before you start fixing a rough base coat, it’s essential to understand the problem. A rough base coat can occur due to various reasons, such as improper preparation, incorrect application, or using the wrong tools and materials. By identifying the root cause, you can fix the problem more effectively. In this article, I will explain the steps you need to take to fix a rough base coat and achieve a professional-looking finish.
Key Takeaways
- Proper preparation is crucial to prevent a rough base coat.
- Selecting the right tools and materials can make a significant difference in the quality of your repair.
- Applying the base coat correctly and following up with post-repair procedures is essential for a smooth finish.
Understanding the Problem
As a professional painter, I have seen many cases where the base coat is rough and has imperfections such as peeling, patchy, grainy finish, wrinkling, orange peel, paint drips, lifting, blotchy paint, and tiger stripes. A rough base coat can ruin the overall finish of the paint job and make it look unprofessional.
There are several reasons why the base coat may become rough. One of the most common reasons is improper preparation of the surface before painting. If the surface is not cleaned properly, it can cause the paint to adhere unevenly, resulting in a rough finish. Another reason could be the use of an incorrect type of primer or base coat.
In some cases, the roughness of the base coat may be due to the application of too many coats of paint. When too many coats are applied, the solvents in the paint can cause the previous coats to lift, resulting in a rough texture. Additionally, painting in high humidity or low temperatures can cause the paint to dry too slowly, resulting in a rough texture.
It is important to note that a rough base coat can also be caused by a combination of these factors. Therefore, it is essential to identify the root cause of the problem before attempting to fix it. In the next section, I will discuss some practical steps that can help you fix a rough base coat.
Preparation Before Repair
Before repairing a rough base coat, it is important to properly prepare the substrate. This involves a thorough cleaning of the surface to remove any dirt, debris, or other contaminants that may be causing the roughness.
To begin, I recommend using a mild detergent mixed with water to wipe down the affected area. This will help remove any surface contaminants and prepare the area for further cleaning. It is important to use a mild detergent to avoid damaging the paint.
After wiping down the area with the mild detergent solution, I suggest using a tack cloth to remove any remaining dust or debris. A tack cloth is a sticky cloth that is designed to remove fine particles from surfaces. It is important to use a tack cloth to ensure that the surface is completely clean before proceeding with the repair.
If the surface is particularly dirty or contaminated, I suggest using hot water to thoroughly clean the area. Hot water can help dissolve and remove stubborn contaminants that may be stuck to the surface. However, it is important to avoid using hot water on surfaces that may be damaged by heat, such as plastic or vinyl.
In summary, proper surface preparation is essential when repairing a rough base coat. This involves cleaning the surface with a mild detergent solution, using a tack cloth to remove any remaining dust or debris, and using hot water if necessary to thoroughly clean the area. By following these steps, you can ensure that the substrate is properly prepared and ready for repair.
Selecting the Right Tools and Materials
When it comes to fixing a rough base coat, selecting the right tools and materials is crucial to achieving a smooth and even finish. Here are some of the essential items you will need to get the job done:
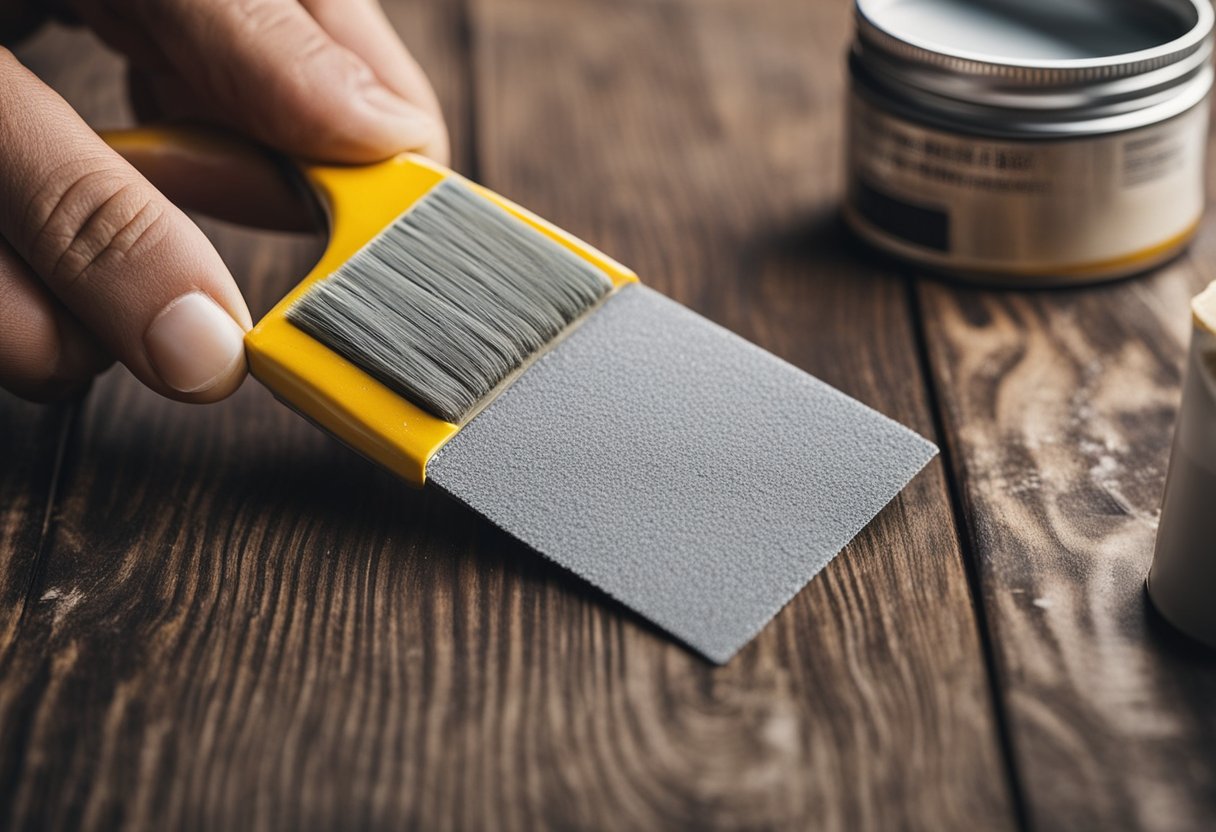
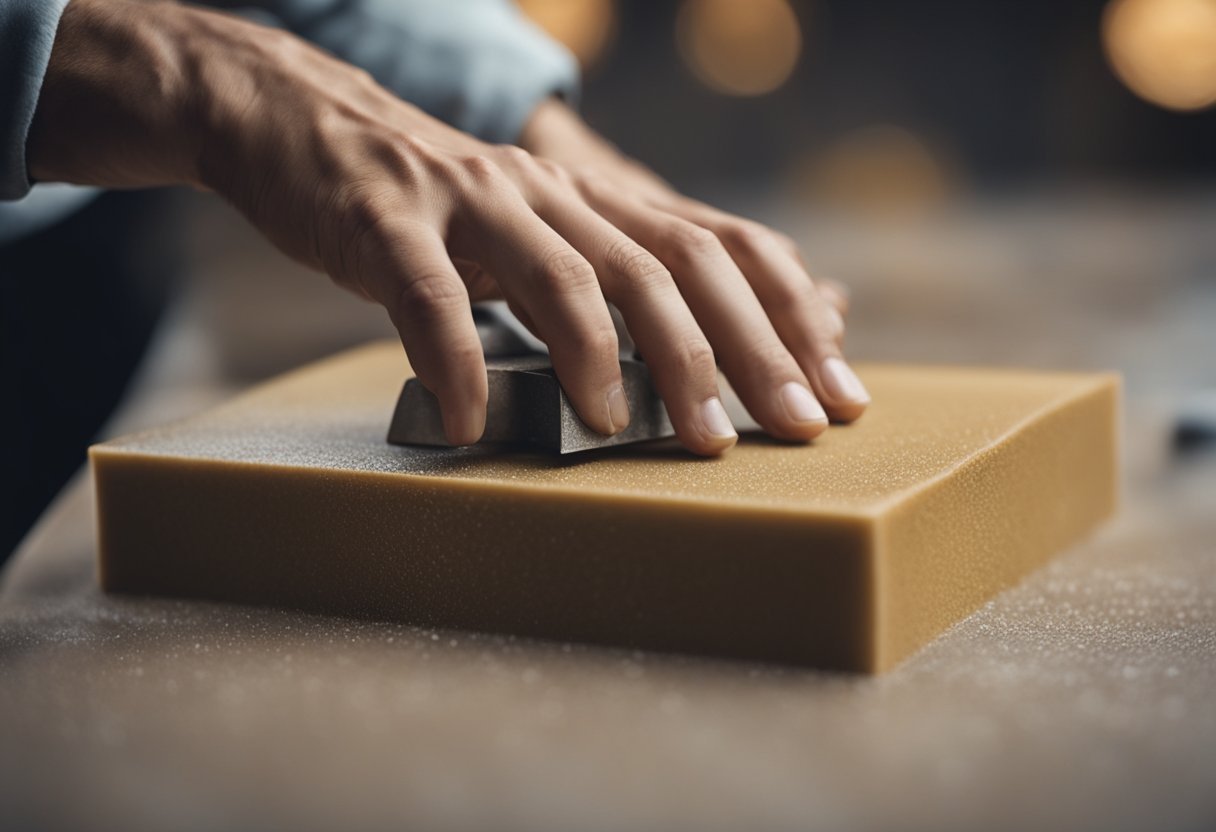
Sandpaper
Sandpaper is a must-have tool for fixing a rough base coat. It comes in various grits, and the grit you choose depends on the severity of the roughness. For light roughness, a 220-grit sandpaper will do the job, while for heavier roughness, a 120-grit sandpaper is more appropriate. Sandpaper can be used by hand or with a sanding block.
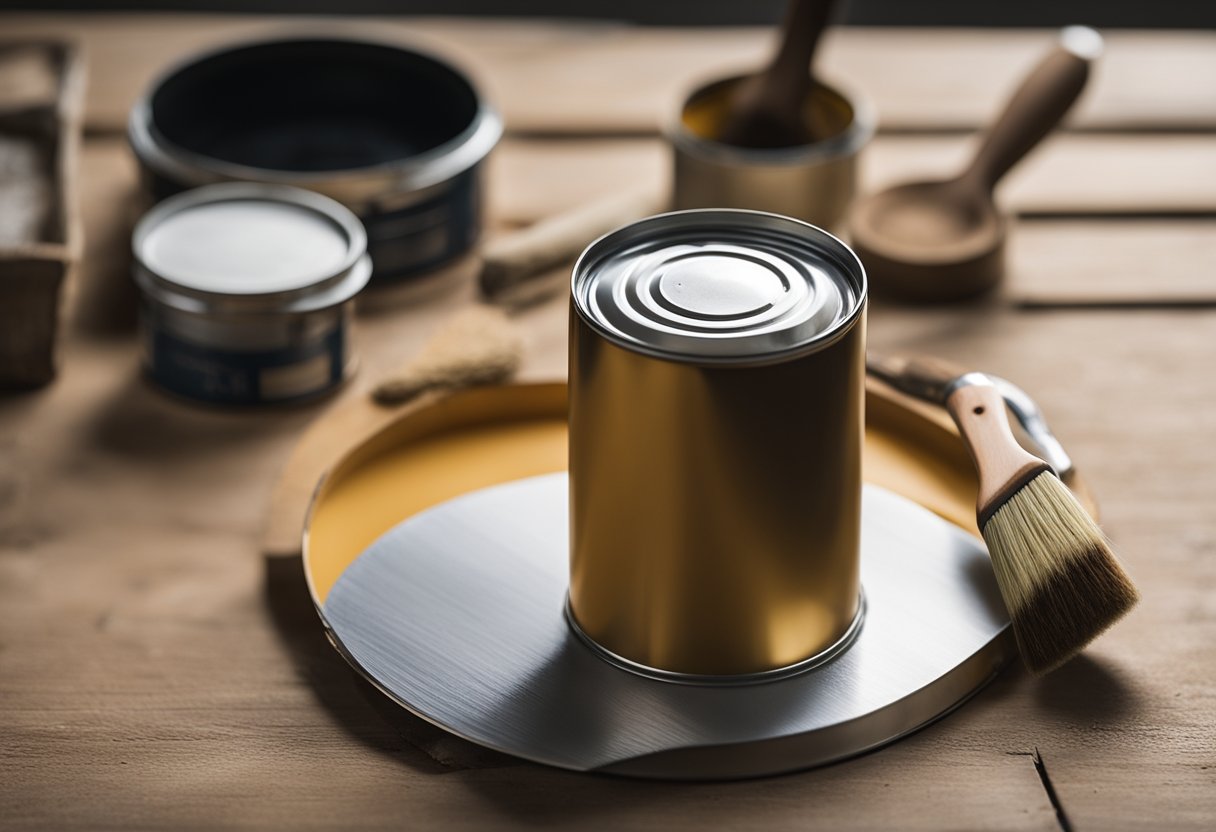
Primer
Using a high-quality primer is important for achieving a smooth base coat. A primer helps to fill in any imperfections in the surface and provides a good foundation for the paint to adhere to. There are different types of primers available, such as sealer primers and high-build primers. Choose the one that is appropriate for your project.
Paint
Selecting the right paint is crucial for achieving a smooth base coat. Choose a high-quality paint that is compatible with the primer you have chosen. There are different types of paint available, such as acrylic, enamel, and urethane. Choose the one that is appropriate for your project.
Spray gun or HVLP gun
A spray gun or HVLP gun is an excellent tool for applying a smooth and even base coat. These guns are designed to atomize the paint, creating a fine mist that provides an even coating. When using a spray gun or HVLP gun, make sure to follow the manufacturer’s instructions carefully.
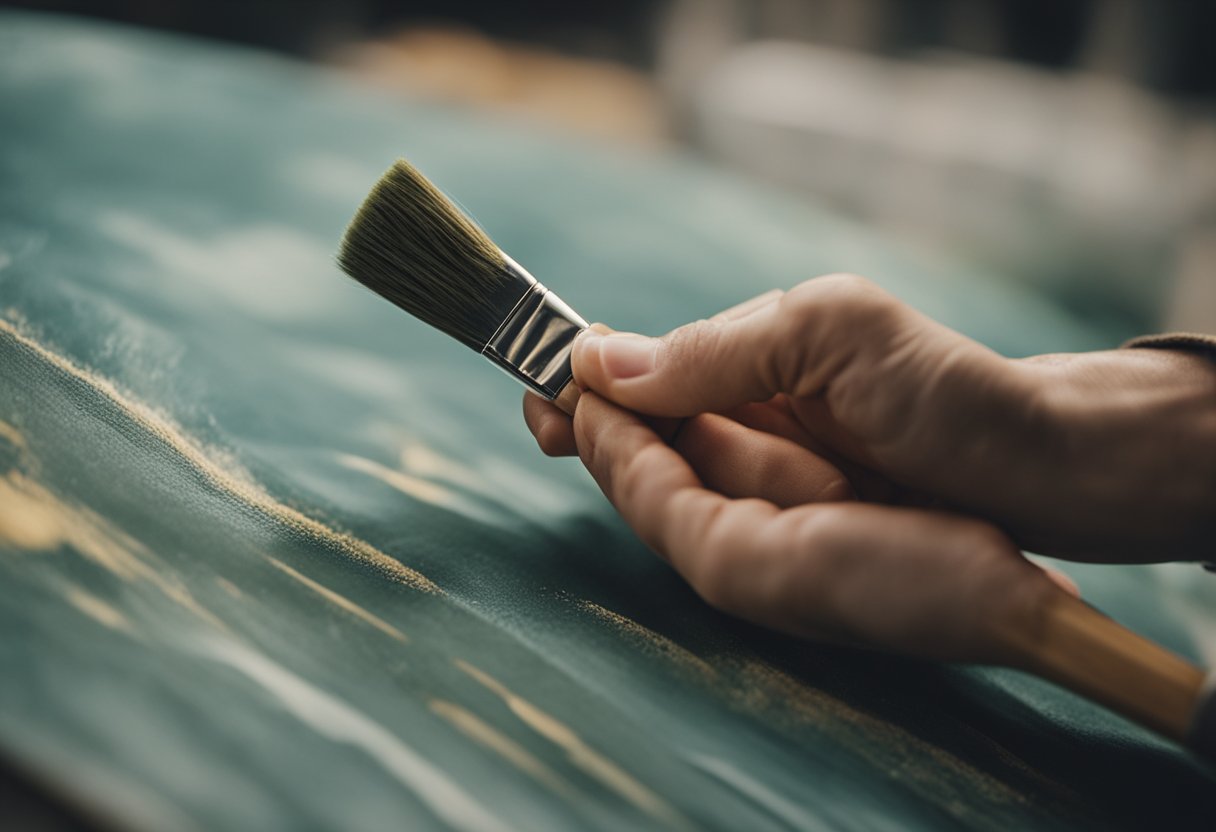
Paintbrush and roller
If you don’t have access to a spray gun or HVLP gun, a paintbrush and roller can also be used to apply the base coat. Make sure to choose a high-quality brush and roller that is appropriate for the type of paint you are using.
Putty knife and body filler
If there are any large imperfections in the surface, a putty knife and body filler can be used to fill them in. Body filler is a two-part material that hardens when mixed together. It can be sanded down to create a smooth surface.
In summary, selecting the right tools and materials is crucial for achieving a smooth and even base coat. Make sure to choose high-quality products that are appropriate for your project, and follow the manufacturer’s instructions carefully.
Repair Techniques
When it comes to fixing a rough base coat, there are a few techniques that can be used to achieve a smooth and even finish. Here are some of the most effective methods:
Sanding
Sanding is a technique that involves using sandpaper to smooth out rough areas on the surface of the base coat. When sanding, it is important to use a circular motion and to apply even pressure. This will help to avoid creating any new rough spots on the surface.
Stripping and Patching
If the base coat is extremely rough, it may be necessary to strip it off completely and start over. This involves using a paint stripper to remove the existing base coat and then applying a new one. Alternatively, if the roughness is limited to a small area, it may be possible to patch the affected area rather than respraying the entire surface.
Repainting
If the roughness is too severe to be fixed by sanding or patching, it may be necessary to repaint the entire surface. When repainting, it is important to follow the manufacturer’s application instructions carefully to ensure a smooth and even finish.
Spray Painting
Spray painting is a popular technique for achieving a smooth and even finish on a base coat. When spray painting, it is important to use the correct technique and to follow the manufacturer’s application instructions carefully. This will help to ensure that the base coat is applied evenly and that there are no rough spots on the surface.
In conclusion, there are several techniques that can be used to fix a rough base coat. The most effective method will depend on the severity of the roughness and the size of the affected area. By using the right technique and following the manufacturer’s instructions carefully, it is possible to achieve a smooth and even finish on the base coat.
Applying the Base Coat
Now that the surface is clean and dry, it’s time to apply the base coat. Before you start, make sure the temperature is between 70°F and 80°F. This temperature range is optimal for the base coat to dry evenly and smoothly.
To apply the base coat, you need to use a spray gun. Use a spray pattern that is even and consistent. Hold the gun about 6 to 8 inches away from the surface. This distance will ensure that the base coat is applied evenly and with the correct film thickness.
When applying the base coat, make sure to apply it in thin coats. This will help prevent the base coat from becoming bumpy or rough. Allow each coat to flash before applying the next. Flash time is the time it takes for the solvents to evaporate from the base coat. This time varies depending on the temperature and humidity. Typically, the flash time is around 5 to 10 minutes.
It’s important to apply the correct film thickness when applying the base coat. The film thickness is the thickness of the base coat after it has been applied to the surface. The correct film thickness will ensure that the base coat dries evenly and smoothly.
In summary, when applying the base coat, make sure the temperature is between 70°F and 80°F, use a spray pattern that is even and consistent, hold the gun about 6 to 8 inches away from the surface, apply the base coat in thin coats, allow each coat to flash before applying the next, and apply the correct film thickness.
Post Repair Procedures
After fixing the rough base coat, it is important to follow specific post-repair procedures to ensure a smooth and long-lasting finish. Here are some tips on what to do after repairing a rough base coat:
Buffing
Buffing is a crucial step in achieving a smooth finish after repairing a rough base coat. It is done to remove any imperfections, swirls, or scratches that may have occurred during the repair process. Use a high-quality buffing pad and a polishing compound to achieve the best results. Remember to use light pressure and work in small areas to avoid damaging the paint.
Applying Clear Coat
Once the buffing is complete, it is time to apply the clear coat. The clear coat is a protective layer that provides a glossy finish and protects the paint from UV rays, scratches, and other environmental factors. Use a high-quality clear coat and apply it in thin, even layers. Remember to wait for each layer to dry before applying the next one.
Topcoat
After applying the clear coat, it is important to apply a topcoat to protect the paint from fading, chalking, and other environmental factors. Use a high-quality topcoat and apply it in thin, even layers. Remember to wait for each layer to dry before applying the next one.
Matte Finish
If you prefer a matte finish instead of a glossy finish, you can achieve this by using a specific type of clear coat. Matte clear coat is specially formulated to provide a non-glossy, smooth finish. Remember to follow the manufacturer’s instructions when applying matte clear coat.
Following these post-repair procedures will help you achieve a smooth and long-lasting finish after repairing a rough base coat. Remember to use high-quality products and work in a clean, well-ventilated area to achieve the best results.
Common Mistakes and How to Avoid Them
When it comes to fixing a rough base coat, there are a few common mistakes that people make that can actually make the problem worse. Here are some of the most common mistakes and how to avoid them:
1. Not Preparing the Surface Properly
One of the biggest mistakes people make when trying to fix a rough base coat is not preparing the surface properly. Before you start painting, make sure the surface is clean and free of any oil, grease, or other contaminants. Use a razor blade to remove any peeling or loose paint, and sand the surface lightly with a fine-grit sandpaper to promote adhesion.
2. Using Incompatible Materials
Another common mistake is using incompatible materials. Make sure the thinner you use is compatible with the paint you are using. For example, if you are using a lacquer-based paint, you should use a lacquer thinner. Using the wrong thinner can cause the paint to become too thin or not adhere properly.
3. Not Mixing the Paint Properly
When spray painting, it’s important to mix the paint properly. If the paint is not mixed thoroughly, it can cause the paint to be too thin or too thick, which can lead to a rough base coat. Follow the manufacturer’s instructions for the mixing ratio and use a paint stirrer to ensure that the paint is well mixed.
4. Using the Wrong Roller Cover
When using a roller to apply paint, it’s important to use the right roller cover. Using the wrong roller cover can cause the paint to be applied too thin or too thick, which can lead to a rough base coat. For interior paint, use a roller cover with a nap that is appropriate for the type of paint you are using.
5. Not Checking for Contamination
Finally, it’s important to check for contamination before you start painting. Make sure the surface is free of any dust or debris, and check for any oil or grease that may have gotten on the surface. If you find any contamination, clean the surface thoroughly before you start painting.
By avoiding these common mistakes, you can ensure that your base coat goes on smoothly and looks great.
Conclusion
In conclusion, fixing a rough base coat requires attention to detail and patience. By following the steps outlined in this article, you can achieve a smooth and professional-looking finish. Remember to start with a clean surface, use high-quality primer and paint, and apply multiple thin coats to avoid drips and sagging.
Measuring the success of your work is important. One way to do this is to compare the before and after pictures of your work. This will help you see the improvements you have made and give you a sense of accomplishment.
Improving the quality of your work requires practice and experience. As you continue to work on your painting skills, you will become more confident and knowledgeable. Don’t be afraid to seek out professional advice or take a class to improve your skills.
Content is key when it comes to painting. Make sure you have the right tools and materials before starting your project. Downloading a painting app or watching tutorial videos can also be helpful.
In summary, fixing a rough base coat is a manageable task that can be accomplished with the right tools, materials, and techniques. With patience and practice, you can achieve a professional-looking finish that you can be proud of.
Frequently Asked Questions
How long can base coat sit before clear?
Base coat can sit for up to 24 hours before applying clear coat. However, it is important to follow the manufacturer’s instructions for the specific product you are using. If you wait too long, you may need to scuff the surface with sandpaper before applying the clear coat.
Can you sand down base coat?
Yes, you can sand down base coat, but it is important to be careful not to sand through the base coat and expose the primer or metal underneath. Use a fine grit sandpaper and sand lightly in a circular motion until the surface is smooth.
What causes orange peel in base coat?
Orange peel in base coat is caused by improper application, such as spraying the paint too thick or too thin, using the wrong nozzle size, or not holding the spray gun at the correct distance from the surface. It can also be caused by environmental factors, such as high humidity or low temperature.
How do you fix gritty paint?
To fix gritty paint, you can wet sand the surface with a fine grit sandpaper and water until the surface is smooth. Then, clean the surface and apply a new coat of paint. It is important to use a high-quality paint and follow the manufacturer’s instructions for application.
What is the process for wet sanding base coat before clear?
To wet sand base coat before clear, start by cleaning the surface with soap and water. Then, wet sand the surface with a fine grit sandpaper and water until the surface is smooth. Rinse the surface with water and let it dry completely before applying clear coat.
How do you remove roughness from car paint?
To remove roughness from car paint, start by cleaning the surface with soap and water. Then, use a clay bar to remove any contaminants from the surface. If the surface is still rough, wet sand the surface with a fine grit sandpaper and water until the surface is smooth. Finally, apply a new coat of paint or clear coat.

Hi, I’m Sal Muller of Tooltrip.com. My DIY experience led me to understand essential power tools for home projects. Tooltrip.com guides enthusiasts and professionals in choosing right tools for any job. I provide concise top tool reviews for easier, efficient DIY.
