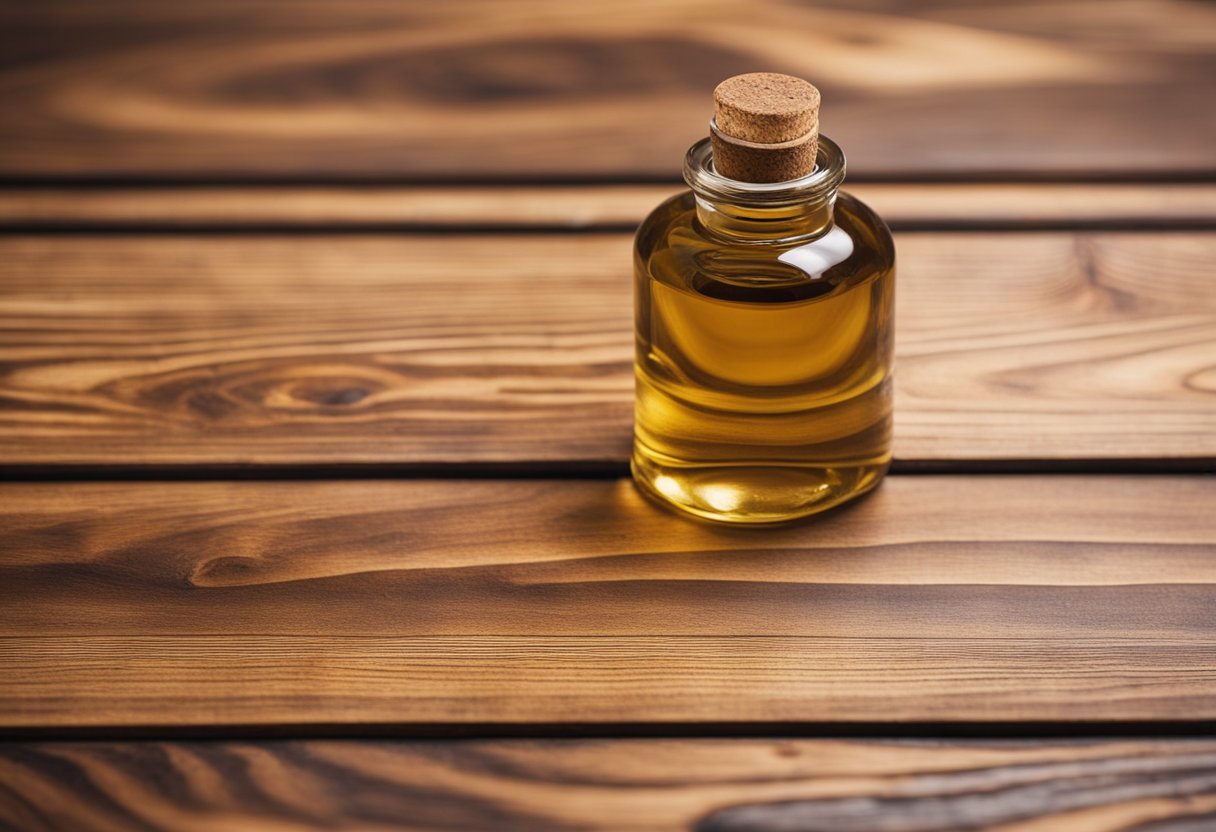
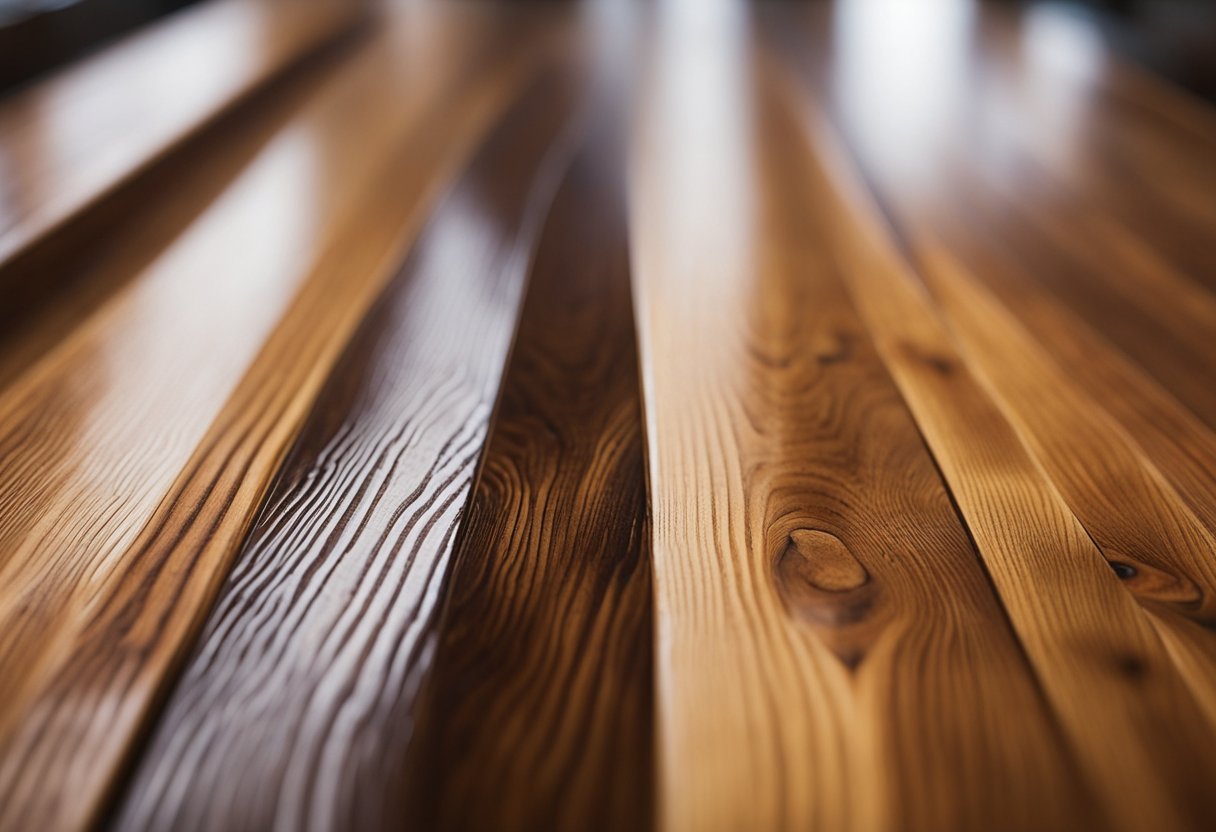
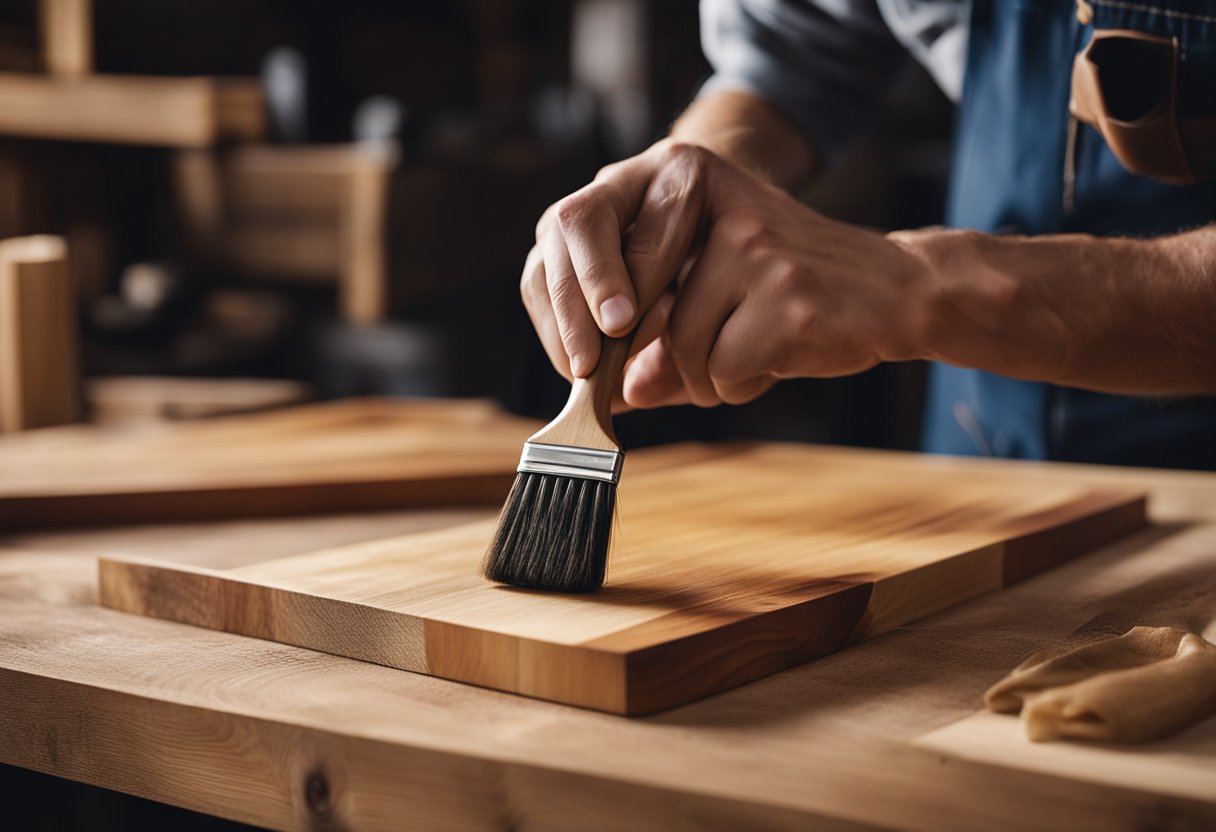
I have researched whether Danish oil seals wood and the answer is both yes and no. Danish oil is a penetrating oil that soaks into the wood, unlike other finishes that build up on the surface. Therefore, it does not seal the wood in the traditional sense, but it does provide a protective layer that enhances the natural beauty of the wood.
Danish oil is a popular choice for woodworkers because it is easy to apply, provides a durable finish, and brings out the natural grain and color of the wood. It is a blend of oil, varnish, and mineral spirits that penetrates the wood fibers, hardens, and protects the surface. However, it is important to note that Danish oil is not a waterproof finish, and it does not provide complete protection against scratches, stains, or heat damage.
Key Takeaways
- Danish oil is a penetrating oil that enhances the natural beauty of the wood, but it does not seal the wood in the traditional sense.
- Danish oil is a popular choice for woodworkers because it is easy to apply, provides a durable finish, and brings out the natural grain and color of the wood.
- Danish oil is not a waterproof finish, and it does not provide complete protection against scratches, stains, or heat damage.
What is Danish Oil
As a woodworker, I have used Danish oil on several occasions to finish my projects, and I must say, it’s one of my favorite finishes. Danish oil is a type of wood finish that is made by combining oil, varnish, and a thinner. The oil used in Danish oil is typically boiled linseed oil or tung oil. Danish oil is a popular finish because it enhances the natural beauty of the wood while providing protection against moisture, scratches, and stains.
Danish oil is a versatile finish that can be used on a wide range of wood types, including hardwoods and softwoods. It is also suitable for use on furniture, cabinets, and other woodworking projects. The finish is easy to apply and dries quickly, making it a popular choice among woodworkers.
The composition of Danish oil can vary depending on the manufacturer, but it typically contains a blend of oils, varnish, and solvents. The oil and varnish work together to penetrate the wood and provide protection, while the solvent helps to thin the finish and make it easier to apply.
One of the advantages of Danish oil is that it is a type of oil finish, which means it penetrates the wood instead of sitting on top of it like a varnish. This allows the wood to breathe and helps to prevent cracking and warping. Danish oil also has a natural, satin finish that enhances the natural beauty of the wood.
In summary, Danish oil is a versatile wood finish that is made by combining oil, varnish, and a thinner. It is easy to apply, dries quickly, and provides protection against moisture, scratches, and stains. It is a popular choice among woodworkers because of its natural, satin finish and ability to enhance the natural beauty of the wood.
The Benefits of Danish Oil
https://www.youtube.com/watch?v=j5kAdcEJtCo&embed=true
As a woodworker, I have found that Danish oil is a versatile and easy-to-use finish that provides many benefits. Danish oil is a popular choice for finishing wood because it enhances the natural look of the wood while providing extra protection. Here are some of the benefits of using Danish oil:
-
Enhances the natural beauty of the wood: Danish oil is a great way to bring out the natural beauty of the wood. It enhances the grain and color of the wood, giving it a warm and rich look.
-
Water-resistant: Danish oil is a waterproof oil that has excellent resistance to water and other liquids. This makes it an ideal coating for woodwork that will be exposed to moisture.
-
Easy to apply: Danish oil is easy to apply and can be done with a brush, cloth, or spray. It penetrates the wood quickly, and excess oil can be wiped away with a cloth.
-
Versatile: Danish oil can be used on a variety of woods, including softwoods and hardwoods. It can be used as a finish for furniture, floors, and even outdoor projects.
-
Non-toxic and food safe: Danish oil is a non-toxic finish that is safe for use on items that will come into contact with food, such as cutting boards and utensils.
-
Provides extra protection: Danish oil provides an added layer of protection to the wood, making it resistant to damage from water, alcohol, and food stains.
-
Durable finish: Danish oil is a durable finish that will last for years. It hardens upon exposure to air and provides a long-lasting finish that requires minimal maintenance.
Overall, the advantages of Danish oil make it a popular choice for woodworkers looking to enhance the natural beauty of their projects while providing extra protection.
The Drawbacks of Danish Oil
While Danish oil is a popular choice for woodworkers due to its easy application and beautiful finish, it does have a few drawbacks to consider.
Time-Consuming to Apply
One of the main drawbacks of Danish oil is that it can be time-consuming to apply. Unlike other finishes that can be sprayed or brushed on quickly, Danish oil requires multiple coats and time to dry between each coat. This can make the finishing process longer and more tedious.
Sticky
Another drawback of Danish oil is that it can leave a sticky residue on the surface of the wood. This can be especially problematic if the piece will be used frequently or is in an area with high humidity. The stickiness can attract dust and dirt, making the piece difficult to clean.
Limited Protection
While Danish oil does provide some protection to the wood, it is not as durable as other finishes. It does not offer the same level of protection against scratches, dents, or moisture as polyurethane or lacquer. This means that pieces finished with Danish oil may need to be refinished more frequently than those finished with other products.
Overall, while Danish oil is a great choice for adding a beautiful finish to wood, it is important to consider its drawbacks before deciding to use it. The time-consuming application, stickiness, and limited protection may not be suitable for all projects.
Preparation and Application of Danish Oil
https://www.youtube.com/watch?v=dtLoAUl2KvU&embed=true
Danish oil is a popular wood finish that is known for enhancing the natural beauty of wood while providing protection. It is a mixture of oil, varnish, and thinner that penetrates into the wood and hardens to create a durable surface.
Before applying Danish oil, it is important to prepare the wood by sanding it to a smooth finish. Sanding helps to remove any imperfections and opens up the pores of the wood, allowing the oil to penetrate deeper. It is recommended to start with a coarse sandpaper and gradually move to finer grits for a smoother finish.
To apply Danish oil, you will need a clean brush or a lint-free cloth. A foam brush is an excellent choice as it absorbs any excess oil that may remain on the wood. Disposable gloves are also recommended to avoid getting the oil on your hands.
Here are the steps to apply Danish oil:
-
Apply the oil generously to the wood using a brush or cloth. Pour the oil directly onto the wood and spread it outwards with a clean, dry, soft cotton cloth in the direction of the grain. Aim for a thin, even coverage over the entire surface.
-
Allow the oil to soak into the wood for about 15-20 minutes. If the oil is absorbed quickly, apply another coat.
-
After the oil has soaked in, wipe off any excess oil with a clean cloth.
-
Allow the wood to dry for at least 24 hours before applying another coat.
-
Repeat the process until the desired level of protection is achieved.
It is important to note that Danish oil does not seal wood completely. It penetrates the wood and hardens to create a protective layer, but it does not form a film on the surface like some other finishes. Therefore, it is not recommended for use on outdoor furniture or surfaces that will be exposed to water or extreme temperatures.
In summary, Danish oil is a great choice for enhancing the natural beauty of wood while providing protection. Proper preparation and application are key to achieving the desired results. Sanding the wood, using a clean brush or cloth, and allowing the oil to soak in before wiping off any excess are important steps in the process.
Understanding the Drying and Curing Process
As a woodworker, I understand the importance of using a finish that seals the wood and protects it from damage. One popular finish is Danish oil, which not only enhances the natural beauty of the wood but also provides a protective barrier. However, before applying Danish oil to your woodwork, it is essential to understand the drying and curing process.
Drying
Danish oil is a blend of oil, varnish, and thinner. When applied to wood, the oil penetrates the wood fibers, providing nourishment and enhancing the natural color and grain of the wood. The solvent in the oil evaporates, leaving a thin layer of oil on the surface. This process is known as drying, and it usually takes around 12 to 24 hours to complete.
Curing
After the oil has dried, the curing process begins. The curing process is the chemical reaction that occurs between the oil and the wood fibers. During this process, the oil hardens upon exposure to air, creating a protective barrier that seals the wood. The curing process can take up to several weeks, depending on the type of wood, the humidity, and the temperature.
Drying Time
Danish oil dries faster than other finishes, such as polyurethane, which can take up to 24 hours to dry. Danish oil usually dries within 12 hours, but it is essential to check the manufacturer’s instructions for the recommended drying time.
In conclusion, understanding the drying and curing process of Danish oil is essential for achieving a beautiful and protective finish on your woodwork. By allowing the oil to dry and cure properly, you can ensure that your woodwork is protected from damage and looks its best for years to come.
Danish Oil on Different Types of Wood
https://www.youtube.com/watch?v=KvV_whpVgsQ&embed=true
I have found that Danish oil can be used on a variety of wood types, including oak, pine, softwoods, hardwoods, and timber. It is a versatile finish that can enhance the natural beauty of the wood while providing protection against moisture and scratches.
When applying Danish oil to softwoods such as pine, it is important to note that the wood may absorb more oil than hardwoods. To prevent this, I recommend applying a sanding sealer before applying the Danish oil. This will help to seal the wood and prevent it from absorbing too much oil.
On the other hand, hardwoods such as oak can be more difficult to finish with Danish oil. This is because the wood can be dense and may not absorb the oil as easily. To ensure that the oil penetrates the wood, I recommend sanding the wood to a finer grit before applying the oil.
It is also important to note that different types of timber may react differently to Danish oil. For example, teak and mahogany can have a high oil content, which can affect the drying time of the Danish oil. To ensure that the oil dries properly, I recommend wiping the wood down with a clean cloth after applying the oil.
Overall, Danish oil can be used on a variety of wood types, but it is important to take into consideration the characteristics of the wood before applying the finish. By following the appropriate preparation and application techniques, Danish oil can provide a beautiful and protective finish to any type of wood.
Maintenance and Care with Danish Oil
https://www.youtube.com/watch?v=VNRe5_e3J8M&embed=true
As a wood finish, Danish oil is known for its ability to protect wood from wear and tear, making it a popular choice for furniture and woodworking projects. However, it is important to note that Danish oil is not a sealant in the traditional sense. While it does penetrate the wood and provide a protective layer, it does not completely seal the wood like a polyurethane or other sealant would.
To properly maintain and care for wood finished with Danish oil, it is important to follow a few simple steps. First, it is recommended to reapply the oil every six months to a year, depending on the amount of wear and tear the wood is subjected to. This will help to maintain the protective layer and keep the wood looking its best.
When applying Danish oil, it is important to follow the manufacturer’s instructions carefully. This may include sanding the wood before application, applying the oil in thin coats, and allowing ample drying time between coats. It is also important to apply the oil in the direction of the grain and to wipe off any excess oil after application.
In addition to regular maintenance, it is important to take steps to protect wood finished with Danish oil from damage. This may include using coasters or placemats to protect the surface from heat and moisture, avoiding harsh chemicals and abrasive cleaners, and using furniture pads to prevent scratches and dings.
Overall, while Danish oil does provide a level of protection for wood, it is important to keep in mind that it is not a complete sealant. With proper maintenance and care, however, wood finished with Danish oil can provide long-lasting wear and tear protection and a beautiful sheen.
Safety Measures and Precautions
As with any woodworking project, safety is a top priority. When working with Danish oil, there are a few safety measures and precautions that I always take to ensure that I am working safely and effectively.
First and foremost, I always wear gloves when applying Danish oil. This helps to protect my hands from the oil, which can be difficult to remove once it has been absorbed into the skin. I also make sure to wear a respirator or mask when working with Danish oil, as the fumes can be quite strong.
In addition to personal protective equipment, I also take care to work in a well-ventilated area. This helps to minimize the amount of fumes that I am exposed to, which can be harmful if inhaled in large quantities.
When it comes to cleaning up after applying Danish oil, I use mineral spirits or a similar thinner to clean my brushes and any other tools that I have used. I make sure to dispose of any rags or cotton cloths that I have used in a safe manner, as they can be a fire hazard if not handled properly.
Finally, I always make sure to store Danish oil and any other solvents or chemicals in a safe location, away from heat sources and out of reach of children and pets.
By following these simple safety measures and precautions, I can work confidently and knowledgeably with Danish oil, knowing that I am taking the necessary steps to protect myself and those around me.
Common Uses of Danish Oil
https://www.youtube.com/watch?v=PLyta5-2-TE&embed=true
As a woodworker, I have found Danish oil to be a versatile and popular finish for many types of wood projects. Danish oil is a blend of oil and varnish that penetrates the wood to provide a smooth finish. It is commonly used for furniture, outdoor furniture, cutting boards, and wooden worktops.
One of the benefits of Danish oil is that it enhances the natural color of the wood. It gives the wood a rich, warm tone that can vary depending on the type of wood used. For example, when applied to oak, it can bring out the grain and create a beautiful golden hue. When applied to darker woods like walnut, it can deepen the color and provide a lustrous finish.
Danish oil is also a popular choice for outdoor furniture due to its ability to protect the wood from the elements. It can help prevent moisture from penetrating the wood, which can lead to rot and decay. Rustins Danish Oil is a popular brand that is often used for outdoor furniture.
Another common use for Danish oil is for cutting boards and kitchenware. Since Danish oil is food safe, it can be used to protect wooden kitchenware while also providing a smooth finish.
It is important to note that Danish oil does not seal the wood in the same way that a polyurethane finish would. However, it does provide a smooth finish that can help protect the wood from moisture and wear. Boiled linseed oil is a similar finish that can provide a smooth finish, but it does not contain varnish and may not be as durable.
Overall, Danish oil is a versatile and popular finish that can be used for many types of wood projects. Whether you are looking to enhance the color of the wood or provide a smooth finish, Danish oil can be a great choice.
Frequently Asked Questions
How long does Danish oil take to dry?
Danish oil typically takes around 12 to 24 hours to dry completely. However, the drying time may vary depending on the humidity, temperature, and the type of wood. Applying multiple thin coats of Danish oil instead of a single thick coat can also help speed up the drying process.
What is Danish Oil used for?
Danish oil is a popular wood finish that is used to enhance the natural beauty of wood while providing protection from water, stains, and scratches. It is commonly used on furniture, floors, and other wooden surfaces.
Is Danish Oil a good wood sealer?
Yes, Danish oil is a good wood sealer. It penetrates deep into the wood pores and forms a protective barrier that helps prevent moisture and stains from penetrating the wood. However, it is not as effective as other types of wood sealers such as polyurethane or epoxy.
Do I need to seal after Danish Oil?
No, you do not need to seal after applying Danish oil. Danish oil is a self-sealing finish that provides protection to the wood surface. However, if you want to enhance the durability of the finish, you can apply a layer of wax or a coat of polyurethane over the Danish oil.
What is the best oil to seal wood with?
The best oil to seal wood with depends on the type of wood and the desired finish. Some of the most popular oils for sealing wood include tung oil, linseed oil, and mineral oil. Each of these oils has its own unique properties and benefits.
Does Danish Oil provide protection?
Yes, Danish oil provides protection to the wood surface. It penetrates deep into the wood pores and forms a protective barrier that helps prevent water, stains, and scratches from penetrating the wood. However, it is not as durable as other types of wood finishes such as polyurethane or epoxy.

Hi, I’m Sal Muller of Tooltrip.com. My DIY experience led me to understand essential power tools for home projects. Tooltrip.com guides enthusiasts and professionals in choosing right tools for any job. I provide concise top tool reviews for easier, efficient DIY.

