
I have been asked many times if it is possible to apply wipe on poly over Danish oil. The answer is yes, it is possible. However, there are certain steps to follow to ensure that the process is done correctly. This article will take you through the steps of applying wipe on poly over Danish oil, including understanding Danish oil and polyurethane, the preparation process before applying, choosing the right polyurethane, and applying polyurethane over Danish oil.
Before we dive into the process of applying wipe on poly over Danish oil, it is important to understand what Danish oil and polyurethane are. Danish oil is a penetrating oil that is used to protect and enhance the natural beauty of wood. Polyurethane, on the other hand, is a clear, protective finish that is applied over wood to protect it from scratches, stains, and other damage. Understanding the properties of these two finishes is important when transitioning from Danish oil to polyurethane.
The preparation process before applying wipe on poly over Danish oil is crucial. This includes cleaning the surface, sanding, and ensuring that the Danish oil has fully dried. Choosing the right polyurethane is also important, as there are many different types available. In the next section, we will dive deeper into these topics to give you a better understanding of the process.
Key Takeaways
- Danish oil is a penetrating oil and polyurethane is a clear, protective finish.
- Proper preparation is crucial before applying wipe on poly over Danish oil.
- Choosing the right polyurethane is important for a successful transition.
Understanding Danish Oil and Polyurethane
https://www.youtube.com/watch?v=mqD9puPowsE&embed=true
As a woodworker, you may have come across the terms Danish oil and polyurethane. Both are popular finishes that can be applied to wood surfaces to enhance their appearance and protect them from damage.
Danish oil is a type of oil-based finish that is made from a blend of drying oils, such as linseed or tung oil, and varnish or resin. It is known for its ability to penetrate deep into the wood, creating a protective layer that enhances the natural grain and color of the wood. Danish oil dries to a matte finish and provides a durable protective layer that is resistant to water, stains, and scratches.
Polyurethane, on the other hand, is a synthetic finish that is available in both oil-based and water-based formulations. It provides a hard, protective coating that is resistant to scratches, stains, and water damage. Oil-based polyurethane dries to an amber color, while water-based polyurethane dries clear.
When it comes to applying wipe-on poly over Danish oil, it is important to ensure that the Danish oil has fully cured before applying the polyurethane. The curing time for Danish oil can vary depending on the brand and the environmental conditions, but it typically takes around 24 hours for the oil to dry completely.
It is also important to note that polyurethane may not adhere properly to Danish oil if the oil has not fully cured. This can result in poor adhesion and a finish that easily peels or flakes off. To ensure proper adhesion, it is recommended to lightly sand the surface of the Danish oil before applying the polyurethane.
In terms of hardness and durability, polyurethane is generally considered to be more durable than Danish oil. This is because polyurethane forms a harder, more protective coating than Danish oil. However, Danish oil provides a more natural, matte finish that many woodworkers prefer.
Overall, both Danish oil and polyurethane are effective finishes that can be used to protect and enhance the appearance of wood surfaces. When applying wipe-on poly over Danish oil, it is important to follow the manufacturer’s instructions and ensure that the oil has fully cured before applying the polyurethane.
Preparation Process Before Applying
Before applying wipe on poly over Danish oil, it is important to prepare the surface properly. This will ensure that the finish adheres well and the final result is smooth and even. Here are the steps I take before applying wipe on poly over Danish oil:
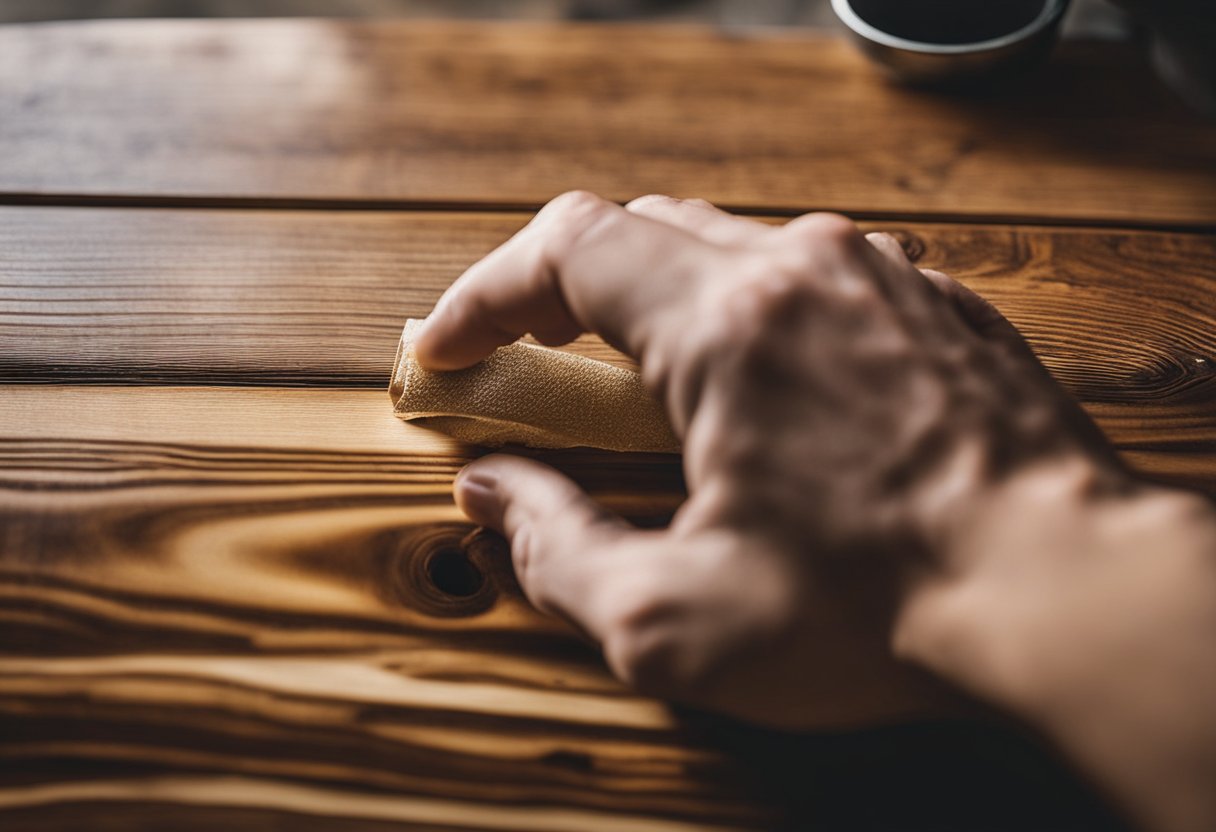
Sanding
First, I sand the surface with fine-grit sandpaper. This helps to remove any rough spots or imperfections on the surface. I usually start with 220-grit sandpaper and work my way up to 320-grit. This creates a smooth surface that is ready for the next step.
Steel Wool
After sanding, I use steel wool to remove any dust nibs or other small imperfections that may still be present on the surface. I use grade 0000 steel wool, which is very fine and won’t scratch the surface. I gently rub the steel wool over the surface in a circular motion, being careful not to apply too much pressure.
Cleaning
Next, I clean the surface thoroughly to remove any dust or debris. I use a soft, lint-free cloth to wipe the surface clean. If the surface is particularly dirty or greasy, I may use a mild detergent solution to clean it.
Wait for the Danish Oil to Dry
It is important to wait for the Danish oil to dry completely before applying wipe on poly. This can take anywhere from 24 to 72 hours, depending on the humidity, temperature, and amount of oxygen in the room. I usually wait at least 48 hours to be safe.
Check for Marks
Before applying the wipe on poly, I check the surface for any marks or scratches that may have occurred during the sanding or cleaning process. If I find any, I sand them out with fine-grit sandpaper and then clean the surface again.
By following these steps, I ensure that the surface is properly prepared for the wipe on poly. This results in a smooth, even finish that will protect and enhance the beauty of the furniture for years to come.
Applying Danish Oil
https://www.youtube.com/watch?v=j5kAdcEJtCo&embed=true
When it comes to applying Danish oil, there are a few things to keep in mind. Danish oil is a type of finish that is made up of a combination of oil and varnish. It is designed to penetrate the wood and protect it from the inside out. Danish oil is often used on furniture, floors, and other wooden surfaces.
Before applying Danish oil, it is important to prepare the surface. This means sanding the wood to a smooth finish and removing any dust or debris. It is also important to make sure the wood is clean and dry before applying the oil.
When applying Danish oil, there are several methods you can use. One option is to apply it with a brush. This allows you to work the oil into the wood and ensure that it is evenly distributed. Another option is to apply it with a cloth. This is often referred to as wiping on the oil. It allows you to control the amount of oil that is applied and can result in a smoother finish.
Regardless of the method you choose, it is important to apply the oil in thin, even coats. This will help prevent drips and ensure that the finish is smooth. It is also important to wipe off any excess oil after each coat. This will help prevent the finish from becoming sticky or tacky.
Overall, applying Danish oil is a relatively simple process. With a little bit of preparation and the right tools, you can achieve a beautiful finish that will protect your wood for years to come.
Transitioning to Polyurethane
https://www.youtube.com/watch?v=WealcWDpCfk&embed=true
Now that the Danish oil has been applied and allowed to dry, it’s time to move on to the next step: applying the polyurethane. Polyurethane is a popular choice for a topcoat because it provides a durable and protective finish. There are two main types of polyurethane: wipe-on and brush-on.
Wipe-on polyurethane is a thinner formula that can be applied with a cloth, whereas brush-on polyurethane is thicker and requires a brush for application. Both types of polyurethane can be used over Danish oil, but wipe-on polyurethane is often preferred because it is easier to apply and less likely to leave brush marks or bubbles.
Before applying the polyurethane, it’s important to make sure the Danish oil has fully dried and cured. This can take up to 24 hours or longer, depending on the temperature and humidity levels in the room. Failure to allow the Danish oil to dry completely can result in the polyurethane failing to adhere properly, leading to an uneven finish or premature wear.
When applying the polyurethane, it’s important to follow the manufacturer’s instructions and apply the recommended number of coats. Typically, two to three coats of water-based polyurethane are sufficient for a durable and long-lasting finish. However, it’s important to allow each coat to dry completely before applying the next coat. Failure to do so can result in holidays, which are areas where the polyurethane did not adhere properly and are left with a rough or uneven finish.
In summary, transitioning to polyurethane is a simple and straightforward process. By following these tips and guidelines, you can achieve a smooth and durable finish that will protect your woodwork for years to come.
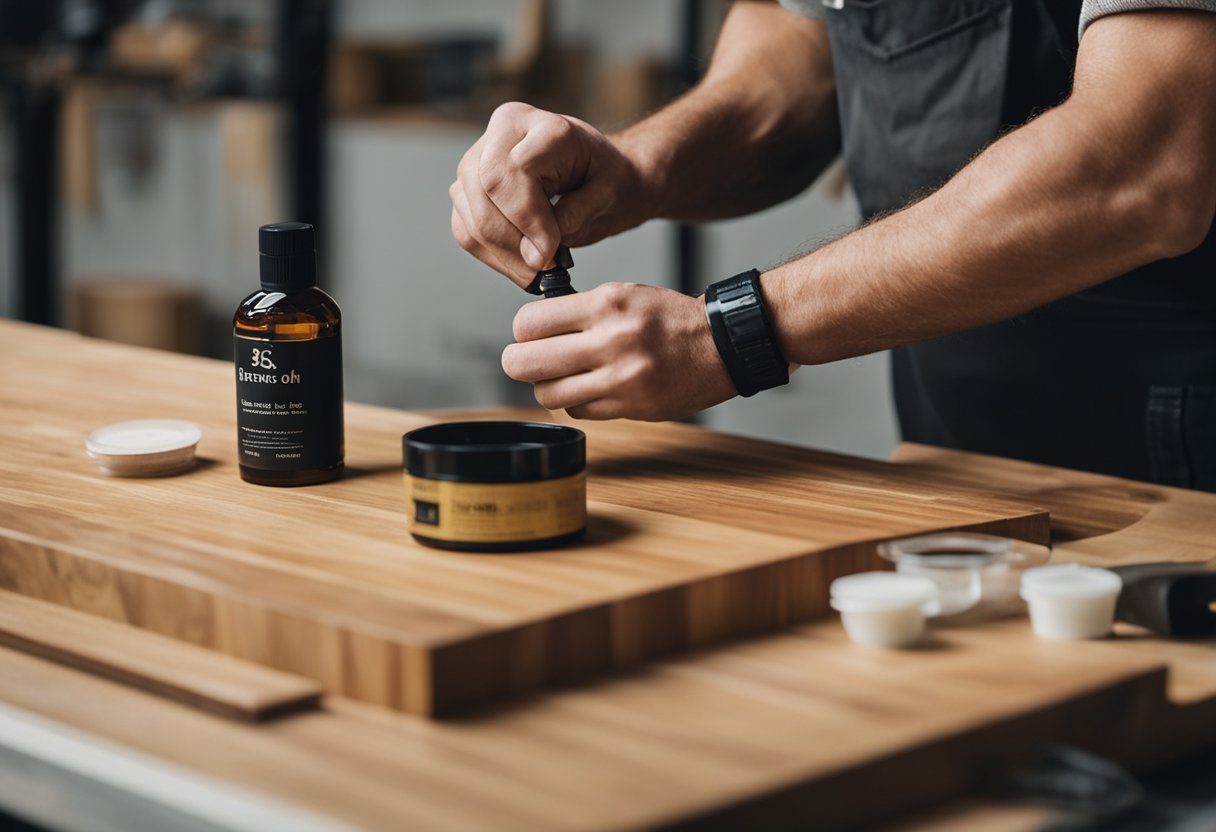
Choosing the Right Polyurethane
https://www.youtube.com/watch?v=HbDyFtFuDYE&embed=true
When it comes to choosing the right polyurethane for your project, there are a few factors to consider. First and foremost, you need to decide whether you want to use oil-based or water-based polyurethane.
Oil-based polyurethane tends to be more durable and provides a glossy finish, but it can also yellow over time. On the other hand, water-based polyurethane is less likely to yellow and dries faster, but it may not be as durable as oil-based polyurethane.
Another option is wipe-on poly, which is a thinned-down version of polyurethane that can be applied with a cloth instead of a brush. This can be a great choice for smaller projects or for those who are new to woodworking.
One popular brand of wipe-on poly is General Finishes Arm-R-Seal, which comes in both glossy and satin finishes. Arm-R-Seal is known for its ease of use and durability, making it a great choice for many projects.
Ultimately, the choice of polyurethane will depend on your personal preferences and the specific needs of your project. Whether you choose oil-based or water-based, brush-on or wipe-on, be sure to follow the manufacturer’s instructions carefully to ensure the best results.
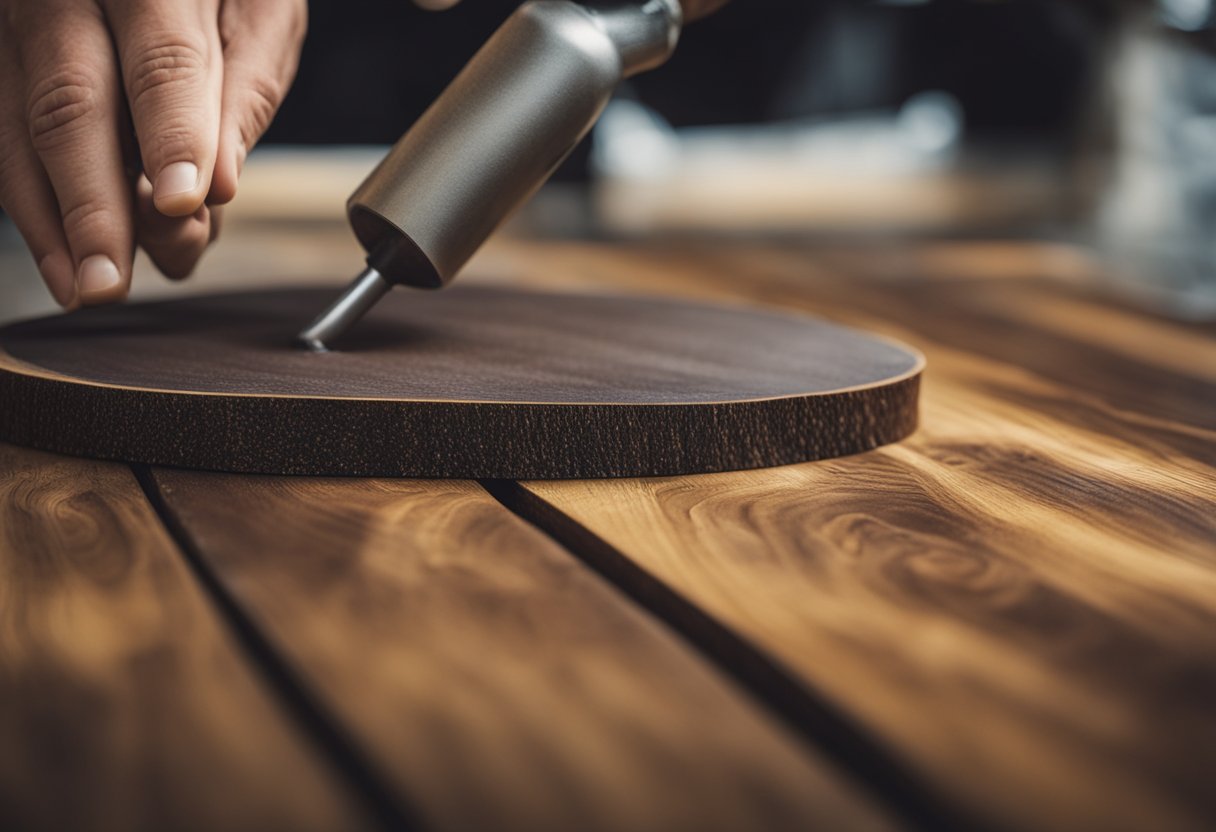
Applying Polyurethane Over Danish Oil
https://www.youtube.com/watch?v=aWTqKcUAO0A&embed=true
When it comes to finishing wood projects, many people turn to Danish oil for its rich, natural look. However, Danish oil may not provide the durability and protection that some projects require. That’s where polyurethane comes in. Polyurethane is a clear, hard finish that can be applied over Danish oil to provide a protective topcoat.
There are two types of polyurethane: wipe-on poly and brush-on poly. Wipe-on poly is a thinner, more liquid version that can be applied with a rag, while brush-on poly is thicker and requires a brush for application. Both types of polyurethane can be used over Danish oil, but wipe-on poly is generally easier to apply and less likely to cause drips.
Before applying polyurethane over Danish oil, it’s important to make sure that the Danish oil has fully cured. Danish oil can take up to 24 hours to dry completely, so be patient and wait until it feels dry to the touch before applying polyurethane.
To apply wipe-on polyurethane over Danish oil, simply pour a small amount onto a clean, lint-free rag and wipe it onto the surface of the wood in long, even strokes. Be sure to wipe off any excess polyurethane to prevent drips and allow each coat to dry completely before applying the next. It’s recommended to apply at least two coats of polyurethane for optimal protection.
Brush-on polyurethane can also be used over Danish oil, but it requires a bit more skill and patience. To apply brush-on polyurethane, use a high-quality brush and apply in long, even strokes, being careful not to leave any brush marks or drips. Again, allow each coat to dry completely before applying the next.
In conclusion, applying polyurethane over Danish oil is a great way to provide a durable, protective topcoat for your wood projects. Whether you choose wipe-on poly or brush-on poly, be sure to follow the manufacturer’s instructions and allow each coat to dry completely before applying the next.
Final Touches and Maintenance
Once you have applied wipe-on poly over Danish oil, you will need to allow it to dry completely before using the furniture. This can take anywhere from a few hours to a few days depending on the humidity and temperature in the room. You can check if the poly has dried by gently touching the surface with your finger. If it feels tacky or sticky, it is not yet dry.
To maintain the protective and durable finish of your furniture, it is important to take proper care of it. You can clean your furniture by using a soft cloth and mild soap and water. Avoid using abrasive cleaners or harsh chemicals as they can damage the finish. You can also use a furniture polish to keep the finish looking shiny and new.
If you need to repair any scratches or damage to the finish, you can lightly sand the affected area with fine-grit sandpaper and then reapply a coat of wipe-on poly over Danish oil. Be sure to follow the manufacturer’s instructions for application and drying times.
It is important to note that wipe-on poly is not the only option for a topcoat over Danish oil. Other options include brush-on poly, polyurethane varnish, lacquer, and shellac. Each of these options has its own unique characteristics and benefits, so it is important to choose the one that best suits your needs and preferences.
Overall, applying wipe-on poly over Danish oil is a great way to protect and enhance the natural beauty of your wood furniture. With proper care and maintenance, your furniture can continue to look beautiful and last for years to come.
Frequently Asked Questions

Can I apply wipe-on poly over Danish oil?
Yes, you can apply wipe-on poly over Danish oil. Wipe-on poly is a great option for adding a protective layer to your Danish oil finish. It is easy to apply and dries quickly. However, it is important to follow the manufacturer’s instructions for application and drying time.
What is the best finish to apply over Danish oil?
The best finish to apply over Danish oil depends on your project and personal preference. Wipe-on polyurethane, lacquer, shellac, and wax are all good options. Wipe-on polyurethane is a popular choice because it is easy to apply and provides a durable finish.
How long should I wait for Danish oil to dry before applying polyurethane?
The drying time for Danish oil varies depending on the brand and environmental conditions. Typically, Danish oil takes 24-48 hours to dry before applying polyurethane. It is important to read the manufacturer’s instructions and allow the Danish oil to dry completely before applying any other finish.
Is it possible to wipe Danish oil?
Yes, it is possible to wipe Danish oil. Wiping Danish oil is a popular technique for applying the finish. To wipe Danish oil, apply the oil generously with a cloth or brush and then wipe off any excess with a clean cloth. Repeat the process until you achieve the desired level of sheen.
Can I use wax over Danish oil?
Yes, you can use wax over Danish oil. Wax is a great option for adding a protective layer and enhancing the sheen of your Danish oil finish. However, it is important to apply the wax after the Danish oil has completely dried.
Can I apply polyurethane over Odie’s oil?
Yes, you can apply polyurethane over Odie’s oil. Odie’s oil is a great option for protecting and enhancing the natural beauty of wood. However, if you want to add an extra layer of protection, you can apply polyurethane over the Odie’s oil. It is important to follow the manufacturer’s instructions for application and drying time.

Hi, I’m Sal Muller of Tooltrip.com. My DIY experience led me to understand essential power tools for home projects. Tooltrip.com guides enthusiasts and professionals in choosing right tools for any job. I provide concise top tool reviews for easier, efficient DIY.
