
Finishing the underside of kitchen cabinets is often overlooked when remodeling a kitchen. However, it is an important step that can add a polished and cohesive look to the overall design. Not only does it hide unsightly wires, pipes, and other structural elements, but it also helps protect the wood from moisture and potential damage over time.
There are several materials and techniques that can be used to finish the underside of kitchen cabinets, such as painting, staining, adding decorative panels and laminate sheets, or applying veneer. The choice of material often depends on personal preference, budget, and the overall design of the kitchen. Understanding the importance of finishing the underside of kitchen cabinets and knowing the materials and tools required can help ensure a successful and professional-looking project.
Key Takeaways
- Finishing the underside of kitchen cabinets is an important step that can add a polished and cohesive look to the overall design.
- Materials and techniques used to finish the underside of kitchen cabinets depend on personal preference, budget, and the overall design of the kitchen.
- Proper preparation, maintenance, and care can help ensure a successful and professional-looking project.
Understanding the Importance of Finishing the Underside of Kitchen Cabinets
https://www.youtube.com/watch?v=iAVtkS3JRqQ&embed=true
As a professional kitchen designer, I know that finishing the underside of kitchen cabinets is an essential step in achieving a cohesive and professional look for any kitchen. A finished underside not only adds to the aesthetic appeal of your kitchen but also helps to improve the durability of your cabinets. In this section, I will explain why it is important to finish the underside of your kitchen cabinets, and what benefits it can bring to your kitchen.
One of the main reasons to finish the underside of your kitchen cabinets is to improve the aesthetic appeal of your kitchen. A finished underside provides a professional look to your cabinets, and it can help to hide unsightly wires, pipes, and other structural elements. This can give your kitchen a clean and cohesive appearance that is sure to impress your guests.
Another important reason to finish the underside of your kitchen cabinets is to protect against moisture buildup. Moisture can cause warping or cracking in the wood over time, which can lead to damage or even complete failure of your cabinets. A finished underside can help protect against moisture and humidity, which can cause warping or damage over time. It also makes cleaning and maintenance easier by preventing dust and debris from accumulating in hard-to-reach areas.
In conclusion, finishing the underside of your kitchen cabinets is an important step in achieving a cohesive and professional look for your kitchen. It helps to improve the durability of your cabinets, protect against moisture buildup, and adds to the aesthetic appeal of your kitchen. As a professional kitchen designer, I highly recommend that you finish the underside of your kitchen cabinets to ensure your kitchen looks its best for years to come.
Materials and Tools Required
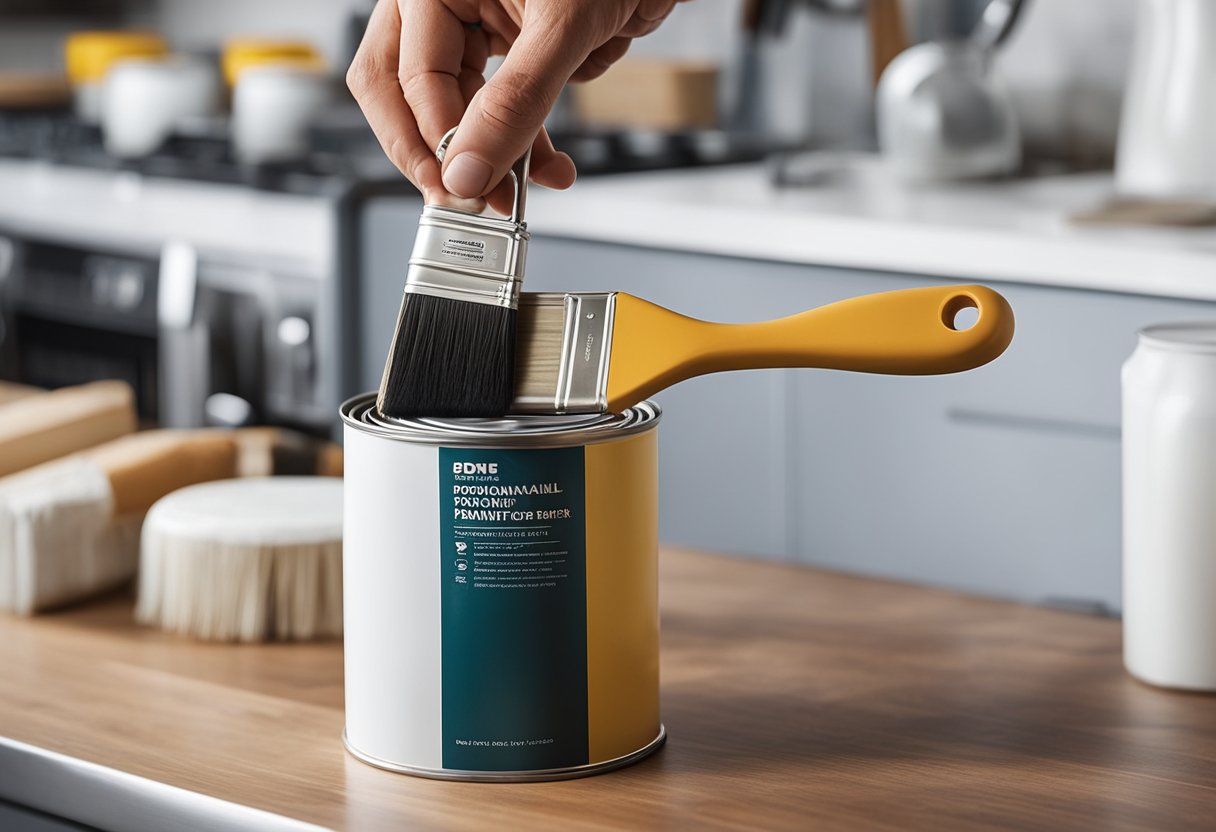
When it comes to finishing the underside of kitchen cabinets, you will need a few essential materials and tools to complete the job. Here are the items that I recommend:
Materials
-
Sandpaper: You’ll need sandpaper to smooth out any rough spots or imperfections on the surface of the cabinets. I recommend using a medium-grit sandpaper (around 120 grit) for this job.
-
Primer: A good quality primer will help the paint or stain adhere to the surface of the cabinets. Be sure to choose a primer that is compatible with the type of paint or stain you plan to use.
-
Paint or Stain: This is the finishing touch that will give your cabinets the look you desire. Choose a paint or stain that is appropriate for your cabinets’ material.
-
Polyurethane: Applying a coat of polyurethane will add an extra layer of protection to your cabinets and make them more durable.
-
Wood Filler: If your cabinets have any gaps or holes, you’ll need to fill them in with wood filler before painting or staining. This will help ensure a smooth finish.
Tools
-
Brushes: You’ll need brushes to apply the primer, paint or stain, and polyurethane. Choose brushes that are appropriate for the type of finish you plan to use.
-
Enamel: Enamel is a type of paint that is durable and long-lasting. It is a good choice for high-traffic areas like the kitchen.
-
Painter’s Tape: Use painter’s tape to protect any areas you don’t want to paint or stain.
-
Drop Cloth: A drop cloth will protect your floors and countertops from any drips or spills.
Preparation Steps Before Finishing
Before starting to finish the underside of your kitchen cabinets, it is important to prepare the area properly. This will ensure that the finish adheres well and lasts longer. Here are some steps that I recommend taking before starting to finish the underside of your kitchen cabinets:
Clear Out Cabinet Contents
First, clear out the contents of your cabinets. This includes all food, dishes, and other items stored in the cabinets. It is also a good idea to label the contents of the cabinet doors and drawers, so you can easily find everything when it’s time to put them back.
Remove Cabinet Doors
If your cabinets have doors, remove them before starting to finish the underside of the cabinets. This will make it easier to access the underside of the cabinets and ensure that you can apply the finish evenly.
Clean the Underside of Cabinets
Next, clean the underside of the cabinets thoroughly. Use a mild detergent and warm water to remove any grease, dirt, or grime that may have accumulated over time. Rinse the area with clean water and let it dry completely.
Sand the Underside of Cabinets
Sanding the underside of the cabinets is an important step to ensure that the finish adheres well. Use a fine-grit sandpaper to sand the surface of the cabinets lightly. This will help remove any rough spots and prepare the surface for the finish.
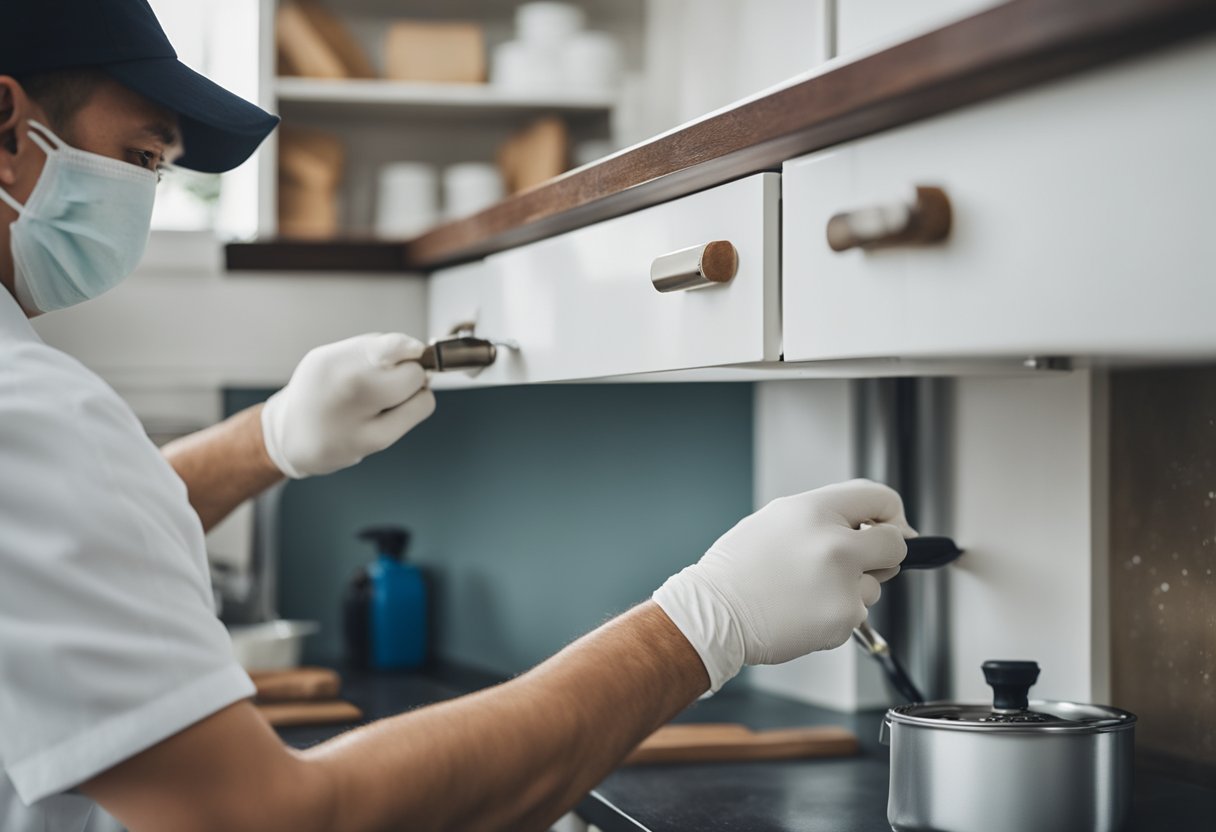
Protect Fixtures, Knobs, and Handles
Before applying the finish, make sure to protect any fixtures, knobs, or handles that are attached to the underside of the cabinets. Cover them with masking tape or remove them altogether to avoid getting the finish on them.
Base Cabinet vs Wall Cabinet
It is also important to note that the preparation steps may vary depending on whether you are finishing the underside of a base cabinet or a wall cabinet. For example, if you are finishing the underside of a base cabinet, you may need to remove the drawers before starting to sand and clean the area.
Cabinet Material
Finally, it is important to consider the material of your cabinets before starting to finish the underside. For example, if your cabinets are made of plywood, you may need to take extra care when sanding to avoid damaging the surface. Similarly, if your cabinets are made of a synthetic material, you may need to use a specific type of finish to ensure that it adheres well.
Detailed Guide to Painting the Underside of Kitchen Cabinets
Painting the underside of kitchen cabinets can be a great way to improve the overall look of your kitchen. However, it can also be a challenging DIY project if you don’t know what you’re doing. In this guide, I will provide you with step-by-step instructions on how to paint the underside of your kitchen cabinets.
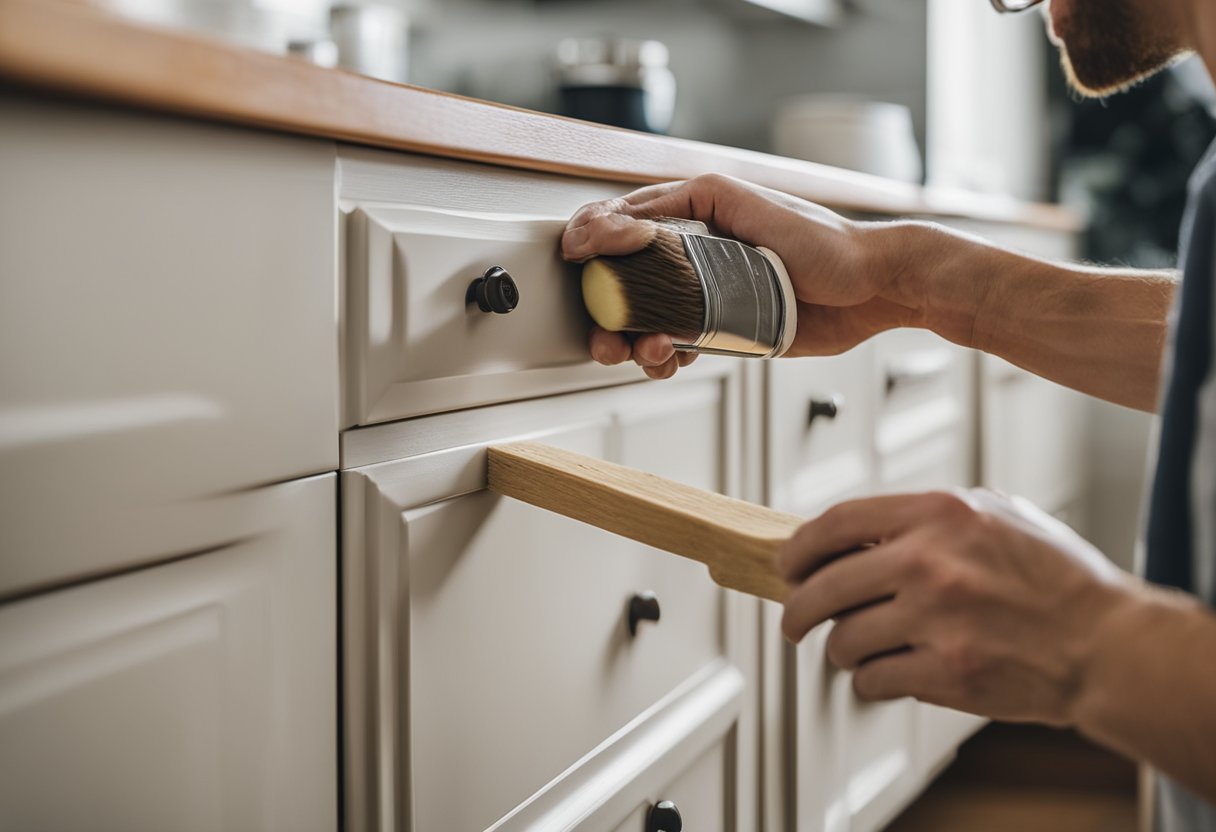
Step 1: Prepare the Surface
Before you start painting, you need to prepare the surface. Start by cleaning the underside of the cabinets to remove any dirt, grease, or grime. Once the surface is clean, you will need to apply primer to ensure adequate adhesion of the paint. Allow the primer to dry completely before moving on to the next step.
Step 2: Apply the Paint
When painting the underside of your kitchen cabinets, it’s important to use thin, even coats to ensure a smooth finish. You can use a roller or a brush to apply the paint. If you’re using a brush, make sure to use long, smooth strokes to avoid leaving brush marks. Apply 2-3 coats of paint, allowing each coat to dry completely before applying the next one.
Step 3: Allow Drying Time
After applying the final coat of paint, allow the cabinets to dry completely before reattaching them. The drying time will depend on the type of paint you used, so be sure to check the label for specific instructions.
Step 4: Refinishing
If you want to refinish your kitchen cabinets, you can do so by following the same steps outlined above. However, instead of using paint, you will need to use a wood stain or varnish. Make sure to follow the manufacturer’s instructions for the specific product you are using.
In conclusion, painting the underside of your kitchen cabinets can be a great way to give your kitchen a fresh, new look. By following these simple steps, you can achieve a professional-looking finish that will last for years to come.
Step-by-Step Process of Staining the Underside of Cabinets
https://www.youtube.com/watch?v=rjknfnkPq8A&embed=true
Staining the underside of kitchen cabinets can be an easy and cost-effective way to update the look of your kitchen. Here is a step-by-step process to help you achieve a professional-looking finish.
Step 1: Preparation
Before starting the staining process, it is important to prepare the cabinets properly. Begin by removing all the items from the cabinets and taking off the cabinet doors. This will make it easier to access the underside of the cabinets.
Step 2: Sanding
Sanding the underside of the cabinets is crucial to ensure a smooth and even finish. Use a fine-grit sandpaper to sand the surface lightly. This will help to remove any rough spots and prepare the surface for staining. Be sure to sand in the direction of the wood grain.
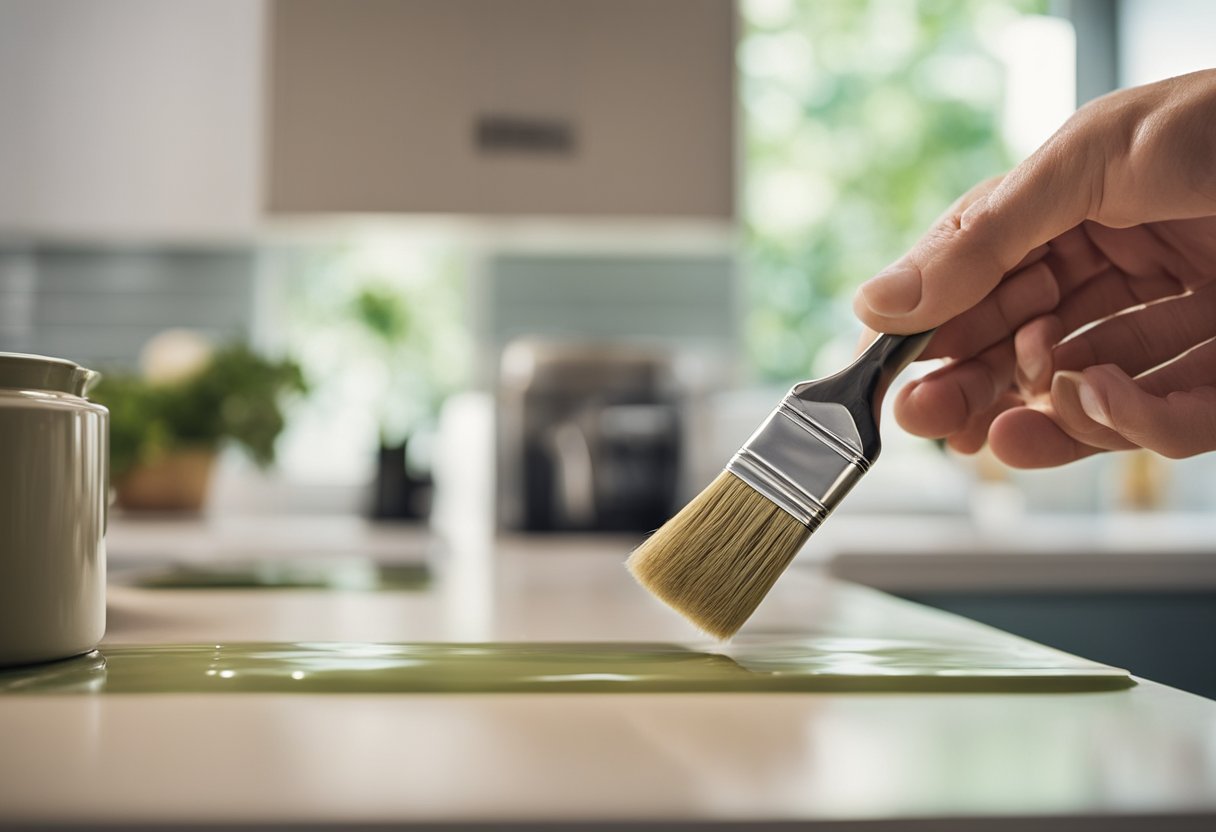
Step 3: Staining
When it comes to staining, there are a variety of color options available to choose from. Pick a color that complements the overall color scheme of your kitchen. Before applying the stain, be sure to stir it well to ensure an even color distribution.
Apply the stain with a brush or cloth, following the direction of the wood grain. Apply a thin coat of stain and allow it to dry completely before applying a second coat if desired.
Step 4: Topcoat
After the stain has dried, apply a topcoat to protect the wood and give it a polished look. There are a variety of topcoat options available, including polyurethane and varnish. Apply the topcoat in thin, even coats, following the direction of the wood grain. Allow each coat to dry completely before applying the next.
By following these steps, you can achieve a professional-looking finish when staining the underside of your kitchen cabinets.
Adding Decorative Panels and Laminate Sheets
https://www.youtube.com/watch?v=HzW6AN7lUhM&embed=true
When it comes to finishing the underside of kitchen cabinets, one option that homeowners can consider is adding decorative panels or laminate sheets. These materials can give the underside of cabinets a clean, polished look, and they are relatively easy to install.
Decorative panels come in a variety of styles and materials, including wood, MDF, and PVC. They can be cut to size and installed with adhesive or screws. Beadboard is another popular option for adding texture and visual interest to the underside of cabinets. It is made from narrow, tongue-and-groove boards that fit together to create a decorative pattern.
Laminate sheets are another option for finishing the underside of kitchen cabinets. They are available in a range of colors and patterns, and can be cut to size and applied with adhesive. Laminate is a durable material that is resistant to moisture and stains, making it a good choice for use in the kitchen.
Before installing decorative panels or laminate sheets, it is important to prepare the underside of the cabinets. This may involve sanding or cleaning the surface to ensure that it is smooth and free of debris. It may also be necessary to apply a primer or sealer to the surface to improve adhesion.
Overall, adding decorative panels or laminate sheets is a great way to finish the underside of kitchen cabinets. These materials are relatively easy to install and can give the underside of cabinets a polished, professional look.
Maintenance and Care for Finished Cabinets

As someone who has finished the underside of kitchen cabinets, I know how important it is to maintain and care for them to ensure they stay looking polished. Here are some tips for keeping your finished cabinets in top condition:
- Regular cleaning: To keep your cabinets looking their best, it’s important to clean them regularly. Use a soft cloth and a mild detergent to wipe down the surface, being careful not to scratch the finish. Avoid using abrasive cleaners or scrubbing too hard, as this can damage the surface.
- Protection from moisture: Moisture can cause damage to the finish on your cabinets, so it’s important to protect them from water and humidity. Wipe up spills immediately and avoid leaving wet items on the surface. You can also use a dehumidifier to reduce moisture in the air.
- Avoid screw damage: When installing cabinets, be careful not to over-tighten screws or use screws that are too long, as this can cause damage to the finish. Use screws that are the correct length and tighten them just enough to hold the cabinet securely in place.
- Molding maintenance: If your cabinets have molding, it’s important to maintain it properly to keep it looking its best. Use a soft cloth to wipe down the molding regularly, and be careful not to scratch the finish. If you notice any damage, repair it as soon as possible to prevent further damage.
By following these simple tips, you can keep your finished cabinets looking beautiful for years to come. With a little DIY maintenance and care, you can enjoy a polished look that will impress anyone who enters your kitchen.
Reinstallation and Final Touches
https://www.youtube.com/watch?v=A7urXcXy9fU&embed=true
Now that the underside of your kitchen cabinets has been properly finished, it’s time to reinstall the cabinets. This step is relatively straightforward, but it’s important to take your time and ensure that everything is properly aligned and secured.
First, use the screws that you removed earlier to reattach the cabinets to the wall. Make sure that the cabinets are level and flush with the wall. If necessary, use shims to adjust the height or level of the cabinets.
Next, reattach any fixtures, knobs, or handles that you removed during the finishing process. Use a screwdriver to tighten them securely, but be careful not to overtighten and strip the screws.
If your cabinets have ventilation grilles or other similar features, make sure that they are properly aligned and securely attached. Use a brush or cloth to remove any dust or debris that may have accumulated during the finishing process.
Finally, step back and admire your handiwork! You should now have beautiful, finished kitchen cabinets that will look great for years to come.
Frequently Asked Questions
https://www.youtube.com/watch?v=foFCmLF4aeA&embed=true
What is the best material to use for finishing the underside of kitchen cabinets?
When finishing the underside of kitchen cabinets, it is important to choose a material that is durable and resistant to moisture. Some popular options include plywood, MDF, and melamine. Plywood is a strong and sturdy material that can withstand moisture and humidity, making it a good choice for finishing the underside of kitchen cabinets. MDF and melamine are also good options as they are both moisture-resistant and easy to clean.
How do I protect the underside of my kitchen cabinets from moisture and damage?
To protect the underside of your kitchen cabinets from moisture and damage, it is important to apply a protective finish. This can include paint, stain, or a clear coat. Additionally, you can install a moisture barrier, such as a sheet of plastic or a layer of insulation, between the cabinet and the countertop to prevent moisture from seeping in.
Should I paint the underside of my upper kitchen cabinets?
Painting the underside of your upper kitchen cabinets is a personal preference. While some homeowners choose to paint the underside to give their cabinets a finished look, others leave it unfinished. If you do decide to paint the underside, make sure to use a high-quality paint that is designed for use in high-moisture areas.
What are some options for finishing the bottom of kitchen cabinets?
When finishing the bottom of kitchen cabinets, there are several options to choose from. You can install a toe kick, which is a piece of wood or molding that covers the gap between the cabinet and the floor. Alternatively, you can install a decorative panel that matches the style of your cabinets. Another option is to install a set of cabinet legs, which elevate the cabinets off the floor and create a more open feel in the kitchen.
Can I purchase pre-finished cabinet skins for the underside of my kitchen cabinets?
Yes, many cabinet manufacturers offer pre-finished skins for the underside of kitchen cabinets. These skins are designed to match the finish of your cabinets and can be easily installed using adhesive or screws.
Are kitchen cabinets typically finished on the underside?
Kitchen cabinets are not always finished on the underside. However, finishing the underside can help to protect the cabinets from moisture and damage, and give them a more polished look. If you are unsure whether your cabinets are finished on the underside, you can check by looking underneath the cabinets or contacting the manufacturer.

Hi, I’m Sal Muller of Tooltrip.com. My DIY experience led me to understand essential power tools for home projects. Tooltrip.com guides enthusiasts and professionals in choosing right tools for any job. I provide concise top tool reviews for easier, efficient DIY.
