
When it comes to applying polyurethane, it’s not uncommon for the first coat to look bad. This can be frustrating, especially if you’ve put a lot of time and effort into your project. However, it’s important to remember that the first coat is just the foundation for the rest of the finish, and there are steps you can take to fix it.
Understanding polyurethane and its application is key to achieving a successful finish. Polyurethane is a type of varnish that provides a durable, protective coating for wood surfaces. It’s important to choose the right type of polyurethane for your project, whether it’s oil-based or water-based. Additionally, proper preparation and application techniques are crucial to achieving a smooth, even finish.
Common mistakes when applying polyurethane include failing to stir the finish thoroughly before use, applying the finish outside of the manufacturer’s recommended temperature and humidity range, and using a low-quality brush. Fortunately, there are ways to fix these mistakes and achieve a beautiful finish. With the right knowledge and techniques, you can transform your first coat of polyurethane from a mess to a masterpiece.
Key Takeaways
- Understanding polyurethane and its application is crucial for achieving a successful finish.
- Common mistakes when applying polyurethane can lead to an uneven or unattractive finish.
- With the right knowledge and techniques, it’s possible to fix mistakes and achieve a beautiful finish.
Understanding Polyurethane and Its Application
https://www.youtube.com/watch?v=7uoZSWof2DM&embed=true
As a wood finish, polyurethane is known for its durability and protective properties. It comes in two main types: oil-based and water-based. Oil-based polyurethane is more commonly used and is known for its amber color and slow drying time. Water-based polyurethane, on the other hand, dries faster and is less likely to yellow over time.
When applying polyurethane, it is important to understand that the first coat may not always look perfect. This is because the first coat is typically absorbed by the wood, which can result in an uneven appearance. However, this is normal and should not be a cause for concern.
To ensure a smooth and even finish, it is important to properly prepare the wood surface before applying polyurethane. This includes sanding the wood to remove any imperfections and ensuring that the surface is clean and free of dust and debris.
When applying polyurethane, it is recommended to use a high-quality brush or applicator to ensure even coverage. It is also important to apply thin coats and allow each coat to dry completely before applying the next. This will help prevent the polyurethane from becoming too thick and developing bubbles or other imperfections.
In summary, understanding the properties and application of polyurethane is key to achieving a smooth and even finish. While the first coat may not always look perfect, proper preparation and application techniques can help ensure a beautiful and long-lasting finish.
Common Mistakes When Applying Polyurethane
https://www.youtube.com/watch?v=Q0lEM_BOgmo&embed=true
As someone who has worked with polyurethane for a while, I’ve learned that there are some common mistakes people make when applying it. Here are some of the most frequent ones:
Applying Polyurethane in Dusty Conditions
Dust can ruin a polyurethane finish. It’s important to make sure the room you’re working in is as dust-free as possible. You can use a tack cloth to remove any dust particles from the surface before you apply the polyurethane.
Not Sanding the Surface Before Applying Polyurethane
Sanding the surface before applying polyurethane is crucial to achieving a smooth finish. If there are any bumps or rough spots on the surface, they will be magnified once the polyurethane is applied. Use a fine-grit sandpaper to sand the surface before applying the first coat of polyurethane.
Applying Too Many Coats of Polyurethane
Applying too many coats of polyurethane can cause the finish to look uneven or bumpy. It’s important to follow the manufacturer’s instructions regarding the number of coats to apply. Usually, two or three coats are enough to achieve a smooth finish.
Applying a Thin Coat of Polyurethane
Applying a thin coat of polyurethane can cause the finish to look streaky or uneven. It’s important to apply a thick enough coat to ensure an even finish.
Not Stirring the Polyurethane Before Applying
Polyurethane can settle over time, so it’s important to stir it well before applying. If you don’t stir the polyurethane, you may end up with an uneven finish or bubbles in the finish.
Applying Polyurethane in Humid Conditions
Humidity can affect the drying time of polyurethane and can cause the finish to look uneven or bumpy. It’s important to make sure the room you’re working in is well-ventilated and has low humidity.
Using a Brush with Stiff Bristles
Using a brush with stiff bristles can cause brush marks in the finish. It’s important to use a brush with soft bristles to achieve a smooth finish.
Overlapping Brush Strokes
Overlapping brush strokes can cause the finish to look uneven or streaky. It’s important to brush in one direction and avoid overlapping brush strokes.
Shaking the Can of Polyurethane
Shaking the can of polyurethane can cause bubbles in the finish. It’s important to stir the polyurethane well before applying to avoid bubbles in the finish.
Not Allowing Enough Drying Time Between Coats
Not allowing enough drying time between coats can cause the finish to look uneven or bumpy. It’s important to follow the manufacturer’s instructions regarding drying time between coats.
Preparation for Application
Before applying the first coat of polyurethane, it is important to properly prepare the wood surface to ensure a smooth and even finish. Here are some steps that I recommend for preparing the wood surface:
Clean the Surface
First, I clean the surface thoroughly to remove any dirt, dust, or debris. I use a lint-free cloth and wipe down the surface with a solution of equal parts water and denatured alcohol. This helps to remove any oils or residues that may be present on the surface.
Sand the Surface
Next, I sand the surface with a sanding block to create a smooth and even surface. I start with a coarse grit sandpaper and work my way up to a finer grit. This helps to remove any imperfections and creates a surface that the polyurethane can adhere to.
Apply Sanding Sealer
If the wood is porous or has an uneven surface, I apply a sanding sealer before applying the first coat of polyurethane. This helps to fill in any pores or imperfections and creates a smooth surface for the polyurethane to adhere to.
Scuff the Surface
Before applying the first coat of polyurethane, I scuff the surface with a fine grit sandpaper. This helps to create a surface that the polyurethane can adhere to and ensures that the first coat will bond properly.
Work in a Well-Ventilated Area
When applying polyurethane, it is important to work in a well-ventilated area. I open windows and doors to ensure good air flow and avoid inhaling any fumes.
Keep the Surface Dust-Free
Finally, I make sure that the surface is dust-free before applying the first coat of polyurethane. I use a lint-free cloth to wipe down the surface and remove any dust or debris that may have accumulated.
By following these steps, I ensure that the wood surface is properly prepared for the first coat of polyurethane. This helps to ensure a smooth and even finish that will last for years to come.
Correct Application Techniques
https://www.youtube.com/watch?v=8P0JjpV-9O4&embed=true
When it comes to applying polyurethane, the key is to take your time and apply it correctly. Here are some techniques that can help you achieve a smooth and even finish:
Brushing
If you’re using a brush to apply polyurethane, make sure to use a high-quality brush that’s appropriate for the type of finish you’re using. Choose a brush with synthetic bristles for water-based finishes and natural bristles for oil-based finishes. Before you start, dampen the brush with mineral spirits to help the polyurethane flow smoothly.
Rolling
If you’re using a roller to apply polyurethane, choose a high-quality roller cover that’s appropriate for the type of finish you’re using. Use a short nap roller for smooth surfaces and a long nap roller for rough surfaces. Before you start, dampen the roller cover with mineral spirits to help the polyurethane flow smoothly.
Applicator
If you’re using an applicator to apply polyurethane, choose a high-quality applicator that’s appropriate for the type of finish you’re using. Use a foam brush for water-based finishes and a natural bristle brush for oil-based finishes. Before you start, dampen the applicator with mineral spirits to help the polyurethane flow smoothly.
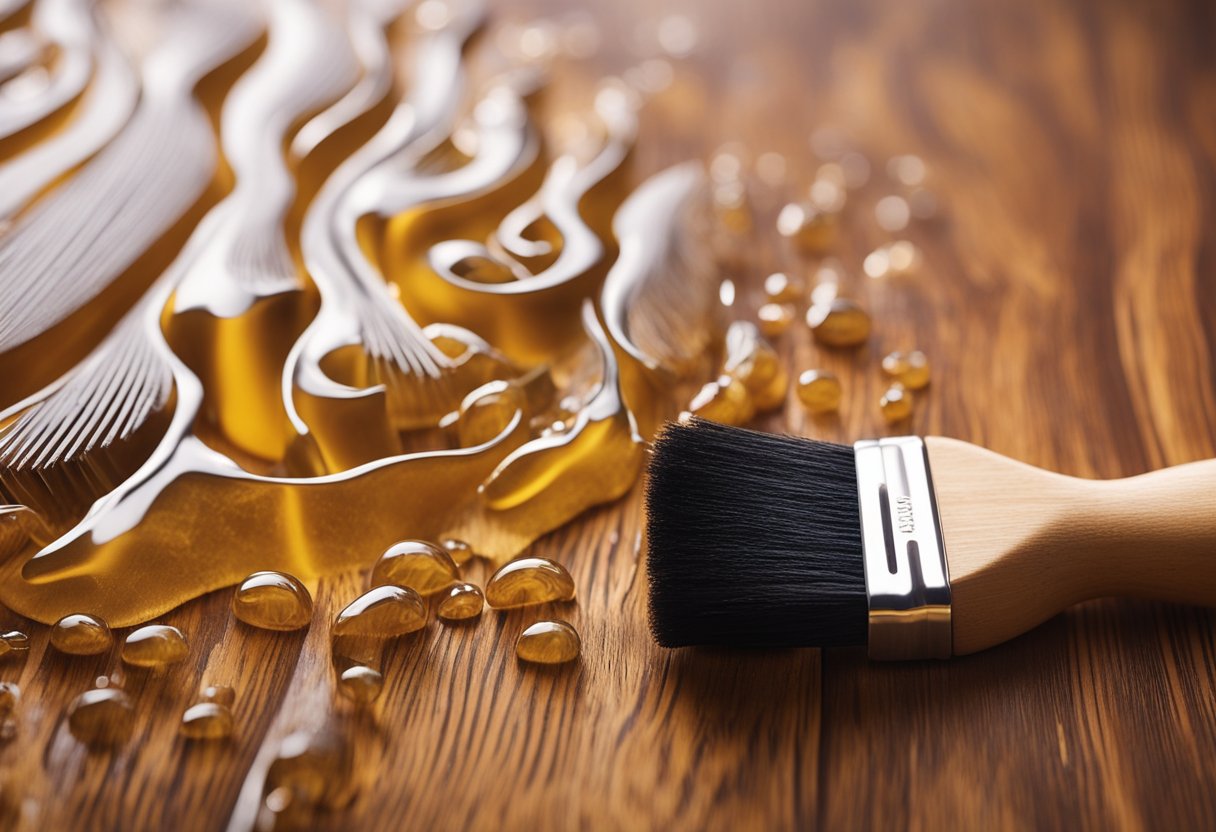
Thin Coats
When applying polyurethane, it’s important to apply thin coats. Thick coats can result in drips, runs, and an uneven finish. Apply the polyurethane in thin coats, and wait for each coat to dry completely before applying the next coat.
Evenly
When applying polyurethane, it’s important to apply it evenly. Use long, even strokes, and try to avoid overlapping strokes. This will help you achieve a smooth and even finish.
Soft Cloth
After applying each coat of polyurethane, use a soft cloth to wipe away any dust or debris. This will help you achieve a smooth and even finish.
Foam Brush
If you’re using a foam brush to apply polyurethane, make sure to use a high-quality foam brush that’s appropriate for the type of finish you’re using. Choose a foam brush with a fine cell structure for water-based finishes and a foam brush with a coarse cell structure for oil-based finishes. Before you start, dampen the foam brush with mineral spirits to help the polyurethane flow smoothly.
Patience
Finally, when applying polyurethane, it’s important to be patient. Take your time, and make sure to apply each coat carefully and evenly. Rushing the process can result in an uneven finish, drips, and runs.
Dealing with Imperfections and Fixes
https://www.youtube.com/watch?v=WEW4QWWwBPE&embed=true
When applying polyurethane, it is common to encounter some imperfections on the first coat. However, with proper techniques, these can be fixed or avoided in subsequent coats. Here are some tips to help you deal with imperfections and fixes.
Fixing Scratches and Peeling
If you notice scratches or peeling on the first coat of polyurethane, you can fix them by lightly sanding the surface with fine-grit sandpaper, wiping it clean, and applying another coat of polyurethane. You can also use steel wool to remove any rough spots before applying the next coat.
Avoiding Moisture and Solvent Damage
To avoid moisture and solvent damage, make sure the surface is clean and dry before applying polyurethane. If you notice any moisture or solvent damage on the first coat, you can fix it by sanding down the damaged area, wiping it clean, and applying another coat of polyurethane.
Stirring the Polyurethane
Before applying polyurethane, make sure to stir the can thoroughly to ensure that the polyurethane is evenly mixed. If you notice any lumps or bubbles on the first coat, you can fix it by stirring the polyurethane thoroughly and straining it through a fine-mesh strainer before applying the next coat.
Stripping and Starting Over
If you encounter major imperfections on the first coat, such as peeling or bubbling, you may need to strip the entire surface and start over. You can use a paint stripper to remove the polyurethane, sand down the surface, and apply a fresh coat.
Using Denatured Alcohol
If you notice any spots or marks on the first coat of polyurethane, you can use denatured alcohol to remove them. Simply dampen a cloth with denatured alcohol and rub the affected area until the spot is removed. Be sure to wipe the surface clean before applying another coat of polyurethane.
In conclusion, imperfections on the first coat of polyurethane are common, but with proper techniques, they can be fixed or avoided in subsequent coats. By following the tips outlined above, you can achieve a smooth and even finish on your woodworking projects.
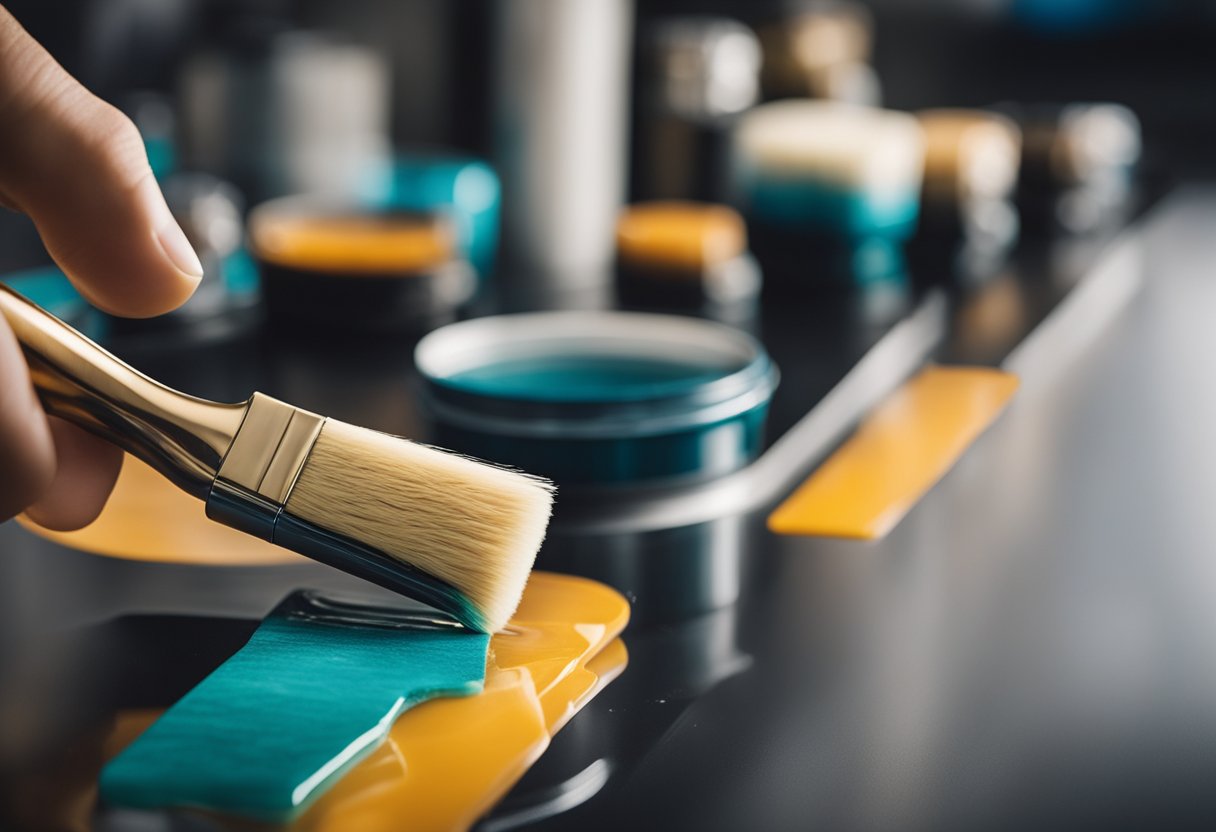
Choosing the Right Polyurethane
When it comes to choosing the right polyurethane for your project, there are several factors to consider. The quality of the polyurethane plays a significant role in the final finish of your project. I always recommend using a high-quality polyurethane to ensure a smooth and durable finish.
Polyurethane finishes come in different sheens, such as glossy, satin, and matte finish. The sheen level you choose will depend on your personal preference and the type of project you are working on. Glossy finishes are highly reflective and are ideal for projects that require a high level of shine, such as furniture or cabinets. Satin finishes are less reflective and provide a more subtle sheen, making them ideal for projects that require a more natural look. Matte finishes have no shine and are ideal for projects that require a flat finish, such as floors.
If you are experiencing a cloudy finish after applying the first coat of polyurethane, it may be due to the quality of the polyurethane or the application process. Using a low-quality polyurethane or applying the polyurethane too thickly can result in a cloudy finish. In such cases, sanding the surface and applying a new coat of polyurethane may be necessary.
While polyurethane is a popular choice for finishing wood projects, other finishes such as shellac and tung oil can also be used. Shellac is a natural finish that provides a high-gloss finish and is ideal for smaller projects such as decorative items. Tung oil is a natural oil that provides a durable finish and is ideal for projects that require a natural look.
Overall, choosing the right polyurethane is essential to achieving a smooth and durable finish for your project. By considering factors such as quality, sheen level, and application process, you can ensure a successful outcome.
Post Application Care
After applying the first coat of polyurethane, it is important to take care of the surface to ensure a smooth and even finish. Here are some tips to help you achieve the best results.
Drying Time
Allow sufficient time for the first coat of polyurethane to dry completely before applying the second coat. The drying time depends on the temperature and humidity of the room. Generally, it takes about 24 hours for the polyurethane to dry. However, it is important to follow the manufacturer’s instructions for the specific product you are using.
Temperature and Protection
It is important to maintain a consistent temperature in the room where the polyurethane is drying. Avoid exposing the surface to extreme temperatures or direct sunlight, as this can cause the polyurethane to crack or discolor. To protect the surface, cover it with a drop cloth or plastic sheeting.
Wax and Cleaning
Avoid waxing the surface or using any wax-based polish until the final coat of polyurethane has been applied. Wax can prevent the polyurethane from adhering properly, resulting in a cloudy appearance or orange peel effect. To clean the surface, use a soft cloth and a mild detergent. Avoid using abrasive cleaners or scrubbing the surface too hard, as this can damage the polyurethane.
Puddles and Discoloration
If you notice puddles or areas where the polyurethane has pooled, use a brush or roller to smooth out the surface before it dries. This will prevent discoloration or cloudy appearance. If the polyurethane has already dried and you notice discoloration or cloudy appearance, lightly sand the surface and apply a new coat of polyurethane.
Cracking and Old Polyurethane
If the first coat of polyurethane looks cracked or the surface has an old polyurethane finish, use a fine-grit sandpaper to smooth out the surface before applying a new coat of polyurethane. Make sure to remove any dust or debris before applying the new coat.
Thinning and Silicone
If you are having trouble applying the polyurethane, you can thin it with mineral spirits or paint thinner. However, it is important to follow the manufacturer’s instructions for the specific product you are using. Avoid using any products that contain silicone, as this can prevent the polyurethane from adhering properly.
By following these tips, you can ensure that the first coat of polyurethane looks great and provides a smooth and even finish.
Frequently Asked Questions
Why is my final coat of polyurethane rough?
If your final coat of polyurethane looks rough, it could be due to a variety of factors. One possibility is that the previous coat was not sanded properly, causing the surface to be uneven. Another possibility is that the polyurethane was not mixed well before application, causing it to dry unevenly. To avoid this problem, make sure to sand each coat of polyurethane properly and mix the polyurethane well before application.
How do I remove excess polyurethane?
To remove excess polyurethane, you can use mineral spirits or paint thinner. Apply the solvent to a rag and rub it gently over the surface until the excess polyurethane is removed. Be careful not to rub too hard, as this could damage the underlying wood. Once the excess polyurethane is removed, allow the surface to dry completely before applying another coat.
What are common problems with Minwax polyurethane?
One common problem with Minwax polyurethane is that it can yellow over time, especially if exposed to sunlight. Another issue is that it can take a long time to dry, which can be frustrating for those who want to finish their project quickly. To avoid these issues, make sure to apply Minwax polyurethane in a well-ventilated area and allow plenty of time for each coat to dry.
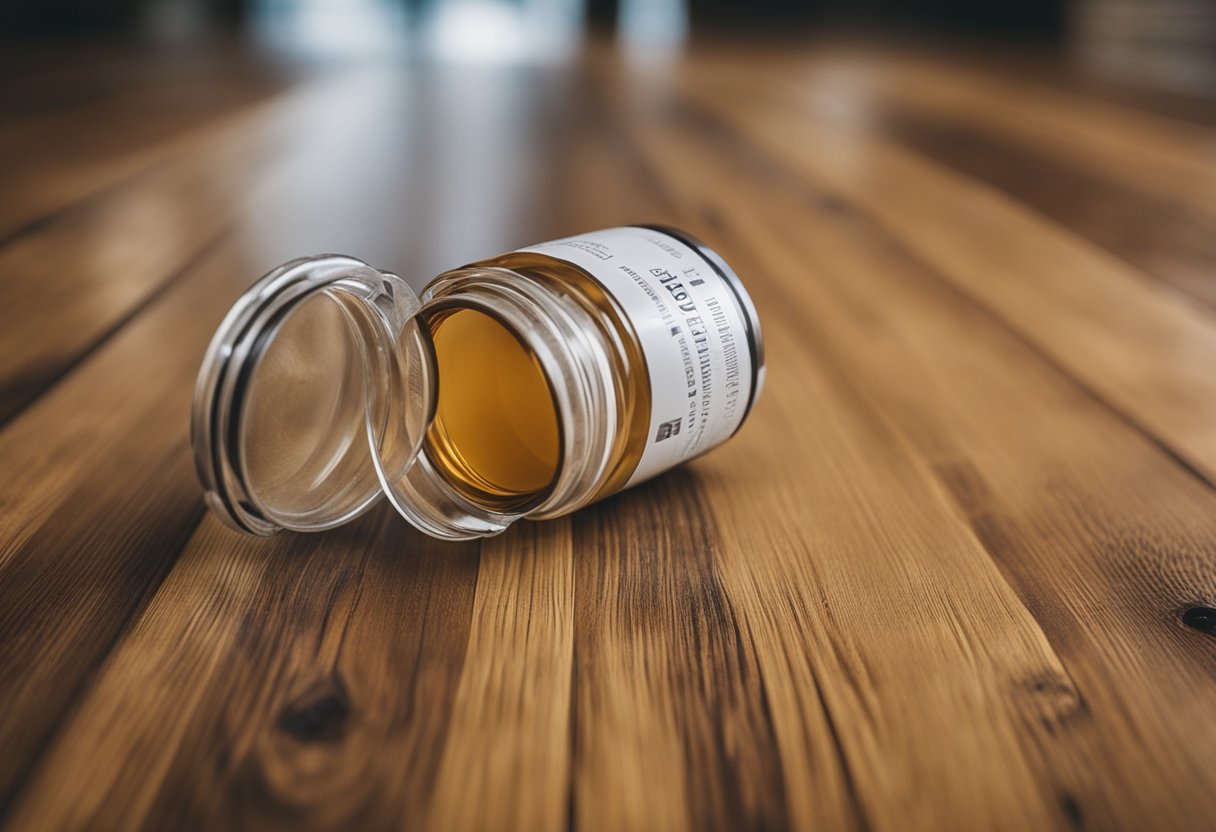
How can I tell if polyurethane has gone bad?
Polyurethane can go bad over time, especially if it has been stored improperly. Signs that polyurethane has gone bad include a foul odor, a thick or lumpy texture, or a change in color. If you notice any of these signs, it is best to dispose of the polyurethane and purchase a fresh can.
Why is my polyurethane cracking?
Polyurethane can crack if it is applied too thickly or if it is exposed to extreme temperatures. To avoid this problem, make sure to apply each coat of polyurethane thinly and evenly, and avoid exposing the finished product to extreme temperatures.
How can I touch up polyurethane?
To touch up polyurethane, sand the affected area lightly with fine-grit sandpaper. Then, apply a thin coat of polyurethane to the area using a brush or foam applicator. Allow the polyurethane to dry completely before sanding and applying another coat if necessary.

Hi, I’m Sal Muller of Tooltrip.com. My DIY experience led me to understand essential power tools for home projects. Tooltrip.com guides enthusiasts and professionals in choosing right tools for any job. I provide concise top tool reviews for easier, efficient DIY.
