
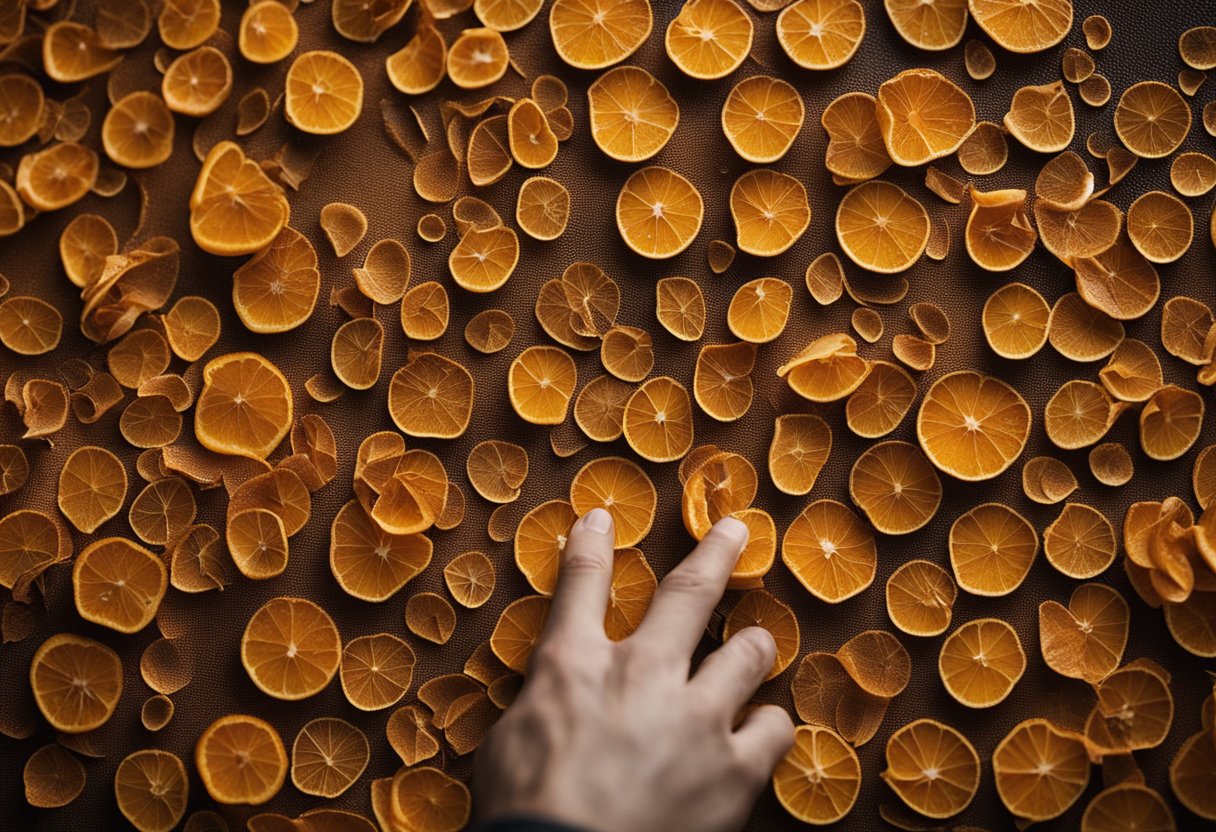
When it comes to painting a car, one of the most frustrating issues is orange peel. This is when the surface of the paint has a textured appearance that looks like the skin of an orange. It can happen due to various reasons such as incorrect paint viscosity, incorrect spray gun setup, or incorrect spray technique. While it can be corrected in several ways, one of the most common questions is whether to sand orange peel before clear coat or not.
The answer to this question is not straightforward. Sanding orange peel before applying the clear coat can help achieve a smoother finish, but it can also be risky if not done correctly. Sanding too much or too aggressively can damage the paint and require a repaint. On the other hand, not sanding enough can leave the orange peel visible under the clear coat. Therefore, it is crucial to understand the process and take the necessary precautions before sanding.
Key Takeaways
- Sanding orange peel before clear coat can help achieve a smoother finish but can be risky if not done correctly.
- Proper preparation, including selecting the right sandpaper grit, is crucial before sanding.
- Polishing and buffing after sanding can help achieve a mirror-like finish.
Understanding Orange Peel and Clear Coat
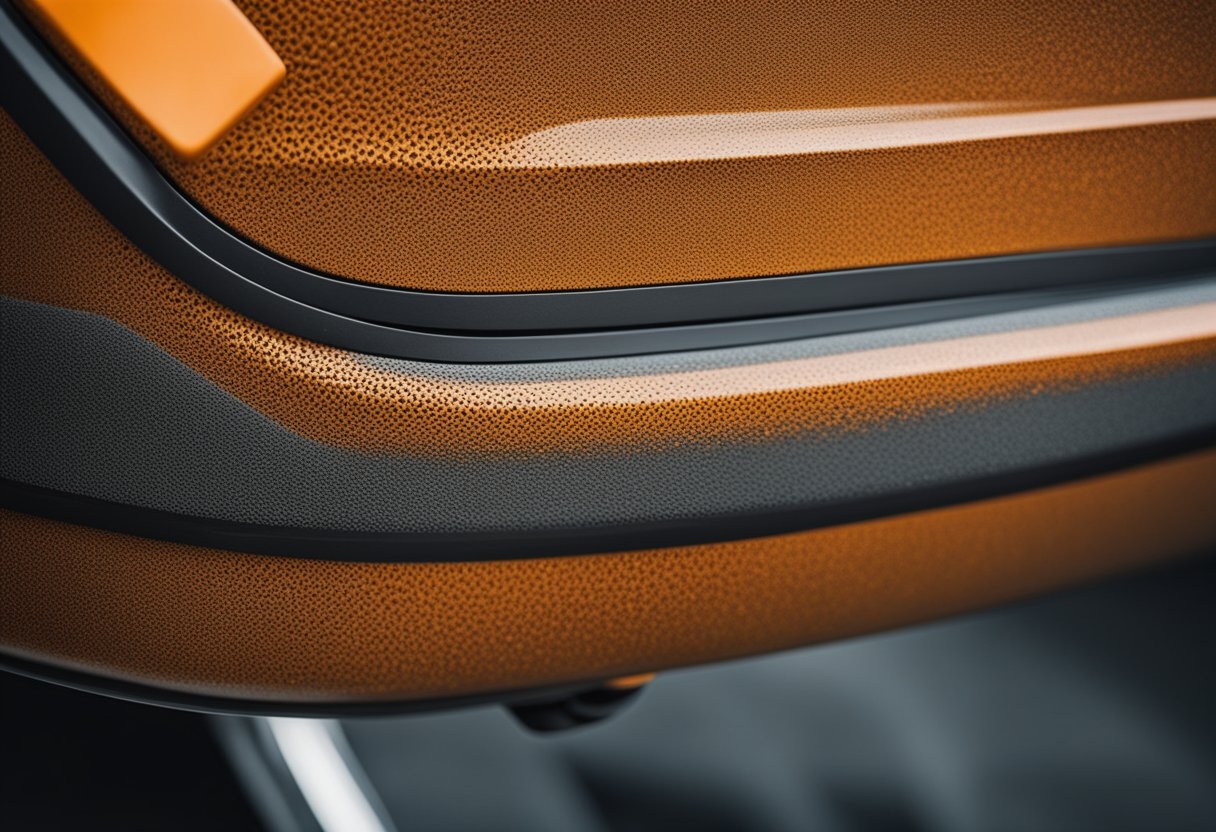
As a car owner, you may have noticed a texture on the surface of your car’s paint that resembles the skin of an orange. This texture is known as “orange peel,” and it is a common phenomenon that occurs during the painting process. Orange peel happens when the clear coat is not applied evenly, resulting in a bumpy texture that is visible to the eye.
Clear coat is a layer of transparent paint that is applied over the base coat to protect it from damage and give it a glossy finish. However, if the clear coat is not applied correctly, it can result in an uneven texture, which is where orange peel comes in.
The orange peel effect can occur due to several reasons, such as incorrect spray gun settings, improper application technique, or the use of the wrong clear coat. It can also occur due to the type of paint used, as some paints are more prone to orange peel than others.
Manufacturers have taken steps to minimize orange peel by using advanced painting techniques and technologies. However, it is still a common issue that many car owners face.
If you are dealing with orange peel on your car’s paint, you may be wondering whether you need to sand it down before applying a clear coat. The answer is not a straightforward one, as it depends on the severity of the orange peel.
In general, if the orange peel is minor, you can apply a clear coat over it without sanding it down. However, if the orange peel is severe, you may need to sand it down to create a smooth surface before applying the clear coat.
Overall, understanding orange peel and clear coat is important for maintaining the appearance of your car’s paint. By knowing what causes orange peel and how to deal with it, you can ensure that your car’s paint looks smooth and glossy for years to come.
Preparation Before Sanding
Before sanding orange peel, it is essential to prepare the surface properly. As a professional, I always start by washing the surface with soap and water to remove any debris or dirt. This step ensures that the surface is clean and ready for sanding.
After washing, I recommend using masking tape to protect any areas that should not be sanded. This step is crucial to ensure that the sanding process does not damage any other parts of the surface.
It is also important to wear a mask while sanding to avoid inhaling any dust or particles. This step protects your health and ensures that the sanding process is safe.
Before starting the sanding process, it is important to read the instructions carefully. Different surfaces have different requirements, and it is essential to follow the instructions to achieve the best results.
In summary, proper preparation is crucial before sanding orange peel. As a professional, I always start by washing the surface, using masking tape, wearing a mask, and reading the instructions carefully. These steps ensure that the sanding process is safe, effective, and achieves the desired results.
The Sanding Process
https://www.youtube.com/watch?v=IDD-luBcZeE&embed=true
When it comes to getting rid of orange peel before applying a clear coat, sanding is a crucial step. The sanding process involves using sandpaper to remove the top layer of paint, including the orange peel texture, until you get a smooth surface.
To start, you’ll need to choose the right grit sandpaper. I recommend starting with a coarse grit, such as 1000-grit sandpaper, to remove the bulk of the orange peel texture. Once you’ve sanded down the surface, switch to a finer grit sandpaper, such as 2000-grit or 3000-grit, to smooth out any remaining imperfections.
It’s important to note that wet sanding is the best way to avoid damaging the paint. Wet sanding involves wetting the surface with water before sanding, which helps to lubricate the sandpaper and prevent it from scratching the paint. You can also add a few drops of dish soap to the water to further reduce the risk of scratching.
When sanding, it’s important to pay attention to the edges of the surface. These areas are more vulnerable to damage, so be sure to sand them carefully and avoid applying too much pressure.
After sanding, wipe down the surface with a clean, damp cloth to remove any dust or debris. You can then move on to applying the clear coat.
Overall, sanding is a crucial step in getting rid of orange peel before applying a clear coat. By using the right grit sandpaper and wet sanding technique, you can achieve a smooth, flawless surface that’s ready for the clear coat.
Polishing and Buffing
https://www.youtube.com/watch?v=68Rbbpaexwc&embed=true
When it comes to achieving a smooth and glossy finish on your car’s clear coat, polishing and buffing are essential steps in the process. These techniques can help to remove any imperfections, including orange peel, and leave your vehicle with a showroom-quality shine.
Polishing involves using a polishing compound to remove any scratches or other imperfections in the clear coat. This is typically done with a rotary polisher and a foam pad, which helps to distribute the compound evenly across the surface of the clear coat. The polishing compound works by breaking down the top layer of the clear coat, which helps to remove any scratches or other imperfections.
Buffing, on the other hand, involves using a microfiber towel to remove any excess polishing compound and to buff the surface of the clear coat to a high shine. This step is important because it helps to remove any remaining imperfections and to bring out the full shine of the clear coat.
When polishing and buffing your car’s clear coat, it’s important to use the right tools and techniques to achieve the best results. This includes using high-quality polishing compounds and microfiber towels, as well as taking the time to work carefully and methodically across the surface of the clear coat.
Overall, polishing and buffing are essential steps in achieving a smooth and glossy finish on your car’s clear coat. By using the right techniques and tools, you can achieve a showroom-quality shine that will make your vehicle look its best.
Applying the Clear Coat
https://www.youtube.com/watch?v=biH3uQnTB08&embed=true
Once I have finished sanding down the orange peel on my base coat, it is time to apply the clear coat. The clear coat is a protective layer that goes on top of the base coat and provides a glossy finish.
I usually apply at least two layers of clear coat to ensure maximum protection. However, the number of layers may vary depending on the manufacturer’s instructions and the type of paint gun used.
It is important to wait for the base coat to dry completely before applying the clear coat. If the base coat is not dry, it may cause the clear coat to peel or bubble.
When applying the clear coat, I make sure to use even strokes and apply the coat in a thin layer. This helps to prevent runs and drips. I also make sure to overlap each pass slightly to ensure even coverage.
Once the first layer of clear coat is dry, I lightly sand it with a fine-grit sandpaper. This helps to remove any imperfections and create a smooth surface for the next layer of clear coat.
After sanding, I apply the next layer of clear coat using the same technique as before. I repeat this process until I have achieved the desired level of gloss and protection.
Overall, applying the clear coat is a crucial step in the painting process. It helps to protect the base coat and provides a glossy finish. By following the manufacturer’s instructions and using the correct techniques, I can achieve a professional-looking finish on my new paint job.
Post Application Care
After applying the clear coat, it’s important to take care of your vehicle to maintain the glossy finish. Here are some tips to help you eliminate imperfections and keep your car looking its best.
Drying
Firstly, ensure that the clear coat has had enough time to cure. This can take anywhere from a few hours to a few days, depending on the manufacturer’s instructions. Once the clear coat is dry, use a soft cloth to gently dry the surface of the vehicle. Avoid using any abrasive cloths or materials, as this can cause blemishes or scratches.
Waxing
Waxing your car can help to protect the clear coat from UV rays and other environmental factors that can cause damage over time. It’s best to wait at least a week after applying the clear coat before waxing. This will ensure that the clear coat has had enough time to cure fully. Use a high-quality wax and apply it in a thin, even layer. Buff the wax off with a clean, dry cloth.
Detailing
If you notice any imperfections or blemishes in the clear coat after it has cured, you may need to take your car to a professional detailer. They can use specialized tools and products to remove any imperfections and restore the glossy finish. Be sure to choose a reputable detailer who has experience working with clear coats.
Spray Detailer
If you notice any minor imperfections, you can use a spray detailer to touch up the affected area. Simply spray the detailer onto a soft cloth and gently rub it onto the surface of the vehicle. This can help to eliminate any small imperfections and restore the glossy finish.
In conclusion, taking care of your vehicle after applying the clear coat is essential to maintaining a glossy finish. By following these tips, you can help to eliminate imperfections and keep your car looking its best for years to come.
Professional vs DIY Approach
https://www.youtube.com/watch?v=BLs_i8V7CX0&embed=true
When it comes to sanding orange peel before clear coat, there are two approaches: professional and DIY. Both have their advantages and disadvantages, and it’s up to you to decide which is the best for your situation.
Professional Approach
If you’re looking for a flawless finish, a professional paint job is the way to go. Professional painters have the skill and experience to sand orange peel before clear coat and achieve a smooth, even finish. They also have access to high-quality materials and equipment, which can make a big difference in the final result.
A professional paint job is especially important if you’re looking for a custom paint job. Custom paint jobs require a high level of skill and attention to detail, and a professional painter can help you achieve the exact look you’re going for.
DIY Approach
If you’re on a budget or just enjoy working on your car yourself, a DIY approach might be the way to go. Sanding orange peel before clear coat is a time-consuming process, but it can be done with the right tools and techniques.
Before attempting a DIY paint job, it’s important to consider your skill level. If you’re new to painting cars, it’s best to start with a small project and work your way up. It’s also important to use high-quality materials and follow the proper safety precautions.
One advantage of a DIY approach is that you can save money on labor costs. However, it’s important to keep in mind that a DIY paint job may not have the same level of quality as a professional paint job. If you’re looking for a flawless finish, a professional paint job is usually the better option.
In conclusion, whether you choose a professional or DIY approach to sanding orange peel before clear coat depends on your budget, skill level, and the level of quality you’re looking for. Both approaches have their advantages and disadvantages, and it’s important to weigh them carefully before making a decision.
Troubleshooting Common Issues
https://www.youtube.com/watch?v=n1bCyH20WPI&embed=true
When it comes to painting a vehicle, there are a few common issues that can arise. Here are some troubleshooting tips to help you avoid or fix these problems:
Orange Peel
Orange peel is a common problem that occurs when the paint dries with a textured surface that resembles the skin of an orange. To fix orange peel, you will need to sand the surface through the clear coat and pigment layer. Use a fine-grit sandpaper and sand in a circular motion until the surface is smooth. Be sure to use a degreaser to clean the surface before applying a new layer of clear coat.
Scratches
Scratches can be a frustrating problem, but they can be fixed with the right tools and techniques. Start by using a squeegee to remove any debris from the scratch. Then, use a fine-grit sandpaper to sand the scratch until it is smooth. Apply a coat of primer to the scratch, and then paint over it with a paint that matches the color of your vehicle. Finish with a clear coat to protect the new paint.
Overspray
Overspray occurs when paint particles land on surfaces other than the one being painted. To avoid overspray, use a spray booth or a well-ventilated area. If overspray does occur, use a fine-grit sandpaper to remove the overspray, and then apply a new layer of paint and clear coat.
Surface Imperfections
Surface imperfections, such as bumps and dents, can be fixed with body filler. Apply the filler to the surface and smooth it out with a squeegee. Sand the surface until it is smooth, and then paint over it with a paint that matches the color of your vehicle. Finish with a clear coat to protect the new paint.
Paint Finish
To achieve a professional-looking paint finish, it is important to use the right tools and techniques. Use a high-quality paint and a spray gun to apply the paint evenly. Be sure to apply the paint in thin, even coats, and allow each coat to dry before applying the next. Finish with a clear coat to protect the new paint.
In conclusion, by following these tips and techniques, you can avoid or fix common painting problems and achieve a professional-looking paint finish on your vehicle.
Frequently Asked Questions

How to fix orange peel in clear coat
If you notice orange peel texture in your clear coat, the best way to fix it is by sanding it down and then reapplying the clear coat. Sanding the orange peel will remove the texture and create a smooth surface for the new clear coat to adhere to.
Spraying clear coat over orange peel
It is not recommended to spray clear coat over orange peel texture. The orange peel texture will still be visible through the clear coat, which defeats the purpose of applying clear coat in the first place. It is best to sand down the orange peel texture before applying clear coat.
How to remove heavy orange peel
Removing heavy orange peel requires more aggressive sanding. Begin by using 1000 grit sandpaper to sand down the texture, then move up to 1500 grit sandpaper to create a smoother surface. Finish with 2000 grit sandpaper for a polished finish.
3M orange peel removal
3M offers a variety of products for removing orange peel texture from clear coat. One popular product is the 3M Perfect-It EX Rubbing Compound, which is designed to remove orange peel and other imperfections from clear coat. Follow the instructions on the product label for best results.
How to spray clear coat without orange peel
To spray clear coat without orange peel, it is important to use the correct spray gun and technique. Use a high-quality spray gun with a properly adjusted fan pattern and fluid flow. Apply the clear coat in thin, even coats, and avoid over-applying in one area.
Will clear coat hide orange peel in base coat?
Clear coat will not hide orange peel texture in the base coat. In fact, applying clear coat over orange peel in the base coat will make the texture more visible. It is important to sand down the orange peel texture before applying clear coat for a smooth, professional finish.

Hi, I’m Sal Muller of Tooltrip.com. My DIY experience led me to understand essential power tools for home projects. Tooltrip.com guides enthusiasts and professionals in choosing right tools for any job. I provide concise top tool reviews for easier, efficient DIY.
