
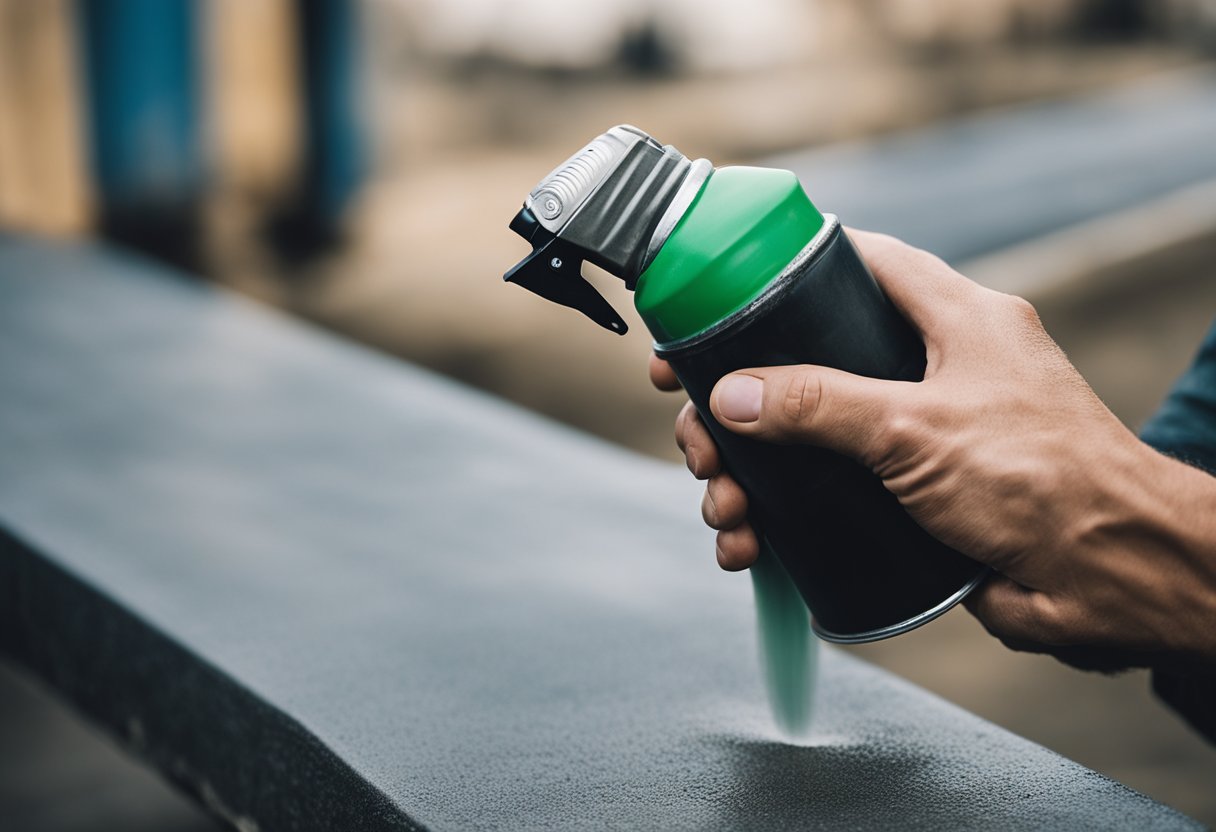
Wet sand spray painting is a technique that is commonly used to achieve a smooth and even finish on painted surfaces. This technique involves wetting sandpaper with water and using it to sand the painted surface, which helps to remove any imperfections and create a uniform surface. Wet sanding can be used on a variety of surfaces, including cars, boats, furniture, and walls.

Understanding wet sand spray painting is essential for achieving a professional-looking finish. Proper preparation and surface selection are crucial to the success of this technique. A clean and dry surface is necessary to ensure that the paint adheres properly, and the surface should be free from any debris or contaminants. Additionally, the type of paint used will determine how long you should wait before wet sanding. Most spray paints dry quickly, but it’s important to wait until the paint is completely dry before wet sanding to avoid damaging the surface.
Key Takeaways
- Proper preparation and surface selection are crucial to the success of wet sand spray painting.
- Wet sanding technique involves using wet sandpaper to remove imperfections and create a uniform surface.
- The type of paint used will determine how long you should wait before wet sanding.
Understanding Wet Sand Spray Painting
https://www.youtube.com/watch?v=GmvrLQb9KHY&embed=true
Wet sand spray painting is a technique used to smooth out the surface of spray-painted objects. It involves using sandpaper and water to remove any imperfections and create a smooth, even finish. Wet sanding can be done by hand or with a palm sander.
To wet sand spray paint, you will need sandpaper in various grits, a bucket of water, and a sponge. Begin by wetting the sponge in the bucket of water and then wiping down the area you will be sanding. This will help keep the sandpaper from clogging and scratching the surface.
Next, choose the appropriate grit sandpaper for the job. Start with a coarse grit, such as 100 or 150, and work your way up to a fine grit, such as 400 or 600, depending on the smoothness you desire. It is important to use a fine grit sandpaper to avoid scratching the surface.
When sanding, keep the sandpaper wet at all times to prevent it from clogging and scratching the surface. Use a circular motion, applying light pressure, and keep the sandpaper flat against the surface. Be sure to sand evenly, using the same amount of pressure over the entire surface.
After sanding, wipe down the surface with a clean, damp cloth to remove any dust or debris. The surface should be smooth and even, with no visible scratches or imperfections.
In conclusion, wet sand spray painting is a simple and effective way to smooth out the surface of spray-painted objects. With the right tools and techniques, you can achieve a smooth, even finish that will make your project look professional and polished.
Preparation and Surface Selection
https://www.youtube.com/watch?v=biH3uQnTB08&embed=true
When it comes to wet sanding spray paint, proper preparation and surface selection are crucial for achieving a smooth and flawless finish. Before starting the process, I always make sure to gather all the necessary supplies, including sandpaper in various grits, a bucket of water, and a sponge.
To begin, I select the appropriate surface for wet sanding. This can include a car, metal, or wood surface. It is essential to ensure that the surface is clean and free of any debris or contaminants. I recommend using a degreaser or a mild soap and water solution to clean the surface thoroughly. After cleaning, I rinse the surface with clean water and let it dry completely.
If I am working on a car surface, I make sure to remove any rust or peeling paint before starting the wet sanding process. For metal surfaces, I recommend applying a primer to ensure proper adhesion of the paint. For wood surfaces, I recommend sanding the surface lightly with fine-grit sandpaper to remove any rough spots or splinters.
Once the surface is clean and dry, I begin the wet sanding process. I wet the sponge in the bucket of water and then wipe down the area I will be sanding. I then apply the sandpaper in a circular motion, starting with a coarser grit and gradually moving to a finer grit to achieve a smooth finish.
In conclusion, proper preparation and surface selection are critical for achieving a smooth and flawless finish when wet sanding spray paint. By following these steps and using the appropriate supplies, such as sandpaper, a bucket of water, and a sponge, you can achieve professional-looking results on any surface, including cars, metal, and wood.
Wet Sanding Technique
https://www.youtube.com/watch?v=uttPhx_EMq4&embed=true
When it comes to achieving a smooth and flawless finish on a spray-painted surface, wet sanding is an effective technique that can be used. Wet sanding involves using sandpaper under water to smooth out the surface. This technique is often used to remove paint runs or to improve the smoothness of a painted surface before applying a clearcoat.
Sanding Process
To begin the wet sanding process, I first gather all the necessary supplies, including sandpaper in various grits, a bucket of water, and a sponge. I then spray the surface I want to sand with water to keep the sandpaper lubricated during the process. I then wet a piece of sandpaper with water and begin sanding in a circular motion, using light pressure. It’s important to use a circular motion to avoid creating any scratches on the surface.
When sanding, I start with a coarse grit sandpaper and then work my way up to a finer grit sandpaper. This helps to remove any imperfections on the surface and create a smooth finish. I typically start with a 600-grit sandpaper and then move up to a 1200-grit sandpaper.
Drying and Recoating
Once I’ve finished sanding, I rinse the surface with water and dry it with a clean cloth. It’s important to allow the surface to dry completely before recoating. The drying time will depend on the type of paint used and the humidity levels in the environment.
After the surface is completely dry, I can then apply another coat of paint. If I’m applying multiple coats of paint, I’ll typically sand between each coat to ensure a smooth finish. When sanding between coats, I use a fine grit sandpaper, such as a 1500-grit sandpaper, and sand lightly to avoid removing too much of the previous coat of paint.
Overall, wet sanding is a simple and effective technique that can help to achieve a smooth and flawless finish on a spray-painted surface. With the right supplies and technique, anyone can achieve professional-looking results.
Spray Painting Process
https://www.youtube.com/watch?v=8osDsho62ZM&embed=true
When it comes to spray painting, the process involves several steps that must be followed to achieve the desired results. In this section, I will give you a brief overview of the process.
Priming and Base Coating
Before applying any coats of spray paint, it is essential to prime the surface. Priming helps to ensure that the paint adheres correctly to the surface and prevents any rust or corrosion from developing. Once the surface is primed, you can apply the base coat. The base coat is the foundation of your spray paint job, and it is essential to get it right. The base coat provides the color and texture of your final product.
Applying Final Coats
After the base coat has dried, you can start applying the final coats of spray paint. Depending on the type of paint you are using, you may need to apply several coats. For instance, if you are using a single-stage paint, you will only need to apply one coat. However, if you are using Rust-Oleum, you may need to apply several coats to achieve the desired results.
It is essential to note that you should always allow each coat of spray paint to dry before applying the next one. If you rush the process, you may end up with a lumpy or uneven finish. Once you have applied all the coats of spray paint, you can apply the clear coat. The clear coat helps to protect the paint and gives it a glossy finish.
In conclusion, the spray painting process involves several steps that must be followed to achieve the desired results. These steps include priming, base coating, and applying the final coats of spray paint. By following these steps, you can ensure that your spray paint job looks professional and lasts for a long time.
Troubleshooting and Fixes
https://www.youtube.com/watch?v=2Hf-vMxbqDM&embed=true
When wet sanding spray paint, it is common to encounter imperfections such as scratches, orange peel, and crackle. These can be fixed with the right techniques and tools. Here are some common issues and their corresponding fixes:
Orange Peel
Orange peel happens when the surface of the paint is uneven and looks like the skin of an orange. To fix this issue, use a finer sandpaper (600 grit) and wet sand the area again. Be gentle and use circular motions. After sanding, use a rubbing compound to polish the area. This should help to even out the surface and remove the orange peel effect.
Crackle
Crackle occurs when the paint dries too quickly and cracks. To fix this issue, sand down the affected area and repaint it. Make sure to follow the manufacturer’s instructions for drying time and temperature. If the problem persists, try using a different brand of paint.
Repaint
If the paint job is beyond repair, you may need to repaint the entire surface. Make sure to sand down the old paint and clean the surface before applying the new paint. Use a primer to help the new paint adhere to the surface.
Other Imperfections
Other imperfections such as runs, drips, and overspray can also occur when wet sanding spray paint. To fix these issues, sand down the affected area and repaint it. Use a finer sandpaper (600 grit) for smaller imperfections and a coarser sandpaper (400 grit) for larger ones. Always make sure to clean the surface before repainting.
By following these troubleshooting and fix tips, you can achieve a smooth and even spray paint finish. Remember to take your time and be patient, as wet sanding spray paint can be a delicate process.
Finishing Techniques
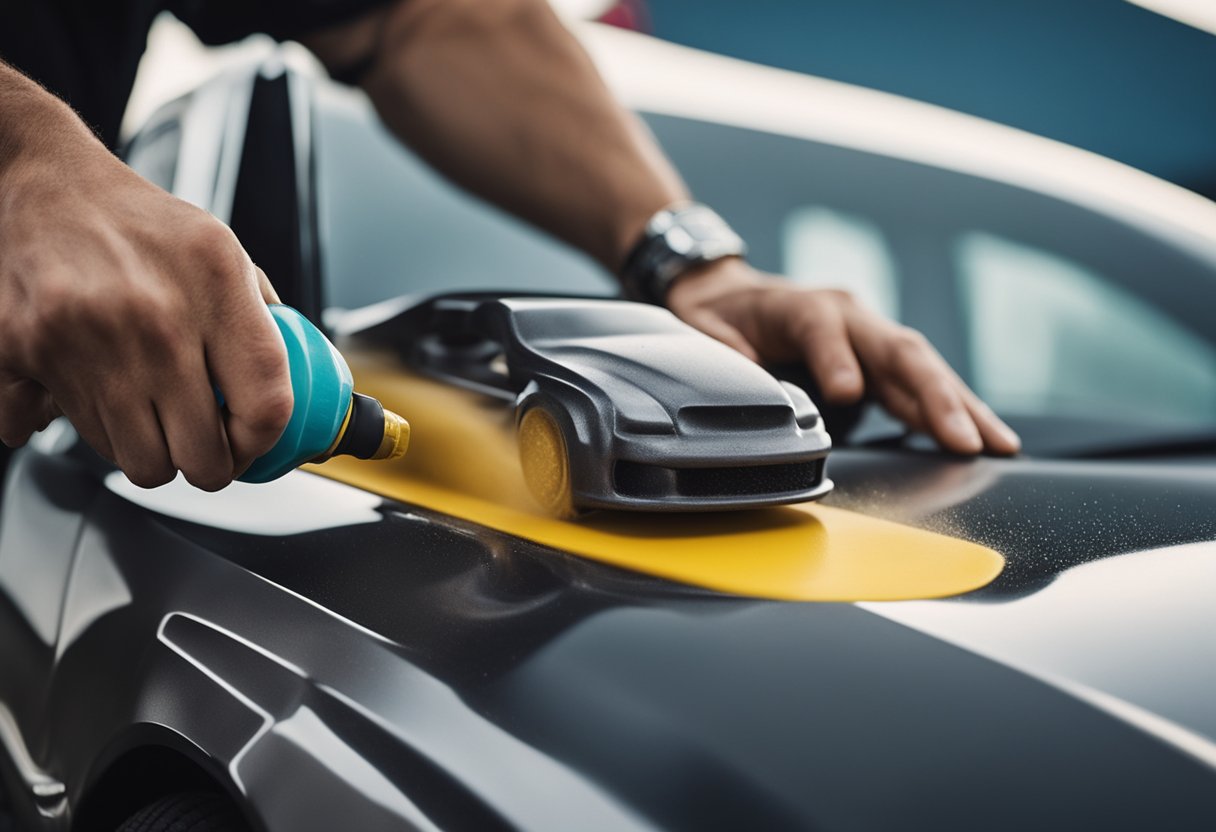
After wet sanding spray paint, the next step is to polish and buff the surface to achieve a glossy finish. Polishing and buffing are essential finishing techniques that help to bring out the shine in your paint job.
Polishing and Buffing
Polishing is a process that involves using a polishing compound to remove any remaining imperfections on the surface of the paint. A polishing compound is a fine abrasive that helps to smooth out the surface of the paint. It is important to choose the right polishing compound for your paint job. There are different types of polishing compounds available, and each one is designed for a specific type of paint.
Buffing is the process of using a buffing pad to remove any remaining polishing compound and to bring out the shine in the paint. There are different types of buffing pads available, and each one is designed for a specific type of paint. It is important to use the right type of buffing pad for your paint job to avoid damaging the surface of the paint.
Achieving a Glossy Finish
To achieve a glossy finish, you need to use a machine polish. A machine polish is a polishing compound that is designed to be used with a machine polisher. A machine polisher is a tool that helps to spread the polishing compound evenly across the surface of the paint.
When using a machine polisher, it is important to use the right type of pad. There are different types of pads available, and each one is designed for a specific type of paint. It is important to use the right type of pad for your paint job to avoid damaging the surface of the paint.
In conclusion, polishing and buffing are essential finishing techniques that help to bring out the shine in your paint job. To achieve a glossy finish, you need to use a machine polish and the right type of pad. By following these steps, you can achieve a mirror finish on your paint job.
Considerations and Precautions

When it comes to wet sanding spray paint, there are a few considerations and precautions to keep in mind to ensure a successful finish. First and foremost, it is important to work in a well-ventilated area. This means having proper air circulation and wearing a respirator mask to protect your lungs from harmful fumes.
Another important factor to consider is the temperature and humidity of your workspace. High humidity and low temperatures can cause the paint to dry slower, which can lead to a longer wait time before wet sanding. On the other hand, high temperatures can cause the paint to dry too quickly and make it difficult to sand.
It is also important to protect your skin from the paint and the sun. Wear gloves to protect your hands and use a sunscreen with UV protection to avoid sunburn. Additionally, make sure to wear long sleeves and pants to protect your skin from the paint.
Before starting the wet sanding process, it is crucial to make sure that the paint is completely dry. Depending on the type of paint and the environmental conditions, this can take anywhere from a few hours to a few days. It is important to follow the manufacturer’s instructions and wait the recommended amount of time before wet sanding.
Finally, it is important to use the correct grit sandpaper and to sand evenly and gently. Using too coarse of a grit can damage the paint, while using too fine of a grit can result in a lack of texture. It is important to find the right balance and to sand gently and evenly to achieve a smooth and even finish.
Maintenance and Care
After completing a wet sand spray paint job, it is important to take proper care of the painted surface to ensure that it remains in good condition for as long as possible. Here are some tips to help you maintain your paint job:
-
Dust: Keep the painted surface clean by regularly dusting it with a soft, dry cloth. This will help prevent scratches and other damage to the surface.
-
Soap: If the painted surface becomes dirty or stained, you can clean it with a mild soap solution and a damp cloth. Be sure to rinse the surface thoroughly with clean water and dry it with a soft cloth.
-
Degreaser: If the painted surface has oil or grease stains, you can use a degreaser to remove them. Be sure to follow the manufacturer’s instructions carefully and rinse the surface thoroughly with clean water.
-
Sanding residue: After wet sanding, be sure to clean up any sanding residue that may be left on the surface. This can be done with a damp cloth or by blowing the surface with compressed air.
Remember, proper maintenance and care can help extend the life of your wet sand spray paint job. By following these tips, you can keep your painted surface looking great for years to come.
Frequently Asked Questions

How long to wait before wet sanding Rust-Oleum?
The waiting time before wet sanding Rust-Oleum spray paint depends on the type of Rust-Oleum paint used. According to the manufacturer, Rust-Oleum recommends waiting at least 24 hours before wet sanding their oil-based spray paint. However, if you are using a Rust-Oleum water-based spray paint, you should wait at least 48 hours before wet sanding. It is important to follow the manufacturer’s recommendations to avoid damaging the paint.
How to get a glossy finish with spray paint?
To get a glossy finish with spray paint, you need to apply a clear coat after the base coat has dried. Once the base coat has dried, apply the clear coat in thin, even layers. Wait at least 24 hours before sanding the clear coat with 1000-grit sandpaper. After sanding, buff the surface with a polishing compound to achieve a high gloss shine.
How long after spray painting can I sand?
The waiting time before sanding spray paint depends on the type of paint used. Generally, you should wait at least 24 hours before sanding spray paint. However, some spray paints may require longer drying times. It is important to follow the manufacturer’s recommendations to avoid damaging the paint.
What grit sandpaper for spray paint?
The grit of sandpaper to use for spray paint depends on the stage of sanding. For wet sanding, start with a coarse grit such as 400-grit sandpaper, and gradually move to finer grits such as 600-grit and 1000-grit sandpaper. For dry sanding, use a grit between 320 and 400. Always use a sandpaper that is compatible with the type of paint used.
How to buff spray paint on car?
To buff spray paint on a car, you need to use a polishing compound and a buffer. Apply the polishing compound to the surface using a foam pad. Use the buffer to work the polishing compound into the surface in circular motions. After buffing, wipe the surface with a clean microfiber towel to remove any residue.
Should I wet sand paint before clear coat?
Yes, it is recommended to wet sand paint before applying a clear coat. Wet sanding helps to remove any imperfections in the paint and creates a smooth surface for the clear coat to adhere to. After wet sanding, wipe the surface clean and wait at least 24 hours before applying the clear coat.

Hi, I’m Sal Muller of Tooltrip.com. My DIY experience led me to understand essential power tools for home projects. Tooltrip.com guides enthusiasts and professionals in choosing right tools for any job. I provide concise top tool reviews for easier, efficient DIY.
