When it comes to painting metal surfaces, preparation is key. Properly prepping the surface ensures that the paint will adhere well and last for a long time. Whether you are painting a metal fence, a car, or a piece of furniture, the steps for prepping the metal surface are generally the same.

Before you begin prepping the metal surface, it’s important to understand the type of metal you are working with. Different metals may require different preparation methods, so it’s important to do your research and make sure you are using the correct techniques and materials.
To prep a metal surface for painting, you will need a few basic materials, including sandpaper, a wire brush, a scraper, a degreaser, and a primer. You may also need a rust converter if the metal surface has rust on it. Once you have gathered all of your materials, you can begin the process of prepping the metal surface for painting
Key Takeaways on How to Prep Metal for Paint
- Proper preparation is key to painting metal surfaces
- Understanding the type of metal you are working with is important
- Gathering the right materials is crucial for successful metal surface prep
Understanding Metal Surfaces
Preparing metal surfaces for painting is a crucial step that should not be overlooked. Understanding the type of metal surface you are working with is important to ensure that the paint adheres properly and lasts for a long time.
There are two main types of metals: ferrous and non-ferrous. Ferrous metals include steel, cast iron, and wrought iron. Non-ferrous metals include aluminum, copper, and brass.
Ferrous metals are prone to rust, which can cause the paint to peel and flake off. To prevent this, it is important to remove any rust from the surface before painting. Non-ferrous metals, on the other hand, are less prone to rust and require less preparation before painting.
Galvanized metal is a type of metal that has been coated with a layer of zinc to prevent rust. While galvanized metal is more resistant to rust, it can be difficult to paint. The zinc coating can prevent the paint from adhering properly, so it is important to clean the surface thoroughly before painting.
Cast iron is a type of ferrous metal that is commonly used for outdoor furniture and decorative items. Cast iron can be difficult to paint because it is porous and can absorb moisture. To prepare cast iron for painting, it is important to clean the surface thoroughly and apply a rust-inhibiting primer.
Stainless steel is a type of non-ferrous metal that is commonly used in kitchens and bathrooms. Stainless steel is resistant to rust and corrosion, but it can still be painted if necessary. To prepare stainless steel for painting, it is important to clean the surface thoroughly and apply a primer designed for metal surfaces.
In summary, understanding the type of metal surface you are working with is important to ensure that the paint adheres properly and lasts for a long time. Ferrous metals require more preparation than non-ferrous metals, and galvanized metal and cast iron can be particularly challenging to paint. By following the proper preparation steps, you can ensure that your painted metal surfaces look great and last for years to come.
Gathering Your Materials

Before you start prepping your metal for paint, it’s important to gather all the necessary materials. Here are some essential items that you’ll need:
Safety Gear
First and foremost, make sure you have the proper safety gear. You’ll need a dust mask and gloves to protect your lungs and skin from any harmful particles or chemicals.
Cleaning Supplies
To clean the metal surface, you’ll need a degreaser, mineral spirits, or acetone. A drop cloth will also come in handy to protect your work area.
Sanding Tools
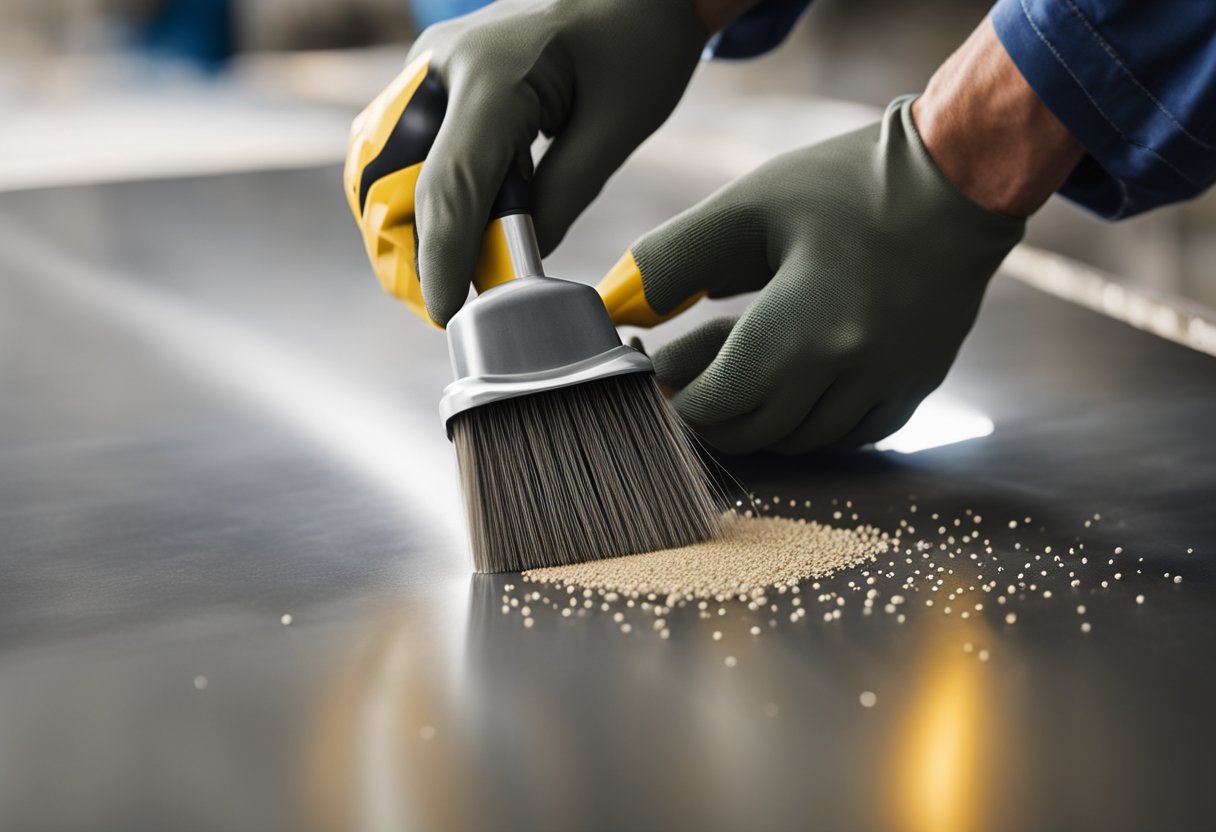
To remove any rust or old paint, you’ll need a wire brush, sandpaper, or a sanding block. Use a fine-grit sandpaper to smooth out any rough spots.
Primers and Paints
You’ll need a primer to help the paint adhere to the metal surface. Choose a primer that’s specifically designed for metal, such as a self-etching primer or a metal primer. Once the primer is dry, you can apply your chosen paint. Oil-based paint or metal paint are good options, or you can use spray paint for a quick and easy application.
Rust Removers
If your metal surface has significant rust, consider using a rust remover or Rust-Oleum Rust Reformer to help remove the rust and prevent further damage.
Power Tools
If you have a large metal surface to prep, a drill with a wire brush attachment can be a helpful tool to speed up the process.
By gathering these materials beforehand, you’ll be well-equipped to prep your metal surface for painting.
Initial Preparation
Before painting any metal surface, it is important to prepare it properly. The initial preparation involves cleaning the metal surface and removing any rust, old paint, peeling or debris. This is a crucial step to ensure that the paint adheres to the metal surface and lasts longer.
To begin with, I first remove any loose debris or dust from the metal surface using a clean, dry cloth. This helps to ensure that the surface is free from any contaminants that could affect the paint adhesion.
Next, I look for any rust or surface rust on the metal surface. If there is any rust, I use a rust remover to get rid of it. This helps to prevent the rust from spreading and causing further damage to the metal surface.
If the metal surface has old paint or peeling paint, I use a paint scraper to remove it. This ensures that the new paint adheres well to the metal surface.
After removing any rust, old paint or debris, I clean the metal surface using a degreaser or a solvent such as mineral spirits. This helps to remove any residue or grease on the metal surface.
Overall, the initial preparation is a crucial step in preparing metal for painting. By following these steps and ensuring that the metal surface is clean and free from any contaminants, the paint will adhere well and last longer.
Prepping the Metal Surface
Preparing the metal surface is a crucial step in achieving a smooth and long-lasting paint finish. Here are some steps to follow:
-
Clean the surface: Before starting any prep work, make sure the metal surface is clean and free of any dirt, oil, or debris. Use a degreaser and a clean cloth to wipe down the surface thoroughly.
-
Remove old paint and rust: If the metal surface has been painted before, you’ll need to remove the old paint, rust, and any other debris using sandpaper, a scuffing pad, or a wire-brush tool. This step is essential to ensure proper paint adhesion.
-
Repair any holes, cracks or dents: If there are any holes, cracks, or dents in the metal surface, they need to be repaired before painting. Use a body filler to fill in any holes or cracks and sand the surface smooth.
-
Apply rust reformer: If there is any rust on the metal surface, it’s important to use a rust reformer to prevent further rusting. Rust-Oleum Rust Reformer is a high-quality rust-inhibitive primer that can help restore lightly rusted metal surfaces to their original state.
-
Prime the surface: Once the metal surface is clean, smooth, and free of any rust or debris, it’s time to prime the surface. Priming the metal surface is crucial to ensure proper paint adhesion and a smooth finish. Use a high-quality metal primer that’s specifically designed for the type of metal you’re painting.
By following these steps, you can ensure that your metal surface is properly prepped and ready for painting. A well-prepared and primed metal surface will ensure that your paint job lasts longer and looks better.
Applying the Primer
Once the metal has been properly cleaned and sanded, it’s time to apply the primer. The primer is a crucial step in prepping metal for paint, as it helps the paint adhere to the surface and prevents rust and corrosion.
There are several types of primers available, including metal primer, spray primer, self-etching primer, and more. When choosing a primer, it’s important to consider the type of metal you’re working with and the type of paint you plan to use.
One popular primer option is Rust-Oleum Rust Reformer. This product is designed to convert rust into a paintable surface, making it ideal for heavily rusted metal surfaces. Rust-Oleum also offers a variety of other primers, including metal primer and self-etching primer.
When applying primer, it’s important to follow the manufacturer’s instructions carefully. Some primers can be applied with a brush or roller, while others are designed for use with a spray gun. Be sure to wear protective gear, such as a mask and gloves, and work in a well-ventilated area.
After the primer has been applied, allow it to dry completely before applying paint. This will ensure a smooth, even finish and help the paint adhere to the surface properly.
In summary, applying the primer is a crucial step in prepping metal for paint. Choose the right primer for your project, follow the manufacturer’s instructions carefully, and allow the primer to dry completely before applying paint. With the right prep work and materials, you can achieve a professional-looking finish on any metal surface.
Painting the Metal
Once the metal has been prepped, it’s time to paint it. There are several types of paint that can be used on metal, such as oil-based paint, spray paint, and paint specifically designed for metal.
When selecting a paint for metal, it’s important to consider the type of metal being painted and the environment it will be exposed to. For example, if the metal will be exposed to harsh weather conditions, a durable and weather-resistant paint should be used.
Before starting to paint, make sure to read the manufacturer’s instructions carefully. Some paints may require a primer to be applied first, while others may not. It’s important to follow the instructions to ensure the best possible results.
When painting metal, it’s important to use the right tools. A brush or roller can be used for small areas, while spray paint can be used for larger surfaces. When using a brush or roller, make sure to apply the paint evenly and in thin layers. This will help prevent drips and ensure a smooth finish.
It’s also important to allow the paint to dry completely between coats. This will help prevent the paint from cracking or peeling. Once the final coat has been applied, allow the paint to dry completely before handling or using the painted metal.
Overall, painting metal can be a simple and straightforward process when done correctly. By following the proper prep and painting techniques, you can ensure a durable and long-lasting finish on your metal surfaces.
Post-Painting Care

Once the metal has been painted, it is essential to take care of it to ensure that it lasts as long as possible. Here are some tips on post-painting care for metal surfaces:
-
Protect the surface from scratches and chips by avoiding contact with sharp or heavy objects. Also, avoid placing heavy objects on the painted surface.
-
Avoid exposure to harsh chemicals such as bleach or ammonia, which can cause the paint to peel or fade. If you need to clean the surface, use a mild soap and water solution.
-
Prevent corrosion by keeping the surface dry and free from moisture. If the metal is exposed to water, dry it immediately with a soft cloth.
-
Inspect the surface regularly for signs of cracking or peeling paint. If you notice any damage, touch up the paint immediately to prevent further damage.
-
Maintain furniture and gates by wiping them down with a damp cloth regularly. This will help prevent dirt and debris from building up and causing damage to the paint.
By following these simple post-painting care tips, you can help ensure that your metal surfaces remain in good condition for years to come.
Frequently Asked Questions

What is the best primer for painting metal?
The best primer for painting metal is one that is specifically designed for metal surfaces. Look for a primer that is rust-inhibiting and promotes adhesion. A high-quality metal primer will ensure that the paint adheres properly to the surface, and will also help to prevent rust and corrosion from forming.
How do you prepare metal for painting?
To prepare metal for painting, you should start by cleaning the surface thoroughly. Use a cloth and a detergent or solvent like denatured alcohol to clean metal before painting or priming. Wipe the surface thoroughly. If the cleaner leaves a residue, rinse with water. Rust and corrosion are common in ferrous metals but also found in other metals. Remove rust with a wire brush, then remove dust with a damp cloth. If there are any dents or scratches, use a filler to smooth out the surface. After the surface is clean and smooth, apply a primer designed for metal surfaces.
Can you paint metal without using spray paint?
Yes, you can paint metal without using spray paint. Brush-on paint can be used to paint metal surfaces. However, spray paint is often the preferred method as it provides a smoother, more even finish. If you choose to use brush-on paint, be sure to use a high-quality brush and apply the paint in thin, even coats.
What is the best type of paint to use on metal?
The best type of paint to use on metal is one that is specifically designed for metal surfaces. Look for a high-quality paint that is rust-inhibiting and promotes adhesion. Enamel and acrylic paints are both good choices for painting metal.
Do you need to prime metal before painting?
Yes, it is important to prime metal before painting. Priming helps to ensure that the paint adheres properly to the surface, and also helps to prevent rust and corrosion from forming. Use a primer that is specifically designed for metal surfaces.
How do you get paint to adhere to metal surfaces?
To get paint to adhere to metal surfaces, it is important to prepare the surface properly. Start by cleaning the surface thoroughly and removing any rust or corrosion. After the surface is clean and smooth, apply a primer designed for metal surfaces. Once the primer has dried, apply the paint in thin, even coats. Be sure to follow the manufacturer’s instructions for drying times and application techniques.

Hi, I’m Sal Muller of Tooltrip.com. My DIY experience led me to understand essential power tools for home projects. Tooltrip.com guides enthusiasts and professionals in choosing right tools for any job. I provide concise top tool reviews for easier, efficient DIY.

