
Can you stain over Danish oil? This is a common question asked by many DIY enthusiasts who want to add a touch of color to their wooden furniture. Danish oil is a popular wood finishing product that is known for its ability to enhance the natural beauty of wood while providing protection against moisture and wear. However, the question remains – can you apply stain over Danish oil?
The answer is not a straightforward one. While it is possible to stain over Danish oil, there are certain factors to consider before doing so. Understanding Danish oil and the types of stains that can be used is crucial. Proper preparation and application are also essential to ensure a successful outcome. In this article, I will delve into the topic of staining over Danish oil, exploring the dos and don’ts, possible issues, and solutions.
Key Takeaways
- Staining over Danish oil is possible, but it requires careful consideration and preparation.
- Understanding the properties of Danish oil and the types of stains that can be used is crucial.
- Proper application and curing time are essential to achieve a successful outcome.
Understanding Danish Oil
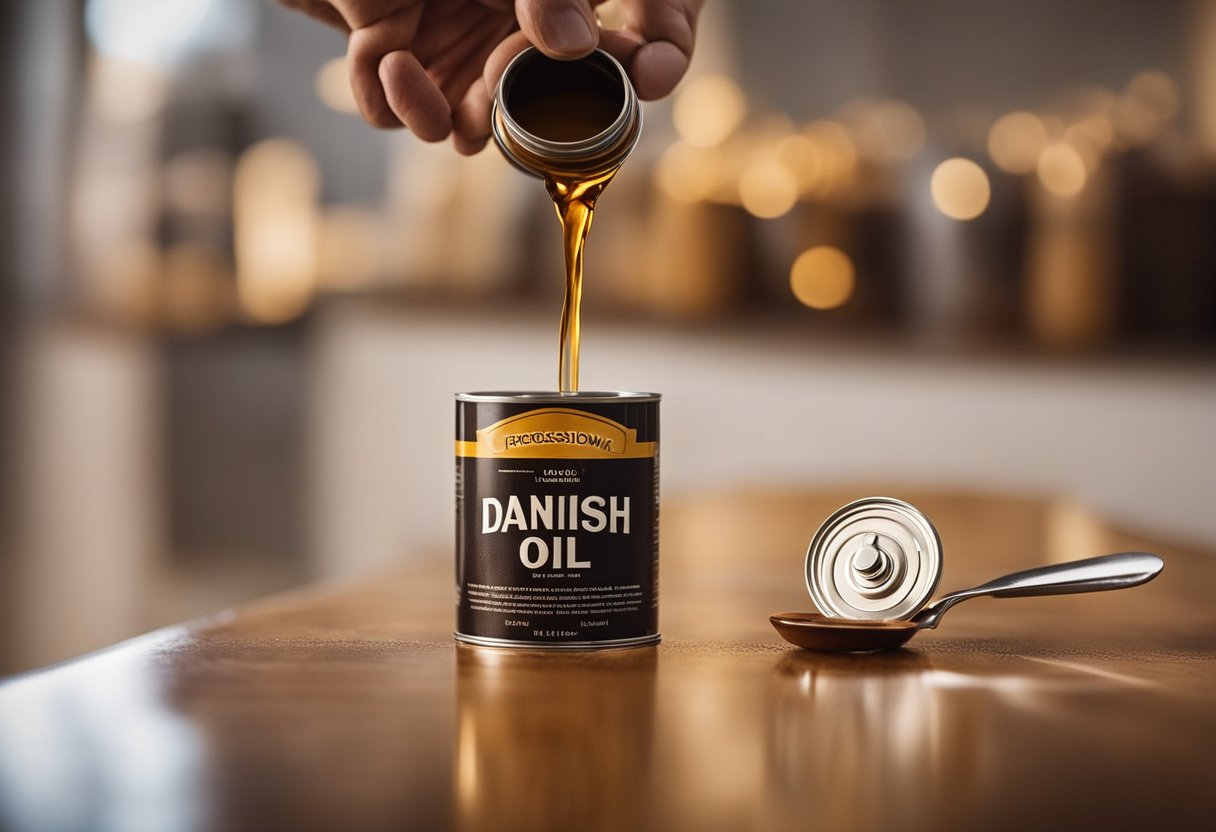
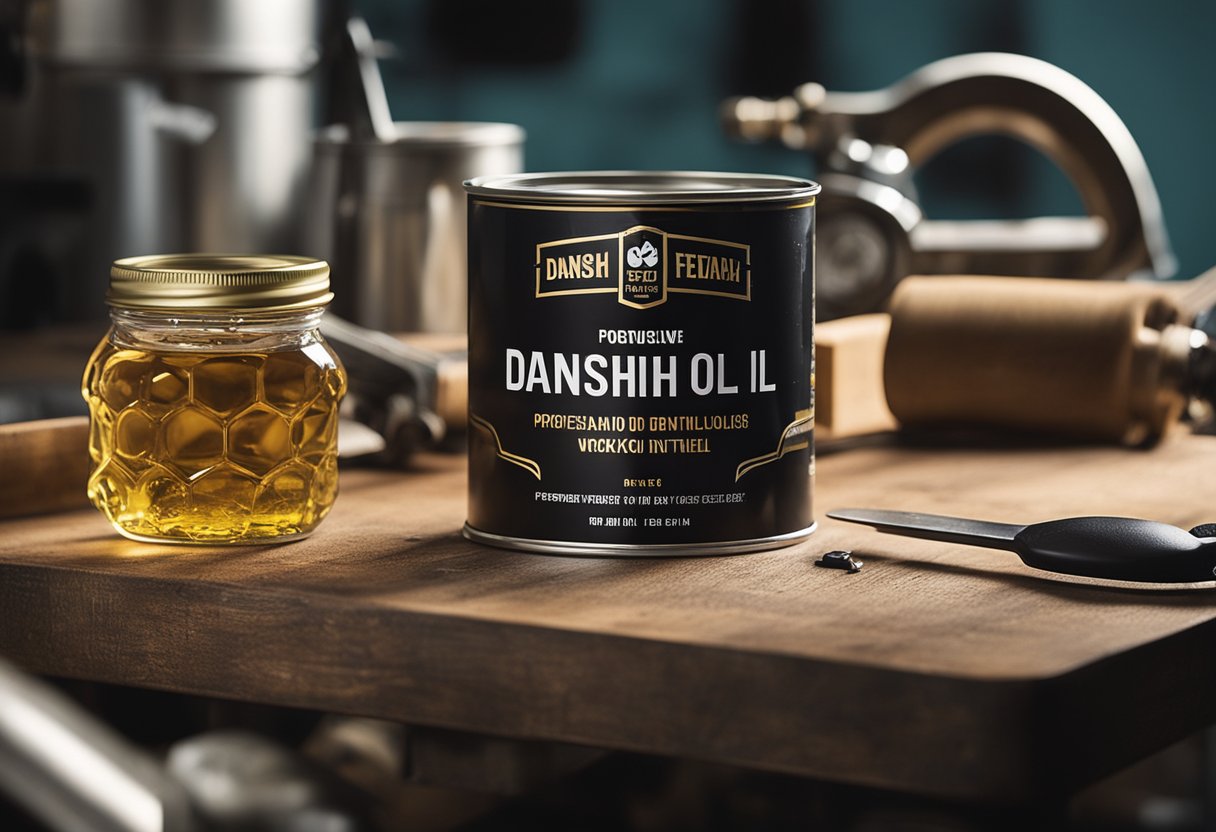
As a woodworking enthusiast, I have come across various types of wood finishes, and one of the most popular ones is Danish oil. Danish oil is a versatile wood finish that can be used on both indoor and outdoor wood surfaces. It is a type of wood oil that is made up of a mixture of oils, resins, and solvents. Danish oil is known for its ability to penetrate deep into the wood, providing a hard and durable finish.
Danish oil is available in different types, such as linseed oil, tung oil, and other wood oils. Linseed oil is made from flax seeds and is known for its ability to dry quickly. Tung oil is made from the nuts of the tung tree and is known for its ability to provide a hard finish. Other wood oils, such as teak oil, are also used to make Danish oil.
One of the benefits of Danish oil is that it provides a hard finish that is resistant to scratches and stains. It also enhances the natural beauty of the wood by bringing out the wood grain. Danish oil is also easy to apply, and it dries quickly, allowing you to apply multiple coats in a short amount of time.
Danish oil is a great option for those who want a hard finish that is easy to apply. However, it is important to note that Danish oil is not a hard finish in the same sense as a polyurethane finish. Danish oil is a penetrating finish that provides protection to the wood from the inside out. It is also important to note that Danish oil is not a film-forming finish, which means that it does not create a hard layer on top of the wood.
Overall, Danish oil is a great option for those who want a hard finish that is easy to apply and enhances the natural beauty of the wood. It is important to choose the right type of Danish oil for your project and to follow the manufacturer’s instructions for application.
Types of Stains
When it comes to staining wood, there are three main types of stains: oil-based stains, water-based stains, and gel stains. Each type of stain has its own unique properties that make it suitable for different types of wood and different applications.
Oil-Based Stains
Oil-based stains are the most commonly used type of stain. They are made up of pigments, binders, and liquid stains. The pigments give the stain its color, while the binders hold the pigments together and help them adhere to the wood. The liquid stains help the stain penetrate the wood and create an even color.
Oil-based stains are known for their durability and are ideal for use on hardwoods. They are also easy to apply and can be used on both new and old wood. However, they do have a longer drying time than other types of stains, and they can be difficult to clean up.
Water-Based Stains
Water-based stains are a newer type of stain that has become increasingly popular in recent years. They are made up of pigments, binders, and water. The pigments give the stain its color, while the binders hold the pigments together and help them adhere to the wood. The water helps the stain penetrate the wood and create an even color.
Water-based stains are known for their fast drying time and easy cleanup. They are also low in VOCs (volatile organic compounds), making them a more environmentally friendly option. However, they can be more difficult to apply than oil-based stains and may not be as durable.
Gel Stains
Gel stains are a thick, viscous type of stain that is ideal for use on vertical surfaces or areas where drips and runs are a concern. They are made up of pigments and binders, but they do not contain liquid stains. Instead, they sit on top of the wood and create a textured, opaque finish.
Gel stains are ideal for use on softwoods or areas where a more opaque finish is desired. They are also easy to apply and can be used on both new and old wood. However, they are not as durable as other types of stains and can be difficult to clean up.
Preparation for Staining Over Danish Oil
Before you can stain over Danish oil, there are a few things you need to do to prepare the wood. First, you need to ensure that the wood is clean and free of any dust or debris. You can use a soft-bristled brush or a vacuum to remove any loose dirt or debris. Once the wood is clean, you can use a chemical stripper to remove any existing finish.
To use a chemical stripper, apply a thick coat to the wood and let it sit for the recommended amount of time. Once the finish has bubbled up, use a scraper to remove it. Be sure to follow the manufacturer’s instructions carefully, as some strippers can be dangerous if not used properly.
After you have removed the old finish, you will need to use mineral spirits to clean the wood. This will help to remove any remaining residue and prepare the wood for staining. Simply apply the mineral spirits to a clean cloth and wipe down the wood, making sure to remove any excess.
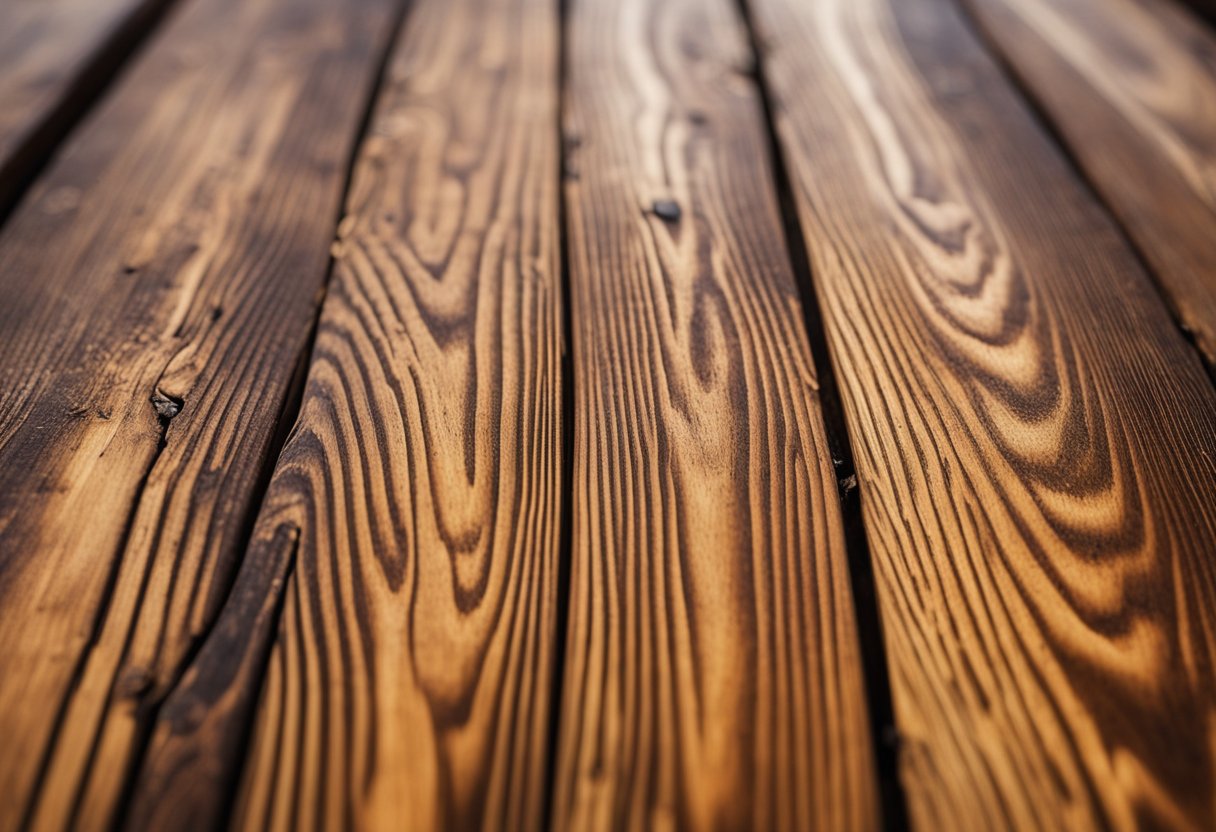
It’s also important to consider the wood grain when staining over Danish oil. If the wood has a tight grain, it may not absorb the stain as well as a wood with a more open grain. In this case, you may need to practice on a scrap piece of wood to get the desired results.
In conclusion, staining over Danish oil can be a great way to add color and depth to your wood projects. However, it’s important to prepare the wood properly before applying the stain. By following these simple steps, you can ensure that your stain will be absorbed evenly and give your wood the look you desire.
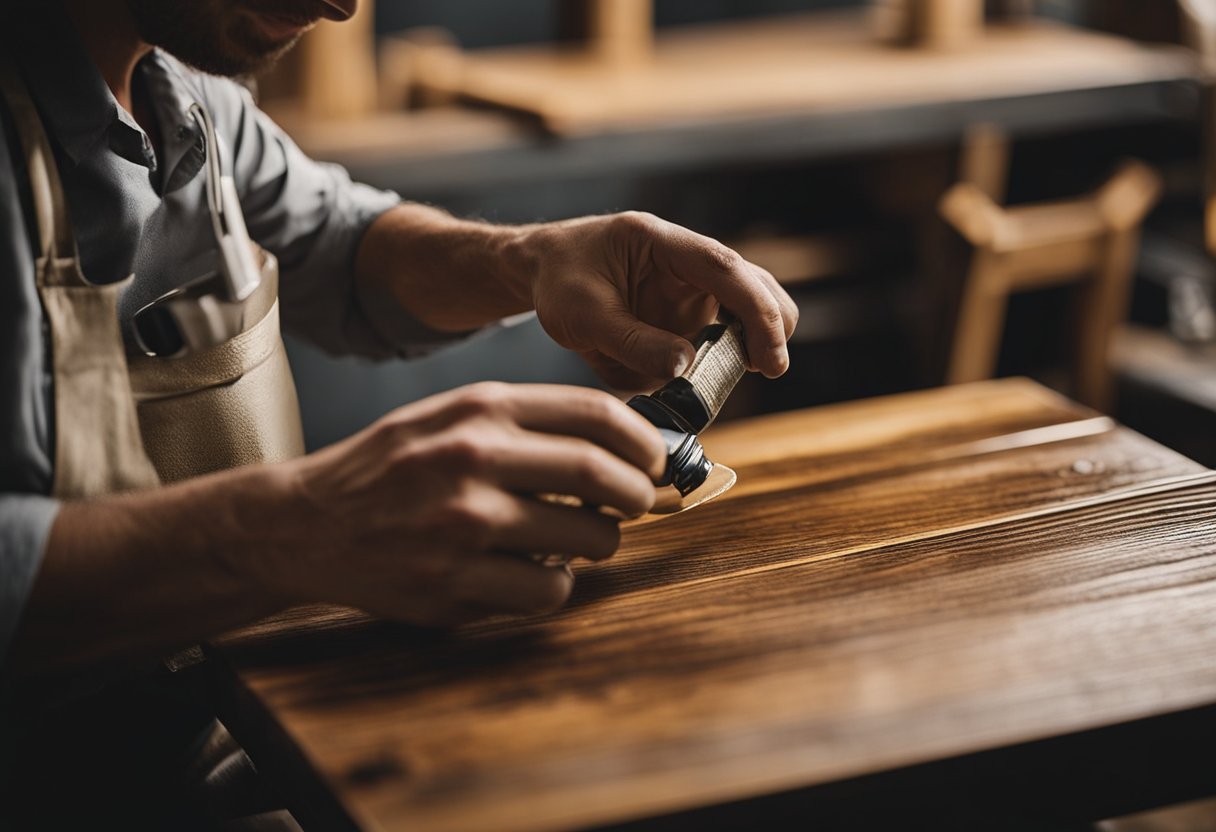
Application of Stain Over Danish Oil
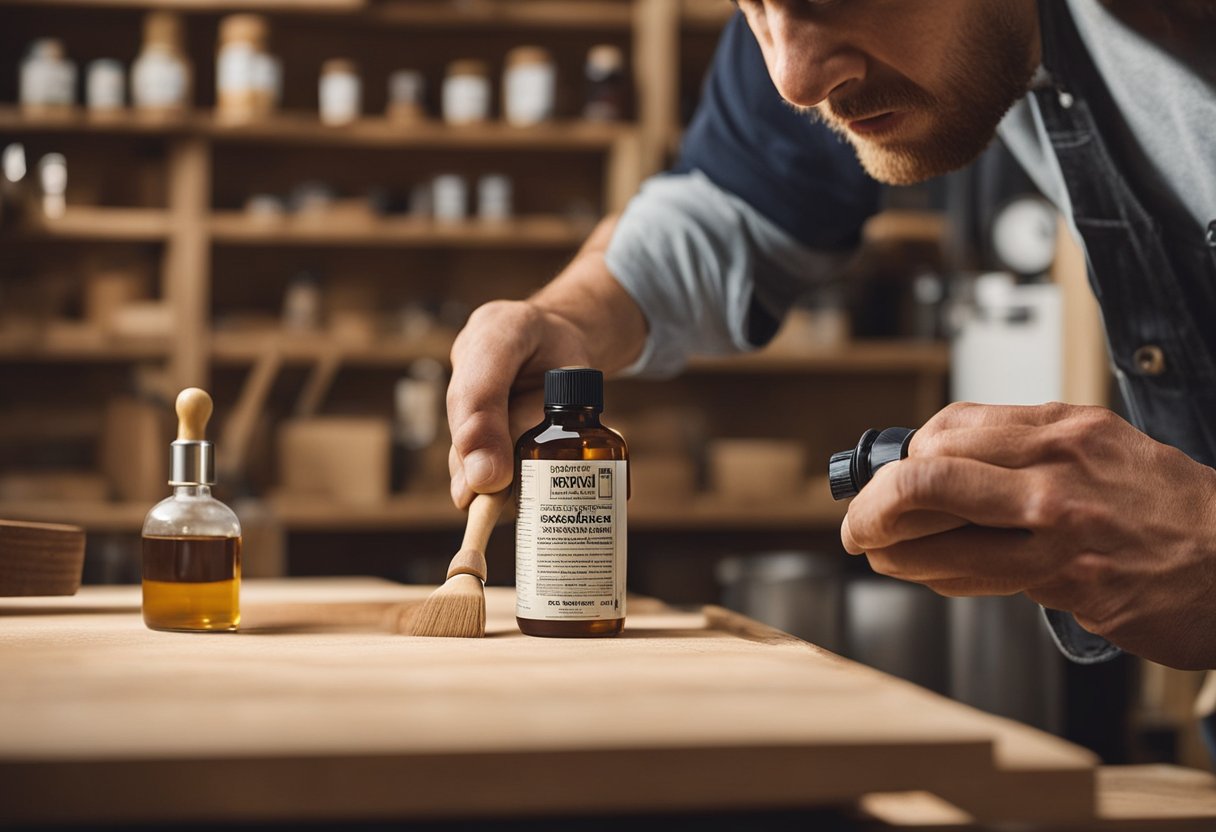
When it comes to staining over Danish oil, there are a few things to keep in mind. First, it is important to wipe off any excess oil with a lint-free cloth before applying the stain. This will ensure that the stain adheres properly to the wood surface.
Next, it is important to choose the right type of stain. According to my research, oil-based and gel stains are generally compatible with Danish oil, but water-based stains may not work as well. It is recommended to test the stain on a small, inconspicuous area before applying it to the entire surface.
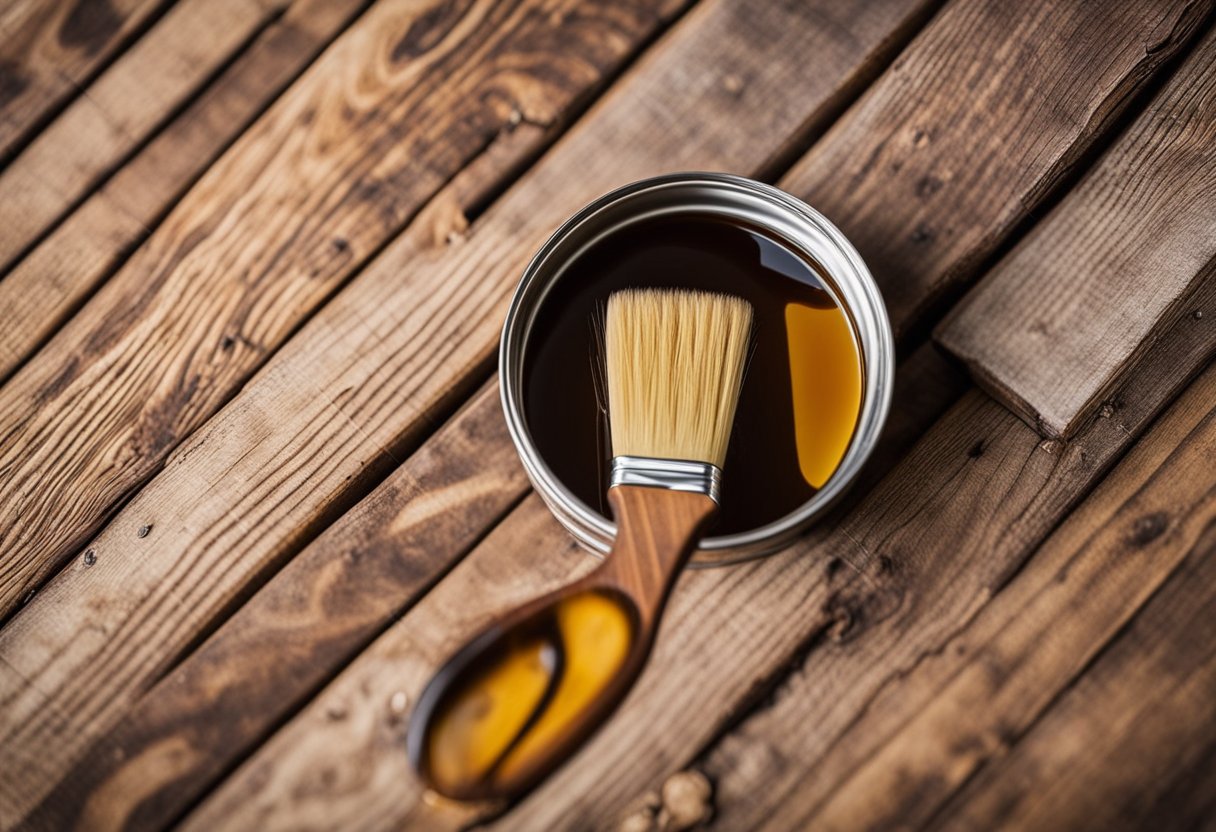
To apply the stain, I recommend using a clean brush or cloth. Be sure to follow the manufacturer’s instructions for application and drying time. Once the stain has dried, it is important to wipe off any excess with a clean cloth.
Finally, if you want to apply Danish oil over the stain, it is important to wait until the stain has fully dried. Then, follow the manufacturer’s instructions for applying the oil. Be sure to use a clean brush or cloth and apply the oil evenly to the surface. Wipe off any excess with a clean cloth and allow the oil to dry completely.
Overall, staining over Danish oil is possible, but it is important to take the necessary precautions to ensure that the stain adheres properly to the wood surface. By following the steps outlined above, you can achieve a beautiful, long-lasting finish on your woodworking projects.
Drying and Curing Process
As an experienced woodworker, I know that it’s important to understand the drying and curing process of any finishing product that I use. This knowledge is particularly important when it comes to Danish oil and staining.
Danish oil is a popular wood finishing product that is often used to enhance the natural beauty of wood. It is a blend of oil and varnish that penetrates the wood and dries to a hard, durable finish. However, it’s important to note that Danish oil can take a long time to dry and cure, especially in humid conditions.
The drying time of Danish oil can vary depending on the temperature, humidity, and the type of wood that you’re working with. In general, it can take anywhere from 12 to 24 hours for the oil to dry to the touch. However, it can take several days or even weeks for the oil to fully cure and harden.
During the curing process, the oil will continue to harden and become more durable. It’s important to avoid exposing the wood to moisture or other elements during this time, as it can compromise the finish. It’s also important to note that the curing process can take longer in humid conditions, so it’s best to work in a dry, well-ventilated area.
Overall, it’s important to be patient when working with Danish oil and staining. The drying and curing process can take time, but the end result is a beautiful, durable finish that will protect and enhance the natural beauty of the wood.
Possible Issues and Solutions
When staining over Danish oil, there are a few possible issues to be aware of. Here are some of the most common ones and potential solutions:
Uneven Finish
One issue that may arise when staining over Danish oil is an uneven finish. This can happen if the oil has not fully dried or if the surface is not properly prepped. To avoid this, make sure to wait at least 24-48 hours after applying Danish oil before attempting to stain. Additionally, be sure to thoroughly clean and sand the surface beforehand to ensure proper adhesion.
Excess Oil
Another issue that may occur is excess oil on the surface, which can prevent the stain from penetrating the wood properly. To address this, wipe down the surface with a clean cloth to remove any excess oil before applying the stain. You can also try using a wood conditioner before staining to help the wood absorb the stain more evenly.
Compatibility
It’s important to note that not all stains are compatible with Danish oil. For example, water-based stains may not adhere well to an oil-based finish. In these cases, it may be necessary to use a gel stain or a different type of finish altogether. Always check the manufacturer’s instructions to ensure compatibility before attempting to stain over Danish oil.
Smooth Finish
Finally, achieving a smooth finish can be a challenge when staining over Danish oil. To help ensure a smooth and even finish, use a high-quality brush or applicator and work in small sections. Apply the stain in thin coats and allow each coat to dry completely before applying the next. Sand lightly between coats to remove any imperfections and ensure proper adhesion.
By following these tips and techniques, you can achieve a beautiful and long-lasting finish when staining over Danish oil.
Safety and Other Considerations
When working with Danish oil, it is important to consider safety precautions. Danish oil is a flammable product and should be kept away from heat sources and open flames. It is also important to use Danish oil in a well-ventilated area to avoid inhaling fumes. In case of skin contact, wash the affected area with soap and water.
When it comes to food-safe finishes, Danish oil may not be the best option. While it is non-toxic once it has fully cured, it is not recommended for surfaces that come into contact with food. Instead, mineral oil is a better choice for food-safe finishes. It is non-toxic and does not go rancid like vegetable oils.
It is also important to note that Danish oil is a penetrating oil, which means it can affect the wood’s ability to absorb water. If you are using Danish oil on a surface that will be exposed to water, such as a cutting board or countertop, it is important to apply a water-resistant topcoat.
Finally, it is important to note that Danish oil is an oil-based finish and should not be mixed with water-based finishes. The two types of finishes are not compatible and can cause problems with adhesion and drying.
Final Touches and Maintenance
After staining over Danish oil, you may want to apply a protective topcoat to further safeguard your wood. Polyurethane or varnish are excellent options for this purpose. Both are durable and can withstand wear and tear, making them ideal for high-traffic areas.
When applying a topcoat, it is essential to follow the manufacturer’s instructions carefully. You should also ensure that the Danish oil has fully cured before applying the topcoat. A sealer can be used to help the topcoat adhere better to the wood surface.
If you are staining over oiled wood, you need to be careful. Not all wood stains are compatible with oil finishes such as Danish oil. It is best to use a stain that is specifically designed for use over oiled wood.
When applying Danish oil over stain, it is essential to wait for the stain to dry completely before applying the oil. This will prevent the oil from mixing with the stain and altering the color.
To maintain your stained wood, avoid using harsh chemicals or abrasive cleaners. Instead, use a soft cloth and mild soap and water to clean the surface. You can also periodically apply a fresh coat of Danish oil to keep the wood looking shiny and new.
In conclusion, staining over Danish oil is possible with the right preparation and technique. Adding a protective topcoat and using the right stain are crucial steps to ensure a successful outcome. With proper maintenance, your stained wood will look beautiful and last for years to come.
Frequently Asked Questions
Can you apply gel stain over Danish oil?
Yes, you can apply gel stain over Danish oil. Gel stains are the only ones that don’t require any porosity of material. Before applying the gel stain, clean the wood by wiping it down with a wet towel and drying it off with a microfiber rag. Then, grab a paintbrush and apply the gel stain to the wood.
Is it possible to stain over tung oil?
Yes, it is possible to stain over tung oil. However, it is important to keep in mind that tung oil is a penetrating oil, which means that it will soak into the wood and change its color. Therefore, it is recommended to do a test on a small, inconspicuous area of the wood to see how the stain will react before applying it to the entire surface.
Can you use linseed oil under stain?
Yes, you can use linseed oil under stain. However, it is important to note that linseed oil will also penetrate the wood and change its color. Therefore, it is recommended to do a test on a small, inconspicuous area of the wood to see how the stain will react before applying it to the entire surface.
Does Danish oil darken as it dries?
Yes, Danish oil does darken as it dries. This is because the oil penetrates the wood and enhances its natural color. However, the degree to which it darkens depends on the type of wood and the number of coats applied. It is recommended to do a test on a small, inconspicuous area of the wood to see how the Danish oil will affect the color before applying it to the entire surface.
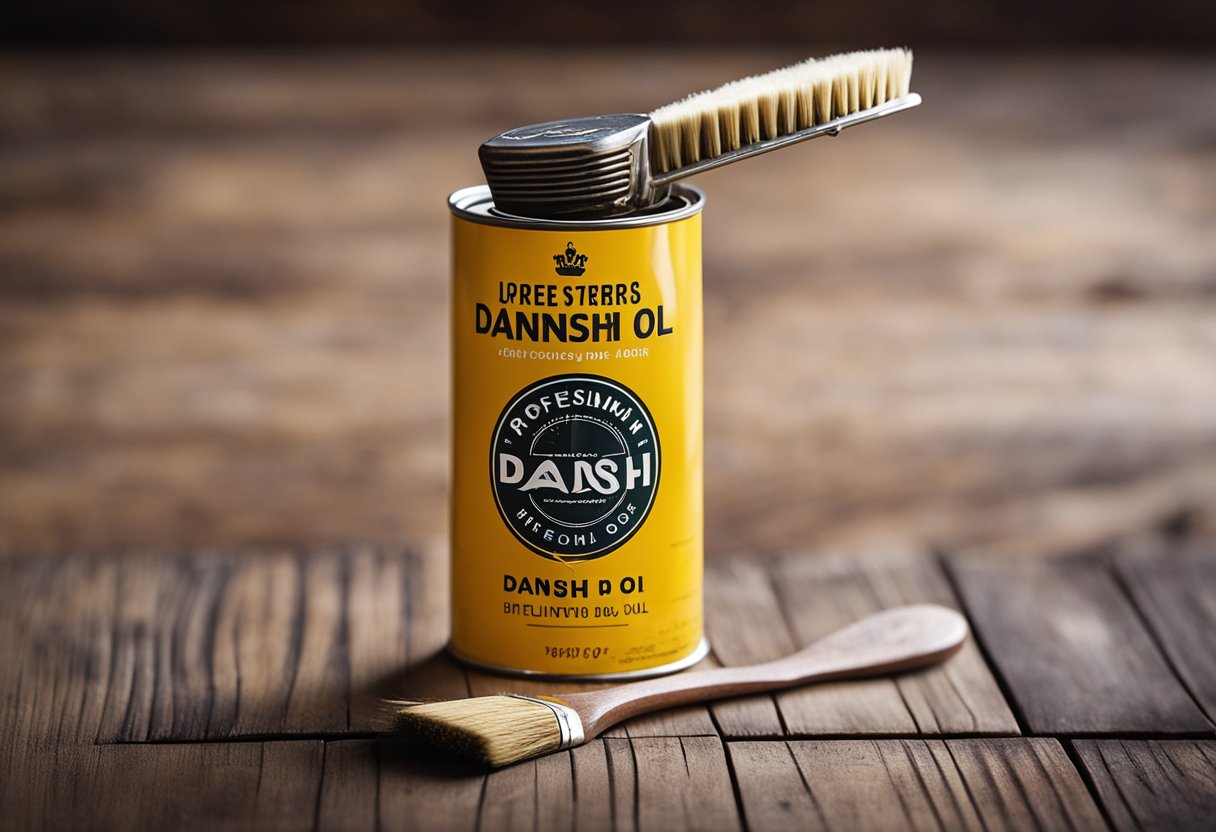
What finish can be used over Watco Danish Oil?
Watco Danish Oil is a penetrating oil finish that can be used on its own or as a base coat under other finishes. If you want to use another finish over Watco Danish Oil, it is recommended to wait at least 72 hours for the oil to fully cure before applying the topcoat.
How can you darken a Danish oil finish?
To darken a Danish oil finish, you can apply additional coats of Danish oil. Each coat will penetrate the wood and enhance its natural color. Alternatively, you can use a tinted Danish oil to achieve a darker color. It is recommended to do a test on a small, inconspicuous area of the wood to see how the tinted Danish oil will affect the color before applying it to the entire surface.

Hi, I’m Sal Muller of Tooltrip.com. My DIY experience led me to understand essential power tools for home projects. Tooltrip.com guides enthusiasts and professionals in choosing right tools for any job. I provide concise top tool reviews for easier, efficient DIY.
