
I have been asked many times if sanding metallic paint before applying clear coat is necessary. The answer is not a simple yes or no. There are different opinions and techniques when it comes to sanding metallic paint. Some painters believe that sanding before clear coat can ruin the metallic effect, while others recommend sanding to ensure a smooth and even finish. In this article, I will explore the topic of sanding metallic paint before clear coat and provide insights and tips to help you achieve a flawless paint job.
Understanding Metallic Paint
Before we dive into the topic of sanding, let’s first understand what metallic paint is. Metallic paint contains small metal flakes or pigments that reflect light and create a shimmering effect on the surface. This effect can be enhanced or diminished depending on the size and density of the flakes, the color of the paint, and the type of lighting. Metallic paint is popular in automotive, industrial, and decorative applications because of its unique appearance and durability.
The Painting Process
Painting with metallic paint requires careful preparation, application, and finishing. The process typically involves cleaning and sanding the surface, applying a primer, spraying the metallic base coat, and then adding a clear coat for protection and gloss. Each step must be done correctly to avoid imperfections, such as orange peel, runs, sags, or unevenness. Sanding is a critical step in the process because it can affect the adhesion, texture, and appearance of the paint.
Understanding Metallic Paint
https://www.youtube.com/watch?v=yqQ_X67lErw&embed=true
As someone who has worked with automotive paint for years, I can tell you that metallic paint is one of the most popular finishes for cars. It creates a unique shimmering effect that adds a touch of elegance to any vehicle. Metallic paint is made by adding tiny metallic flakes or powder to the paint. These flakes are what create the sparkle effect that makes metallic paint so popular.
When it comes to metallic paint, there are a few things you need to understand. First, the metallic flakes in the paint are very delicate and can easily be damaged if not handled properly. This is why it is important to take extra care when sanding metallic paint. If you sand too hard or too much, you can damage the flakes and ruin the finish.
Second, metallic paint requires a metallic base coat. This base coat is what gives the paint its metallic color. Without the base coat, the metallic flakes would not be visible. The base coat is typically a silver or gold color, depending on the desired final color.
Finally, when it comes to applying a clear coat over metallic paint, it is important to apply the clear coat carefully and evenly. Any imperfections in the clear coat will be visible in the final finish, and they can be difficult to fix.
In summary, metallic paint is a popular finish for cars that creates a unique shimmering effect. It requires a metallic base coat and must be handled carefully to avoid damaging the delicate metallic flakes. When applying a clear coat, it is important to do so carefully and evenly to avoid imperfections in the final finish.
The Painting Process
https://www.youtube.com/watch?v=6720i3rUvpY&embed=true
When it comes to painting a car, there are a few steps that need to be followed to ensure a smooth and even finish. The painting process typically involves applying a primer, followed by a base coat, and finally a clear coat. The base coat is where the metallic paint is applied, and it is important to get this step right to achieve the desired effect.
Before applying the base coat, it is important to ensure that the surface is clean and free of any debris or contaminants. This can be achieved by sanding the surface with a fine-grit sandpaper and wiping it down with a clean cloth. Once the surface is clean, the base coat can be applied.
When applying the base coat, it is important to follow the manufacturer’s instructions carefully. This may involve applying multiple coats, allowing each coat to dry before applying the next. It is also important to ensure that the base coat is applied evenly, to avoid any patches or unevenness in the final finish.
Once the base coat has been applied and allowed to dry, a clear coat can be applied. The clear coat is important for protecting the base coat and providing a glossy finish. It is also possible to add metallic flakes to the clear coat to achieve a more dramatic effect.
In terms of sanding metallic paint before clear coat, there is some debate among professionals. Some argue that sanding the metallic paint can cause the flakes to become distorted, resulting in an uneven finish. However, others argue that sanding the surface can help to create an even smoother finish, and ensure that the topcoat adheres properly. Ultimately, the decision to sand or not to sand will depend on the individual painter’s preference and experience.
Overall, the painting process can be complex and time-consuming, but with the right tools and techniques, it is possible to achieve a professional-looking finish. Whether you are applying a basecoat clearcoat or a new paint job, it is important to follow the correct steps and take your time to achieve the desired result.
Role of Sanding in Paint Preparation
https://www.youtube.com/watch?v=NBDyor3_BNU&embed=true
As an experienced painter, I understand the importance of proper surface preparation before applying any paint. Sanding is an essential step in the process of paint preparation, especially when dealing with metallic paints.
The primary purpose of sanding is to create a smooth and even surface for the paint to adhere to. When the surface is not smooth, the paint may not adhere correctly, leading to peeling or flaking. Sanding also helps to remove any imperfections in the basecoat’s finish, ensuring that they do not show through when the clear coat is applied.
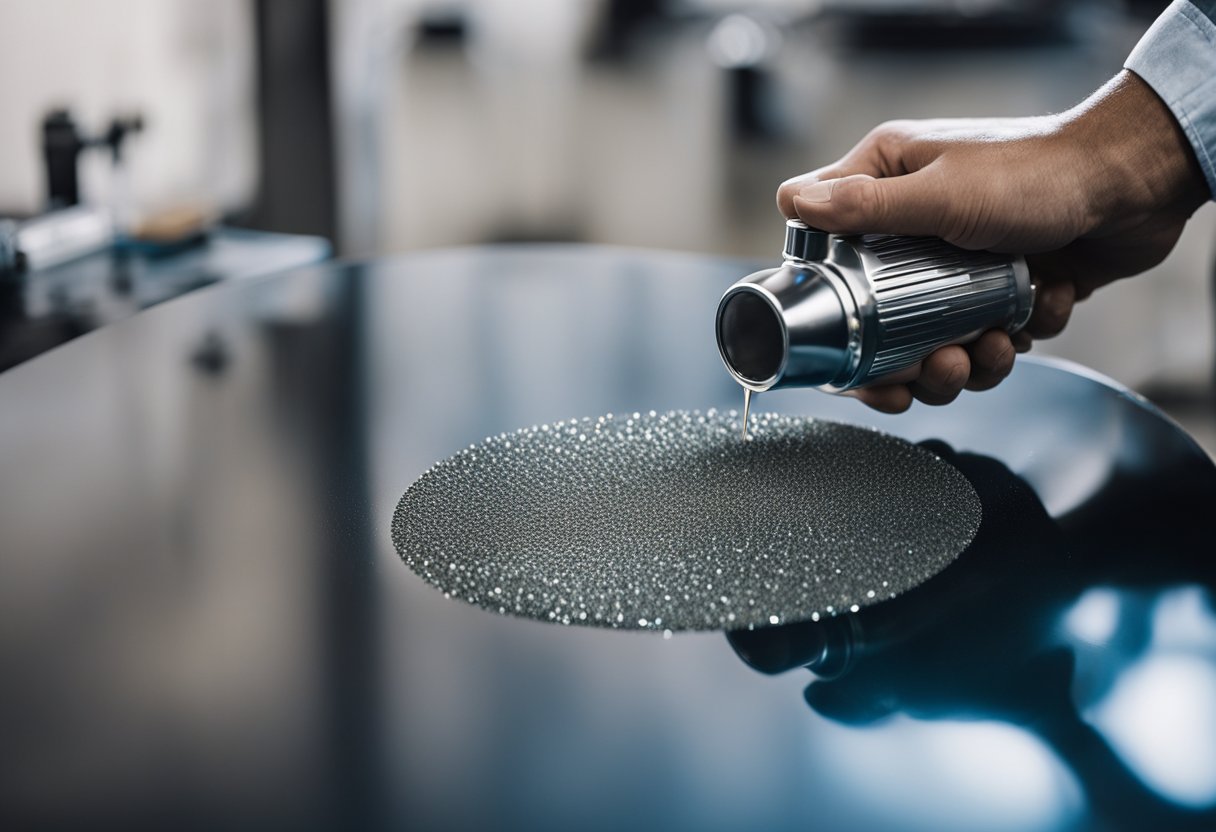
To achieve a smooth finish, it’s essential to use fine grit sandpaper. Fine grit sandpaper is best for achieving a smooth and even surface. It can be used wet or dry, depending on the type of paint being used. Wet sanding is preferable for metallic paints since it reduces the risk of scratching the surface.
When sanding metallic paint, it’s crucial to use caution. Unlike other basecoat paints, sanding metallic paint requires a different approach. Sanding too aggressively can damage the metallic flakes in the paint, leading to an uneven finish. It’s best to use a light touch when sanding metallic paint to avoid damaging the finish.
In conclusion, sanding is a crucial step in the process of paint preparation, especially when dealing with metallic paints. It helps to create a smooth and even surface for the paint to adhere to, ensuring a flawless finish. Using fine grit sandpaper and a light touch when sanding metallic paint is essential to avoid damaging the finish.
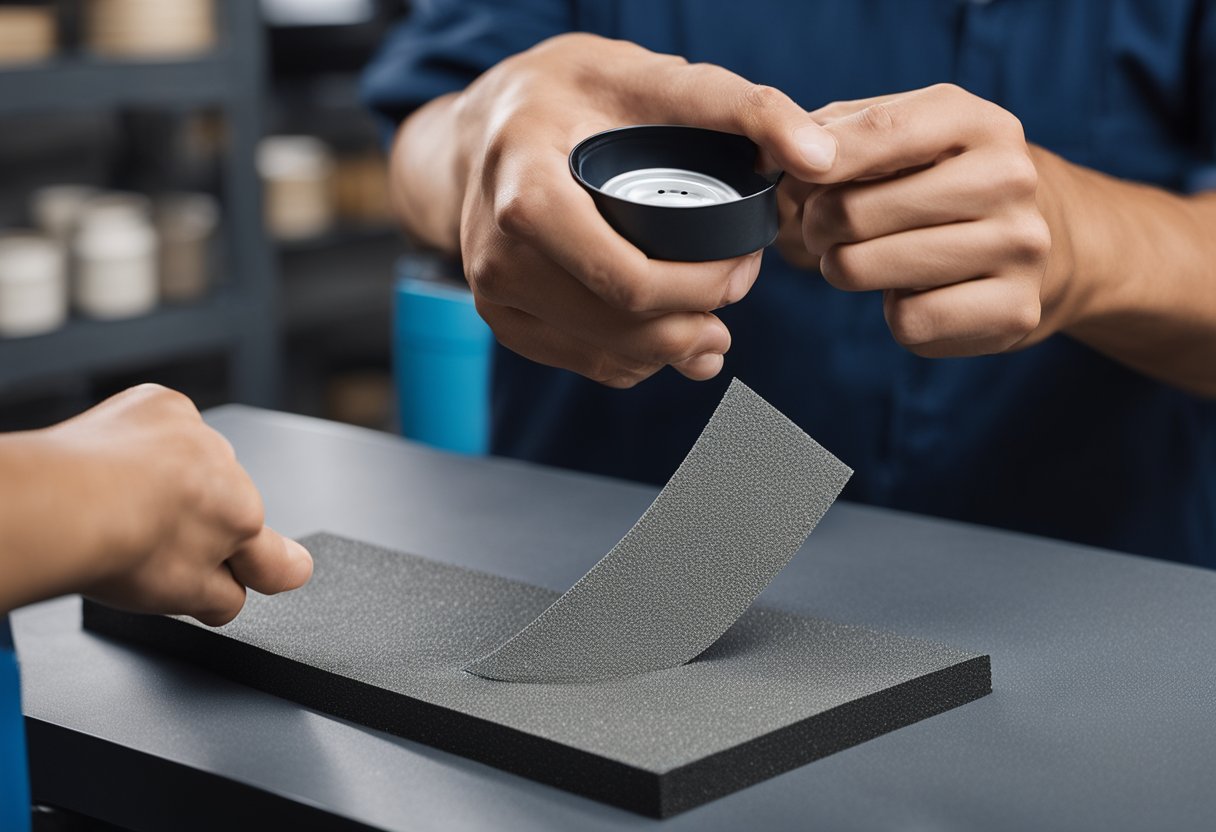
Techniques for Sanding Metallic Paint
https://www.youtube.com/watch?v=fvqK2G0ZcNI&embed=true
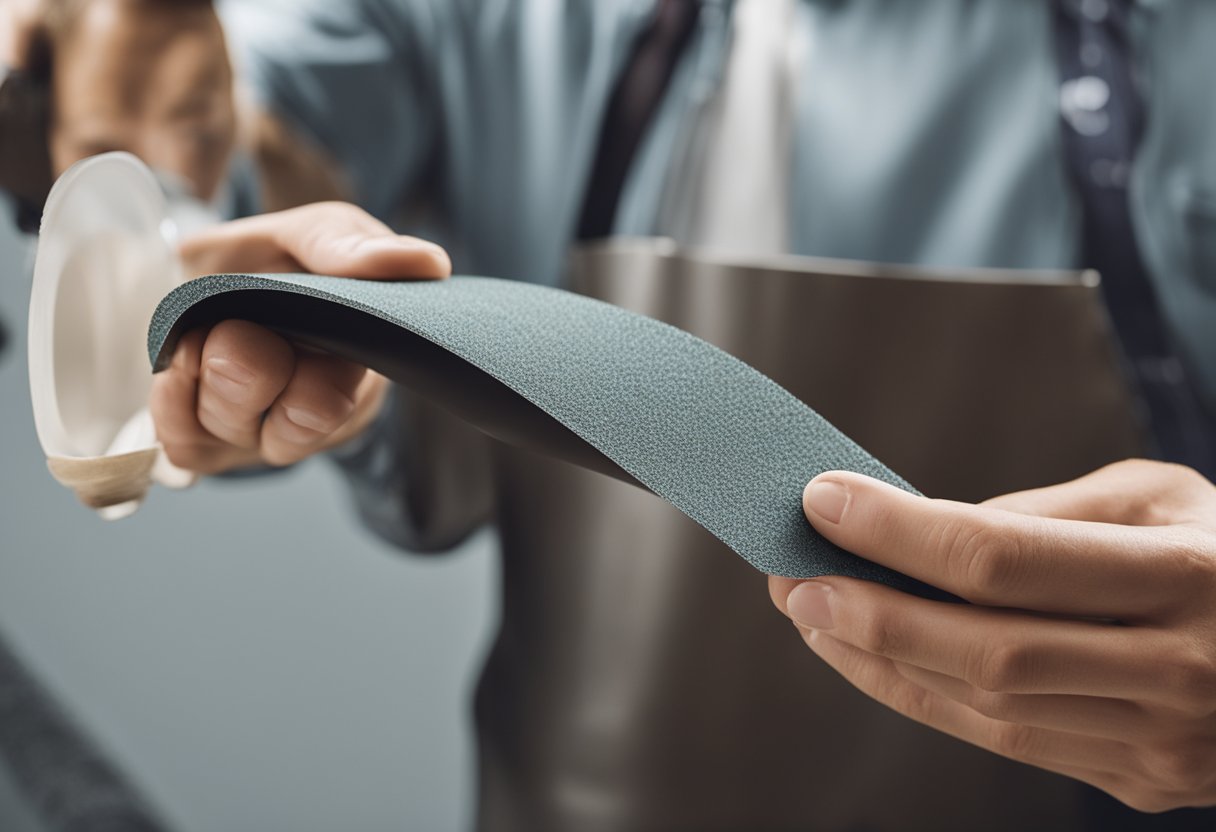
When it comes to sanding metallic paint, there are a few techniques you can use to achieve the best results. One of the most popular techniques is wet sanding. Wet sanding involves using a lubricating liquid, such as water or a specialized solution, to prevent the sandpaper from clogging and to reduce heat buildup. Wet sanding is a great technique for achieving a smooth finish without damaging the metallic flakes in the paint.
Here is a step-by-step guide on how to wet sand metallic paint:
-
Clean the surface: Before you start sanding, make sure the surface is clean and free of debris. Use a microfiber cloth to wipe down the surface and remove any dust or dirt.
-
Choose the right sandpaper: The type of sandpaper you use will depend on the severity of the imperfections and the level of smoothness you want to achieve. Generally, a grit of 800 to 1200 is recommended for wet sanding metallic paint.
-
Wet the surface: Wet the surface with water or a specialized solution before you start sanding. This will help lubricate the surface and prevent the sandpaper from clogging.
-
Sand the surface: Start sanding the surface with the sandpaper, using light pressure and a circular motion. Keep the surface wet throughout the process.
-
Rinse and dry the surface: After you finish sanding, rinse the surface with water and dry it with a microfiber cloth.
It’s important to note that wet sanding should be done by a professional or someone with experience in order to avoid damaging the paint.
Another technique that can be used for sanding metallic paint is dry sanding. Dry sanding involves using sandpaper without any lubrication. This technique is generally used for removing imperfections in the paint before applying the clear coat.
In conclusion, when it comes to sanding metallic paint, wet sanding is a popular technique that can achieve great results. However, it’s important to have the proper technique and experience to avoid damaging the paint. Dry sanding can also be used for removing imperfections before applying the clear coat.
Addressing Imperfections and Blemishes
https://www.youtube.com/watch?v=n66SYF21XS8&embed=true
When it comes to painting a metallic finish, it’s important to address any imperfections or blemishes before applying the clear coat. One common issue is the orange peel effect, which is when the finish has a texture that resembles the surface of an orange. This effect occurs when the paint is applied unevenly or too thickly.
To address orange peel and other imperfections, sanding the metallic paint before applying the clear coat is recommended. This process helps to create a smooth and even surface for the clear coat to adhere to. It also serves as a way to remove any imperfections in the finish of the basecoat so that they will not show through when the clear coat is applied.
When sanding metallic paint, it’s important to use the correct grit sandpaper. A finer grit sandpaper, such as 1000 or 1500 grit, is recommended to avoid scratching the surface of the metallic paint. It’s also important to sand in a circular motion to avoid creating sanding marks that will be visible once the clear coat is applied.
In addition to sanding, it’s also important to inspect the metallic finish for any imperfections or blemishes. These can be addressed by using a touch-up paint or by respraying the affected area with the metallic paint.
Overall, addressing imperfections and blemishes is an important step in achieving a high-quality metallic finish. With the proper techniques and materials, it’s possible to create a smooth and flawless finish that will last for years to come.
Applying Clear Coat for Protection and Gloss
As a professional painter, I always recommend applying a clear coat after painting metallic surfaces. A clear coat is a transparent layer of paint that provides a protective barrier against the elements, as well as a glossy finish that enhances the metallic paint’s appearance.
The clear coat acts as a sealant, protecting the underlying paint from damage caused by UV rays, moisture, and other environmental factors. It also adds a layer of durability to the paint job, making it more resistant to scratches, chips, and other forms of wear and tear.
When applying clear coat, it’s important to use a high-quality product that is specifically designed for use on metallic paint. Look for clear coats that are labeled as “durable” or “high-gloss,” as these tend to provide the best protection and shine.
To apply clear coat, start by cleaning the surface thoroughly and allowing it to dry completely. Then, use a spray gun or brush to apply a thin, even layer of clear coat to the surface. Allow the clear coat to dry completely before applying additional coats, if necessary.
Overall, applying clear coat to metallic paint is an essential step in the painting process. It not only protects the paint from damage but also enhances its appearance, providing a glossy finish that is sure to impress.
Post-Painting Care and Maintenance
After the metallic paint has been applied and allowed to dry, it is essential to take care of the painted surface to maintain its shine and luster. Here are some tips on how to care for your metallic painted surface:
Polishing and Waxing
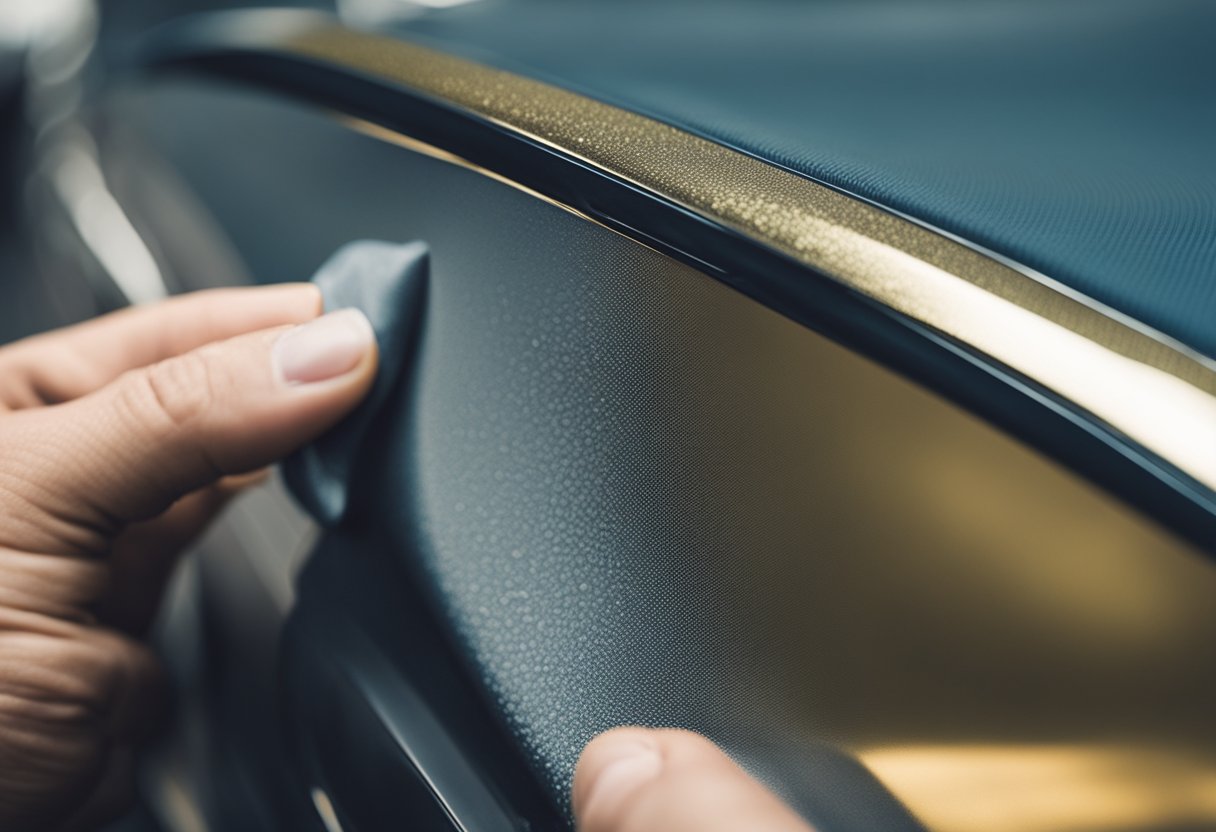
Polishing and waxing are two essential steps to maintain the shine of your metallic painted surface. Polishing helps to remove any minor scratches or swirl marks on the surface, while waxing provides a protective layer that shields the paint from environmental factors.
When polishing, it is essential to use a polishing compound that is suitable for metallic paint. Using the wrong polishing compound can damage the paint surface and cause it to lose its shine. After polishing, it is recommended to apply a layer of wax to protect the paint surface.
Damage Repair
If your metallic painted surface gets damaged, it is essential to repair it as soon as possible to prevent further damage. Damage can be caused by various factors, including scratches, chips, and dents.
For minor scratches and chips, a touch-up paint can be used to cover the damaged area. For more severe damage, a compound may be required to smooth out the surface before applying touch-up paint.
Cleaning
Cleaning your metallic painted surface is essential to keep it looking its best. It is recommended to use a mild soap and water solution to clean the surface. Avoid using harsh chemicals or abrasive cleaners, as they can damage the paint surface.
After cleaning, it is recommended to dry the surface thoroughly with a soft towel to prevent water spots from forming.
Lacquer
Lacquer is a clear coating that is applied over the metallic paint to protect it from environmental factors. It is essential to use a high-quality lacquer that is compatible with metallic paint to ensure maximum protection.
In conclusion, taking care of your metallic painted surface is essential to maintain its shine and luster. By following these simple tips, you can keep your metallic paint looking its best for years to come.
Common Issues and Solutions in Metallic Paint Jobs

As a professional painter, I have encountered various issues with metallic paint jobs. Here are some of the most common issues and solutions I have come across:
Dull Finish
A dull finish is a common issue with metallic paint jobs, and it can be caused by various factors such as incorrect mixing ratios, inadequate spraying techniques, or insufficient paint coverage. To fix this issue, I recommend sanding the surface with a fine-grit sandpaper, followed by polishing with a high-quality polishing compound.
Edges and Scratches
Edges and scratches are common issues that can occur during the painting process. To prevent this, I recommend using masking tape to cover the areas that you don’t want to paint. Additionally, you can use a fine-grit sandpaper to smooth out any rough edges or scratches before applying the clear coat.
Oxidation and Fading
Oxidation and fading are common issues that can occur over time, especially if the car is exposed to harsh weather conditions. To prevent this, I recommend applying a high-quality wax or sealant to protect the paint from UV rays and other environmental factors.
Matte Finish
A matte finish is a popular trend in the automotive industry, but it can be challenging to achieve with metallic paint. To achieve a matte finish, I recommend using a matte clear coat or a matte finish wax. However, keep in mind that a matte finish can be more challenging to maintain than a glossy finish.
Swirls
Swirls are circular scratches that can occur during the washing or drying process. To prevent swirls, I recommend using a high-quality microfiber towel and a gentle washing technique. Additionally, you can use a swirl remover to eliminate any existing swirls.
Overall, metallic paint jobs require attention to detail and proper techniques to achieve a flawless finish. By following these tips and techniques, you can avoid common issues and achieve a professional-looking paint job.
Frequently Asked Questions
Can metallic paint be sanded?
Yes, metallic paint can be sanded. However, sanding metallic paint requires special care to avoid damaging the metallic flakes that give the paint its unique appearance. It is recommended to use a fine-grit sandpaper and to sand lightly to avoid removing too much of the metallic flakes.
Does metallic paint need clear coat?
Yes, metallic paint requires a clear coat to protect the paint and to enhance its shine. A clear coat also helps to prevent the metallic flakes from oxidizing and losing their luster over time.
What grit sandpaper for metallic paint?
When sanding metallic paint, it is recommended to use a fine-grit sandpaper, such as 400-grit or 600-grit. Coarser sandpapers can scratch the paint and damage the metallic flakes, while finer sandpapers may not be abrasive enough to remove imperfections in the paint.
Can you wet sand pearl paint?
Yes, wet sanding can be used to remove imperfections in pearl paint. Wet sanding involves using a lubricant, such as water or soapy water, to reduce friction and to prevent the sandpaper from clogging. It is important to use a fine-grit sandpaper and to sand lightly to avoid damaging the pearl flakes.
How to fix runs in single stage metallic paint?
To fix runs in single stage metallic paint, the area with the run should be sanded with a fine-grit sandpaper to remove the excess paint. The area should then be cleaned and allowed to dry completely. Once dry, the area can be recoated with a thin layer of paint, taking care to avoid creating new runs.
Cut and buff single stage metallic?
Yes, single stage metallic paint can be cut and buffed to enhance its shine. Cutting involves using a rubbing compound to remove a thin layer of paint, while buffing involves using a polishing compound to smooth out the surface and bring out the shine. It is important to use the correct compounds and to follow the manufacturer’s instructions carefully to avoid damaging the paint.

Hi, I’m Sal Muller of Tooltrip.com. My DIY experience led me to understand essential power tools for home projects. Tooltrip.com guides enthusiasts and professionals in choosing right tools for any job. I provide concise top tool reviews for easier, efficient DIY.
