
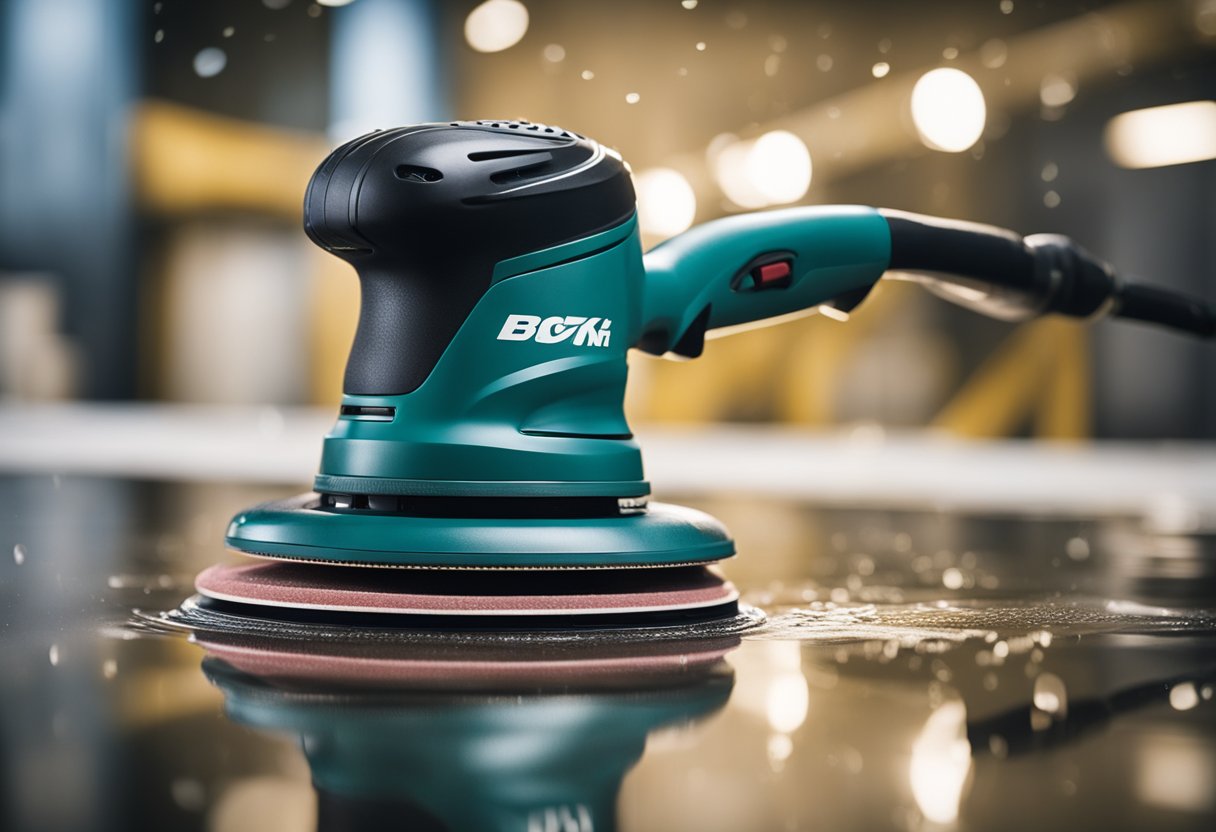
I have been asked many times if it is possible to wet sand with an orbital sander. The answer is yes, it is possible, and it can be an effective way to achieve a smooth and polished surface. Wet sanding is a process that involves using water to lubricate the sandpaper, which helps to prevent clogging and reduce heat buildup. When combined with an orbital sander, wet sanding can produce excellent results on a variety of surfaces, including wood, metal, and automotive finishes.
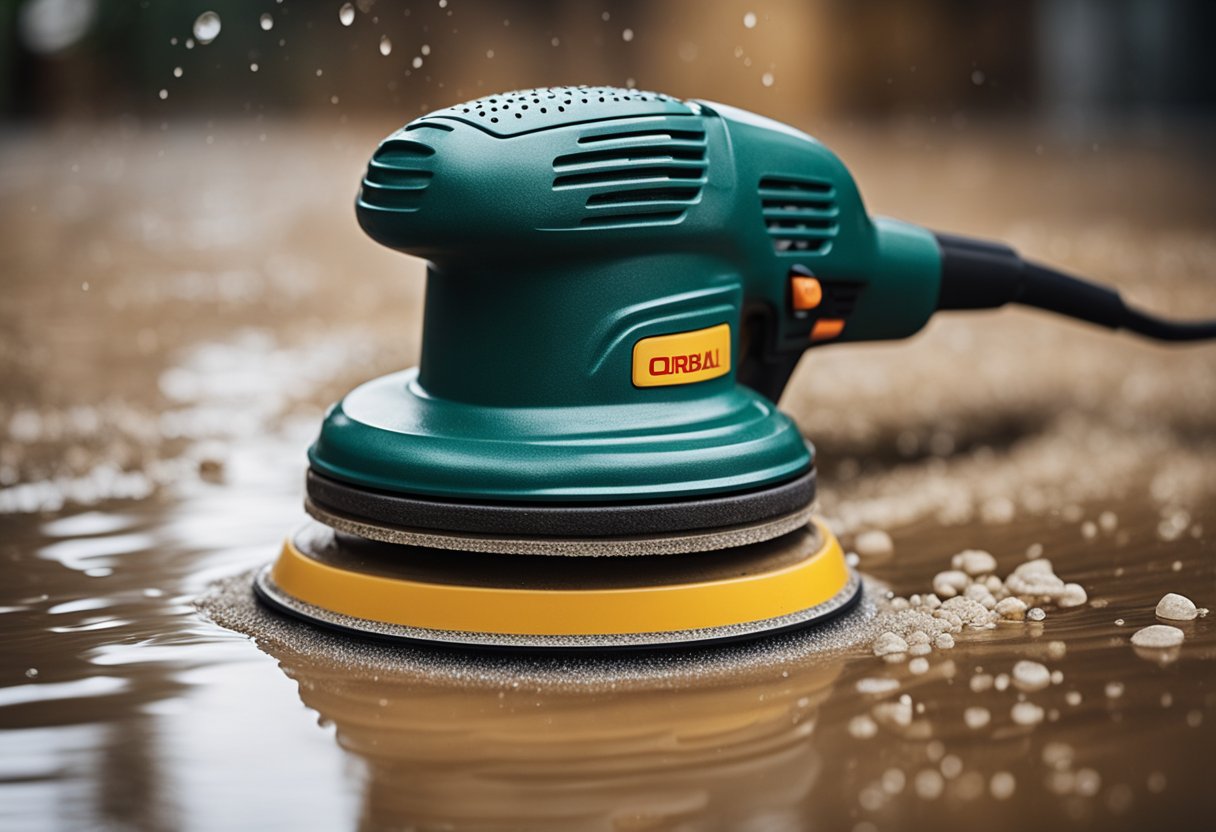
Understanding the wet sanding process is important before attempting to use an orbital sander for this technique. Wet sanding can be a messy process, and it requires the proper tools and materials to be successful. Safety measures should also be taken to protect yourself and others from harm. In this article, I will provide a step-by-step guide to wet sanding with an orbital sander, as well as tips for wet sanding different materials and advanced techniques for achieving a professional finish.
Key Takeaways
- Wet sanding with an orbital sander is possible and can produce excellent results on a variety of surfaces.
- Understanding the wet sanding process, tools and materials required, and safety measures is important before attempting to use an orbital sander for this technique.
- Following a step-by-step guide and using advanced techniques can help achieve a professional finish when wet sanding with an orbital sander.
Understanding Wet Sanding
https://www.youtube.com/watch?v=uttPhx_EMq4&embed=true
As a professional woodworker, I have found wet sanding to be an excellent technique for achieving a smooth finish on a surface. Wet sanding is a method of sanding a surface using liquid to lubricate the sandpaper, which helps to remove imperfections and create a flawless appearance.
Wet sanding is a technique that is used to smooth out surfaces and create a polished finish. It is commonly used in the automotive industry to remove paint imperfections and achieve a smooth surface. Wet sanding is also used in woodworking to create a smooth surface before applying a finish.
When wet sanding, it is important to use the correct grit size of sandpaper. The grit size determines the coarseness of the abrasive and can range from coarse to fine. Coarse grit sandpaper is used to remove imperfections, while fine grit sandpaper is used to create a smooth surface.
One of the benefits of wet sanding is that the liquid used to lubricate the sandpaper helps to prevent the sandpaper from clogging with debris. This allows for a longer lifespan of the sandpaper and helps to achieve a smooth finish.
However, it is important to take safety precautions when wet sanding. The liquid used can be slippery, so it is important to wear gloves and protective eyewear. Additionally, it is important to prepare the surface before wet sanding by cleaning it thoroughly and removing any loose debris.
In summary, wet sanding is a useful sanding technique that can be used to achieve a smooth surface. By using the correct grit size and lubricating the sandpaper, imperfections can be removed and a flawless appearance can be achieved. However, it is important to take safety precautions and prepare the surface before wet sanding.
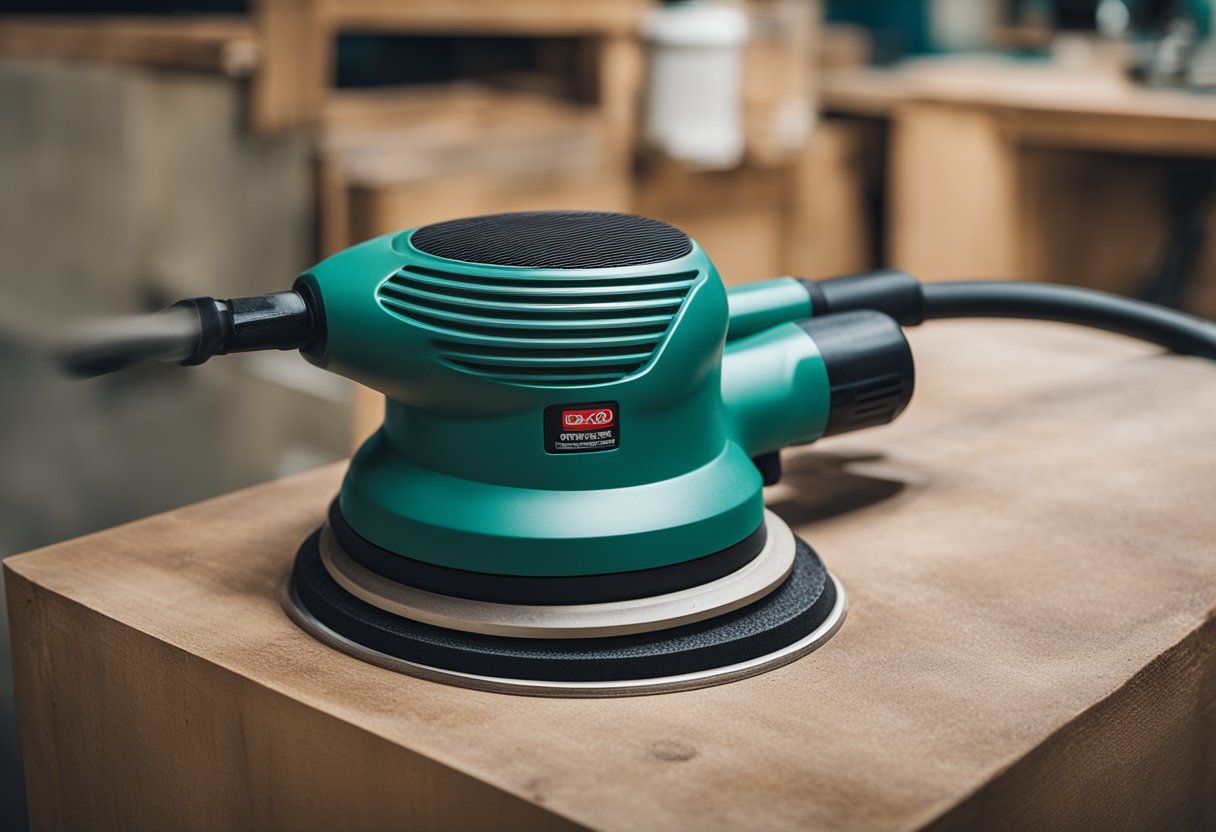
Tools and Materials Required
If you want to wet sand with an orbital sander, you will need a few tools and materials. Here are the things you will need:
-
Orbital Sander: An orbital sander is a power tool that rotates a sanding disc in small, circular motions. It is important to use an orbital sander that is appropriate for the job you are doing. A small orbital sander is ideal for sanding small areas, while a larger one is better for bigger jobs.
-
Sandpaper: Wet sanding requires a specific type of sandpaper. You will need waterproof sandpaper that is designed for wet sanding. The grit of the sandpaper you use will depend on the job you are doing. For example, if you are sanding wood, you will want to use a lower grit sandpaper, such as 80 grit. If you are sanding metal or glass, you will want to use a higher grit sandpaper, such as 150 grit.
-
Water: You will need water to wet sand. The water helps to lubricate the sandpaper and keeps it from clogging up. You can use a spray bottle to apply the water, or you can wet a sponge and use that to apply the water.
-
Sanding Block: A sanding block is a tool that helps to keep the sandpaper flat and even. It is important to use a sanding block when wet sanding, as it helps to prevent the sandpaper from bunching up or tearing.
-
Rubber Gloves: Wet sanding can be messy, so it is important to wear rubber gloves to protect your hands.
-
Backing Pad: A backing pad is a tool that attaches to the orbital sander and holds the sandpaper in place. It is important to use a backing pad that is appropriate for the type of sandpaper you are using.
-
Sponge: A sponge can be used to apply water to the surface you are sanding. It is important to use a sponge that is clean and free of debris.
When you have all of the tools and materials you need, you are ready to start wet sanding with an orbital sander.
Safety Measures in Wet Sanding
As with any power tool, safety should always be a top priority when using an orbital sander for wet sanding. Here are some important safety measures to keep in mind:
Protective Gear
Wearing the appropriate protective gear is crucial when wet sanding with an orbital sander. This includes safety glasses to protect your eyes from flying debris, gloves to protect your hands from the abrasive sandpaper, and a dust mask to protect your lungs from the fine dust particles that are generated during sanding.
Electricity
When wet sanding with an orbital sander, it’s important to be mindful of the electrical hazards that come with working around water. Make sure that your sander is plugged into a properly grounded outlet and that your hands are dry before handling the tool.
Safety Concerns
Wet sanding can create a lot of water and dust, which can make the work area slippery and increase the risk of falls. To minimize the risk of accidents, make sure to keep your work area clean and dry, and use non-slip mats or rugs to prevent slipping.
Safety Gear
In addition to protective gear, it’s a good idea to wear appropriate clothing when wet sanding. Loose clothing or jewelry can get caught in the sander, so it’s best to wear snug-fitting clothes and remove any jewelry before starting your work.
Elbow Grease
Finally, it’s important to remember that wet sanding with an orbital sander requires a lot of elbow grease. The sander will do most of the work, but you’ll still need to apply pressure to achieve the desired results. Don’t push too hard, though, as this can damage the surface you’re sanding and increase the risk of injury.
By following these safety measures, you can minimize the risk of injury and ensure a successful wet sanding project.
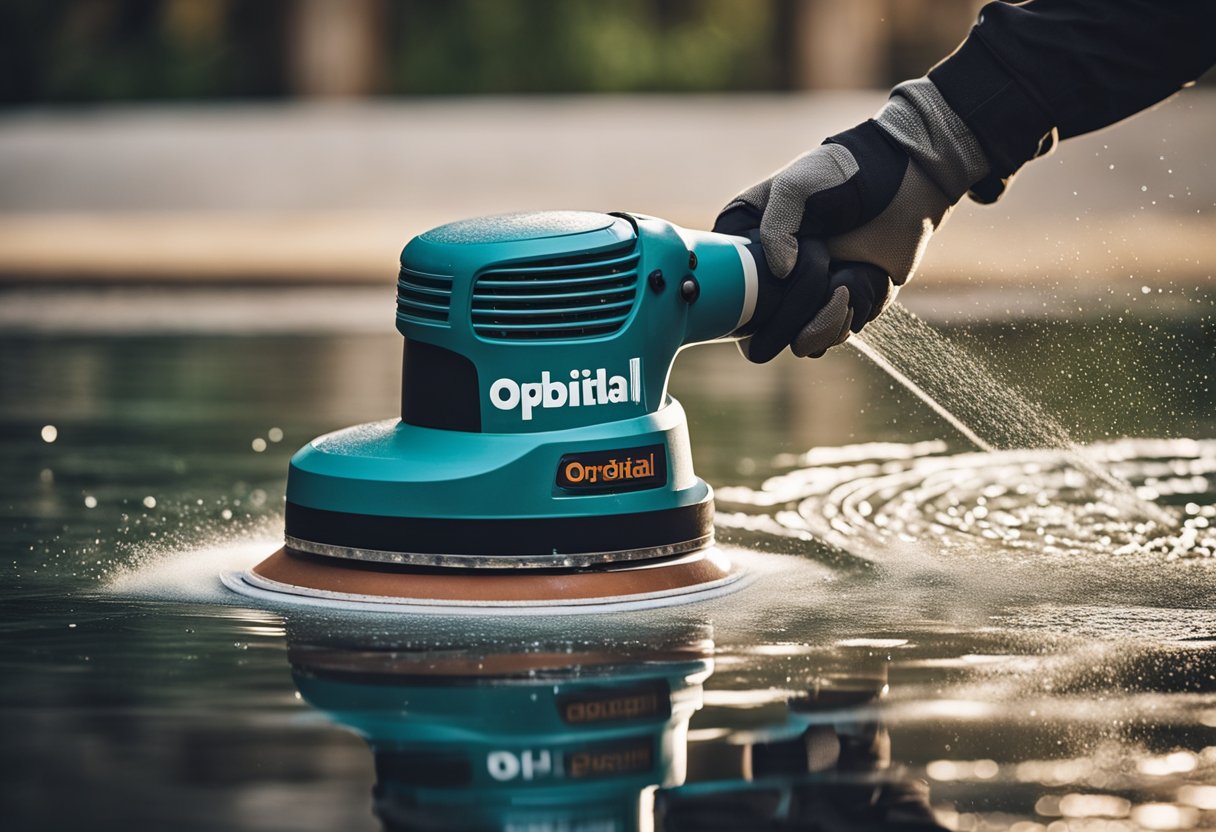
Step-by-Step Guide to Wet Sanding with an Orbital Sander
https://www.youtube.com/watch?v=fXFnzZg-SPo&embed=true
Wet sanding with an orbital sander is a great way to achieve a smooth and polished finish on a variety of surfaces. Here is a step-by-step guide on how to wet sand with an orbital sander:
-
Preparation: Before you start wet sanding, make sure to properly prepare the surface. This includes removing any debris or excess materials from the area, such as dust, dirt, paint chips, or wood shavings. Aside from that, ensure that you work in a well-lit area free of any potential hazards.
-
Choose the Right Sandpaper: The type of sandpaper you choose will depend on the type of surface you are sanding. For example, if you are sanding wood, you may want to start with a coarser grit sandpaper and work your way up to a finer grit.
-
Attach Sandpaper to the Orbital Sander: Once you have chosen the right sandpaper, attach it to the orbital sander. Make sure to follow the manufacturer’s instructions for attaching the sandpaper.
-
Add Water: Wet sanding requires the use of water to lubricate the sandpaper and reduce friction. Add water to the surface you are sanding, making sure to keep the surface wet throughout the sanding process.
-
Begin Sanding: Turn on the orbital sander and begin sanding the surface in a circular motion. Apply moderate pressure to the sander, but be careful not to press too hard as this can cause damage to the surface.
-
Check Progress: Periodically check the progress of your sanding by wiping away the dust and water with a clean cloth. This will help you determine if you need to continue sanding or move on to a finer grit sandpaper.
-
Change Sandpaper: Once you have achieved the desired level of smoothness, switch to a finer grit sandpaper and repeat the process.
-
Clean Up: After you have finished sanding, clean up any dust or debris with a vacuum or damp cloth.
Wet sanding with an orbital sander requires patience and attention to detail. Be careful not to over-sand the surface or sand too aggressively in corners or tight spaces. Using the right accessories, such as a dust collection system, can help reduce the amount of dust particles in the air. With these tips, you can achieve a smooth and polished finish on your DIY projects.
Wet Sanding Different Materials
https://www.youtube.com/watch?v=qTjJkTZAbH8&embed=true
When it comes to wet sanding, you can use an orbital sander on a variety of materials. However, it is important to note that different materials require different grits of sandpaper. Here are some materials you can wet sand with an orbital sander:
Metal Surfaces
Wet sanding can be used to polish metal surfaces to a mirror-like finish. It is important to use a fine grit sandpaper and to keep the surface wet to prevent overheating and damage to the metal.
Plastic
Wet sanding can also be used on plastic surfaces to remove scratches and imperfections. It is important to use a fine grit sandpaper and to keep the surface wet to prevent melting or damaging the plastic.
Wood Surfaces
Wet sanding wood is a common practice in woodworking and furniture refinishing. It can be used to remove stains, varnish, and other finishes. Coarser grit sandpaper can be used to remove the finish, while finer grit sandpaper can be used to smooth out the wood surface.
Auto Body Repair
Wet sanding is commonly used in auto body repair to remove scratches, dents, and other imperfections. It is important to use the correct grit of sandpaper and to keep the surface wet to prevent damage to the paint and metal.
Stains and Varnish
Wet sanding can be used to remove stains and varnish from wooden surfaces. It is important to use the correct grit of sandpaper and to keep the surface wet to prevent damage to the wood.
In conclusion, wet sanding with an orbital sander can be used on a variety of materials such as metal, plastic, wood surfaces, auto body repair, stains, and varnish. It is important to use the correct grit of sandpaper and to keep the surface wet to prevent damage to the material being sanded.
Dry Sanding Vs Wet Sanding
https://www.youtube.com/watch?v=zq5AxvzXhdI&embed=true
When it comes to sanding, there are two primary methods: dry sanding and wet sanding. Dry sanding is the more traditional method, and it involves sanding a surface with abrasive particles without using any water or other liquids. Wet sanding, on the other hand, involves sanding a surface with abrasive particles while using water or another liquid.
Dry sanding is best suited for removing debris and rust from a surface. It is also useful for creating a rough surface for paint or other coatings to adhere to. However, dry sanding can create a lot of dust, which can be harmful to your health if inhaled. It can also cause rusting if the abrasive particles are not cleaned off the surface properly.
Wet sanding is best suited for creating a smooth, polished surface. The water or other liquid helps to lubricate the abrasive particles, which reduces the amount of abrasion on the surface. This results in a smoother finish with fewer scratches and swirl marks. Wet sanding is also less likely to cause rusting since the water helps to wash away any abrasive particles that may be left on the surface.
In summary, dry sanding is best suited for removing debris and rust, while wet sanding is best suited for creating a smooth, polished surface. When dry sanding, be sure to clean the surface thoroughly to prevent rusting. When wet sanding, be sure to use a lubricating liquid and clean the surface thoroughly to prevent any abrasive particles from causing rusting.
Post Sanding Activities
After wet sanding with an orbital sander, it is important to perform some post-sanding activities to achieve the desired results. Here are some steps you can take:
1. Cleaning
After sanding, the surface will be covered in a layer of dust and debris. It is important to clean the surface thoroughly to remove all traces of sanding residue. You can use a soft-bristled brush or a microfiber cloth to wipe away the dust. If necessary, you can also use soap and water to clean the surface.
2. Inspection
Once the surface is clean, you should inspect it for any remaining blemishes or imperfections. Look for dents, swirl marks, or any other flaws that may need to be addressed before painting or applying a finish. If you find any imperfections, you may need to perform some hand sanding or additional finishing work to achieve a professional finish.
3. Priming
If you are going to paint the surface, it is important to apply a primer before painting. The primer will help the paint adhere to the surface and provide a smooth, even finish. Be sure to choose a primer that is compatible with the type of paint you will be using.
4. Finishing
After priming, you can apply the final coat of paint or finish. Be sure to follow the manufacturer’s instructions carefully to achieve the best results. If you are using wax or another type of protective coating, be sure to apply it evenly and buff it out to a high shine.
5. Edges
When sanding, it is easy to overlook the edges of the surface. Be sure to sand the edges carefully to ensure a smooth, even finish. You can use a sanding block or sandpaper to sand the edges by hand.
By following these post-sanding activities, you can achieve a professional finish and ensure that your paint job or finish looks its best.
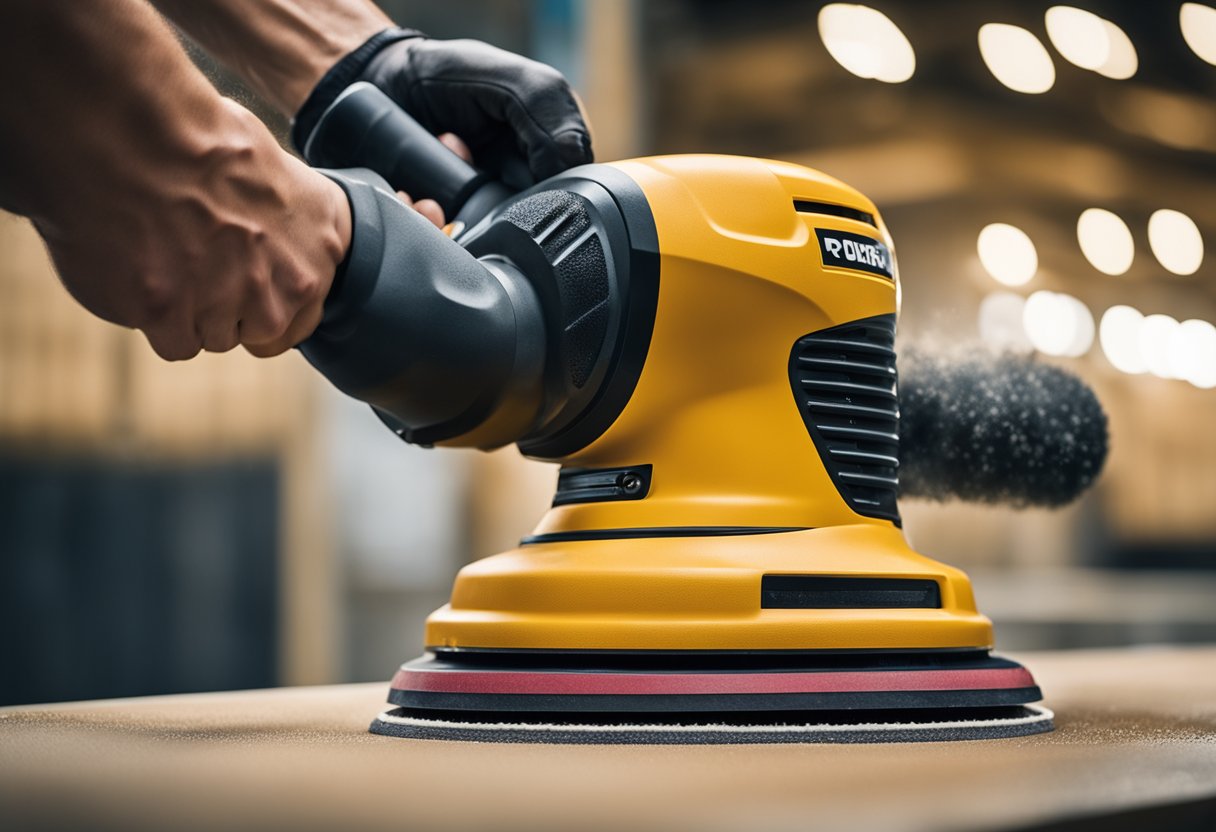
Advanced Wet Sanding Techniques
https://www.youtube.com/watch?v=dvS_TPCig7A&embed=true
When it comes to wet sanding with an orbital sander, there are a few advanced techniques that can help you achieve a smoother finish and save time. Here are some tips that can help you take your sanding skills to the next level:
1. Use a Dust Mask
Wet sanding can create a lot of dust, which can be harmful to your health if inhaled. To protect yourself, it’s important to wear a dust mask. Look for a mask that is rated for fine dust, and make sure it fits securely over your nose and mouth.
2. Keep a Water Source Nearby
When wet sanding, it’s important to keep the sandpaper wet to prevent it from clogging up. To do this, you’ll need to have a water source nearby. You can use a spray bottle, a bucket of water, or even a hose if you’re working outside. Just be careful not to get the sander wet or you could risk electrocution.
3. Use Elbow Grease
While an electric sander can save you time and effort, it’s important to remember that it’s not a magic wand. To achieve the best results, you’ll still need to put in some elbow grease. Use a light touch and keep the sander moving in a circular motion to avoid creating scratches.
4. Choose the Right Grit
The grit of the sandpaper you use will depend on the project you’re working on. For DIY projects, a 220-grit sandpaper is a good choice, while the automotive industry typically uses grits between 400 and 600. Remember to start with a coarser grit and work your way up to a finer grit for the best results.
5. Don’t Overdo It
While wet sanding can be a great way to achieve a smooth finish, it’s important not to overdo it. Sanding too much can remove too much material and damage the surface you’re working on. Use a light touch and take breaks often to assess your progress.
By following these advanced wet sanding techniques, you can achieve a smoother, more efficient refinishing process. Whether you’re working on a woodworking project or a vehicle, these tips can help you achieve a professional-looking finish.
Frequently Asked Questions
Can an orbital sander be used for wet sanding?
Yes, an orbital sander can be used for wet sanding. Wet sanding is a technique used to refine and smooth surfaces by applying water or a lubricating liquid to the sandpaper while sanding. It is a popular method for finishing wood, metal, and automotive surfaces. Wet sanding with an orbital sander can help achieve a smoother finish with less effort compared to dry sanding.
What is the best sandpaper to use for wet sanding?
The best sandpaper to use for wet sanding with an orbital sander is silicon carbide sandpaper. Silicon carbide sandpaper is waterproof and can be used with water or a lubricating liquid. It is also durable and can withstand the friction and pressure of wet sanding. The grit size of the sandpaper will depend on the surface being sanded and the desired finish. Coarser grits are used for removing rough surfaces, while finer grits are used for smoothing and finishing.
How do you properly wet sand with an orbital sander?
To properly wet sand with an orbital sander, follow these steps:
- Choose the appropriate grit sandpaper for the surface being sanded.
- Soak the sandpaper in water or a lubricating liquid for a few minutes.
- Attach the sandpaper to the orbital sander.
- Turn on the sander and begin sanding the surface in a circular motion.
- Keep the sandpaper wet by spraying water or lubricating liquid onto the surface as needed.
- Check the surface frequently to ensure that the desired finish is achieved.
- When finished, wipe the surface clean with a damp cloth.
What are the advantages of using a wet sander?
The advantages of using a wet sander include:
- Achieving a smoother finish with less effort compared to dry sanding.
- Reducing the amount of dust and debris created during sanding.
- Preventing the sandpaper from clogging and becoming less effective.
- Reducing the risk of heat damage to the surface being sanded.
Is it safe to use an air sander for wet sanding?
It is not recommended to use an air sander for wet sanding. Air sanders are designed for use with dry sandpaper and may not be able to withstand the moisture and pressure of wet sanding. Using an air sander for wet sanding can also create a safety hazard due to the risk of electric shock.
What are the differences between wet sanding and dry sanding with an orbital sander?
The main difference between wet sanding and dry sanding with an orbital sander is the use of water or a lubricating liquid. Wet sanding is a slower process compared to dry sanding but can achieve a smoother finish with less effort. Dry sanding is faster but creates more dust and debris. Wet sanding also helps prevent the sandpaper from clogging and becoming less effective.

Hi, I’m Sal Muller of Tooltrip.com. My DIY experience led me to understand essential power tools for home projects. Tooltrip.com guides enthusiasts and professionals in choosing right tools for any job. I provide concise top tool reviews for easier, efficient DIY.
