
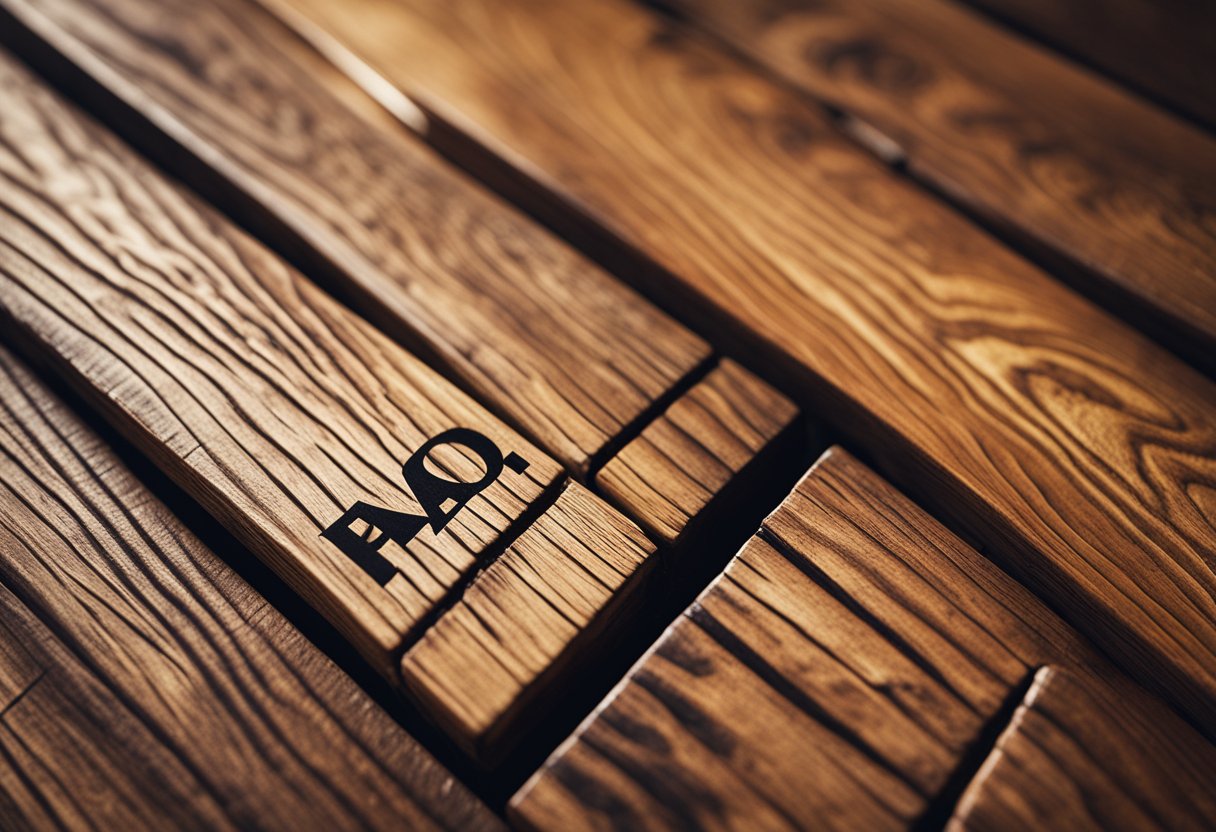
Wood staining is a popular way to enhance the look of wooden furniture, but sometimes wood won’t take stain in spots. This can be frustrating, especially if you’ve spent a lot of time and effort preparing the wood for staining. However, there are several reasons why wood won’t take stain in spots, and understanding these reasons can help you troubleshoot the problem and achieve the desired results.
One reason why wood won’t take stain in spots is because of its natural characteristics. Certain types of wood, such as maple and birch, have tight-grain patterns that make it difficult for stain to penetrate evenly. Additionally, some woods have high levels of natural oils that can repel stain. Another reason why wood won’t take stain in spots is because of improper preparation. If the wood is not sanded properly, or if it has been sealed with a finish, the stain will not be able to penetrate the surface evenly. Understanding these factors is crucial to achieving a successful staining project.
Key Takeaways
- Understanding the natural characteristics of wood, such as tight-grain patterns and high levels of natural oils, can help prevent staining problems.
- Proper preparation techniques, such as sanding and removing finishes, are essential for achieving even stain absorption.
- Choosing the right staining products and applying them correctly can help prevent wood from not taking stain in spots.
Understanding Stain Absorption
As a professional woodworker, I have come across several instances where wood won’t take stain in spots. This can be frustrating, especially when you have put in a lot of effort to create a beautiful piece of furniture. However, understanding the factors that affect stain absorption can help you avoid this problem in the future.
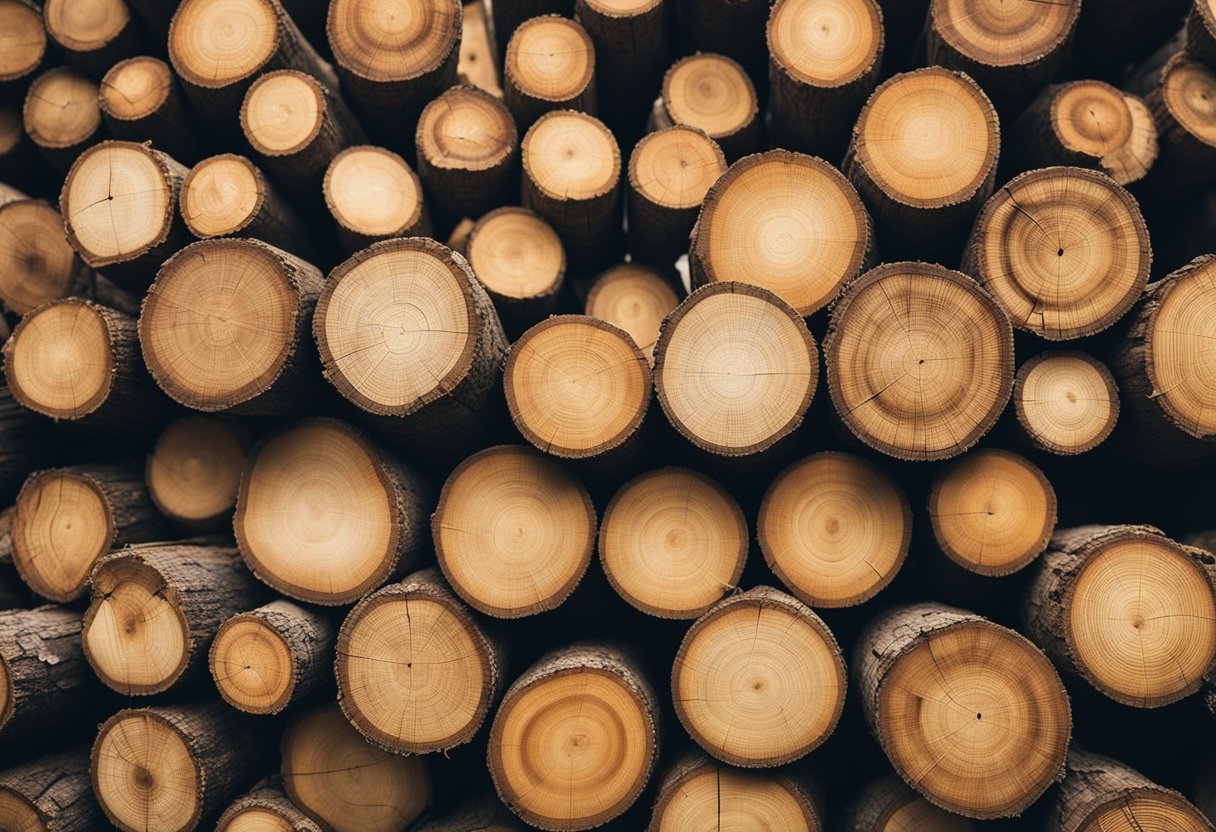
Stain absorption is affected by several factors, including the type of wood, the condition of the wood, and the type of stain used. Different wood types have different densities and pore structures, which affect how they absorb stain. For example, softwoods like pine have larger pores than hardwoods like oak, which means they absorb stain differently.
The condition of the wood also affects stain absorption. If the wood is too dry, it may not absorb stain evenly. On the other hand, if the wood is too wet, the stain may not penetrate the wood properly. It is important to ensure that the wood is at the right moisture content before staining.
The type of stain used also affects absorption. Oil-based stains penetrate the wood more deeply than water-based stains. Gel stains, which have a thicker consistency, are also more effective at penetrating the wood. It is important to choose the right type of stain for the wood you are working with.
Another factor that affects stain absorption is the presence of wood pores. Wood pores are small openings on the surface of the wood that allow it to absorb moisture and other substances. If the pores are clogged or sealed, the wood may not absorb stain evenly. Sanding the wood can help open up the pores and improve stain absorption.
In conclusion, understanding stain absorption is crucial to achieving a beautiful finish on your woodworking projects. By considering the type of wood, the condition of the wood, the type of stain used, and the presence of wood pores, you can avoid the problem of wood not taking stain in spots.
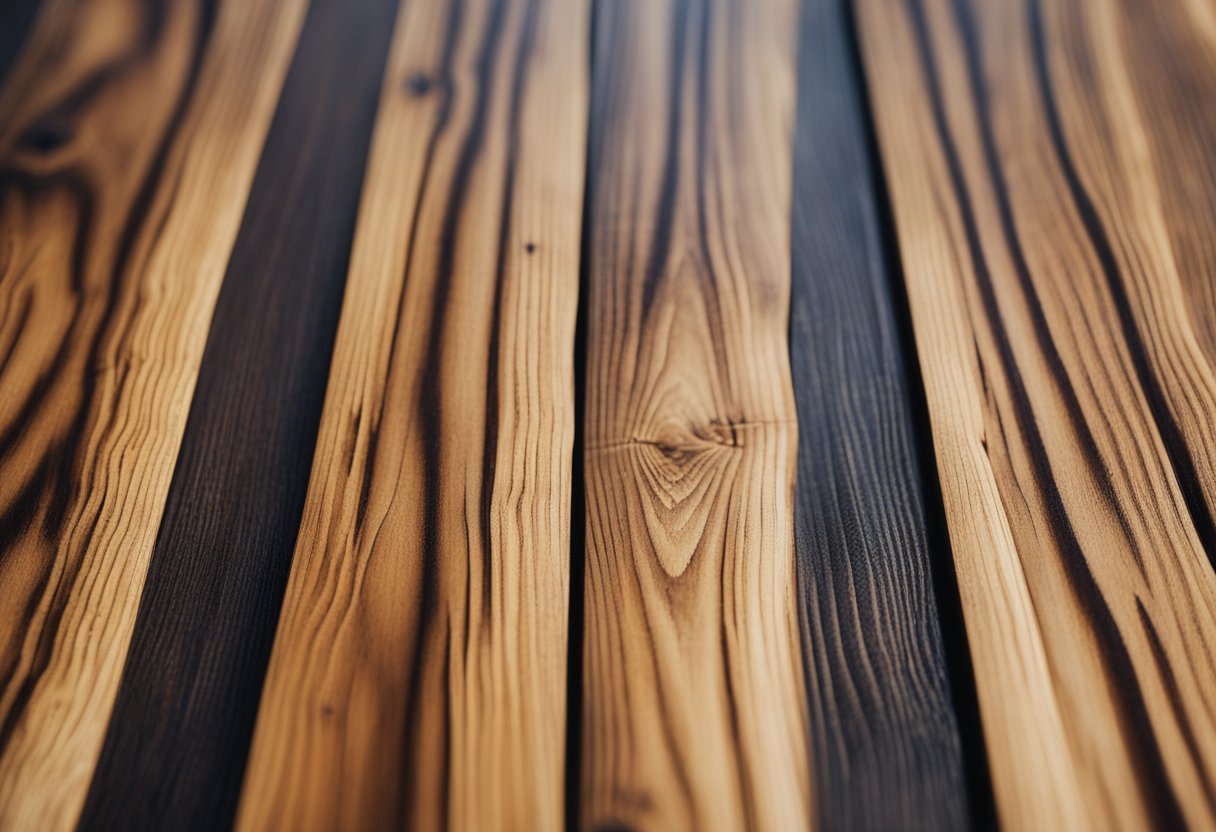
Common Hard-to-Stain Woods and Their Characteristics
As a woodworking enthusiast, I have come across many types of wood that are hard to stain. Whether you are a beginner or a seasoned woodworker, it is essential to know which woods are difficult to stain and why. In this section, I will discuss some common hard-to-stain woods and their characteristics.
Maple
Maple is a popular hardwood that is often used for furniture and flooring. However, it is also notorious for being hard to stain. The main reason for this is that maple has a tight grain pattern that can make it difficult for the stain to penetrate the wood evenly. To overcome this issue, it is essential to sand the wood thoroughly and apply a pre-stain conditioner before staining.
Pine
Pine is a softwood that is commonly used for construction and furniture. However, it is also known for being hard to stain. The main reason for this is that pine has a high resin content that can cause blotching when stained. To avoid this issue, it is essential to apply a pre-stain conditioner before staining. Additionally, using a gel stain can help to achieve a more even finish.
Birch
Birch is a hardwood that is often used for cabinetry and furniture. However, it is also known for being hard to stain. The main reason for this is that birch has a tight grain pattern that can make it difficult for the stain to penetrate the wood evenly. To overcome this issue, it is essential to sand the wood thoroughly and apply a pre-stain conditioner before staining.
Cherry
Cherry is a hardwood that is often used for high-end furniture. However, it is also known for being hard to stain. The main reason for this is that cherry has a high level of natural oils that can cause blotching when stained. To avoid this issue, it is essential to sand the wood thoroughly and apply a pre-stain conditioner before staining.
Poplar
Poplar is a hardwood that is commonly used for cabinetry and furniture. However, it is also known for being hard to stain. The main reason for this is that poplar has a greenish tint that can affect the color of the stain. To overcome this issue, it is essential to use a wood conditioner before staining. Additionally, using a darker stain can help to mask the greenish tint.
Exotic Woods
Exotic woods such as teak, mahogany, and rosewood can be hard to stain due to their high levels of natural oils. These oils can cause blotching when stained and can also make it difficult for the stain to penetrate the wood evenly. To overcome this issue, it is essential to sand the wood thoroughly and apply a pre-stain conditioner before staining.
Tight-Grained Hardwoods
Tight-grained hardwoods such as oak, maple, and birch can be hard to stain due to their tight grain pattern. This pattern can make it difficult for the stain to penetrate the wood evenly, resulting in an uneven finish. To overcome this issue, it is essential to sand the wood thoroughly and apply a pre-stain conditioner before staining.
Woods High in Structural Oil
Woods that are high in structural oil such as teak, rosewood, and mahogany can be hard to stain. This is because the oil can cause blotching when stained and can also make it difficult for the stain to penetrate the wood evenly. To overcome this issue, it is essential to sand the wood thoroughly and apply a pre-stain conditioner before staining.
In summary, knowing which woods are hard to stain and why is essential for achieving a professional-looking finish. By using the tips and techniques discussed in this section, you can overcome the challenges of staining hard-to-stain woods and achieve a beautiful finish.
Preparation Techniques for Staining Wood
When it comes to staining wood, preparation is key. Proper preparation techniques will ensure that the wood takes the stain evenly and produces the desired finish. Here are some techniques that I use to prepare wood for staining.
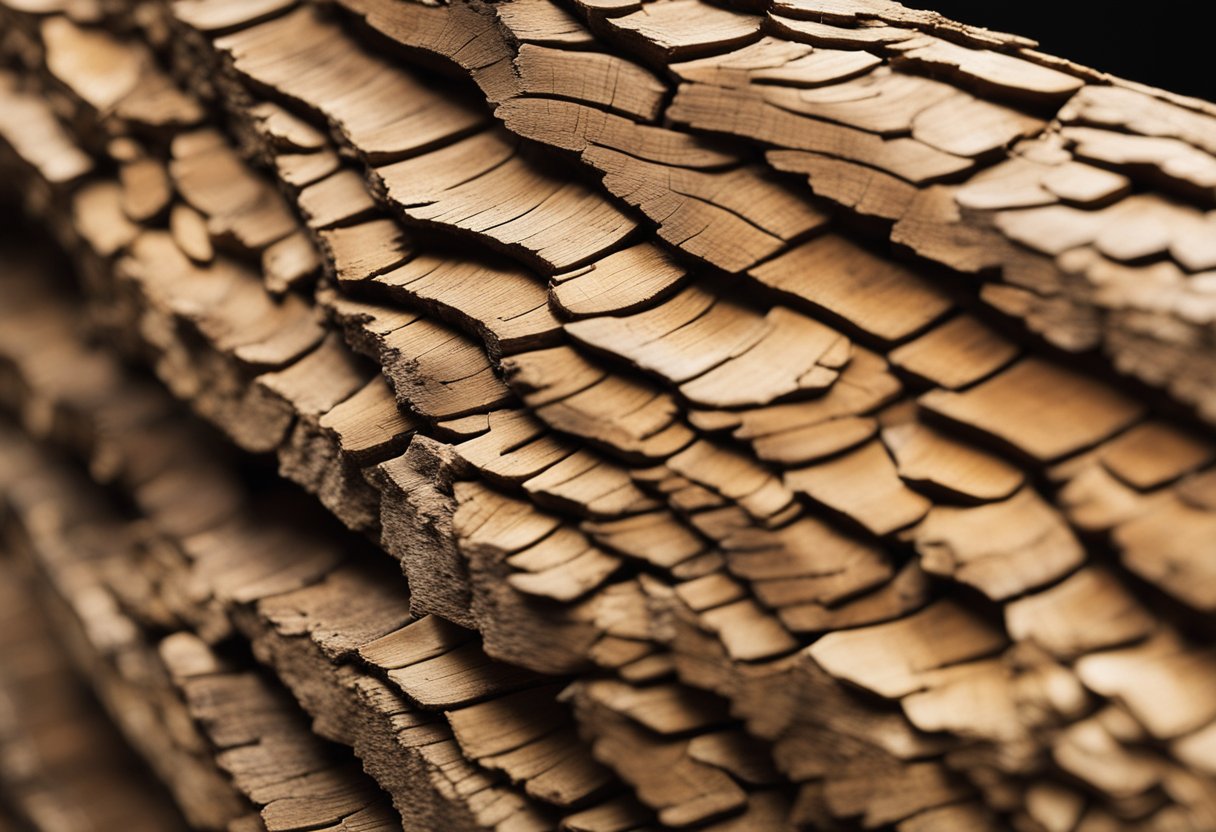
Sanding
Sanding is an essential step in preparing wood for staining. The goal of sanding is to create a smooth and even surface that is free of any imperfections. I usually start with a coarse-grit sandpaper and work my way up to a fine-grit sandpaper. This ensures that the wood is smooth and ready to receive the stain.
Cleaning
Before staining the wood, it is important to ensure that it is clean and free of any dust or debris. I usually use a damp cloth to wipe down the wood and remove any dirt or debris. If the wood is particularly dirty, I may use a power washer to clean it.
Chemical Stripping
If the wood has a previous finish, it may be necessary to strip it using a chemical stripper. Chemical strippers are designed to remove the previous finish and prepare the wood for staining. I usually follow the instructions on the chemical stripper and use a fine-grit sandpaper to remove any remaining residue.
Staining Technique
Finally, the staining technique is crucial in achieving the desired finish. I usually apply the stain using a brush or cloth and work in the direction of the grain. It is important to apply the stain evenly and not to over-apply it. I usually apply one coat of stain and then allow it to dry completely before applying a second coat.
In summary, proper preparation techniques are essential for achieving a beautiful and even finish when staining wood. Sanding, cleaning, chemical stripping, and staining technique are all important steps in the preparation process. By following these techniques, you can ensure that your wood takes the stain evenly and produces the desired finish.
Choosing the Right Staining Products
As a woodworker, I know that choosing the right staining product is crucial to achieving the desired results. There are many different types of wood stains on the market, each with their own unique characteristics. In this section, I will discuss some of the most popular types of wood stains and how to choose the right one for your project.
Water-Based Stain
Water-based stains are a popular choice for many woodworkers because they are easy to use and clean up with soap and water. They are also environmentally friendly and low in odor. However, they can be more difficult to apply evenly than oil-based stains, and they may raise the grain of the wood, requiring additional sanding.
Gel Stain
Gel stains are thicker than traditional wood stains, making them easier to apply and less likely to drip or run. They are ideal for use on vertical surfaces or for achieving a uniform color on uneven or porous wood. However, they do not penetrate the wood as deeply as other stains, so they may not be suitable for all projects.
Penetrating Wood Stain
Penetrating wood stains are designed to soak into the wood fibers, enhancing the natural grain and color of the wood. They are available in a range of colors and can be used on both interior and exterior wood surfaces. However, they may require a pre-stain wood conditioner to ensure even absorption and prevent blotching.
Wood Conditioner
Wood conditioners are used to prepare the wood surface for staining by sealing the pores and preventing uneven absorption. They are especially useful for softwoods, which can absorb stain unevenly and result in blotching. Pre-stain wood conditioners are available in both oil-based and water-based formulas.
Brands
There are many different brands of wood stains on the market, each with their own unique characteristics and color options. Some of the most popular brands include Minwax, Varathane, and General Finishes. When choosing a brand, it is important to consider factors such as price, availability, and reputation.
Pigments
Pigments are added to wood stains to create a specific color. They are available in both natural and synthetic forms and can be mixed together to create custom colors. When choosing a pigment, it is important to consider the color of the wood and the desired end result.
Dewaxed Shellac
Dewaxed shellac is a popular sealer for wood surfaces that will be stained. It is easy to apply and dries quickly, sealing the wood and preventing uneven absorption of the stain. However, it may not be suitable for all projects and should be tested on a small area before use.
In conclusion, choosing the right staining products is essential to achieving the desired results on your woodworking projects. By considering factors such as the type of wood, the desired color and finish, and the characteristics of different staining products, you can select the best product for your needs.
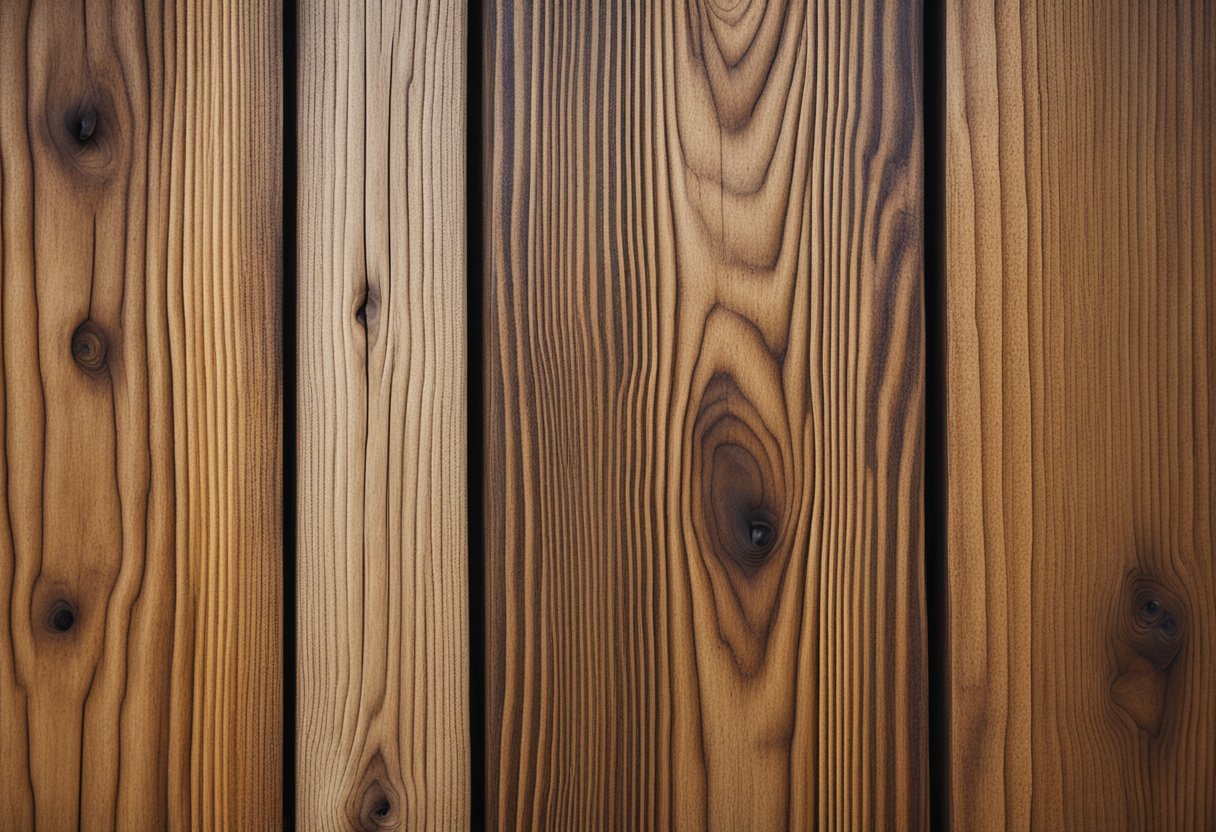
Applying Stain on Different Wood Surfaces
When it comes to applying stain on different wood surfaces, there are a few things you need to consider. First, it’s important to know that not all wood is created equal and some types of wood may not take stain as well as others.
For example, if you’re working with laminate or fake wood, you may have a harder time getting the stain to absorb evenly. In this case, it’s best to use a gel stain as it will adhere better to the surface and give you a more consistent finish.
On the other hand, if you’re working with raw wood, you may have an easier time applying stain since the surface is porous and will absorb the stain more readily. However, it’s important to note that even raw wood can have spots where the stain won’t take, especially if the wood has knots or other imperfections.
If you’re working with sealed wood, you’ll need to sand the surface before applying stain to ensure that the stain can penetrate the surface. If you don’t sand the surface, the stain will simply sit on top of the sealer and won’t absorb into the wood.
Lastly, it’s important to note that not all wood is real wood. If you’re working with a veneer or other type of fake wood, you may have a harder time getting the stain to absorb evenly. In this case, it’s best to use a gel stain and apply thin coats to build up the color.
In summary, when applying stain on different wood surfaces, it’s important to consider the type of wood you’re working with, whether it’s sealed or raw, and whether it’s real wood or a veneer. By taking these factors into account, you can ensure that your stain job comes out looking great.
Troubleshooting Staining Problems
As someone who has stained wood before, I know how frustrating it can be when the wood won’t take the stain in spots. Fortunately, there are several troubleshooting steps you can take to fix this issue.
Sanding
One common reason why wood won’t take stain in spots is because it was not sanded properly. Sanding is crucial for removing mill glaze, old stain, and excess stain. Make sure to sand the wood consistently and evenly to avoid any inconsistencies in the staining process.
Sealed Surface
Another reason why wood won’t take stain in spots is because it has a sealed surface. If the wood has been previously sealed with a finish, it will be difficult for the stain to penetrate the surface. In this case, you can try using a wood conditioner to help the wood absorb the stain.
Clogged Pores
If the pores of the wood are clogged, the stain won’t be able to penetrate the surface evenly. To fix this, try using a sawdust and stain mixture to fill in any gaps or pores in the wood. This will help the stain absorb more evenly.
End Grain
End grain is the most absorbent part of the wood, which means it can soak up more stain than other parts of the wood. To avoid this, try using a pre-stain wood conditioner on the end grain before applying the stain.
Tools
Using the wrong tools can also cause staining problems. Make sure to use a high-quality brush or applicator to apply the stain evenly. This will help prevent any inconsistencies in the staining process.
Mistakes
Finally, mistakes can happen during the staining process. If you make a mistake, don’t panic. You can always sand down the wood and start over. Just make sure to clean the surface thoroughly before applying the stain again.
By following these troubleshooting steps, you can fix most staining problems and achieve a consistent and even finish on your wood project.
Maintaining Your Stained Wood
Once your wood is stained, it is essential to maintain it properly to ensure it lasts a long time. Here are some tips to maintain your stained wood:
1. Regular Cleaning
Cleaning your stained wood regularly is essential to maintain its appearance. Use a soft cloth or a feather duster to remove dust and debris from the surface of the wood. Avoid using abrasive cleaners or chemicals that can damage the finish of the wood.
2. Avoid Harsh Weather Conditions
Exposure to harsh weather conditions can damage your stained wood. Avoid exposing your wood to high humidity, direct sunlight, or extreme temperature changes. If you live in an area with high humidity, consider using a dehumidifier to keep the moisture level in your home under control.
3. Apply a Protective Finish
Applying a protective finish to your stained wood can help maintain its appearance and protect it from damage. A protective finish can also make your wood more resistant to moisture, scratches, and stains. Consider using a clear polyurethane finish or a wax finish to protect your stained wood.
4. Reapply Coats as Needed
Over time, the protective finish on your stained wood may wear off, and the wood may start to look dull. To restore its appearance, you may need to reapply the protective finish. Follow the manufacturer’s instructions for the product you are using to ensure you apply it correctly.
5. Touch Up as Needed
If your stained wood gets scratched or damaged, you may need to touch it up to restore its appearance. Use a brush to apply a matching stain to the damaged area, and then wipe away any excess stain with a soft cloth. If the damaged area is large, you may need to sand the surface of the wood and apply a new coat of stain.
By following these tips, you can maintain the appearance of your stained wood and ensure it lasts a long time. Remember to clean your wood regularly, avoid harsh weather conditions, apply a protective finish, reapply coats as needed, and touch up as needed.
Privacy Policies and Contact Information
As a writer, I understand the importance of privacy policies and contact information. That’s why I want to make sure my readers have all the relevant information they need about my privacy policy, third-party partners, and contact information.
Firstly, I want to assure my readers that I take their privacy very seriously. I am committed to protecting their personal information and have implemented various measures to ensure it is secure. I adhere to the privacy policy of Active Interest Media (AIM), which is my parent company. AIM is a reputable media company that has been in the industry for over 40 years. Their privacy policy is comprehensive and outlines how they collect, use, and protect personal information.
In addition to AIM’s privacy policy, I also have my own privacy policy that outlines how I collect, use, and protect personal information. This policy can be found on my website and is accessible to all my readers. I encourage my readers to read my privacy policy and contact me if they have any questions or concerns.
I also work with third-party partners who may collect and use personal information. These partners include advertisers, analytics providers, and social media platforms. I only work with reputable partners who have their own privacy policies in place. I encourage my readers to read these policies and contact the partners directly if they have any questions or concerns.
Finally, I want to make sure my readers know how to contact me. I am always open to feedback, suggestions, and research opportunities. My contact information can be found on my website and includes my email address and social media handles. I encourage my readers to reach out to me if they have any questions or concerns.
In conclusion, I take privacy policies and contact information very seriously. I am committed to protecting my readers’ personal information and providing them with the information they need to make informed decisions. If you have any questions or concerns about my privacy policy or contact information, please do not hesitate to reach out to me.
Frequently Asked Questions
How can I fix light spots on wood after staining?
If you have light spots on your wood after staining, you can try to fix them by sanding the area lightly and reapplying the stain. Make sure to wipe off excess stain with a clean cloth and allow the stain to dry completely before applying a sealer.
How do I open wood grain to accept stain?
To open wood grain and allow it to accept stain, start by sanding the wood with coarse sandpaper. Then, gradually work your way up to finer grit sandpaper until the wood is smooth. You can also use a wood conditioner to help the wood accept the stain more evenly.
What causes one spot on wood to not take stain?
There are several reasons why one spot on wood may not take stain. It could be due to the type of wood, the presence of knots or sapwood, or the wood being too dry. It could also be due to sanding the wood too finely, which can close up the wood pores and prevent the stain from penetrating.
How do I remove excess stain that has dried?
If you have excess stain that has dried, you can try sanding the area lightly with fine-grit sandpaper or using a wood stain remover. Be sure to follow the manufacturer’s instructions carefully and wear protective gloves and eyewear.
Can a second coat of stain even out spots?
A second coat of stain can help to even out spots, but be careful not to apply too much or it may result in a darker, uneven finish. It’s best to apply a second coat of stain after the first coat has dried completely.
What are some tips for staining sealed wood?
If you’re staining sealed wood, it’s important to sand the surface lightly to help the stain adhere. You can also use a gel stain, which is thicker and will sit on top of the wood rather than penetrating it. Be sure to wipe off excess stain with a clean cloth and allow the stain to dry completely before applying a sealer.

Hi, I’m Sal Muller of Tooltrip.com. My DIY experience led me to understand essential power tools for home projects. Tooltrip.com guides enthusiasts and professionals in choosing right tools for any job. I provide concise top tool reviews for easier, efficient DIY.
