
Fixing uneven wood stain can be a challenging task for many woodworkers. Even the most experienced woodworkers can make mistakes when staining wood. The good news is that fixing uneven wood stain is not impossible. With the right tools, materials, and techniques, you can fix uneven wood stain and achieve a beautiful finish on your wood project.
Understanding wood stains is the first step in fixing uneven stains. Wood stains are designed to enhance the natural beauty of wood by adding color and depth. Wood stains come in different types, including oil-based stains, water-based stains, and gel stains. Each type of stain has its own unique properties and requires different techniques for fixing uneven stains.
Common wood staining mistakes can lead to uneven stains. Some of the most common wood staining mistakes include applying too much stain, not wiping off excess stain, and not sanding the wood properly before applying the stain. These mistakes can result in blotchy, streaky, or uneven stains. However, these mistakes can be easily fixed with the right tools and techniques.
Key Takeaways
- Understanding the type of wood stain is crucial in fixing uneven stains.
- Common wood staining mistakes can lead to uneven stains, but they can be easily fixed with the right tools and techniques.
- Proper preparation, including sanding and wiping off excess stain, is important in achieving an even wood stain.
Understanding Wood Stains
https://www.youtube.com/watch?v=u-n3i1TRolA&embed=true
As someone who has worked with wood stains for a while now, I can tell you that understanding the different types of wood stains and their properties is crucial to achieving a successful staining job.
There are two main types of wood stains: oil-based and water-based. Oil-based stains are made up of natural oils and solvents and are known for their durability and ability to penetrate deep into the wood. They are ideal for outdoor use as they are resistant to weathering and fading. Water-based stains, on the other hand, are made up of water and pigments and are known for their low odor, quick drying time, and ease of cleanup. They are ideal for indoor use as they are less toxic than oil-based stains.
Another type of wood stain is gel stain. Gel stains are thicker than traditional stains and are designed to sit on top of the wood rather than penetrate it. They are ideal for use on wooden surfaces with complex grain patterns, such as oak or walnut, as they do not blotch or streak.
It’s also important to consider the type of wood you are staining. Different types of wood absorb stains differently due to their varying densities and porosities. For example, pine, maple, and birch are known for their tight and uniform grain patterns, which makes them ideal for staining. On the other hand, cherry and poplar have more open grain patterns, which can result in uneven staining if not properly prepped.
Lastly, it’s important to prepare the wooden surface before applying the stain. This involves sanding the wood to remove any roughness and applying a pre-stain wood conditioner to ensure even absorption of the stain.
By understanding these different aspects of wood staining, you can achieve a beautiful and even finish on your wooden furniture or surfaces.
Common Wood Staining Mistakes
https://www.youtube.com/watch?v=vfeAxUfoEdE&embed=true
As someone who has stained a lot of wood, I can tell you that achieving a perfect stain job is not always easy. Even the most experienced DIYers can make mistakes. Here are some of the most common wood staining mistakes:
Excess Stain
One of the most common mistakes is applying too much stain. This can lead to a blotchy or streaky finish, as well as drips and other unwanted marks. To avoid this, always apply stain in thin, even coats. If you do end up with excess stain, wipe it off with a clean cloth before it dries.
Improper Sanding
Another common mistake is not sanding the wood properly before staining. This can lead to an uneven surface, with gouges and machine marks showing through the stain. To avoid this, always sand the wood thoroughly, starting with a coarse grit sandpaper and working your way up to a finer grit.
Poor Stain Absorption
If the wood you are staining is old or has been previously stained, it may not absorb the new stain evenly. This can lead to differences in color and an uneven stain job. To avoid this, always prepare the wood properly before staining. This may involve stripping the old stain or using a wood conditioner to help the wood absorb the new stain.
Poor Preparation
Finally, poor preparation can lead to a host of staining problems, including blotches, streaks, and an uneven surface. To avoid these issues, always prepare the wood properly before staining. This may involve cleaning the wood thoroughly, filling any scratches or holes, and ensuring that the wood is completely dry before applying the stain.
By avoiding these common wood staining mistakes, you can achieve a beautiful, even stain job every time.
Materials and Tools for Fixing Stains
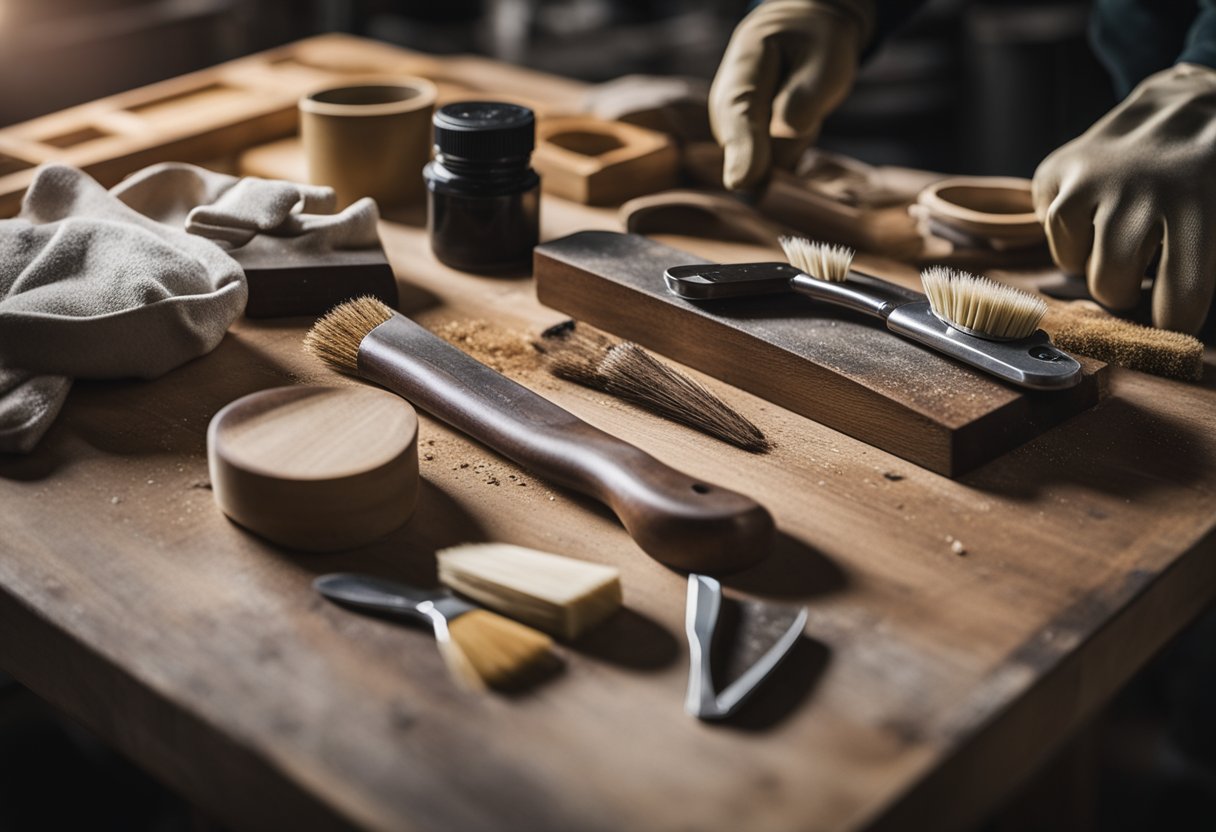
When it comes to fixing uneven wood stain, having the right materials and tools is crucial. Here are some of the items you’ll need to get the job done:
Sandpaper
One of the most important tools for fixing uneven wood stain is sandpaper. You’ll want to use sandpaper with a grit that’s appropriate for the job at hand. For example, if you’re working with a rough surface, you’ll want to start with a coarser grit and work your way up to a finer grit.
Mineral Spirits
Mineral spirits are a type of solvent that can be used to clean up oil-based stains and varnishes. They’re also useful for removing dirt and grime from wood surfaces.
Rags
Rags are essential for cleaning up spills and wiping down surfaces. You’ll want to use clean, lint-free rags to avoid leaving behind any debris.
Varnish
Varnish is a clear, protective finish that can be applied to wood surfaces. It can help to enhance the natural beauty of the wood while also protecting it from damage.
Glaze
Glaze is a type of translucent paint that can be used to create a variety of effects on wood surfaces. It can be used to add depth and dimension to a surface or to create a weathered or distressed look.
Sealant
A sealant is a protective coating that can be applied to wood surfaces to help prevent moisture damage. It can also help to enhance the natural color of the wood.
Cleaning Materials
In addition to the above-mentioned materials, you’ll also need some basic cleaning materials, such as a wood cleaner or wood stripper. These products can help to remove dirt, grime, and old finishes from wood surfaces, making them easier to work with.
Stain
Of course, you’ll also need some stain to fix your uneven wood stain. There are many different types of stains available, including water-based stains and oil-based stains. You’ll want to choose a stain that’s appropriate for the type of wood you’re working with and the look you’re trying to achieve.
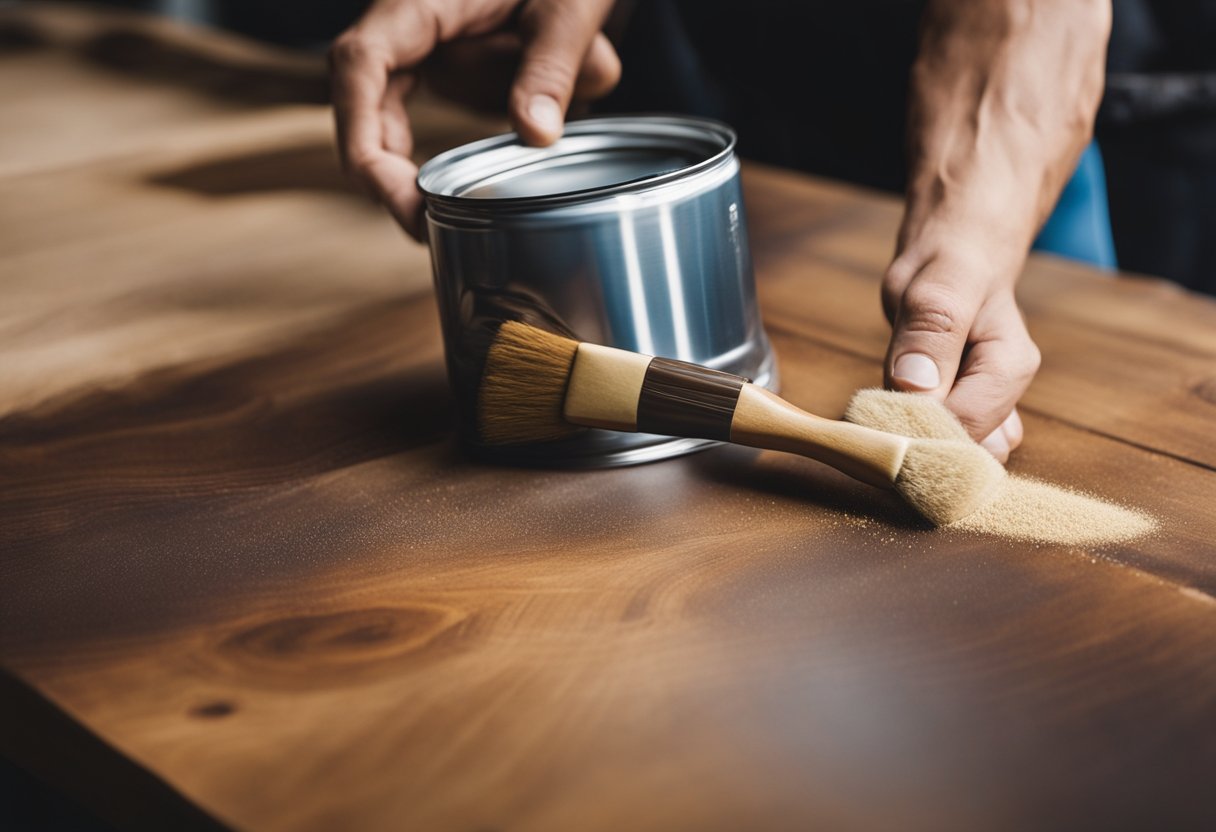
Paint Can
Finally, you’ll need a paint can or other container to mix your stain in. Make sure the container is clean and free of debris before you begin mixing your stain.
With these materials and tools, you’ll be well-equipped to fix any uneven wood stain.
Preparation Before Fixing Uneven Stains
https://www.youtube.com/watch?v=Kc3F0XkbWsU&embed=true
Before fixing uneven wood stains, it is important to prepare the project properly to ensure a successful outcome. Here are a few things to consider:
1. Strip the Wood
If the wood has been previously stained, it is important to strip it before applying a new coat of stain. This will remove any old stain or varnish that may interfere with the new stain and prevent it from penetrating the wood. There are various stripping solutions available in the market, and you can choose one that best suits your project.
2. Prevent Future Uneven Stains
Prevention is always better than cure. To prevent future uneven stains, it is important to use a wood conditioner before staining. A pre-stain wood conditioner helps to even out the absorption of stain, preventing blotches and streaks. It also helps to improve the appearance of the wood by enhancing the contrast of the grain.
3. Sand the Wood
Sanding the wood before staining is crucial to achieving a smooth and even finish. Sanding removes any rough spots, splinters, or bumps that may interfere with the absorption of the stain. Pay extra attention to corners and edges, as they are often missed during sanding and can result in uneven staining.
4. Troubleshooting
If you are a DIY enthusiast, it is important to troubleshoot any issues that may arise during the staining process. For example, if you notice that the stain is too dark, you can try wiping it off with a rag or sanding it down to lighten it. If you notice that the stain is too light, you can apply another coat of stain to deepen the color.
By following these preparation steps, you can ensure that your wood staining project is successful and results in a beautiful, even finish.
Step-by-Step Guide to Fixing Uneven Wood Stains
https://www.youtube.com/watch?v=eDqpjjl0laE&embed=true
If you’ve recently applied a wood stain and noticed that it is uneven, don’t worry. There are ways to fix it and achieve a flawless finish. In this guide, I will walk you through the steps to fix uneven wood stains.
Step 1: Identify the Cause of the Uneven Stain
Before you can fix the uneven stain, you need to identify the cause of the problem. Uneven staining can be caused by a variety of factors, including incorrect application, improper sanding, or over-application of stain. Once you have identified the cause, you can take the necessary steps to fix the problem.
Step 2: Re-Stain the Wood
If the uneven stain is due to incorrect application or over-application of stain, you may need to re-stain the wood. Before you do this, however, make sure to wipe off any excess stain using a clean cloth. Then, apply a coat of stain to the wood, making sure to apply it evenly. If necessary, apply additional coats until the desired color is achieved.
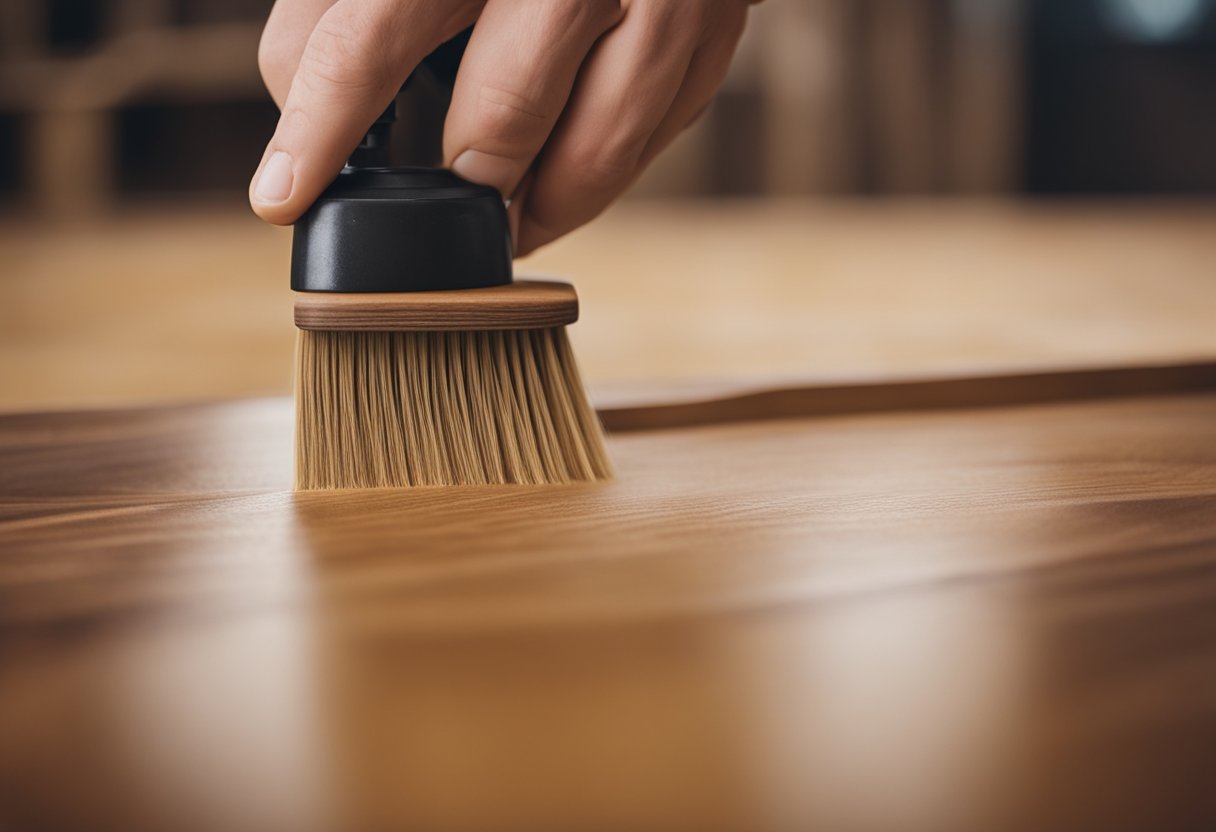
Step 3: Even the Wood with Gel Stain
If the uneven stain is due to scratches or end grain, you may need to use a gel stain to even out the color. Gel stains are thicker than traditional stains and can be applied to specific areas of the wood to even out the color. Apply the gel stain with a brush or cloth, making sure to apply it evenly. Allow the gel stain to dry completely before applying additional coats.
Step 4: Apply Additional Coats of Stain
If the uneven stain is due to a lack of pigment or sheen, you may need to apply additional coats of stain. Apply the additional coats of stain in the same manner as the initial coat, making sure to apply it evenly. Allow each coat to dry completely before applying the next coat.
Step 5: Apply Coats of Finish
Once the stain is even, you can apply coats of finish to protect the wood and give it a polished look. Apply the finish in the same manner as the stain, making sure to apply it evenly. Allow each coat to dry completely before applying the next coat.
By following these steps, you can fix uneven wood stains and achieve a flawless finish. Remember to identify the cause of the problem, re-stain the wood if necessary, even out the color with gel stain, apply additional coats of stain if needed, and apply coats of finish to protect the wood.
Troubleshooting Persistent Staining Problems
https://www.youtube.com/watch?v=i-2uPWu1Uro&embed=true
When it comes to wood staining, sometimes even the most experienced DIYers can run into persistent problems. Here are some common staining problems and how to troubleshoot them:
Splotchy Stains
Splotchy stains can be caused by a number of factors, including uneven sanding or inconsistent application of the stain. To fix this issue, I recommend sanding the entire surface down to bare wood and starting over with a fresh coat of stain. Be sure to follow the manufacturer’s instructions carefully and apply the stain evenly to avoid splotches.
Natural Beauty
One common issue with wood staining is that the natural beauty of the wood can be obscured by the stain. To avoid this problem, choose a stain that enhances the natural grain and color of the wood. For example, a clear or light-colored stain can help bring out the natural beauty of pine or oak.
Uneven Staining
Uneven staining can be caused by a number of factors, including improper sanding, uneven application, or a poor quality stain. To fix this issue, I recommend sanding the stained area down to bare wood and starting over with a fresh coat of stain. Be sure to apply the stain evenly and follow the manufacturer’s instructions carefully.
Other Tips
- Always test the stain on a small, inconspicuous area before applying it to the entire surface.
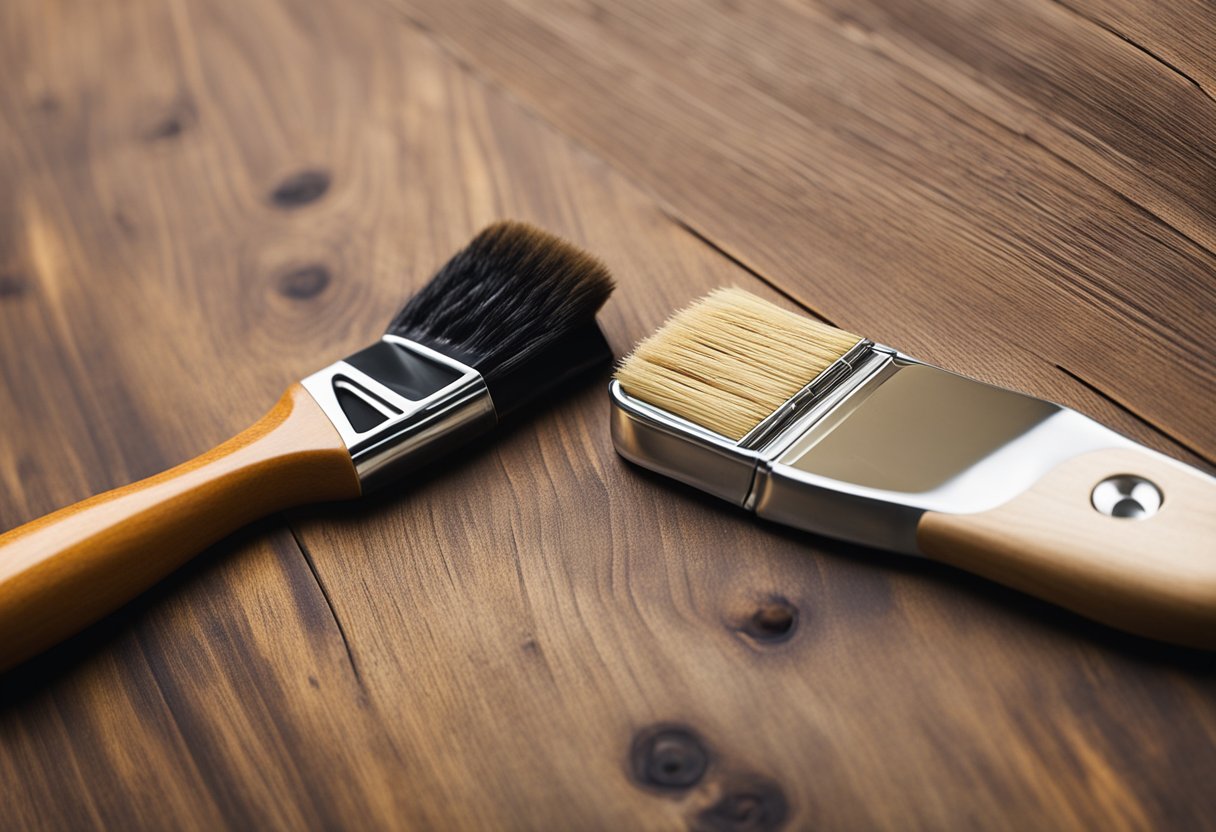
- Use a high-quality brush or applicator to ensure even application of the stain.
- Be sure to clean and prepare the surface properly before staining to ensure the best results.
By following these tips and troubleshooting persistent staining problems, you can achieve a beautiful, even finish on your wood surfaces.
Conclusion
In conclusion, fixing uneven wood stain is not an impossible task. With a few simple steps, you can restore the natural beauty of your wooden surfaces.
One of the most important things to keep in mind when fixing uneven wood stain is to properly prepare the surface before staining. Sanding the surface and removing any dirt or debris can help ensure that the stain is applied evenly.
Another important aspect to consider is the type of stain you are using. Oil-based stains tend to be more difficult to work with and may require additional steps to ensure an even application. On the other hand, water-based stains are easier to work with and tend to dry more quickly.
After applying the stain, it is important to let it dry completely before applying a topcoat. The topcoat, such as polyurethane, can help protect the wood and provide a smooth, even finish.
Overall, fixing uneven wood stain requires patience and attention to detail. By following these simple steps, you can achieve professional-looking results and restore the natural beauty of your wooden surfaces.
Frequently Asked Questions
How can I fix dark spots on my stained wood?
Dark spots on stained wood can be caused by a variety of factors, including uneven application of the stain, inconsistent wood grain, or the presence of knots or other imperfections in the wood. To fix dark spots, you can try sanding the affected area to remove the top layer of stain and then reapplying the stain in a consistent manner. If the dark spots are particularly stubborn, you may need to use a wood bleach or a specialized stain remover to lift the color from the wood before applying a fresh coat of stain.
How do I fix blotchy stain without sanding?
If you want to fix blotchy stain without sanding, you can try applying a wood conditioner or pre-stain sealer to the wood before you apply the stain. This can help to even out the color and reduce the appearance of blotchiness. Another option is to use a gel stain, which is thicker and more consistent than traditional liquid stains and can help to mask imperfections in the wood. However, keep in mind that these methods may not work for every type of wood or every type of stain, so it’s always a good idea to test a small, inconspicuous area first before applying the stain to the entire surface.
Can polyurethane help even out an uneven stain?
Polyurethane can help to even out an uneven stain by creating a protective barrier over the wood that can help to mask imperfections and even out the color. However, keep in mind that polyurethane will not actually change the color of the wood, so if the stain is significantly uneven, you may need to sand the wood and reapply the stain before applying the polyurethane.
What causes uneven wood color after sanding and how can it be fixed?
Uneven wood color after sanding can be caused by a variety of factors, including inconsistent sanding technique, the presence of knots or other imperfections in the wood, or differences in the wood grain. To fix uneven wood color after sanding, you can try using a wood conditioner or pre-stain sealer to even out the color before applying the stain. You can also try using a gel stain, which is thicker and more consistent than liquid stains and can help to mask imperfections in the wood.
How do I fix uneven stain on my deck?
To fix uneven stain on your deck, you may need to sand the affected areas to remove the top layer of stain and then reapply the stain in a consistent manner. If the unevenness is particularly severe, you may need to use a wood bleach or a specialized stain remover to lift the color from the wood before applying a fresh coat of stain. Keep in mind that fixing uneven stain on a deck can be a time-consuming and labor-intensive process, so it’s important to set aside enough time and resources to complete the job properly.
What is the best way to fix overlapping stain marks?
To fix overlapping stain marks, you can try sanding the affected areas to remove the excess stain and then reapplying the stain in a consistent manner. You can also try using a wood bleach or a specialized stain remover to lift the excess color from the wood before applying a fresh coat of stain. Keep in mind that fixing overlapping stain marks can be a delicate process, so it’s important to work carefully and methodically to avoid making the problem worse.

Hi, I’m Sal Muller of Tooltrip.com. My DIY experience led me to understand essential power tools for home projects. Tooltrip.com guides enthusiasts and professionals in choosing right tools for any job. I provide concise top tool reviews for easier, efficient DIY.
