
Darkening wood stain is a simple process that can help you achieve a richer, more vibrant color on your woodwork. Whether you’re looking to darken an existing stain or create a new one, there are several techniques you can use to achieve your desired result. In this article, I’ll be sharing some effective methods to darken wood stain and provide tips to help you avoid common mistakes.

Before we dive into the techniques, it’s important to understand how wood stains work. Stains are designed to penetrate the wood and enhance the natural grain, but they can also be used to change the color of the wood. The color of the stain is determined by the type of wood, the type of stain, and the number of coats applied. Understanding these factors can help you choose the right stain and technique to achieve your desired color.
Key Takeaways
- Understanding the type of wood and stain is crucial to achieving the desired color.
- Proper preparation of the wood surface is necessary for the stain to adhere and penetrate properly.
- Techniques such as applying multiple coats, using a darker stain, and sanding the wood can help achieve a darker stain.
Understanding Wood Stains
As someone who has worked with wood stains for a while, I can tell you that there are many different types of stains. Each type of stain has its own unique properties and characteristics that make it better suited for certain projects. Understanding these differences can help you choose the right stain for your project and achieve the desired result.
Types of Stains
There are two main types of wood stains: pigment stains and dye stains. Pigment stains contain small particles of color that sit on top of the wood and create an opaque finish. Dye stains, on the other hand, penetrate the wood fibers and create a more transparent finish.
Within these two categories, there are also oil-based stains and water-based stains. Oil-based stains are easier to work with and provide a deeper color than water-based stains. However, they take longer to dry and can emit harmful fumes. Water-based stains are more eco-friendly and dry faster, but they don’t penetrate the wood fibers as deeply as oil-based stains.
Choosing the Right Color
Choosing the right color for your stain is also important. Darker stains tend to make the wood look richer and more luxurious, while lighter stains can make the wood look more natural and rustic. However, the color of the wood you are staining will also affect the final color of the stain. For example, staining a light-colored wood with a dark stain may result in a muddy or uneven finish.
Gel Stains
Gel stains are another type of stain that are becoming increasingly popular. Gel stains are thicker than traditional stains and are easier to apply without drips or runs. They also tend to provide a more even finish, which is especially helpful for staining large surfaces.
Wood Dyes
Wood dyes are another option for darkening wood. Dyes penetrate the wood fibers more deeply than stains and can create a more uniform color. However, they can be more difficult to work with and require more skill to apply evenly.
In conclusion, understanding the different types of wood stains, choosing the right color, and considering alternative options like gel stains and wood dyes can help you achieve the desired result when darkening wood stain.
Preparation for Staining
Before staining your wood, it is essential to prepare the surface properly. Proper preparation ensures that the stain adheres to the wood surface and penetrates the wood fibers evenly. Here are some steps to follow when preparing your wood surface for staining.
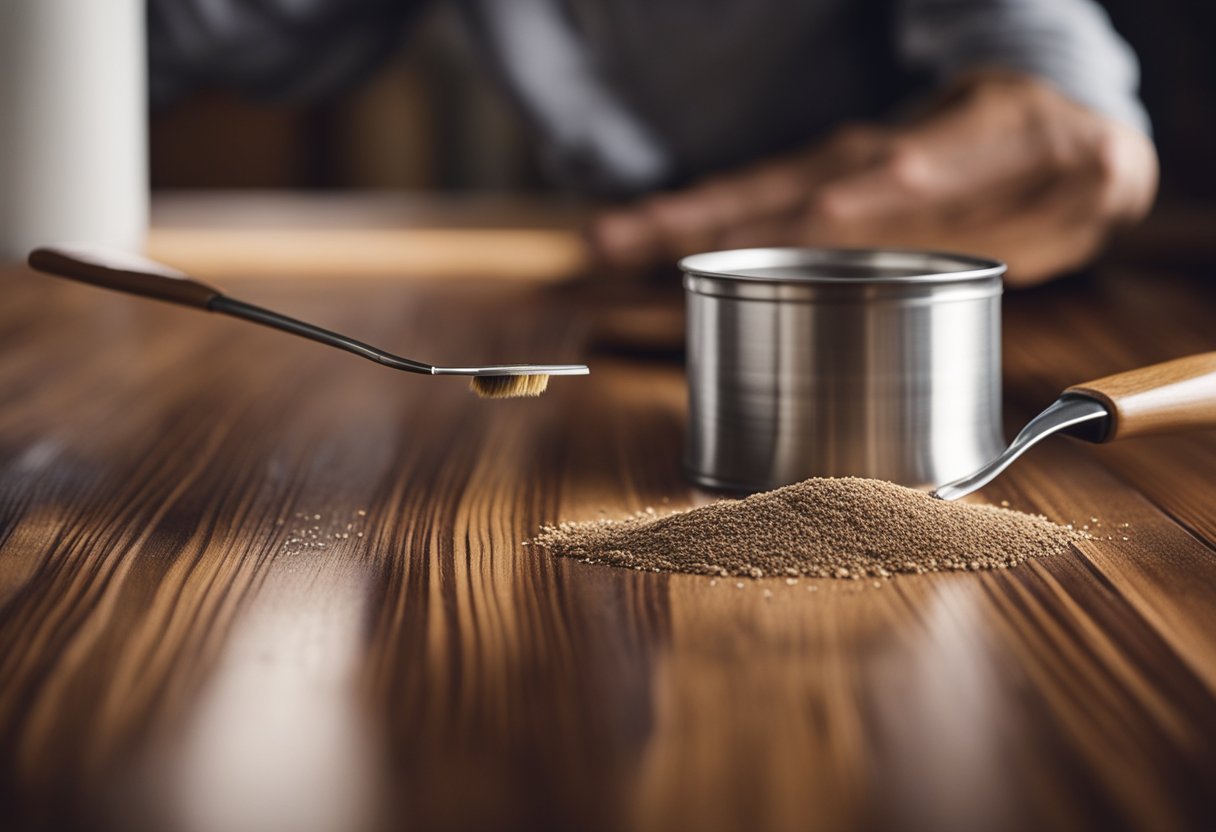
Sanding
Sanding is an essential step in preparing your wood surface for staining. Sanding helps to open up the wood pores and remove any existing finish. The type of sandpaper you use depends on the type of wood and the finish you are removing. I recommend using a fine-grit sandpaper (120-150 grit) for most wood surfaces. A sanding block can also be used to ensure that the sanding is even.
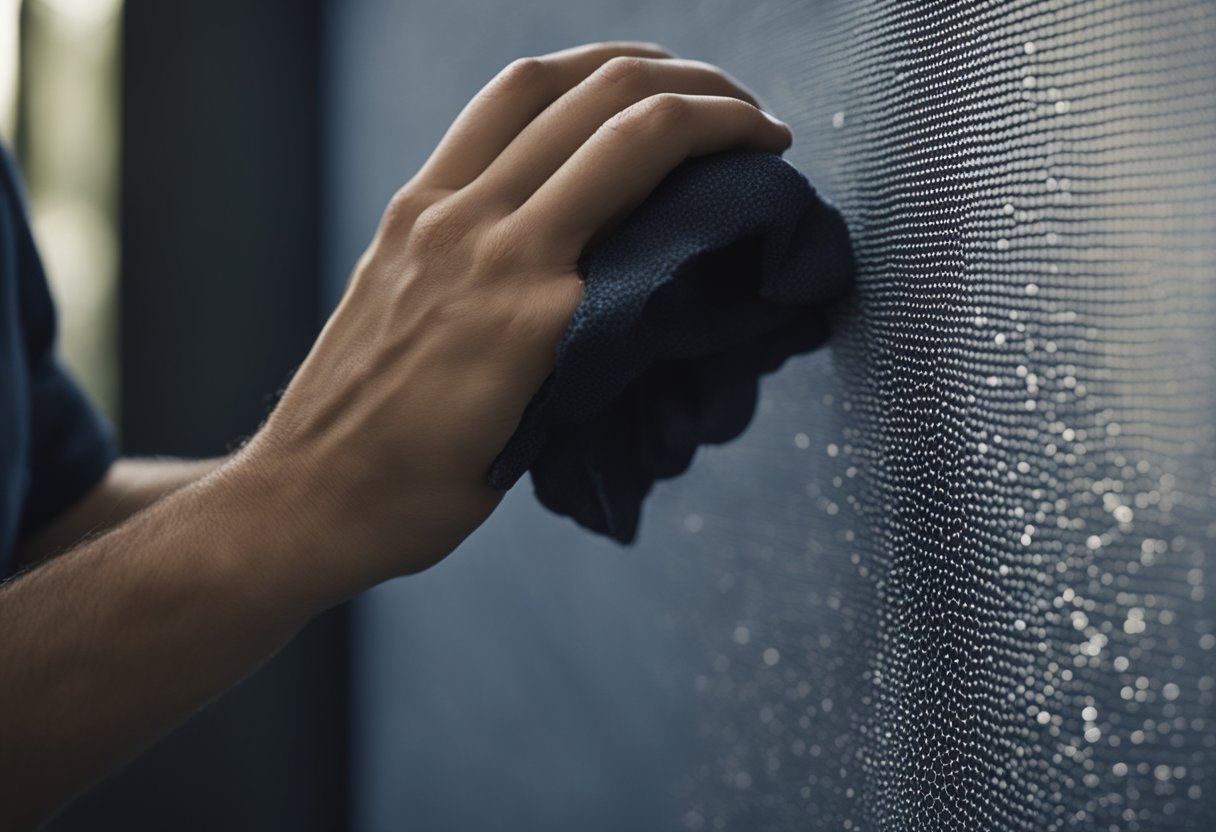
Cleaning
After sanding, it is important to clean the wood surface thoroughly. Use a mild cleanser such as a 50/50 mix of vinegar and water to clean the surface. Avoid using an oil-based cleaner as it can clog the open pores in the wood. Cleaning the surface ensures that the wood pores remain open and ready to receive the stain.
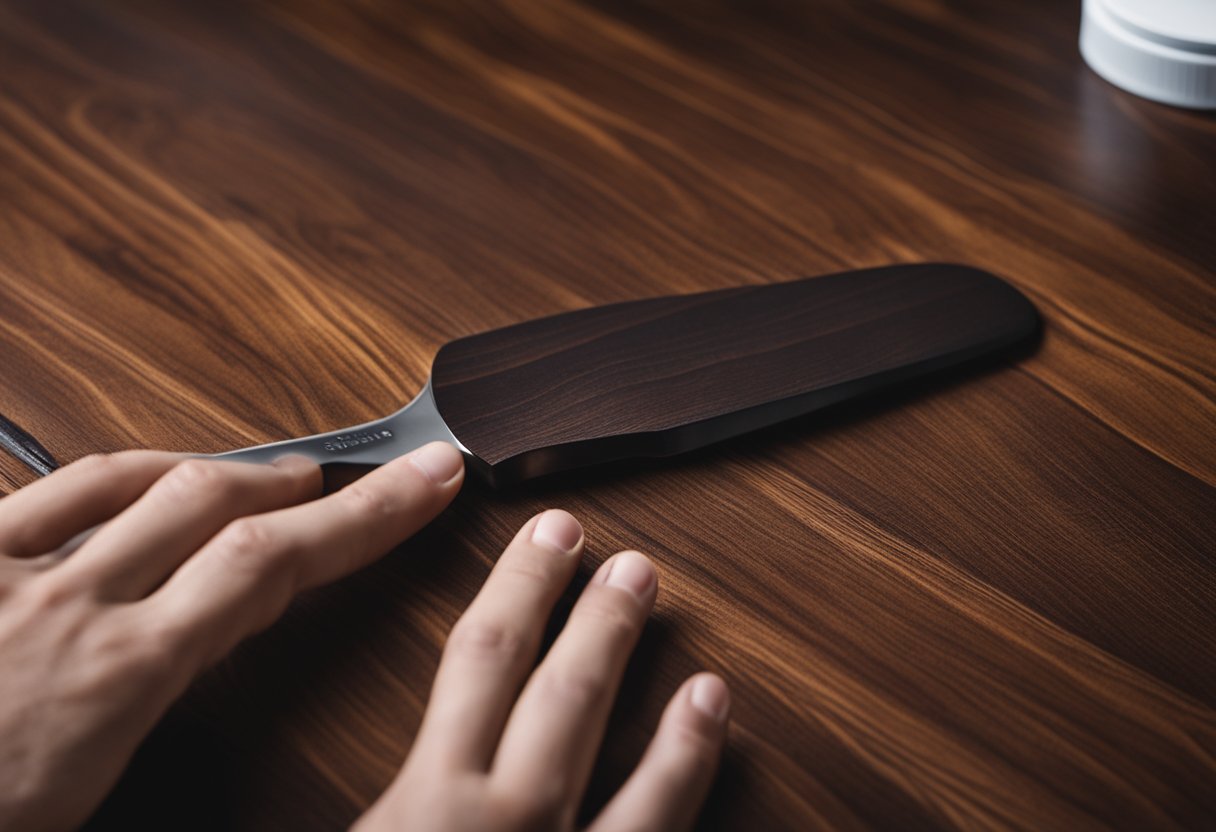
Preparing the Wood
If you are staining new wood, it is important to prepare the surface properly. New wood surfaces have a mill glaze that can prevent the stain from penetrating the wood fibers evenly. To remove the mill glaze, you can use a wood conditioner. A wood conditioner helps to open up the wood pores and prepares the surface for staining.
In summary, proper preparation is essential for achieving a great stain finish. Sanding helps to open up the wood pores, cleaning ensures that the pores remain open, and preparing the wood helps to remove any mill glaze. By following these steps, you can ensure that your wood surface is ready for staining.
Choosing the Right Wood
When it comes to staining wood, the type of wood you choose will greatly affect the final result. Some woods are naturally darker and more porous than others, making them easier to stain to a darker shade. Here are some popular types of wood and how they react to staining:
Oak
Oak is a popular choice for furniture and flooring due to its hardness and durability. It has a prominent grain pattern that can add character to a stained piece. However, oak is also known for its porousness, which can make it difficult to achieve an even stain. To avoid blotchiness, it is recommended to use a pre-stain conditioner before applying the stain.
Pine
Pine is a softer wood that is commonly used for furniture and decorative pieces. It has a subtle grain pattern that can be enhanced with a darker stain. However, pine is also known for its tendency to absorb stain unevenly, resulting in a blotchy appearance. To avoid this, it is important to use a wood conditioner and sand the wood thoroughly before applying the stain.
Cherry
Cherry is a popular choice for high-end furniture due to its rich, warm color and smooth grain pattern. It is a hardwood that is fairly easy to stain, but it is important to note that cherry will darken over time with exposure to light. To maintain the original color, it is recommended to use a UV-resistant finish.
Walnut
Walnut is a dark, rich wood with a distinctive grain pattern that can be enhanced with a darker stain. It is a hardwood that is fairly easy to stain, but it is important to note that walnut can be sensitive to certain types of wood conditioners. It is recommended to test the conditioner on a small, inconspicuous area before applying it to the entire piece.
Ash
Ash is a hardwood that is known for its strength and elasticity. It has a subtle grain pattern that can be enhanced with a darker stain. However, ash is also known for its tendency to absorb stain unevenly, resulting in a blotchy appearance. To avoid this, it is important to use a wood conditioner and sand the wood thoroughly before applying the stain.
Hardwood Floors
When staining hardwood floors, it is important to choose a stain that is specifically designed for flooring. These stains are formulated to penetrate the wood and provide a durable finish that can withstand foot traffic. It is also important to sand the floors thoroughly before applying the stain to ensure an even finish.
In general, it is best to choose a wood that is naturally darker and more porous if you want to achieve a darker stain. However, with the right preparation and technique, it is possible to darken the stain on any type of wood.
Techniques to Darken Stain
When it comes to darkening stain, there are several techniques that can be used. Here are some of the most effective techniques that I have found:
1. Apply Additional Coats
One of the simplest ways to darken stain is to apply additional coats. The more coats you apply, the darker the stain will become. However, keep in mind that this technique can only darken the color to a certain extent.
2. Use a Darker Stain
Another effective technique is to use a darker stain. This technique is especially useful if you want to achieve a specific shade or color. Be sure to choose a stain that is darker than your current stain to achieve the desired effect.
3. Allow Longer Drying Time
Allowing the stain to dry for a longer period of time can also result in a darker color. This is because the longer the stain sits on the wood, the more it will penetrate into the grain.
4. Use a Pre-Stain Conditioner
Using a pre-stain conditioner can help to even out the color of the wood and ensure that the stain is absorbed evenly. This can result in a more consistent and darker color.
5. Experiment with Different Application Techniques
Different application techniques can also affect the color of the stain. For example, applying the stain with a brush can result in a darker color than using a rag or sponge.
6. Apply a Gel Stain
Gel stains are thicker than traditional stains and can result in a darker color. They are also easier to control and can be applied more evenly.
7. Add a Tinted Topcoat
Adding a tinted topcoat can also darken the color of the stain. Be sure to choose a topcoat that is darker than your current stain to achieve the desired effect.
When darkening stain, it is important to keep in mind the direction of the grain. Always apply the stain in the direction of the grain to ensure an even and consistent color. With these techniques, you can achieve a darker, richer color that will enhance the beauty of your wood.
Application of Stain
When it comes to applying stain, there are a few things to keep in mind to ensure a successful outcome. First and foremost, it’s important to properly prepare the wood surface before applying the stain. This includes sanding the wood to a smooth finish and ensuring that it’s free of any dirt or debris.
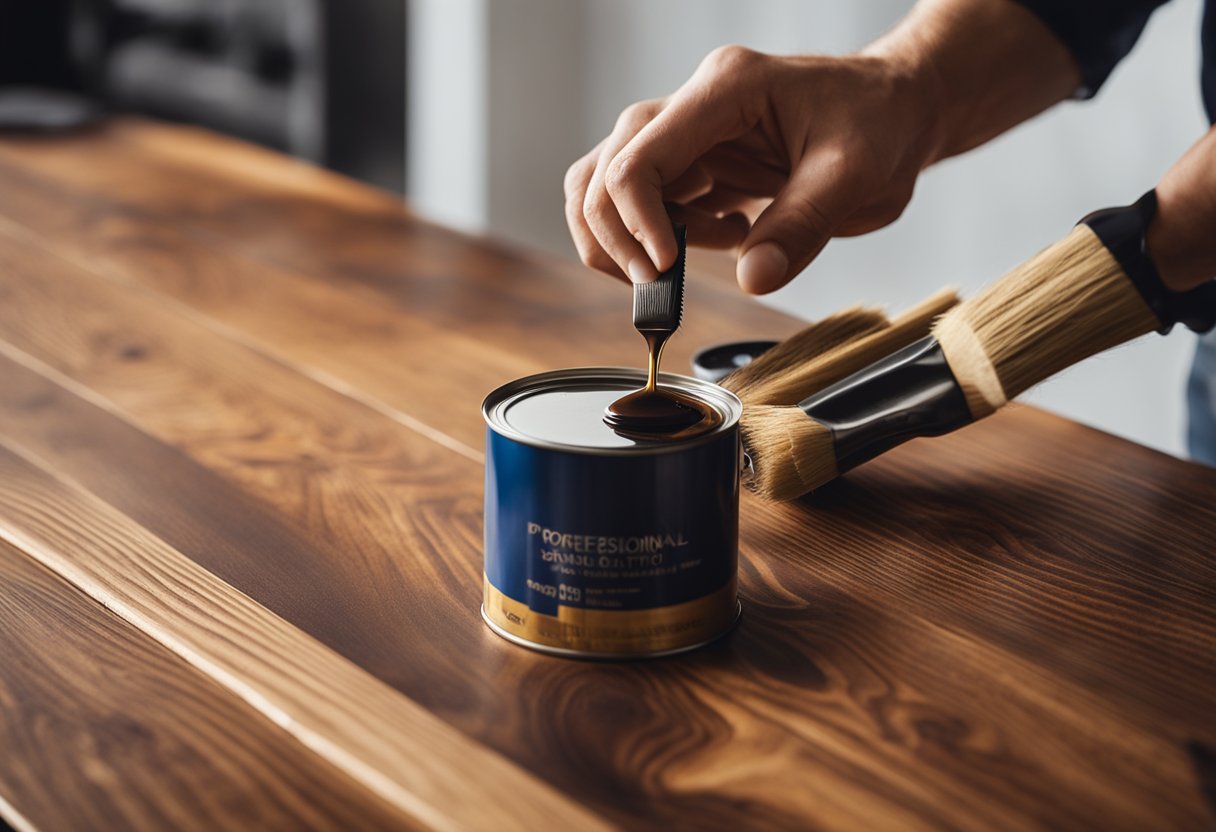
Once the wood is properly prepared, it’s time to apply the stain. There are a few different methods for applying stain, including wiping, dirty wiping, and using a lint-free cloth. The method you choose will depend on the type of stain you’re using and the desired outcome.
If you’re using a wiping stain, simply apply the stain with a brush or cloth and wipe away any excess with a clean cloth. For a darker finish, you may need to apply multiple coats of stain, allowing each coat to dry completely before applying the next.
A dirty wipe is another method for achieving a darker finish. This involves applying the stain and then wiping it away with a dirty cloth, which leaves behind a darker color in the wood grain. Be sure to use a lint-free cloth for this method to avoid leaving behind any fibers in the stain.
No matter which method you choose, it’s important to wipe away any excess stain to avoid a blotchy finish. And always remember to follow the manufacturer’s instructions for best results.
Overall, applying stain is a straightforward process that can be easily accomplished with a little bit of knowledge and preparation. With the right tools and techniques, you can achieve a beautiful, dark finish on any wood surface.
Natural Methods for Darkening
As an alternative to chemical-based stains, there are natural methods for darkening wood stain. Here are some of the most effective ones:
Coffee
Coffee is a natural and easy way to darken wood stain. Brew a strong pot of coffee and let it cool. Then, using a paintbrush, apply the coffee to the surface of the wood. Allow the coffee to sit for a few hours before wiping away the excess. The longer you leave the coffee on, the darker the wood will become. Repeat the process until you achieve the desired color.
Vinegar and Water
Vinegar is another natural solution for darkening wood stain. Mix equal parts vinegar and water in a spray bottle and apply it to the wood. Allow the mixture to sit for a few minutes before wiping it away with a clean cloth. The vinegar will react with the tannins in the wood, darkening the stain. This method is best for lighter colored woods.
Black Tea
Black tea is another natural option for darkening wood stain. Brew a pot of black tea and let it cool. Then, using a paintbrush, apply the tea to the wood. Allow the tea to sit for a few hours before wiping away the excess. The tannins in the tea will react with the wood, darkening the stain. Repeat the process until you achieve the desired color.
In conclusion, natural methods for darkening wood stain are effective and easy to use. Coffee, vinegar and water, and black tea are all great options for achieving a darker stain without the use of harsh chemicals.
Protecting and Finishing the Wood
Once you have achieved the desired darkness of your wood stain, it is important to protect and finish the wood properly. This will ensure that your hard work lasts for many years to come. There are several options available, including polyurethane wood finish, polyurethane seal, glaze, toner, and existing finish.
Polyurethane wood finish is a popular choice for protecting and finishing stained wood. It is durable and long-lasting, and it comes in both oil-based and water-based varieties. Oil-based polyurethane offers a warm, amber tone and is ideal for darker stains, while water-based polyurethane dries clear and is ideal for lighter stains.
Polyurethane seal is another option for protecting and finishing stained wood. It is a clear, protective coating that can be applied over the stain to provide additional protection. It is ideal for high-traffic areas and can help prevent scratches and other damage.
If you want to add a decorative touch to your stained wood, a glaze can be applied over the stain. A glaze is a transparent or semi-transparent coating that is applied over the stain to create depth and dimension. It is available in a variety of colors and can be used to create a variety of effects, including antique, distressed, and crackled.
A toner can also be applied between coats of finish to adjust the color of the stain. It is a transparent or semi-transparent coating that is tinted to a specific color and applied over the stain. It can be used to adjust the color of the stain to match the surrounding wood or to create a custom color.
If your wood already has a finish, such as varnish or lacquer, you can simply apply another coat of the same finish over the stained wood. This will provide additional protection and enhance the appearance of the wood.
In summary, protecting and finishing stained wood is an important step in the staining process. There are several options available, including polyurethane wood finish, polyurethane seal, glaze, toner, and existing finish. Each option has its own benefits and drawbacks, so it is important to choose the one that best suits your needs.
Common Mistakes and Solutions
When it comes to staining wood, mistakes can happen. However, with a little bit of knowledge and some trial and error, you can avoid common mistakes and achieve the desired darker coloring for your woodworking project.
One of the most common mistakes is not blending the stain properly. If you apply the stain unevenly, you will end up with splotchy areas that are lighter or darker than the rest of the wood. To avoid this, make sure to stir the stain thoroughly before applying it. Also, wipe off any excess stain with a clean cloth, and blend the stain with a brush or a rag.
Another mistake is not preparing the wood properly. If the wood is not sanded or conditioned before staining, the stain will not absorb evenly, resulting in a patchy finish. To avoid this, sand the wood with a fine-grit sandpaper, and then clean it with a tack cloth to remove any dust or debris. Also, apply a wood conditioner before staining to help the wood absorb the stain more evenly.
If you are staining a large piece of furniture or a wooden door, it is important to work in sections to avoid lap marks or uneven coloring. Start at one end and work your way to the other, making sure to blend the stain as you go. If you need to take a break, make sure to stop at a natural break point, such as a corner or an edge.
Finally, if you want to achieve a dark wood finish, it is important to choose the right type of stain. Some stains are designed to enhance the natural color of the wood, while others are designed to darken it. Make sure to read the label carefully and choose a stain that is appropriate for your project.
By avoiding these common mistakes and following these simple solutions, you can achieve a beautiful, dark wood finish on your flooring, furniture, or other woodworking projects.
Frequently Asked Questions
How can I darken wood stain without sanding?
If you want to darken wood stain without sanding, there are a few options you can try. One option is to use a darker stain. Another option is to use a pre-stain conditioner, which can help the wood absorb more stain. You can also try applying a tinted topcoat to the wood to darken the color.
What is the best way to make a grey stain darker?
To make a grey stain darker, you can try applying a second coat of stain. You can also try using a darker grey stain or mixing a small amount of black or brown pigment into the stain.
Can I put a darker stain over an existing stain?
Yes, you can put a darker stain over an existing stain. However, it’s important to note that the existing stain will affect the final color of the wood. If you want to achieve a specific color, it’s best to test the new stain on a small, inconspicuous area first.
Is it possible to darken stained wood without sanding?
Yes, it is possible to darken stained wood without sanding. You can try using a darker stain or applying a tinted topcoat. You can also try using a pre-stain conditioner to help the wood absorb more stain.
Will applying two coats of stain make it darker?
Applying two coats of stain can make the wood darker, but it’s important to note that the final color will depend on the type of wood and the type of stain used. It’s best to test the stain on a small, inconspicuous area first to see how it will look.
Why isn’t my stain getting darker?
There are several reasons why your stain may not be getting darker. One reason could be that the wood is too smooth, which can prevent the stain from penetrating. Another reason could be that the stain is not being left on long enough. It’s also possible that the wood is too old or has been exposed to too much sunlight, which can affect the color.

Hi, I’m Sal Muller of Tooltrip.com. My DIY experience led me to understand essential power tools for home projects. Tooltrip.com guides enthusiasts and professionals in choosing right tools for any job. I provide concise top tool reviews for easier, efficient DIY.
