
Wet sanding acrylic enamel is a process that involves using a sandpaper and water to remove the top layer of paint. It is a technique that is often used to achieve a glossy finish on a car’s paint job. Wet sanding can be a tricky process, but when done correctly, it can give your car a professional-looking finish.

Understanding wet sanding and acrylic enamel is key to achieving a high-quality result. Acrylic enamel paint is a type of paint that is commonly used in the automotive industry. It is durable and provides a glossy finish. Wet sanding is a process that involves using a sandpaper and water to remove the top layer of paint. When these two processes are combined, they can help you achieve a smooth and glossy finish on your car’s paint job.
Key Takeaways
- Wet sanding acrylic enamel is a process that involves using a sandpaper and water to remove the top layer of paint.
- Understanding wet sanding and acrylic enamel is key to achieving a high-quality result.
- Wet sanding can help you achieve a smooth and glossy finish on your car’s paint job.
Understanding Wet Sanding and Acrylic Enamel
https://www.youtube.com/watch?v=6iMAoxo_BT4&embed=true
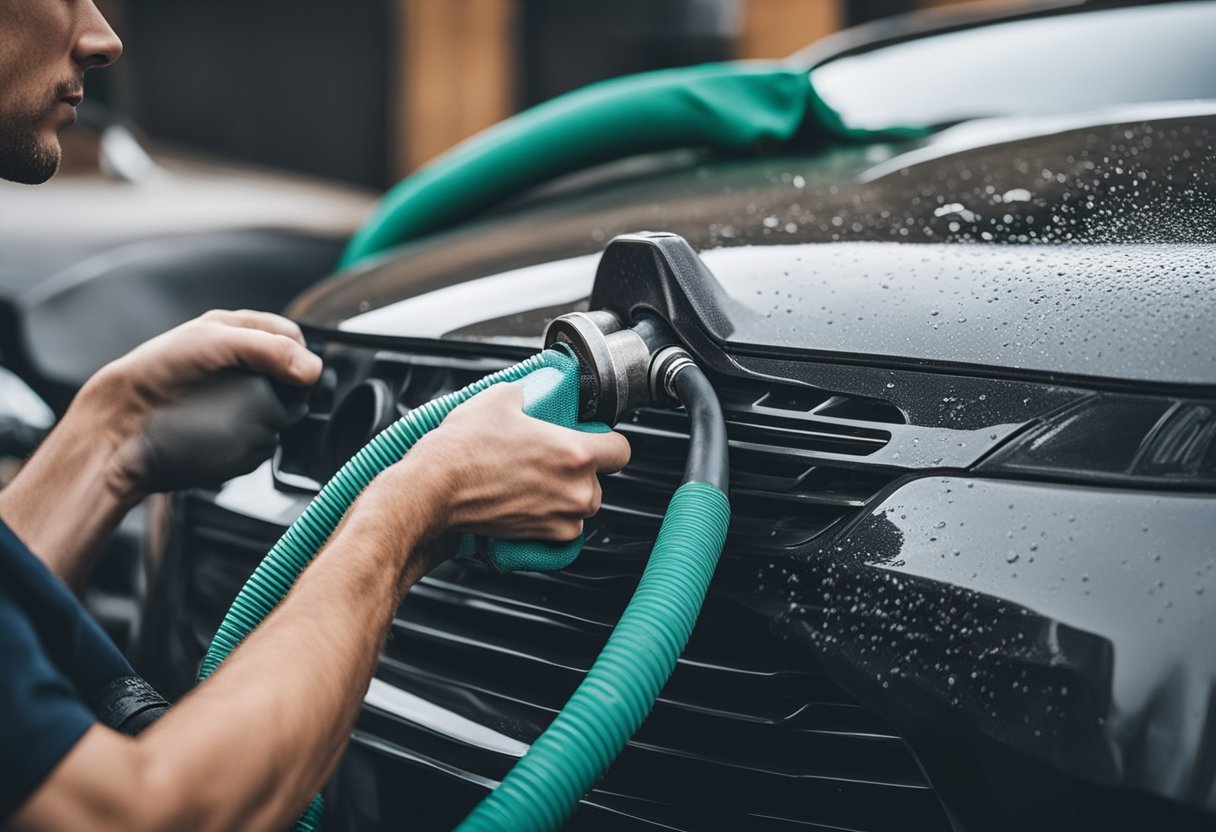
Wet sanding is a technique used to smooth out the surface of a painted car or other object. It involves using water to lubricate the sandpaper and prevent it from clogging up with paint particles. Wet sanding is commonly used to remove orange peel, which is a textured surface that can appear on a freshly painted car.
Acrylic enamel is a type of enamel paint that is commonly used on cars. It is known for its durability and resistance to fading. Acrylic enamel paint is a single-stage paint, which means that it does not require a clear coat.
When wet sanding acrylic enamel paint, it is important to use the correct grit sandpaper. Using too coarse of a grit can damage the paint, while using too fine of a grit may not remove enough of the orange peel. Typically, 1000 to 2000 grit sandpaper is used for wet sanding acrylic enamel paint.
It is also important to use the correct technique when wet sanding. The sandpaper should be held at a 45-degree angle to the surface being sanded, and should be moved in a circular motion. The sandpaper should be wet at all times, and should be rinsed frequently to prevent clogging.
Overall, wet sanding is a useful technique for achieving a smooth, professional-looking finish on a painted car or other object. When used correctly on acrylic enamel paint, it can help to remove orange peel and other imperfections, resulting in a flawless finish.
Materials Required for Wet Sanding Acrylic Enamel

Wet sanding acrylic enamel requires specific materials to ensure a smooth and glossy finish. Here are the materials you will need:
Sandpaper
To wet sand acrylic enamel, you will need sandpaper with a grit between 1000 and 1500. High-grade sandpaper is recommended for the best results. It is important to use the right grit sandpaper to avoid damaging the paint.
Water
Water is essential for wet sanding acrylic enamel. It lubricates the sandpaper and prevents it from clogging. You will need a constant supply of clean water for the duration of the wet sanding process.
Soap
Using soap in the water can help to remove any dirt or debris that may be on the surface of the paint. This will ensure that the sandpaper does not scratch the paint.
Sanding Block
A sanding block is a tool used to hold the sandpaper in place and apply even pressure to the surface being sanded. It is important to use a sanding block to avoid uneven sanding and to prevent damage to the paint.
Rubbing Compound
After wet sanding, you will need to apply a rubbing compound to the surface to restore its shine. Rubbing compound is a type of abrasive paste that removes scratches and imperfections from the paint.
Clear Coat
Once the rubbing compound has been applied, a clear coat can be added to protect the paint and provide a glossy finish. Clear coat is a transparent layer of paint that is applied over the base coat.
Drop Cloth
To prevent any mess or damage to the surrounding area, it is important to use a drop cloth to cover the ground and any nearby objects.
Primer and Base Coat
Before applying the acrylic enamel paint, it is important to apply a primer and base coat. The primer prepares the surface for the paint and the base coat provides a solid foundation for the paint to adhere to.
In conclusion, wet sanding acrylic enamel requires specific materials to achieve the desired results. Using the right sandpaper, water, soap, sanding block, rubbing compound, clear coat, drop cloth, primer, and base coat will ensure a smooth and glossy finish.
The Process of Wet Sanding Acrylic Enamel
https://www.youtube.com/watch?v=iX4dxdNrzh0&embed=true
Wet sanding is a crucial step in achieving a high-quality paint job. It involves using a fine-grit sandpaper and water to remove imperfections in the paint surface, such as orange peel or runs. Wet sanding is also used to smooth out rough edges, corners, and other areas that are difficult to reach with a spray gun.
Before wet sanding, it is important to make sure that the paint has fully cured. Acrylic enamel paint is catalyzed, which means that it requires a catalyst to harden and cure. The curing process can take anywhere from a few days to a few weeks, depending on the type of paint and the environmental conditions.
To wet sand acrylic enamel, you will need a few supplies, including:
- A bucket of water
- High-quality sandpaper (1000-grit or finer)
- A sanding block or pad
- A soft cloth or towel
Start by filling the bucket with water and soaking the sandpaper in it for a few minutes. This will help to prevent the sandpaper from clogging and make it easier to sand the surface.
Next, wrap the sandpaper around the sanding block or pad and begin sanding the surface in a circular motion. Be sure to keep the sandpaper wet at all times to prevent it from scratching the surface.
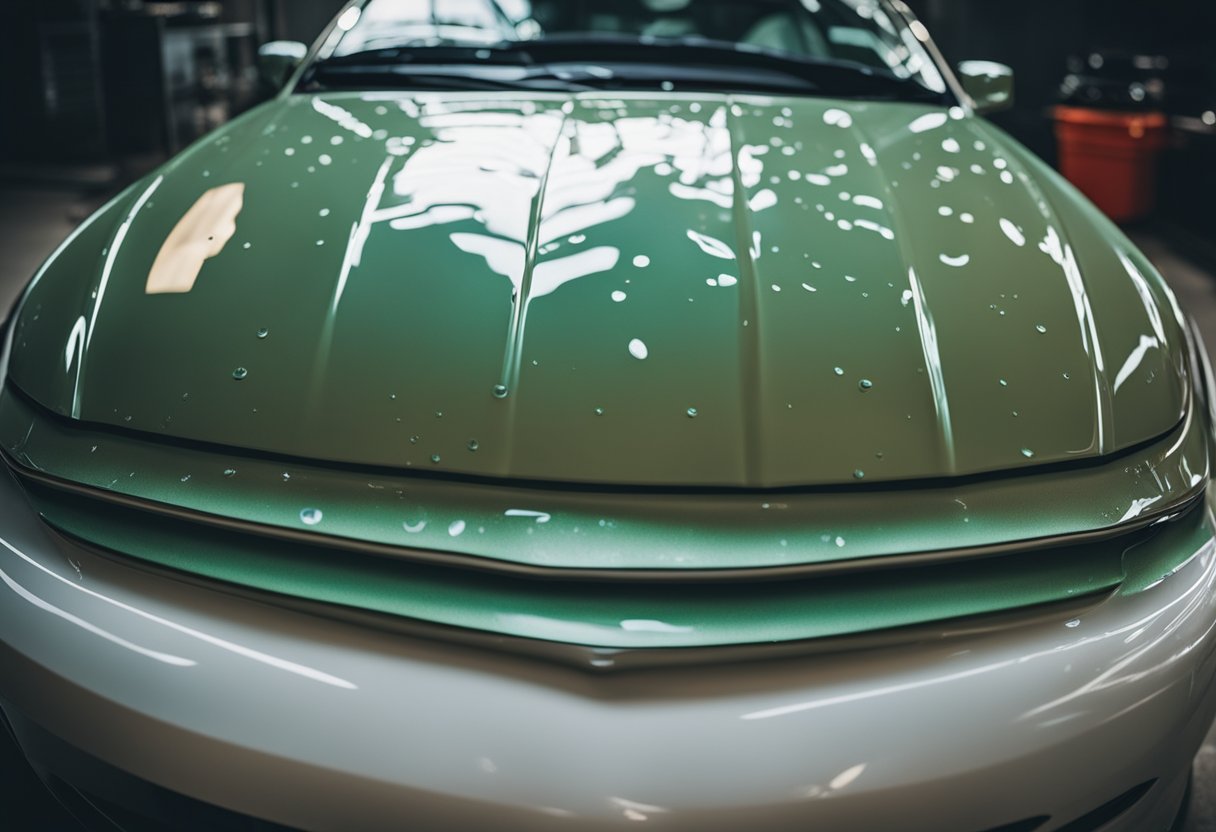
As you sand, you will notice that the surface becomes dull and hazy. This is normal and indicates that the imperfections are being removed. Continue sanding until the entire surface has been sanded evenly.
After wet sanding, it is important to buff the surface to restore the gloss and shine. Buffing can be done by hand or with a machine, using a fine-grit polishing compound. Be sure to buff the surface until it is smooth and free of any swirl marks or scratches.
In conclusion, wet sanding acrylic enamel is a crucial step in achieving a high-quality paint job. It helps to remove imperfections in the surface and smooth out rough edges and corners. By following the proper process of wet sanding and buffing, you can achieve a glossy, mirror-like finish that will last for years to come.
Handling Imperfections and Achieving Glossy Finish
https://www.youtube.com/watch?v=2iOBmOyl0vE&embed=true
When it comes to wet sanding acrylic enamel, achieving a glossy finish is the ultimate goal. However, it is common to encounter imperfections such as scratches, orange peel, and other blemishes during the sanding process. Here are some tips to handle these imperfections and achieve a perfect glossy finish:
-
Buffing and Polishing: After sanding with 1000-grit and 1500-grit sandpaper, buffing and polishing the surface is essential to achieve a glossy finish. Use a rubbing compound with a polishing pad to remove any imperfections and bring out the shine of the paint. It is important to use a flat surface and apply even pressure to avoid creating more imperfections.
-
Clear Coat: Applying a clear coat after sanding and polishing the surface can help protect the paint and make it even more glossy. Make sure to follow the manufacturer’s instructions and apply the clear coat evenly to avoid any runs or drips.
-
Sanding Block: When sanding a flat surface, using a sanding block can help ensure an even sanding job. Make sure to keep the sandpaper wet to avoid clogging and use light pressure to avoid creating more imperfections.
-
Rubbing Compound: Rubbing compound can help remove imperfections such as scratches and swirl marks. Apply the rubbing compound with a polishing pad and use a circular motion to work it into the surface. Wipe away any excess compound with a clean cloth.
By following these tips and techniques, you can handle imperfections and achieve a perfect glossy finish when wet sanding acrylic enamel.
Understanding Single Stage and Urethane
https://www.youtube.com/watch?v=sq-oEBVZeK4&embed=true
As a professional painter, I have worked with both single stage and urethane paints extensively. Single stage paint is a type of enamel paint job that combines the basecoat and clearcoat into one layer. This type of paint is generally easier to apply and requires less time to cure than a two-stage paint job. However, it can be more difficult to achieve a high-gloss finish with single stage paint.
On the other hand, urethane paint is a two-stage paint job that requires a clearcoat to be applied over the basecoat. Urethane paint is more durable and provides a deeper, more lustrous finish than single stage paint. However, it requires more time and effort to apply and requires a longer curing time.
Both single stage and urethane paints require a hardener to be added to the paint before application. Hardener is a catalyst that activates the paint and allows it to cure properly. Without a hardener, the paint will not dry or cure properly, resulting in a soft, tacky finish.
When wet sanding acrylic enamel, it is important to understand the type of paint you are working with. Single stage paint can be wet sanded and buffed after it has cured for at least 24 hours. However, it is important to be careful not to sand through the clearcoat layer. Urethane paint, on the other hand, requires a longer curing time before it can be wet sanded and buffed. It is important to follow the manufacturer’s recommended curing time before attempting to wet sand or buff urethane paint.
In summary, understanding the differences between single stage and urethane paint is important when wet sanding acrylic enamel. Both types of paint require a hardener to cure properly, and each has its own unique set of advantages and disadvantages. It is important to follow the manufacturer’s recommended curing time and to be careful not to sand through the clearcoat layer when wet sanding and buffing single stage paint.
Safety Measures and Precautions
As a professional in the paint industry, safety is always a top priority when performing a paint job. Wet sanding acrylic enamel requires extra safety measures to ensure that the job is done properly and without harm. Here are some safety measures and precautions to take when wet sanding acrylic enamel:
Personal Protective Equipment (PPE)
Wet sanding acrylic enamel produces a lot of dust that can be harmful to your health. To prevent inhaling the dust, it is essential to wear personal protective equipment (PPE) such as a respirator, safety goggles, gloves, and a protective suit. The respirator should be a high-quality one that filters out the dust particles effectively.
Ventilation
Proper ventilation is crucial when wet sanding acrylic enamel. The spray gun produces a lot of overspray that can accumulate in the air and cause respiratory problems. A well-ventilated area will help to remove the overspray and dust particles and provide a safer environment to work in.
Edges and Corners
Edges and corners are the most challenging areas to sand, and they require extra attention. When sanding these areas, it is important to use a sanding block to keep the sandpaper flat and avoid creating an uneven surface. It is also important to use a finer grit sandpaper to avoid damaging the edges and corners.
Second Coat
After applying the first coat of acrylic enamel, it is important to wait for it to dry completely before applying the second coat. Rushing the process can lead to a poor finish and require additional sanding and buffing. It is also important to avoid applying too much pressure when sanding the second coat to avoid damaging the first coat.
In conclusion, wet sanding acrylic enamel requires extra safety measures and precautions to ensure a professional and safe paint job. By following these guidelines, you can achieve a high-quality finish without compromising your health and safety.
Post Wet Sanding Care
After wet sanding the acrylic enamel, it is important to take proper care of the surface to ensure a glossy finish. Here are some tips on how to do that:
Buffing and Polishing
After wet sanding, the surface may have a dull appearance. To restore the shine, buffing and polishing are necessary. Buffing helps to remove any remaining scratches or imperfections on the surface, while polishing helps to bring out the shine.
To buff and polish the surface, use a buffing wheel or pad with a polishing compound. Apply the compound to the pad and work it into the surface in a circular motion. Be sure to work in small sections to avoid overworking the surface. Once the surface is polished, wipe it clean with a microfiber cloth.
Waxing
Waxing the surface after buffing and polishing helps to protect the surface and maintain the shine. Apply a thin layer of wax to the surface and work it in with a clean, dry cloth. Be sure to follow the manufacturer’s instructions for application and drying time.
Coats
If necessary, apply additional coats of acrylic enamel to achieve the desired texture and gloss. Be sure to follow the manufacturer’s instructions for application and drying time between coats.
Underlay and Debris
Before applying any additional coats, be sure to remove any debris or underlay that may have accumulated on the surface. Use a clean, dry cloth to wipe down the surface and remove any debris.
In summary, wet sanding acrylic enamel can help achieve a smooth and glossy finish on an automobile. Proper post-wet sanding care involves buffing and polishing, waxing, applying additional coats if necessary, and removing any debris or underlay that may have accumulated on the surface. With these tips, you can achieve a professional-looking finish on your vehicle.
Frequently Asked Questions
https://www.youtube.com/watch?v=A8rLwOgHg2c&embed=true
How long should paint dry before wet sanding?
Before wet sanding, it is important to ensure that the paint is completely dry. The drying time of paint can vary depending on various factors such as temperature, humidity, and thickness of the paint. As a general rule of thumb, it is recommended to wait at least 24 hours after painting before wet sanding. However, it is always best to check the manufacturer’s instructions for specific drying times.
How long for acrylic enamel paint to cure?
Acrylic enamel paint typically takes around 7-10 days to fully cure. During this time, it is important to avoid washing or waxing the painted surface to prevent any damage to the finish. It is also recommended to avoid exposing the painted surface to extreme temperatures or harsh chemicals during the curing process.
How long to wait before wet sanding base coat?
Before wet sanding the base coat, it is important to ensure that the paint is completely dry. The drying time of base coat can vary depending on various factors such as temperature, humidity, and thickness of the paint. As a general rule of thumb, it is recommended to wait at least 24 hours after painting the base coat before wet sanding.
How to buff after wet sanding?
After wet sanding, it is important to buff the surface to restore the shine and smoothness of the finish. To buff, use a polishing compound and a buffing pad attached to a rotary buffer. Apply the polishing compound to the pad and work in small sections, using a circular motion. Keep the buffer moving at all times to avoid burning the paint. Once the surface is buffed, wipe it clean with a microfiber towel.
What grit sandpaper for enamel paint?
The grit of sandpaper used for wet sanding enamel paint depends on the stage of the painting process. For initial sanding, use 600 to 800 grit sandpaper. For final sanding, use 1000 to 1200 grit sandpaper. Always wet the sandpaper with water before use to prevent clogging and to achieve a smoother finish.
Can you sand acrylic enamel?
Yes, acrylic enamel can be sanded. Wet sanding is the preferred method for sanding acrylic enamel as it reduces the risk of scratches and damage to the finish. Always use a fine grit sandpaper and wet the surface before sanding to achieve a smooth finish.

Hi, I’m Sal Muller of Tooltrip.com. My DIY experience led me to understand essential power tools for home projects. Tooltrip.com guides enthusiasts and professionals in choosing right tools for any job. I provide concise top tool reviews for easier, efficient DIY.
