
I have written an introduction to an article about “Polyurethane Over Danish Oil.”
When it comes to finishing wood, Danish oil and polyurethane are two popular choices. Danish oil is a penetrating oil that enhances the natural beauty of wood while providing some protection. Polyurethane, on the other hand, is a synthetic coating that creates a hard, durable finish that can withstand wear and tear. But can you put polyurethane over Danish oil? The answer is yes, but there are a few things you should know before you do.
In this article, I will explain the characteristics of Danish oil and polyurethane, the preparation needed before application, the steps to applying Danish oil and polyurethane, and how to choose between oil-based and water-based polyurethane. I will also cover curing time, common issues and solutions, care and maintenance of the finished surface, and answer some frequently asked questions. By the end of this article, you will have a better understanding of how to apply polyurethane over Danish oil and achieve a beautiful, durable finish for your wood projects.
Key Takeaways
- Danish oil and polyurethane are both popular finishes for wood, and polyurethane can be applied over Danish oil.
- Proper preparation is key before applying polyurethane over Danish oil, including allowing the Danish oil to dry completely.
- Choosing between oil-based and water-based polyurethane, and understanding curing time and maintenance, can help you achieve the best results.
Understanding Danish Oil and Polyurethane
https://www.youtube.com/watch?v=mqD9puPowsE&embed=true
As a woodworker, I know that there are many types of wood finishes available, and two of the most popular ones are Danish oil and polyurethane. Both finishes have their pros and cons, and choosing the right one depends on your project’s requirements. In this section, I will explain what Danish oil and polyurethane are, their differences, and how they work.
Danish Oil
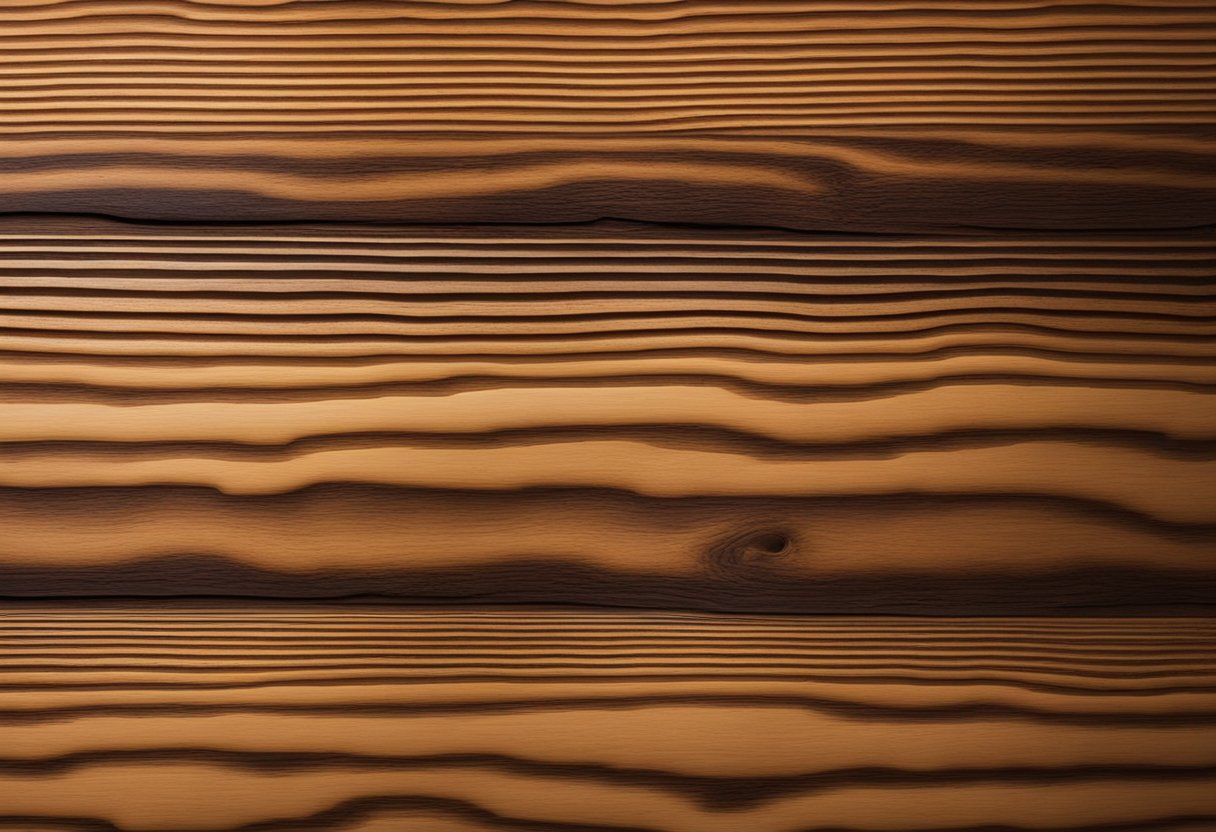
Danish oil is a type of wood finish that is made by mixing natural oils, such as linseed oil or tung oil, with synthetic resins and solvents. Danish oil penetrates the wood’s pores and enhances its natural beauty while providing protection against moisture and stains. Danish oil is easy to apply, dries quickly, and is relatively easy to maintain. It is also suitable for both interior and exterior use.
Polyurethane
Polyurethane is a synthetic resin that is used as a wood finish. Polyurethane is available in both oil-based and water-based forms. Oil-based polyurethane is more durable and provides better protection than water-based polyurethane. Water-based polyurethane dries faster and is easier to clean up. Polyurethane provides a hard, durable, and glossy finish that is resistant to scratches, stains, and heat.
Differences
The main difference between Danish oil and polyurethane is their chemistry. Danish oil is a blend of natural oils and synthetic resins, while polyurethane is a synthetic resin. Danish oil penetrates the wood’s pores and enhances its natural beauty, while polyurethane forms a hard, protective surface on top of the wood. Danish oil provides a more natural look and feel, while polyurethane provides a glossy, plastic-like finish.
Conclusion
In conclusion, both Danish oil and polyurethane have their strengths and weaknesses. Danish oil is easy to apply, dries quickly, and provides a natural look and feel. Polyurethane provides a hard, durable, and glossy finish that is resistant to scratches, stains, and heat. Choosing the right finish depends on your project’s requirements, such as the type of wood, the level of protection needed, and the desired look and feel.
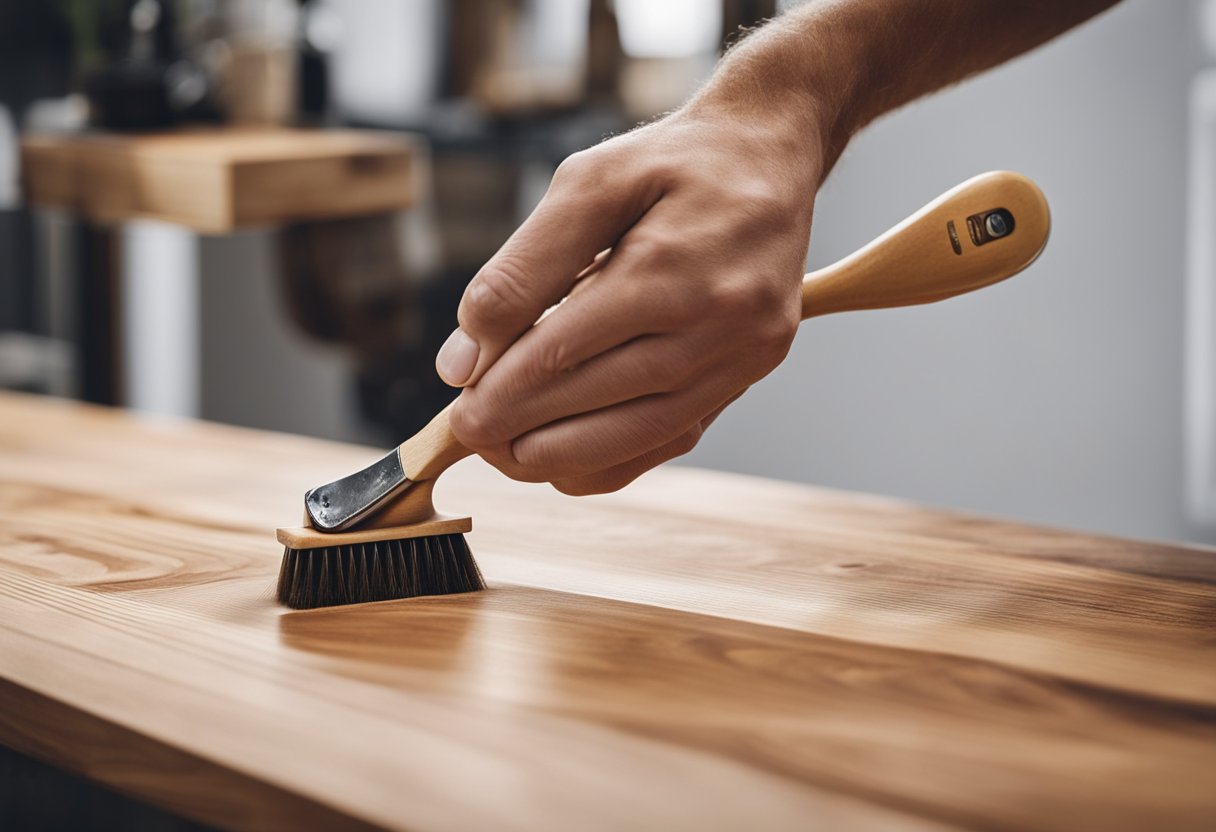
Preparation Before Application
Before applying polyurethane over Danish oil, it is crucial to prepare the wood surface properly. This will ensure that the polyurethane adheres well to the surface and provides a smooth finish. Here are the steps I follow to prepare the wood surface:
-
Cleaning the Wood Surface: I start by cleaning the wood surface with a damp cloth to remove any dust, dirt, or debris that may have accumulated on it. This step is essential as any dirt or debris left on the surface can cause the polyurethane to adhere poorly, leading to a subpar finish.
-
Sanding the Wood Surface: Once the wood surface is clean, I sand it with fine-grit sandpaper to create a smooth surface. Sanding also helps to remove any scratches, dents, or imperfections on the surface, ensuring that the polyurethane adheres well to the wood. I recommend using sandpaper with a grit of 220 or higher for best results.
-
Steel Wool: After sanding, I use steel wool to remove any remaining dust or debris from the surface. Steel wool is an excellent alternative to sandpaper as it is less abrasive and does not leave any scratches on the surface. I recommend using grade 0000 steel wool for best results.
-
Cleaning the Surface Again: After using steel wool, I clean the surface again with a damp cloth to remove any steel wool fibers or debris that may have accumulated on it.
By following these steps, I ensure that the wood surface is clean, smooth, and free of any debris before applying polyurethane over Danish oil. This preparation ensures that the polyurethane adheres well to the surface and provides a smooth finish.
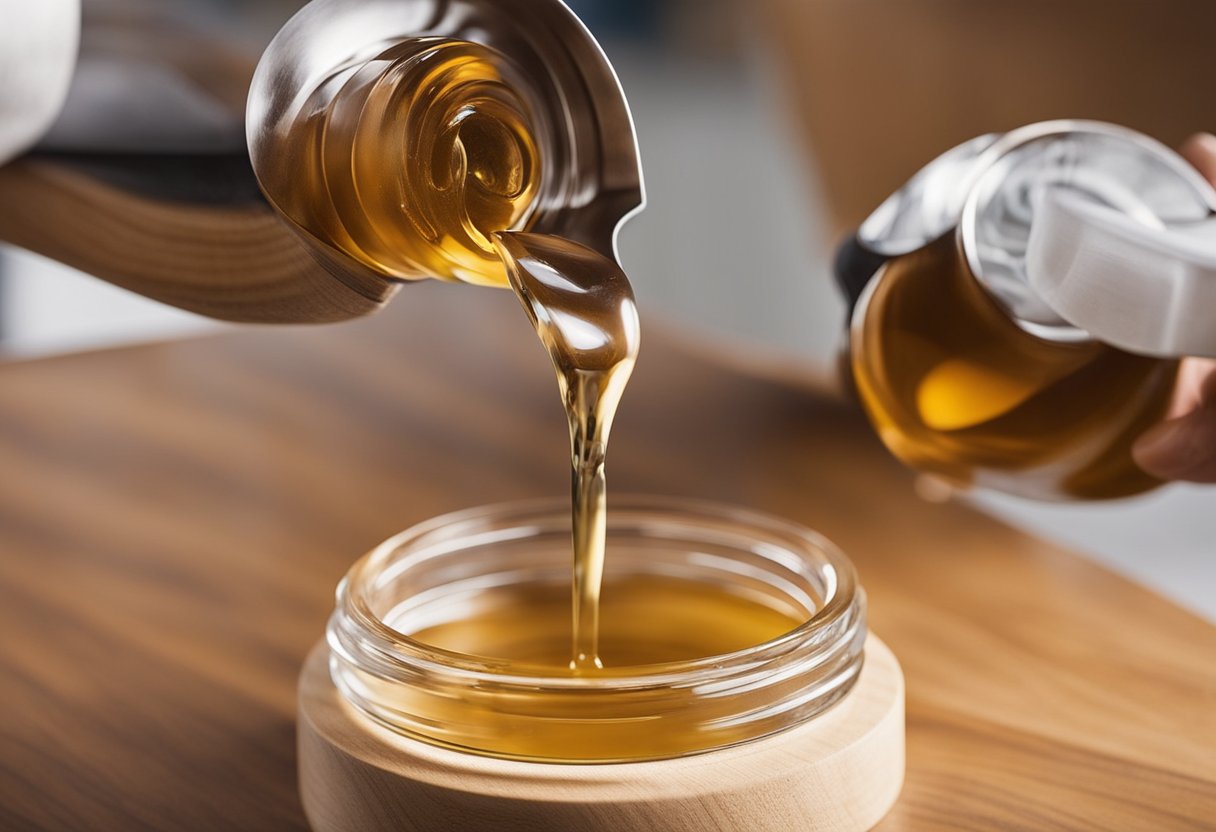
Applying Danish Oil
https://www.youtube.com/watch?v=j5kAdcEJtCo&embed=true
When it comes to finishing wood, Danish oil is a popular choice due to its ease of application and ability to enhance the natural color and texture of wood fibers. As someone who has worked with Danish oil for several years, I can confidently say that applying Danish oil is a straightforward process that can be done by anyone with a little bit of patience.
Before applying Danish oil, it is important to prepare the surface of the wood by sanding it to a smooth finish. Once the wood is sanded, it is important to wipe it down with a clean cloth to remove any dust or debris that may have accumulated during the sanding process.
When applying Danish oil, it is important to use a clean cloth and apply the oil in a thin, even layer. It is important to wipe off any excess oil with a clean cloth to prevent the oil from pooling on the surface of the wood. It is also important to allow the Danish oil to dry for the recommended amount of time, which can vary depending on the specific brand of Danish oil being used.
One of the benefits of Danish oil is that it enhances the natural color and texture of wood fibers, which can give the wood a warm and inviting look. However, it is important to note that Danish oil does not provide as much protection as other types of finishes such as polyurethane. Therefore, if you are looking for a finish that will provide more protection, it may be necessary to apply a coat of polyurethane over the Danish oil.
Overall, applying Danish oil is a simple process that can be done by anyone with a little bit of patience. By following the steps outlined above, you can ensure that your wood surfaces are finished with a beautiful, warm, and inviting look.
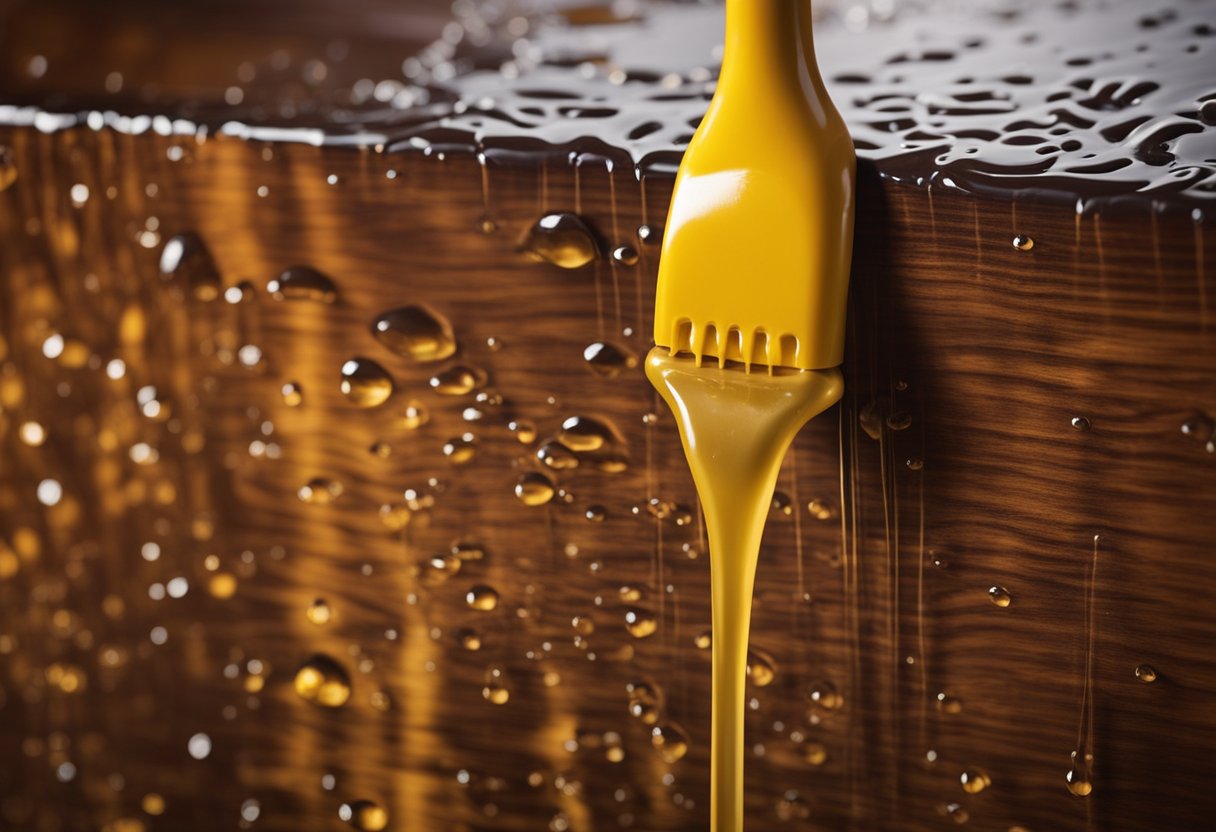
Applying Polyurethane Over Danish Oil
https://www.youtube.com/watch?v=mUowC-XvuJQ&embed=true
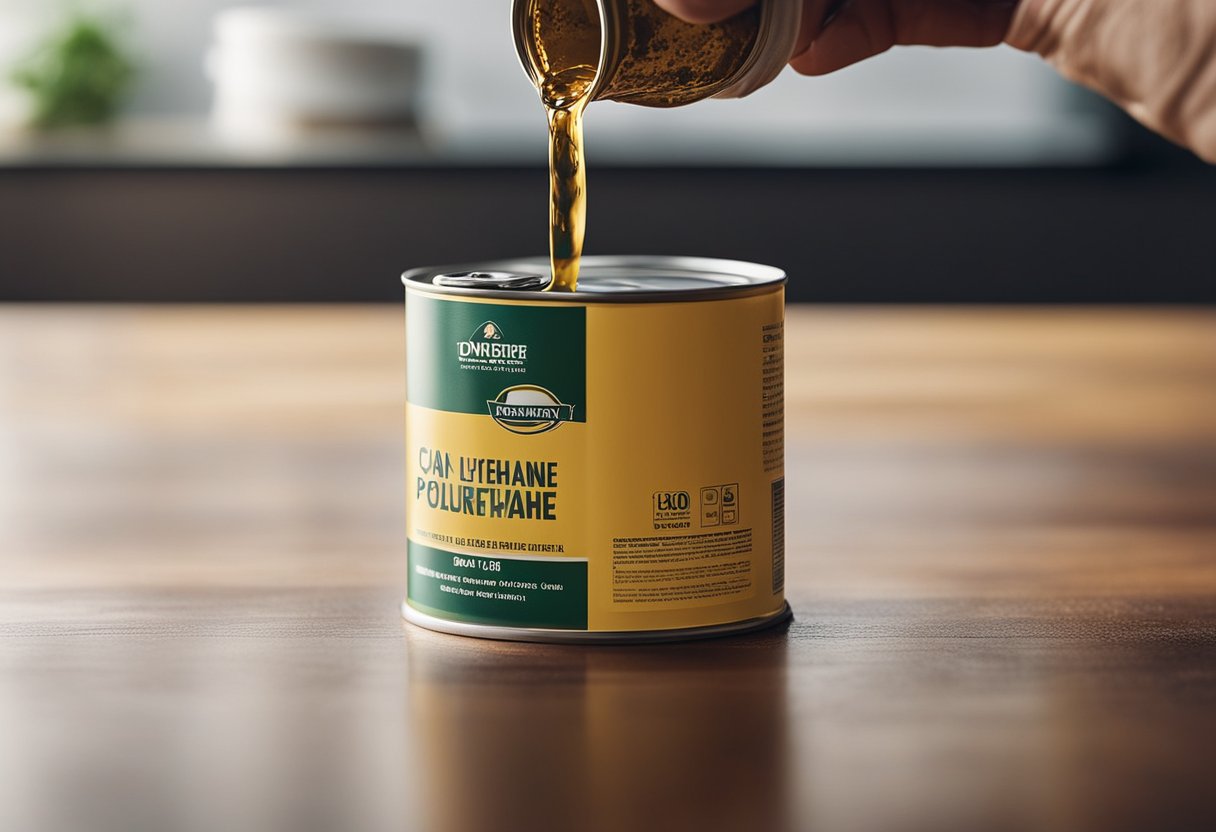
I have often been asked whether it is possible to apply polyurethane over Danish oil. The answer is yes, you can apply polyurethane over Danish oil as a top coat to make it more durable. However, there are some things to keep in mind when doing so.
Firstly, it is important to ensure that the Danish oil has dried completely before applying polyurethane. This is because polyurethane won’t adhere well to the wood if the Danish oil is still wet. The drying time for Danish oil can vary depending on the brand and the conditions in which it is applied. Generally, it takes around 24 hours for Danish oil to dry completely.
Secondly, it is recommended to wipe the surface with a clean cloth before applying polyurethane. This will remove any excess oil and ensure that the surface is clean and ready for the polyurethane.
When applying polyurethane over Danish oil, it is important to use a wiping technique rather than brushing. This is because brushing can disturb the Danish oil and create an uneven surface. Wiping, on the other hand, allows for a smooth and even coat of polyurethane.
In terms of adhesion, polyurethane generally adheres well to Danish oil. However, it is important to ensure that the Danish oil has fully cured before applying polyurethane. This will ensure that the polyurethane adheres properly to the surface and doesn’t peel or flake off over time.
Overall, applying polyurethane over Danish oil is a great way to add durability and protection to your woodworking projects. Just make sure to follow the proper drying time, wiping technique, and curing time to ensure a smooth and long-lasting finish.
Choosing Between Oil-Based and Water-Based Polyurethane
https://www.youtube.com/watch?v=F4M6tBpDE1s&embed=true
When it comes to choosing between oil-based and water-based polyurethane, there are a few key differences to consider. Both types of polyurethane offer different benefits, and it ultimately comes down to personal preference and the specific project you are working on.
Oil-Based Polyurethane
Oil-based polyurethane is a popular choice for many woodworkers due to its durability and glossy finish. This type of polyurethane is more resistant to scratches and dents than water-based polyurethane, making it a great option for high-traffic areas.
However, oil-based polyurethane takes longer to dry and has a stronger odor than water-based polyurethane. It is also more sensitive to temperature and humidity, which can affect the drying process.
Water-Based Polyurethane
Water-based polyurethane is a newer option that has become increasingly popular in recent years. It offers a satin finish and is less prone to yellowing over time than oil-based polyurethane.
One of the biggest advantages of water-based polyurethane is that it dries much faster than oil-based polyurethane. It also has a lower odor and is easier to clean up with soap and water.
However, water-based polyurethane is not as durable as oil-based polyurethane and may require more coats to achieve the desired level of protection. It is also more sensitive to temperature and humidity, which can affect the drying process.
When deciding between oil-based and water-based polyurethane, it is important to consider the specific needs of your project. If you are looking for a glossy finish and maximum durability, oil-based polyurethane may be the better option. However, if you are looking for a faster drying time and easier cleanup, water-based polyurethane may be the way to go.
Curing Time and Final Touches
https://www.youtube.com/watch?v=Q0lEM_BOgmo&embed=true
After applying Danish oil, it is important to let it cure completely before applying polyurethane. The curing time for Danish oil can vary depending on the number of coats applied, the humidity and temperature of the environment, and the type of wood used. Generally, it takes 24 to 48 hours for one coat of Danish oil to cure. However, if you have applied multiple coats, it can take up to a week for the oil to cure completely. It is important to wait for the oil to cure completely before applying polyurethane to avoid any issues with the final finish.
Once the Danish oil has cured, you can apply a coat of water-based polyurethane. Water-based polyurethane is a popular choice for its low odor, easy clean-up, and fast drying time. Before applying the polyurethane, it is important to wet sand the surface with 400-grit sandpaper to remove any blemishes or scratches that may have occurred during the curing process. Wet sanding also helps to create a smoother surface for the polyurethane to adhere to.
When applying the polyurethane, it is important to follow the manufacturer’s instructions and apply thin, even coats. Applying too much polyurethane can result in an uneven finish or bubbles in the final coat. It is recommended to apply at least two coats of water-based polyurethane, allowing each coat to dry completely before applying the next. After the final coat has dried, you can lightly sand the surface with 600-grit sandpaper to create a smooth and even finish.
In conclusion, curing time is an important factor to consider when applying polyurethane over Danish oil. Wet sanding can help to remove any blemishes or scratches that may have occurred during the curing process, while applying thin, even coats of water-based polyurethane can result in a smooth and even finish. By following these steps, you can achieve a beautiful and durable finish for your woodworking project.
Common Issues and Solutions
When applying polyurethane over Danish oil, there are a few common issues that can arise. Here are some of the most frequent problems and solutions to help you achieve a perfect finish.
Adhesion Issues
One of the most common problems when applying polyurethane over Danish oil is adhesion. If the surface is not properly cleaned and prepared, the polyurethane may not adhere to the surface properly. To avoid this issue, it is essential to clean the surface thoroughly and remove any wax or silicone residue before applying polyurethane. You can use mineral spirits to clean the surface and ensure that it is free from any contaminants.
Stain Color Changes
Another issue that can arise when applying polyurethane over Danish oil is a change in the stain color. This can happen if the polyurethane is applied too soon after the Danish oil or if the Danish oil is not fully cured. To avoid this issue, wait at least 24 hours after applying Danish oil before applying polyurethane. This will ensure that the Danish oil has fully cured and that the stain color will not change.
Incompatibility with Other Wood Finishes
Polyurethane may not be compatible with all wood finishes. Lacquers, for example, may not work well with polyurethane. To avoid any issues, it is essential to test the compatibility of the wood finishes before applying them to the surface.
Solutions
If you experience any of these issues when applying polyurethane over Danish oil, there are a few solutions you can try. For adhesion issues, you can sand the surface lightly to ensure that the polyurethane adheres properly. For color changes, you can try using a different type of stain or waiting longer before applying polyurethane. If you encounter any incompatibility issues, you can try using a different type of wood finish that is compatible with polyurethane.
By following these tips and solutions, you can achieve a beautiful and durable finish when applying polyurethane over Danish oil.
Care and Maintenance of Finished Surface
As someone who has worked with furniture finishes for years, I know that proper care and maintenance of a finished surface is crucial to keeping it looking great for years to come. When it comes to polyurethane over Danish oil, there are a few things to keep in mind.
First and foremost, it’s important to remember that this finish is durable and long-lasting. However, like any finish, it can still scratch and wear over time. To prevent scratches, it’s a good idea to use coasters under glasses and avoid placing sharp objects directly on the surface.
When it comes to cleaning, I recommend using a soft cloth and mild soap and water. Avoid using abrasive cleaners or scrubbers, as these can damage the finish. Additionally, try to clean up spills as soon as possible to prevent staining.
One of the benefits of using Danish oil is that it enhances the natural color and grain of the wood. To maintain this natural look, avoid exposing the surface to direct sunlight for extended periods of time, as this can cause fading.
Finally, it’s important to note that polyurethane over Danish oil is a combination of polymerized linseed oil and acrylic resin base. While this combination creates a durable finish, it’s still important to handle the surface with care. Avoid dragging heavy objects across the surface, and be careful when moving furniture to prevent scratches and damage.
Overall, with proper care and maintenance, a polyurethane over Danish oil finish can provide a beautiful and durable surface for your furniture.
Frequently Asked Questions
What finish goes best on top of Danish oil?
Polyurethane is one of the best finishes to use on top of Danish oil. It provides an extra layer of protection and durability to the wood surface. You can also use lacquer or shellac, but they are not as durable as polyurethane.
Can you put clear varnish over Danish oil?
Yes, you can put clear varnish over Danish oil. However, it is not recommended because varnish is not as durable as polyurethane. Varnish can also yellow over time, which can affect the appearance of the wood.
Can you put mineral oil over polyurethane?
No, you cannot put mineral oil over polyurethane. Mineral oil is a penetrating oil and will not adhere to the surface of the polyurethane. It is recommended to use mineral oil as a standalone finish or as a maintenance product to keep the wood moisturized.
Can you put poly over Odie’s oil?
Yes, you can put polyurethane over Odie’s oil. However, it is not necessary because Odie’s oil is already a durable finish that provides excellent protection to the wood surface.
How long does Danish oil need to dry before polyurethane?
Danish oil needs to dry for at least 24 hours before applying polyurethane. It is important to make sure that the Danish oil is completely dry before applying any other finish on top of it.
What do you top coat Danish oil with?
Polyurethane is the most recommended topcoat for Danish oil. It provides extra durability and protection to the wood surface. However, you can also use lacquer or shellac, but they are not as durable as polyurethane.

Hi, I’m Sal Muller of Tooltrip.com. My DIY experience led me to understand essential power tools for home projects. Tooltrip.com guides enthusiasts and professionals in choosing right tools for any job. I provide concise top tool reviews for easier, efficient DIY.
