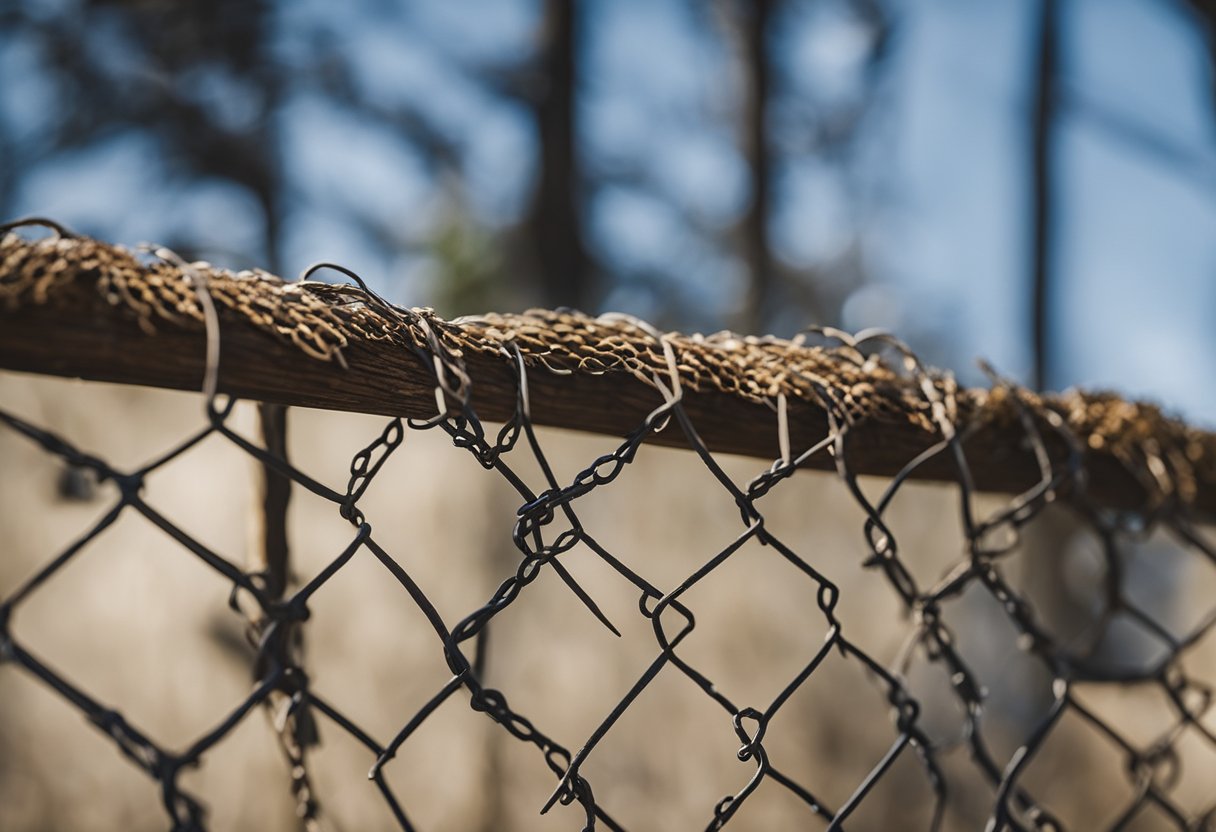
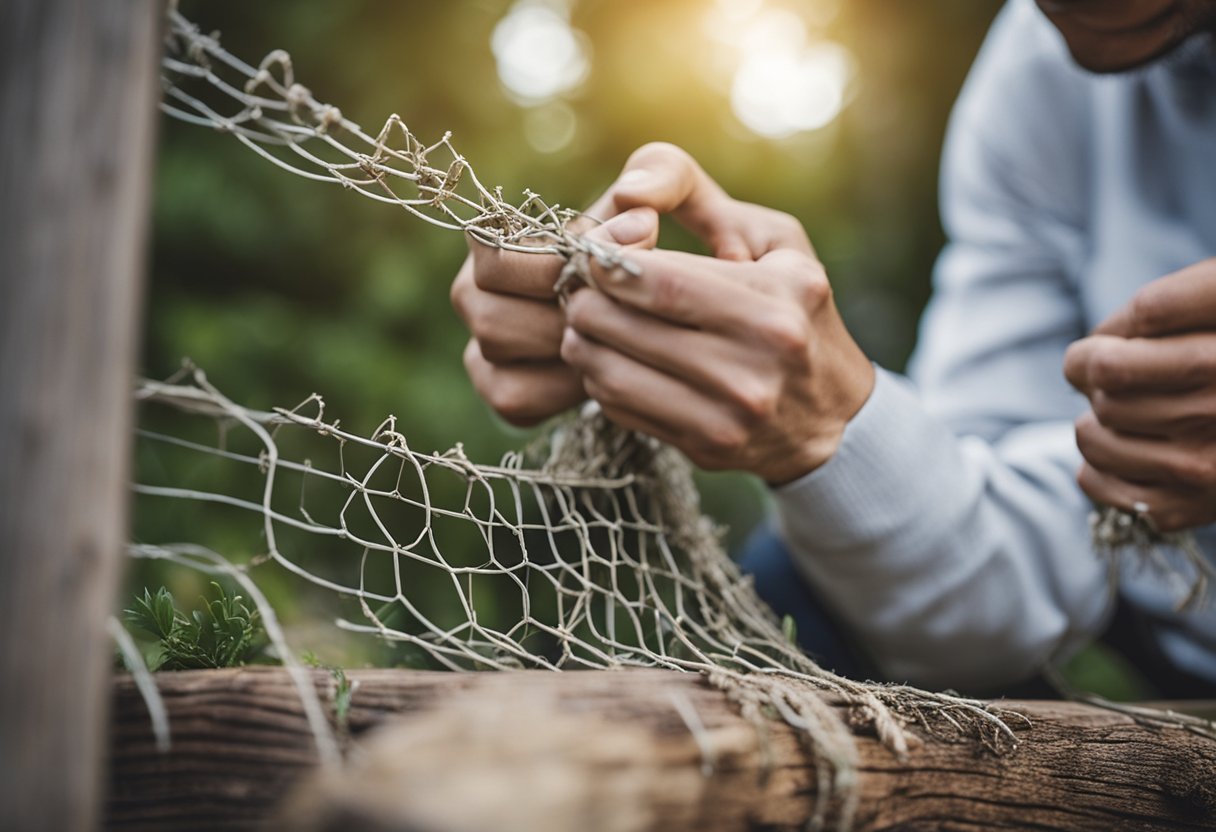
Attaching chicken wire to wood is a common practice for many DIY enthusiasts, farmers, and pet owners. Whether you’re building a chicken coop or a fence to keep your pets safe, knowing how to attach chicken wire to wood is essential. In this article, I will provide you with step-by-step instructions on how to attach chicken wire to wood, as well as some tips and tricks to make the process easier.
Before we dive into the details, let’s first go over the materials needed for this project. You’ll need chicken wire, wood, wire clamps or staples, pliers, and a staple gun. It’s important to choose the right chicken wire for your project, as there are different gauges and sizes available. Additionally, you’ll want to make sure that the wood you’re using is sturdy and can support the weight of the chicken wire.
Now that we have our materials, let’s get started on preparing the wood frame. It’s important to measure the wood and chicken wire accurately, as this will ensure a secure fit. Once you’ve measured and cut the wood to size, you can begin attaching the chicken wire. There are several methods to attach chicken wire to wood, and we’ll cover them in detail in the following sections.
Materials Needed
https://www.youtube.com/watch?v=fd47up88NLM&embed=true
When attaching chicken wire to wood, it is important to have the right materials to ensure a secure and long-lasting attachment. Here are some of the materials you will need:
-
Chicken wire: This is the primary material needed to attach to wood. Chicken wire is made of thin, flexible, and galvanized wire that is easy to work with and provides a secure barrier.
-
Wood: You will need wooden posts or boards to attach the chicken wire to. It is important to choose a sturdy and durable type of wood that can withstand the elements.
-
Nails, screws, or staples: You will need some type of fastener to attach the chicken wire to the wood. Nails, screws, and staples are all good options depending on the type of wood and the size of the chicken wire.
-
Gloves: It is important to wear gloves when working with chicken wire to protect your hands from cuts and scratches.
-
Hardware: Depending on the size and type of attachment, you may need additional hardware such as U-shaped nails, washers, and screw eyes.
-
Tools: You will need a hammer, pliers, wire cutters, staple gun, measuring tape, saw, and safety goggles to complete the job.
-
Paint or sealant: If you want to protect the wood from the elements, you may want to paint or seal it after attaching the chicken wire.
-
Clamps, zip ties, glue, duct tape, or clips: These materials can be useful for holding the chicken wire in place while attaching it to the wood.
Overall, having the right materials and tools is essential for attaching chicken wire to wood. By taking the time to gather everything you need before starting the project, you can ensure a successful and secure attachment that will last for years to come.
Choosing the Right Chicken Wire
https://www.youtube.com/watch?v=RDbSCDcgs_Q&embed=true
When it comes to attaching chicken wire to wood, choosing the right type of chicken wire is essential. There are different types of chicken wire available in the market, and each one has its unique features. Here are some factors to consider when choosing the right chicken wire:
Material
Chicken wire is usually made of galvanized steel, which makes it resistant to rust and corrosion. However, there are also other materials available, such as aluminum and PVC-coated wire. Galvanized steel is the most popular choice because it is durable and long-lasting.
Gauge
The gauge of the chicken wire refers to the thickness of the wire. The lower the gauge number, the thicker the wire. A thicker wire is more durable and can withstand more wear and tear. The most common gauges for chicken wire are 20, 19, and 18.
Hexagonal Wire Mesh
Chicken wire is also known as hexagonal wire mesh because of its unique shape. The hexagonal shape makes it easy to bend and shape, which is useful when attaching it to wood. Additionally, the hexagonal shape provides excellent visibility, which is important if you want to keep an eye on your chickens.
Visibility
Visibility is an important factor to consider when choosing chicken wire. If you want to keep your chickens safe from predators, you need to choose a wire mesh that is not too visible. A less visible wire mesh will make it harder for predators to see your chickens.
Lightweight
Chicken wire is lightweight, which makes it easy to handle and attach to wood. However, if you are using it in an area with high winds, you may need to choose a heavier gauge wire to prevent it from getting damaged.
In conclusion, when choosing the right chicken wire for attaching to wood, you should consider the material, gauge, hexagonal wire mesh, visibility, and weight. These factors will help you choose the right chicken wire that is durable, long-lasting, and provides adequate protection for your chickens.
Preparing the Wood Frame
Before attaching chicken wire to a wood frame, it is important to prepare the surface of the wood properly. This will ensure that the chicken wire is securely attached and will not come loose over time. Here are the steps that I follow to prepare a wood frame for attaching chicken wire:
Step 1: Choose the Right Wood
The first step in preparing a wood frame is to choose the right type of wood. Pine is a good choice because it is affordable and easy to work with. However, other types of wood can also be used, such as cedar or redwood. It is important to choose a wood that is strong and durable, as the chicken wire will put stress on the frame over time.
Step 2: Measure Carefully
Before attaching chicken wire to a wood frame, it is important to measure carefully. This will ensure that the chicken wire fits properly and is securely attached. Measure the length and width of the area where you want to attach the chicken wire, and then cut the chicken wire to size.
Step 3: Sand and Paint the Wood
Once you have measured and cut the chicken wire, it is time to prepare the wood frame. Sand the surface of the wood to ensure that it is smooth and free from any rough spots or splinters. This will help the chicken wire to adhere properly to the wood.
After sanding, it is a good idea to paint the wood. This will help to protect it from the elements and ensure that it lasts for many years. Use a high-quality paint that is designed for outdoor use, and apply it evenly to the surface of the wood.
By following these steps, you can prepare a wood frame for attaching chicken wire. This will ensure that the chicken wire is securely attached and that it lasts for many years.
Attaching the Chicken Wire
https://www.youtube.com/watch?v=GYgGtByqQy8&embed=true
Now that we have the chicken wire cut to size, it’s time to attach it to the wooden frame. There are several ways to attach chicken wire to wood, but I prefer using staples or u-shaped nails for a secure attachment.
If you choose to use staples, a staple gun is the best tool for the job. Start at one end of the wooden frame and work your way down, securing the wire every few inches. Make sure the wire is taut and not sagging. If it is sagging, it will be easier for predators to get in and for the chickens to escape.
If you prefer to use u-shaped nails, you will need pliers and a wire cutter. Start at one end of the wooden frame and work your way down, securing the wire every few inches. Use the pliers to hold the nail in place and the wire cutter to cut off any excess wire. Again, make sure the wire is taut and not sagging.
Another option is to use rope or zip ties to attach the wire to the wooden frame. This method is not as secure as staples or u-shaped nails, but it can be useful if you don’t have access to those tools. Make sure to tie the rope or zip ties tightly and cut off any excess.
You can also use screws, clamps, or glue to attach the chicken wire to the wooden frame. However, these methods are not recommended as they are not as secure as staples or u-shaped nails.
If you need to remove chicken wire from wood, use a pair of pliers to pull out the staples or u-shaped nails. Be careful not to damage the wooden frame in the process.
Overall, attaching chicken wire to wood is a simple process that can be done with a few basic tools. Just make sure to choose a method that provides a secure attachment and keeps your chickens safe.
Securing the Chicken Wire
https://www.youtube.com/watch?v=nymZ3LV3tQE&embed=true
When it comes to attaching chicken wire to wood, there are a few different options for securing it in place. The method you choose will depend on your specific needs and the tools you have available.
One common method is to use staples or zip ties to secure the chicken wire to the wood. Staples are a quick and easy way to attach the wire, but they may not be as secure as other methods. Zip ties are also easy to use, and they provide a more secure attachment than staples.
Another option is to use screws or washers to attach the chicken wire to the wood. This method provides a very secure attachment, but it can be more time-consuming than using staples or zip ties.
If you need to create a taut, secure attachment, you may want to consider using rope or clips to hold the chicken wire in place. T-posts and cement can also be used to create a more permanent attachment.
Finally, duct tape can be used to temporarily hold the chicken wire in place while you secure it with staples, zip ties, or other fasteners.
Overall, there are many different ways to secure chicken wire to wood, and the method you choose will depend on your specific needs. Whether you use staples, screws, zip ties, or another method, be sure to take your time and ensure that the wire is securely in place.
Finishing Touches
Once you have attached the chicken wire to your wooden structure, there are a few finishing touches you can add to ensure the longevity and security of your project.
Firstly, it’s important to trim any excess wire that may be hanging off the edges. This can be done using wire cutters or pliers. Excess wire can be sharp and pose a safety hazard, so it’s important to remove it.
If you plan on painting your wooden structure, it’s best to do so before attaching the chicken wire. This will ensure that the paint covers all areas, including under the wire. If you have already attached the wire, be sure to cover it with tape or plastic to protect it from the paint.
If you want to add extra stability to your wooden structure, you can consider adding cement to the base of the posts. This will prevent the structure from shifting or leaning over time.
Finally, if you plan on adding hinges to your structure, make sure they are installed securely and can support the weight of the chicken wire. Hinges can be a great addition if you need to access the enclosed area, but they must be installed correctly to prevent any accidents.
By following these finishing touches, you can ensure that your chicken wire project is secure, safe, and long-lasting.
Safety Precautions
When attaching chicken wire to wood, safety should always be a top priority. Here are a few safety precautions that I always take when working with chicken wire and wood:
Wear Protective Gear
I always wear gloves when handling chicken wire to protect my hands from the sharp edges of the wire. It is also important to wear safety goggles to protect your eyes from any flying debris or wire fragments that may come loose while attaching the chicken wire to the wood.
Use Proper Tools
Using the right tools can make a big difference when it comes to safety. I always use wire cutters to cut the chicken wire to the desired size, and I make sure to use a staple gun or zip ties to attach the wire to the wood. Using the right tools not only makes the job easier but also helps to prevent accidents.
Be Careful When Handling the Wire
Chicken wire can be sharp and easily puncture the skin, so it is important to handle it with care. When cutting the wire, I make sure to wear gloves and long sleeves to protect my skin from the sharp edges. It is also important to be mindful of the wire’s sharp edges when attaching it to the wood to avoid any accidental cuts or scratches.
By following these safety precautions, you can ensure that your chicken wire and wood project is completed safely and without any accidents.
Benefits of Using Chicken Wire
As someone who has been raising chickens for years, I can attest to the many benefits of using chicken wire. Here are just a few:
Protection from Pests and Predators
One of the main reasons to use chicken wire is to protect your chickens from pests and predators. Chicken wire is a great way to keep out rodents, snakes, and other unwanted animals that could harm your flock. Additionally, it can keep your chickens from wandering off into dangerous areas.
Durability and Stability
Chicken wire is also incredibly durable and stable. It can withstand harsh weather conditions and will last for years without needing to be replaced. This makes it a great investment for anyone who wants to keep their chickens safe and secure.
Affordable and Easy to Install
Another benefit of using chicken wire is that it is affordable and easy to install. Unlike other types of fencing, chicken wire is relatively inexpensive and can be installed quickly and easily. This makes it a great option for anyone who wants to create a secure chicken coop or garden fence without breaking the bank.
Versatility
Chicken wire is also incredibly versatile. It can be used for a variety of purposes, including garden fencing, livestock barriers, and even as a decorative element in arts and crafts. This makes it a great option for anyone who wants to get creative with their fencing.
Overall, there are many benefits to using chicken wire. Whether you are looking to protect your chickens from predators or create a secure garden fence, chicken wire is a great option that is both affordable and effective.
Frequently Asked Questions
https://www.youtube.com/watch?v=BK6iBZmX4EE&embed=true
How to attach chicken wire to itself
When attaching chicken wire to itself, you can use pliers to twist the wire together. Start by overlapping the two ends of the wire and then twist them together tightly. You can also use hog rings or zip ties to attach the chicken wire to itself.
How to attach chicken wire to bottom of fence
To attach chicken wire to the bottom of a fence, you can use galvanized staples or zip ties. First, unroll the chicken wire and place it along the bottom of the fence. Then, use the staples or zip ties to attach the chicken wire to the fence. Make sure to space the staples or zip ties evenly to ensure a secure hold.
How to attach chicken wire to brick wall
To attach chicken wire to a brick wall, you can use masonry screws and plastic anchors. First, drill a hole into the brick using a masonry bit. Then, insert the plastic anchor into the hole and screw the masonry screw into the anchor. Finally, attach the chicken wire to the screws using galvanized staples or zip ties.
How to attach chicken wire to chain link fence
To attach chicken wire to a chain link fence, you can use galvanized wire or zip ties. First, unroll the chicken wire and place it against the chain link fence. Then, use the galvanized wire or zip ties to attach the chicken wire to the fence. Make sure to space the wire or zip ties evenly to ensure a secure hold.
How to attach wire mesh to wood
To attach wire mesh to wood, you can use galvanized staples or screws. First, unroll the wire mesh and place it against the wood. Then, use the staples or screws to attach the wire mesh to the wood. Make sure to space the staples or screws evenly to ensure a secure hold.
How to attach chicken wire to T-post
To attach chicken wire to a T-post, you can use clips or zip ties. First, unroll the chicken wire and wrap it around the T-post. Then, use the clips or zip ties to attach the chicken wire to the post. Make sure to space the clips or zip ties evenly to ensure a secure hold.

Hi, I’m Sal Muller of Tooltrip.com. My DIY experience led me to understand essential power tools for home projects. Tooltrip.com guides enthusiasts and professionals in choosing right tools for any job. I provide concise top tool reviews for easier, efficient DIY.

