
Taping cabinets before painting is an essential step in achieving a professional-looking finish. It helps protect the surrounding surfaces from paint splatters and ensures clean, crisp lines. But taping off cabinets can be a tricky task, especially if you’re new to painting or DIY projects. In this article, I will share some tips and techniques for how to tape cabinets for painting like a pro.
Before you start taping, it’s crucial to prepare your workspace and gather all the necessary materials. You’ll need painter’s tape, plastic sheeting, a level, a measuring tape, and a utility knife, among other tools. Once you have everything you need, you can begin removing the cabinet doors and cleaning the surfaces thoroughly. Sanding and filling any imperfections will help create a smooth, even surface for painting. Once you’ve done all the prep work, it’s time to start taping off the cabinets and delicate surfaces.
Key Takeaways
- Proper preparation and gathering of materials are crucial before taping cabinets for painting.
- Taping off cabinets and delicate surfaces can be a tricky task, but it’s essential for achieving a professional-looking finish.
- Using painter’s tape, plastic sheeting, a level, and a measuring tape are necessary tools for taping cabinets.
Understanding the Importance of Preparation
As someone who has painted many cabinets, I cannot stress enough the importance of preparation. Preparation is key to achieving a smooth and long-lasting finish. Without proper preparation, the paint may not adhere well to the surface, and the finish may not look as good as it could.
When it comes to painting kitchen cabinets, preparation is especially important. Kitchen cabinets are subject to a lot of wear and tear, and they are exposed to grease, moisture, and heat on a daily basis. If the surface is not properly prepared, the paint may not stick, and it may peel or chip over time.
Before you start painting your kitchen cabinets, you need to do some prep work. This includes removing the cabinet doors, drawers, and all hardware. You also need to clean the surface thoroughly to remove any grease, dirt, or grime. A mixture of warm water and dish soap works well for this. Be sure to rinse the surface thoroughly and let it dry completely before you start painting.
In addition to cleaning the surface, you also need to tape off any areas that you don’t want to paint. This includes the walls, countertops, and floors. Use painter’s tape to create a clean edge and protect the surrounding surfaces from paint drips and splatters. When selecting the right tape for the job, it’s important to understand the various kinds of painter’s tape and to choose the correct tape for the surface.
In summary, preparation is key when it comes to painting kitchen cabinets. Proper preparation sets the foundation for a smooth, long-lasting finish. Make sure to remove the cabinet doors, drawers, and all hardware, clean the surface thoroughly, and tape off any areas that you don’t want to paint. By taking the time to prepare properly, you’ll achieve a professional-looking finish that will last for years to come.
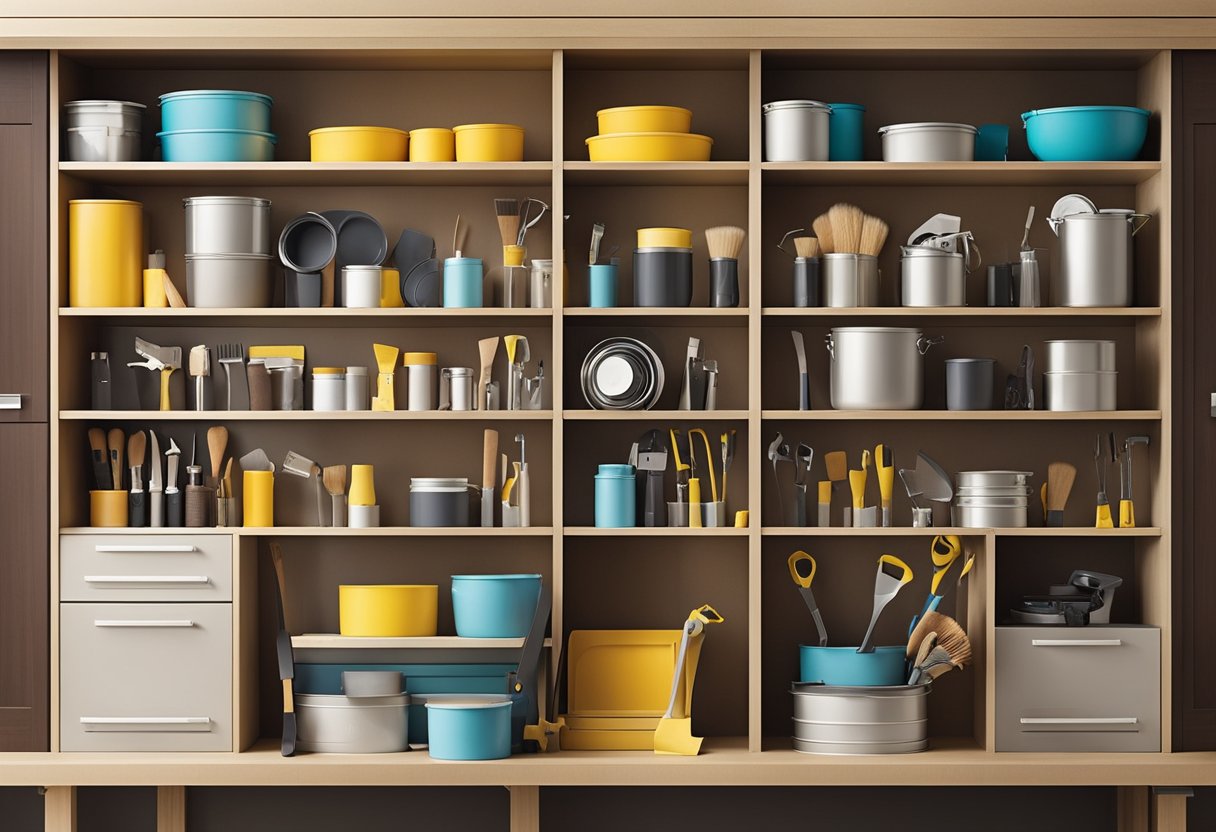
Gathering the Necessary Materials
Before starting to tape off cabinets for painting, it is essential to gather all the necessary materials. Here is a list of the materials you will need:
-
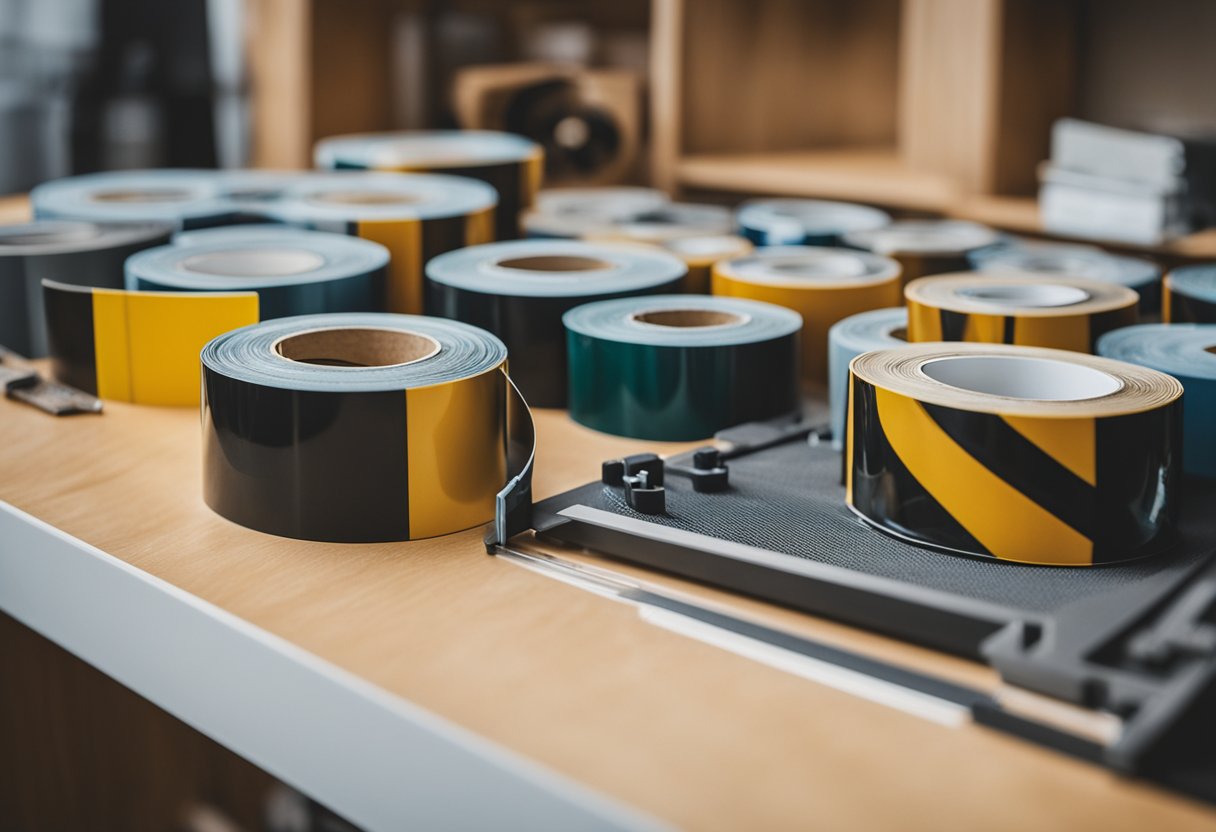
Painter’s tape: The most important material for taping off cabinets for painting is painter’s tape. It is specifically designed to be easily removable and not damage surfaces. There are different types of painter’s tape, but Frogtape is the most recommended for taping off cabinets.
-
Plastic sheeting: Plastic sheeting is used to cover areas that won’t be painted. It is important to use a high-quality plastic sheeting to avoid paint seeping through.
-
Sandpaper: Sandpaper is used to sand the cabinets before painting. It is recommended to use a 220-grit sandpaper to ensure a smooth surface.
-
Wood filler: Wood filler is used to fill in any gaps or holes in the cabinets. It is important to choose a wood filler that matches the color of the cabinets.
-
Putty knife: A putty knife is used to apply wood filler.
-
Degreaser: A degreaser is used to clean the cabinets before painting. It is important to use a degreaser that is safe for the type of cabinets you have.
-
TSP substitute: TSP substitute is an alternative to using a degreaser. It is a strong cleaner that requires protective gear when using.
-
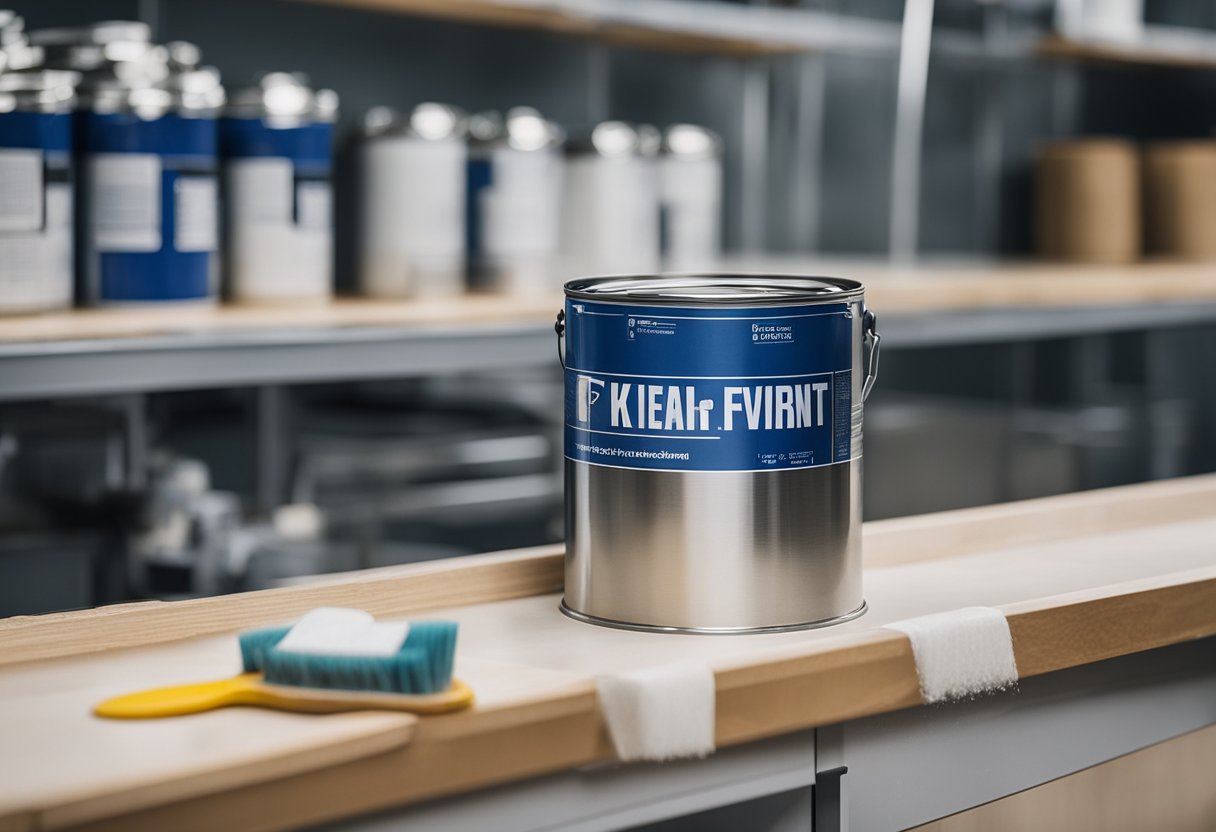
Oil-based primer: An oil-based primer is used to prime the cabinets before painting. It is important to use an oil-based primer to ensure the paint adheres properly.
-
Oil-based paint: Oil-based paint is recommended for painting cabinets as it is more durable and provides a smoother finish.
-
Paintbrush and roller: A paintbrush and roller are used to apply the primer and paint to the cabinets.
-
Paint tray: A paint tray is used to hold the primer and paint.
-
Soap and water: Soap and water are used to clean the cabinets after painting.
By gathering all the necessary materials, you will be well-prepared to tape off cabinets for painting and achieve a professional-looking finish.
Preparing Your Workspace
Before starting to tape cabinets for painting, it is essential to prepare your workspace. This includes removing all hardware and cleaning the cabinets. A clean and dry surface will ensure that the tape adheres correctly and that the paint does not peel off after painting.
To start, clear your workspace of any items that may get in the way, such as small appliances, dishes, or utensils. It is also helpful to cover your countertops and floors with a drop cloth or plastic sheeting to protect them from any paint spills or drips.
Next, remove all hardware from the cabinets, including knobs, handles, and hinges. This will ensure that you can tape off the entire surface of the cabinet and that the hardware does not get in the way of your painting.
Once you have removed the hardware, use a mild detergent and warm water to clean the cabinets thoroughly. Be sure to dry the surface completely before applying any tape. A clean and dry surface will ensure that the tape adheres correctly and that the paint does not peel off after painting.
In summary, preparing your workspace is an essential step in taping cabinets for painting. Clearing your workspace, removing hardware, and cleaning and drying the surface will ensure that your painting project goes smoothly and that the final result is a beautifully painted cabinet.
Removing and Cleaning the Cabinet Doors
https://www.youtube.com/watch?v=XrDIJVRCCDU&embed=true
Before starting to paint, it’s essential to remove the cabinet doors from their hinges. Using a screwdriver or drill, unscrew the hinges from the cabinet frame and remove the doors carefully. Keep track of all the screws and hardware by placing them in a ziplock bag or container. This will make it easier to reassemble the cabinets later.
Once the doors are removed, it’s time to clean them thoroughly. I recommend using a solution of tri-sodium phosphate (TSP) and warm water. TSP is a powerful cleaning agent that will remove any grease, grime, or dirt from the surface of the doors. Mix one tablespoon of TSP with a gallon of warm water and use a sponge or cloth to apply the solution to the doors.
After scrubbing the doors with TSP, rinse them with clean water and let them dry completely. Make sure to dry the doors thoroughly before painting to avoid any water spots or streaks on the surface.
If you don’t have TSP, you can also use soap and water to clean the doors. Mix a few drops of dish soap with warm water and use a sponge or cloth to clean the surface of the doors. Rinse with clean water and let them dry completely before painting.
By removing and cleaning the cabinet doors before painting, you ensure that the paint will adhere properly to the surface, and the finished product will look professional and polished.
Sanding and Filling for a Smooth Surface
https://www.youtube.com/watch?v=UExMU0DRFvM&embed=true
When it comes to painting cabinets, sanding and filling are essential steps to achieve a smooth surface. Sanding helps to remove any existing finish, roughness, or imperfections on the cabinet surface. It also helps the new paint adhere better to the surface.
Start by sanding the cabinets with a medium-grit sandpaper, such as 120-grit. Sand in the direction of the wood grain, using long strokes. Be sure to sand all surfaces of the cabinet, including the edges and corners.
After sanding, wipe the cabinets down with a tack cloth to remove any dust or debris. Then, inspect the surface of the cabinets for any holes, dents, or scratches. If you find any, fill them with a wood filler.
Apply the wood filler with a putty knife, and smooth it out to make it level with the cabinet surface. Let it dry completely, according to the manufacturer’s instructions. Once dry, sand the filled areas with a fine-grit sandpaper, such as 220-grit.
After sanding, wipe the cabinets down again with a tack cloth to remove any dust or debris. At this point, you can sand the entire cabinet surface with a fine-grit sandpaper to achieve an even smoother surface.
Remember, the key to achieving a smooth surface is to sand and fill any imperfections on the cabinet surface. Take your time and be thorough with this step, as it will make a big difference in the final outcome of your painted cabinets.
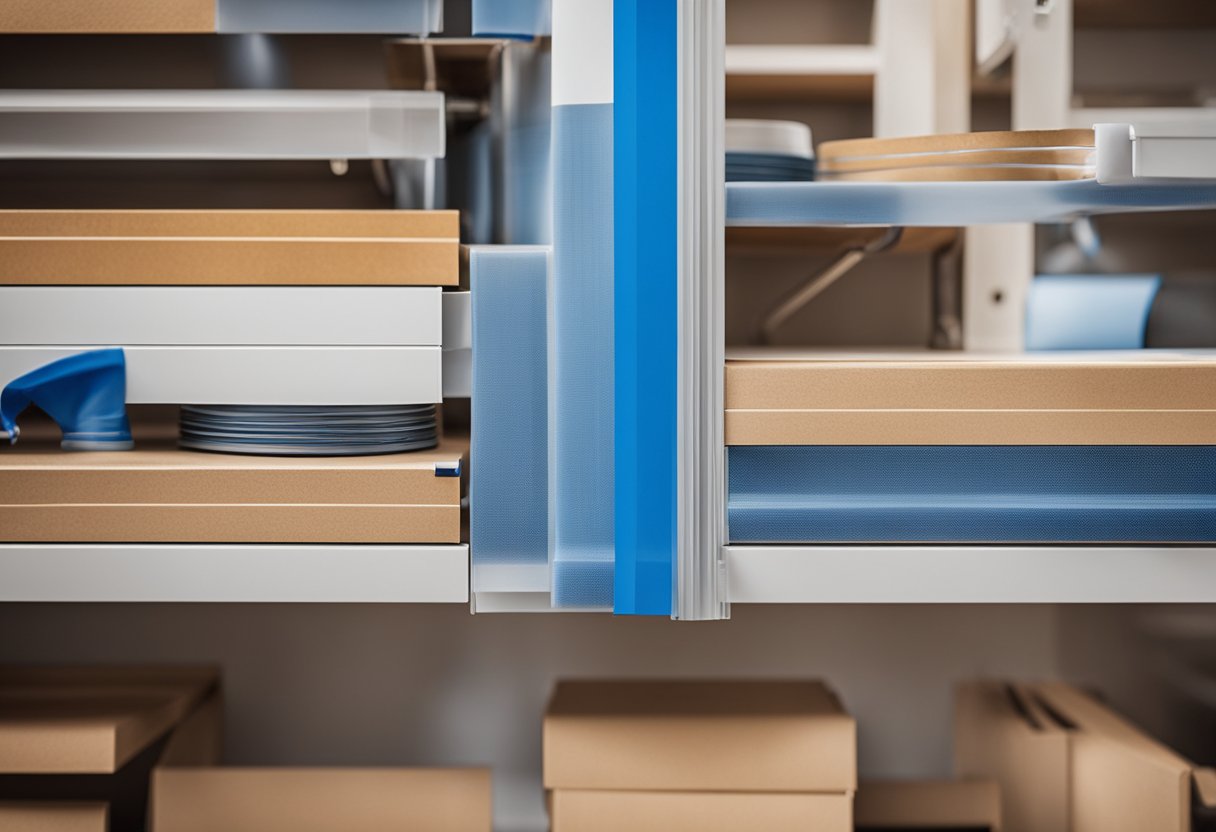
Taping Off Cabinets and Delicate Surfaces
https://www.youtube.com/watch?v=HShaYymAvWY&embed=true
When it comes to painting cabinets, taping off the areas you don’t want to paint is crucial. This is especially important if you want to achieve a professional-looking finish. Taping off cabinets and delicate surfaces can be tricky, but with the right tools and technique, it can be done easily and efficiently.
The first step is to gather the necessary tools. You will need painter’s tape, a level, and a plastic sheet to cover areas that won’t be painted. It is important to use painter’s tape instead of regular masking tape because it is designed to be easily removed without damaging delicate surfaces.
Next, remove all hardware from the cabinets and clean them thoroughly. This will ensure that the tape adheres properly and that there is no dirt or debris that could affect the paint job.
To tape cabinets for painting, start by measuring and marking the height of the cabinet from the floor using a level. This will ensure that the tape is straight and that you achieve a clean, straight line. Apply the painter’s tape to the areas that you don’t want to paint, making sure to press it down firmly to create a tight seal.
If you are painting in sections, it is important to remove the tape before the paint dries completely. This will prevent the tape from pulling off any paint and creating an uneven finish.
In summary, taping off cabinets and delicate surfaces is an important step in achieving a professional-looking paint job. Using painter’s tape, a level, and a plastic sheet, you can easily protect the areas you don’t want to paint and achieve a clean, straight line.
Priming and Painting for a Professional Look
https://www.youtube.com/watch?v=ofZ5YitguiY&embed=true
Once the cabinets are prepped and taped, it’s time to prime and paint for a professional-looking finish.
Before applying the coat of primer, it’s important to make sure the surface is clean and dry. Use a high-quality brush to apply the primer in long, even strokes. Allow the primer to dry completely before moving on to the next step.
When it comes to painting cabinets, it’s best to use a high-quality brush or roller to ensure a smooth finish. Apply each coat of paint in thin, even layers, and allow each coat to dry completely before applying the next one.
To achieve a fresh, updated look for your kitchen cabinets, consider using a paint color that complements your kitchen’s color scheme. Whether you choose a bold and bright color or a neutral tone, the key is to make sure the paint is applied evenly and dries completely before moving on to the next coat.
Overall, taking the time to properly prime and paint your cabinets will result in a professional look that will last for years to come.
Final Thoughts on a Cost-Effective Approach
When it comes to painting cabinets, it can be a cost-effective way to update the look of your kitchen, bathroom, or any other room in your home. However, it’s important to be meticulous with the prep work to ensure a flawless finish. One of the key steps in the prep work is taping off the cabinets.
Using painter’s tape is an easy and affordable way to protect areas that won’t be painted. It’s important to use a high-quality painter’s tape to avoid paint bleed and ensure neat lines. I recommend using a tape that is at least 1.5 inches wide to ensure adequate coverage.
In addition to painter’s tape, it’s also a good idea to use a plastic sheet to cover areas that won’t be painted. This will help protect your walls and cabinet surfaces from paint drips and splatters. You can use a drop cloth or plastic sheeting to cover the surrounding area.
Ultimately, the approach you take to taping off your cabinets will depend on your personal preference and the specific cabinets you are working with. However, by following these simple steps, you can achieve a professional-looking finish without breaking the bank.
Frequently Asked Questions

What is the best way to prepare cabinets for painting?
The best way to prepare cabinets for painting is to clean them thoroughly with a degreaser or TSP (trisodium phosphate) to remove any dirt, grime, or grease buildup. Once cleaned, sand the surface lightly with 220-grit sandpaper to provide a rough surface for the paint to adhere to. Then, wipe the surface with a tack cloth to remove any dust or debris.
How many coats of spray paint are needed for kitchen cabinets?
Typically, two to three coats of spray paint are needed for kitchen cabinets. However, the number of coats required may vary depending on the type of paint used, the color of the paint, and the condition of the cabinets. It is important to follow the manufacturer’s instructions for the specific type of paint being used.
What is the best method for spraying cabinets with an airless sprayer?
When spraying cabinets with an airless sprayer, it is important to use a high-quality paint that is designed for spraying. Begin by spraying the edges and corners of the cabinets, then move on to the larger surfaces. Hold the sprayer nozzle at a distance of 8 to 12 inches from the surface and move the sprayer in a back-and-forth motion. It is important to keep the sprayer moving at a consistent speed to avoid drips and runs.
How can you achieve a smooth finish when painting cabinets?
To achieve a smooth finish when painting cabinets, it is important to use high-quality paint and tools. Use a high-quality brush or roller to apply the paint, and apply thin, even coats. Sand the surface lightly between coats with 220-grit sandpaper to remove any imperfections. It is also important to avoid painting in humid or cold conditions, as this can cause the paint to dry too slowly and result in a rough surface.
What is the best way to strip cabinets before painting?
The best way to strip cabinets before painting is to use a chemical stripper. Apply the stripper to the surface of the cabinets, then wait for the recommended amount of time before scraping off the old finish with a putty knife. Once the old finish has been removed, clean the surface with a degreaser or TSP to remove any residue. Sand the surface lightly with 220-grit sandpaper to provide a rough surface for the paint to adhere to.
What are some tips for making cabinets look professionally painted?
To make cabinets look professionally painted, it is important to take your time and use high-quality materials. Use a high-quality paint that is designed for cabinets and apply thin, even coats. Sand the surface lightly between coats with 220-grit sandpaper to remove any imperfections. It is also important to use a high-quality brush or roller to apply the paint, and to avoid painting in humid or cold conditions. Finally, be sure to take your time and pay attention to detail to ensure a professional-looking finish.

Hi, I’m Sal Muller of Tooltrip.com. My DIY experience led me to understand essential power tools for home projects. Tooltrip.com guides enthusiasts and professionals in choosing right tools for any job. I provide concise top tool reviews for easier, efficient DIY.
