
As a DIYer or professional, you might be wondering whether you need to mud before mesh tape when installing drywall. The answer is yes, you should mud before mesh tape. Mudding is a crucial step in the drywall installation process, and it helps to keep the finished wall from developing cracks along the drywall seams.
Understanding Drywall and Its Installation
Drywall is a popular material used in constructing walls and ceilings. It consists of gypsum plaster that is sandwiched between two layers of paper or fiberglass. The installation process involves cutting drywall sheets to size, attaching them to the wall studs or ceiling joists, taping the seams, and then applying joint compound or mud. Mesh tape is then used to reinforce the joints, and the process is repeated until the desired finish is achieved.
Key Takeaways
- Mudding before mesh tape is a crucial step in drywall installation.
- Understanding the basics of drywall installation, mudding, and taping is essential for successful drywall finishing.
- Using the right tools and techniques, including sanding and finishing, can help you achieve a professional-looking finish.
Understanding Drywall and Its Installation
Drywall is a popular material used for interior walls and ceilings. It is made from gypsum plaster, which is sandwiched between two sheets of heavy paper. Drywall sheets come in a variety of sizes, ranging from 4 feet by 8 feet to 4 feet by 12 feet. The thickness of drywall sheets also varies, with the most common thickness being 1/2 inch.
When installing drywall, it is important to have the right tools and materials. You will need drywall screws, a power drill, and a canvas drop cloth to protect your floors. Before installing the drywall, you should also mark the location of electrical outlets and other fixtures on the wall.
To install the drywall sheets, you will need to screw them into the wall studs. The screws should be placed every 16 inches along the studs. As you screw in the drywall, you may notice screw holes and screw indentations. These can be filled with joint compound, which is also known as drywall mud.
Many people wonder whether they should mud before mesh tape. The answer is yes, you should mud before mesh tape. This is because the joint compound helps to create a smooth and even surface for the mesh tape to adhere to. If you apply the mesh tape before mudding, the tape may not stick properly and could come loose over time.
In summary, installing drywall requires the right tools and materials, including drywall screws, a power drill, and a canvas drop cloth. When screwing in the drywall, you may notice screw holes and indentations, which can be filled with joint compound. It is important to mud before mesh tape to ensure that the tape adheres properly to the wall.
Basics of Mud and Mudding
When it comes to drywall installation, mudding is an essential step in achieving a smooth and seamless finish. Mud, also known as joint compound, is a thick paste that is applied to the seams between drywall panels. The mud serves to fill in gaps and create a smooth surface for painting or wallpapering.
There are two types of mud: premixed and powdered. Premixed mud comes ready to use right out of the bucket, while powdered mud must be mixed with water before use. Both types of mud can be used for taping and mudding, but premixed mud is more convenient and easier to work with.
A thin layer of mud is first applied to the seam using a taping knife and then covered with a strip of mesh tape. The tape acts as a reinforcement to prevent the seam from cracking. After the tape is applied, a second coat of mud is added to cover the tape and create a smooth surface. This process is repeated until the desired level of smoothness is achieved.
Mud is typically applied using a mud pan and taping knife. The mud pan is used to hold the mud while the taping knife is used to apply the mud to the wall. It is important to keep the mud at the right consistency by adding water as needed. Too much water can make the mud too runny, while too little water can make it difficult to spread.
In conclusion, mud is a crucial component of the drywall installation process. Applying a thin layer of mud and mesh tape is the key to achieving a smooth and seamless finish. Whether you choose premixed or powdered mud, using the right tools and keeping the mud at the right consistency is essential for a successful mudding job.
Joint Types and Their Treatment
As a professional drywaller, I have worked with different types of joints, including butt joints, inside corners, and outside corners. Each type of joint requires a specific treatment to achieve a smooth finish.
Butt joints are the most common type of joint and require a different approach than corners. It is essential to fill the gap between the two sheets of drywall with joint compound before applying the tape. This process ensures that the tape adheres well to the surface and prevents air pockets from forming under the tape.
Inside corners require a different approach than butt joints. It is essential to apply a thin coat of joint compound to the corner before installing the tape. This process ensures that the tape adheres well to the surface and prevents air pockets from forming under the tape. Once the tape is installed, it is necessary to apply another thin coat of joint compound over the tape to smooth out the surface.
Outside corners require a different approach than inside corners. It is essential to apply a thin coat of joint compound to the corner before installing the tape. This process ensures that the tape adheres well to the surface and prevents air pockets from forming under the tape. Once the tape is installed, it is necessary to apply another thin coat of joint compound over the tape to smooth out the surface.
When treating drywall joints, it is essential to use the right type of joint compound. All-purpose joint compound is the most versatile and can be used for most applications. However, for thin coats, it is necessary to use a specific type of joint compound designed for that purpose.
In conclusion, treating drywall joints requires different approaches depending on the type of joint. It is essential to fill the gap between the two sheets of drywall with joint compound before applying the tape to achieve a smooth finish. When treating drywall joints, it is necessary to use the right type of joint compound for the job.
Taping Process and Techniques
When it comes to taping drywall, there are a variety of techniques and materials that can be used to achieve a smooth and seamless finish. One common question that arises is whether to mud before or after applying mesh tape.
As someone who has been involved in many drywall projects, I can confidently say that the best approach is to mud before applying mesh tape. This is because the mud helps to create a strong bond between the tape and the drywall, ensuring that it stays in place and doesn’t bubble or peel over time.
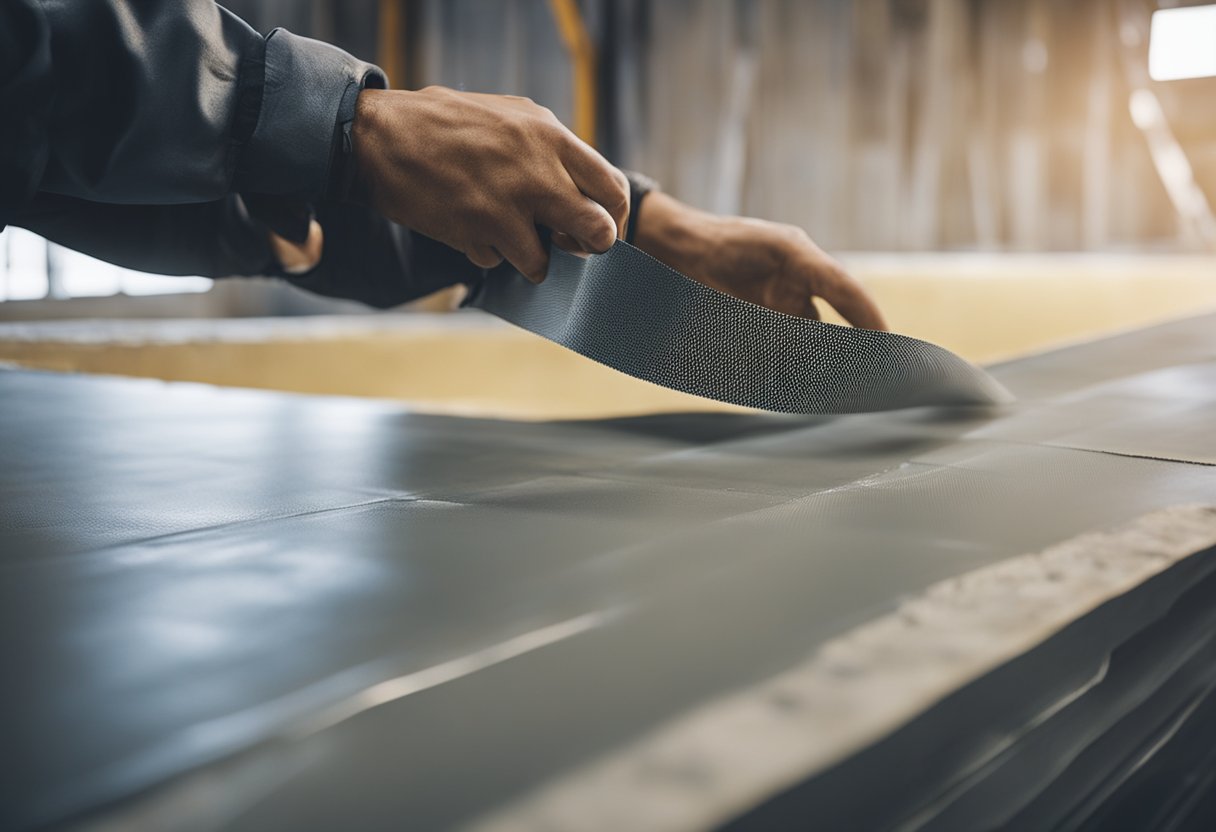
When it comes to the type of tape to use, there are several options available, including paper tape, mesh tape, and reinforced tape. Paper tape is a popular choice because it is easy to work with and can be used for both flat and inside corners. Mesh tape, on the other hand, is self-adhesive and can be applied quickly and easily, making it a great choice for larger projects.
To apply the tape, start by spreading a thin layer of mud over the joint using a taping knife. Then, press the tape into the mud and use the knife to smooth out any bubbles or wrinkles. Once the tape is in place, apply another layer of mud over the top, feathering out the excess compound to create a smooth finish.
It’s important to note that excess compound should be removed as much as possible. Feathering out the compound helps to avoid lumps and bumps in the finished product.
Understanding and Using Different Types of Mud
When it comes to drywall installation, mud is a crucial component in creating a smooth and seamless finish. There are different types of mud available in the market, and each one has its specific purpose. In this section, I will explore the different types of mud and their uses.
All-Purpose Mud
All-purpose mud is the most commonly used type of mud in drywall installation. It is a pre-mixed mud that is easy to work with and can be used for all phases of drywall installation, including taping, finishing, and texturing. All-purpose mud is versatile and can be used on both walls and ceilings. However, it may not be the best option for larger projects as it can be harder to sand.
Topping Mud
Topping mud is a lightweight all-purpose mud that is used for the final coat in drywall installation. It is thinner than all-purpose mud, making it easier to spread and sand. Topping mud is ideal for creating a smooth and seamless finish.
Setting Mud
Setting mud, also known as hot mud, is a type of powdered mud that is mixed with water before use. It is used for filling large gaps and joints and is ideal for projects that require a quick turnaround time. Setting mud sets up quickly, making it perfect for small repairs. However, it can be harder to sand than pre-mixed mud.
Lightweight All-Purpose Mud
Lightweight all-purpose mud is a pre-mixed mud that is lighter in weight than traditional all-purpose mud. It is ideal for ceiling work as it is easier to apply overhead. Lightweight all-purpose mud is also easier to sand than traditional all-purpose mud.
Timed Drywall Mud
Timed drywall mud is a pre-mixed mud that is designed to set up at a specific time. It is ideal for larger projects that require a longer working time. Timed drywall mud can be used for taping, finishing, and texturing.
In conclusion, understanding the different types of mud available and their uses is crucial in achieving a smooth and seamless finish in drywall installation. Each type of mud has its specific purpose, and choosing the right one for your project can make a significant difference in the final outcome.
Sanding and Finishing
After applying the mesh tape and joint compound, it is important to sand and finish the drywall properly. Sanding is a crucial step in the drywall finishing process. It helps to smooth out any bumps, ridges, and uneven surfaces to achieve a flat and even surface.
To begin sanding, I use a pole sander with 150-grit sandpaper to sand the joint compound smooth. I make sure to wear a respirator mask to avoid inhaling the dust that is created during the sanding process.
It is important to feather the edges of the joint compound to achieve a seamless finish. I apply thin coats of joint compound and sand in between each coat until I achieve a smooth surface.
For larger projects, a power drywall sander can be used to make the sanding process faster and more efficient. However, it is important to be careful not to oversand and create a depression in the drywall.
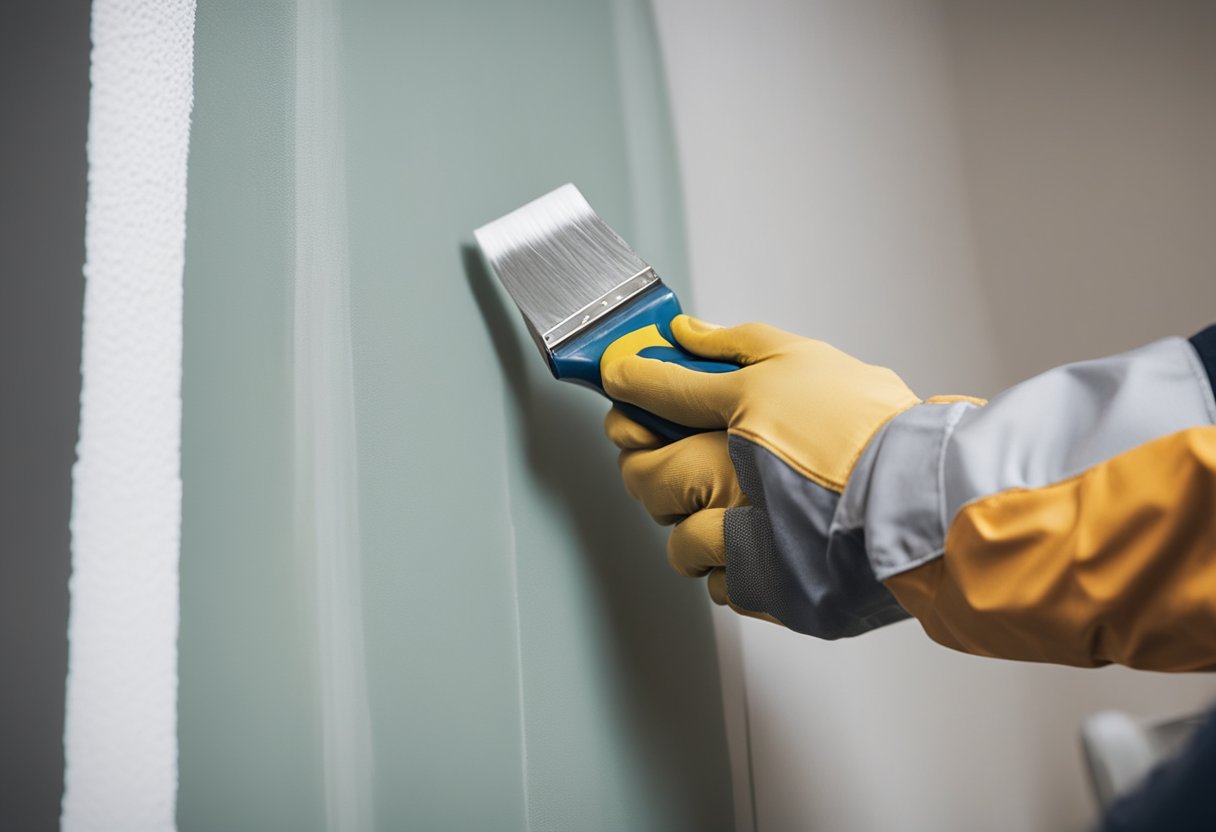
Once the sanding is complete, I wipe down the walls with a damp cloth to remove any remaining dust. I then apply a coat of primer before painting to ensure a smooth and even finish.
In conclusion, sanding and finishing are crucial steps in the drywall finishing process. It is important to use the right tools and techniques to achieve a smooth and even surface. By following these steps, I can achieve a professional-looking finish for my drywall projects.
Precautions and Troubleshooting
When mudding and taping drywall, there are a few precautions and troubleshooting tips to keep in mind to ensure a smooth and successful finish. Here are some things to consider:
-
Bubbles and Cracks: If you notice bubbles or cracks in your finished drywall, it could be due to improper mudding and taping techniques. To avoid this, make sure to apply enough mud and tape to cover the joint completely, and smooth out any air pockets or bumps before the mud dries.
-
Adhesion and Indents: Proper adhesion is key to a successful mudding and taping job. Make sure to clean the surface of the drywall thoroughly before applying the mud and tape, and press firmly to ensure the tape adheres properly. If you notice any indents or gaps after the mud has dried, you can fill them in with additional mud and sand them down once dry.
-
Gap and Bond: Gaps between the drywall and the tape can cause the tape to lift and create an uneven finish. To avoid this, make sure to apply enough mud to fill any gaps and press the tape firmly into place. It’s also important to create a strong bond between the mud and the tape by applying enough pressure and smoothing out any wrinkles or creases.
-
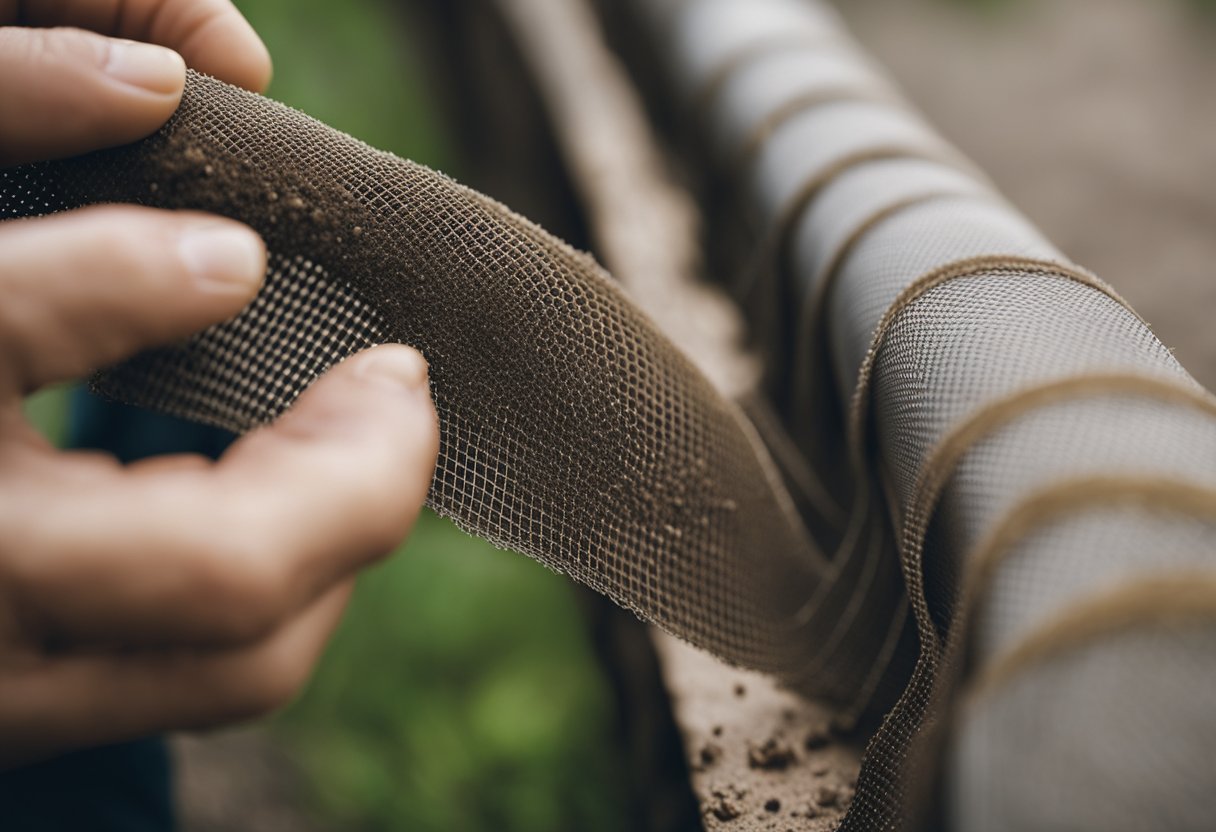
Holes and Fiberglass Mesh: For larger holes in the drywall, it’s important to use a fiberglass mesh tape to reinforce the repair. This will help prevent the hole from reappearing over time. Apply the mud and tape as usual, making sure to press the tape firmly into place and smooth out any bumps or wrinkles.
-
Canvas and Powdered Form: While traditional paper tape is the most commonly used tape for mudding and taping, there are other options available, such as canvas tape and powdered mud. If you choose to use these alternative materials, make sure to follow the manufacturer’s instructions carefully and adjust your technique as needed.
By keeping these precautions and troubleshooting tips in mind, you can ensure a successful mudding and taping job that will leave your drywall looking smooth and professional.
Frequently Asked Questions
When should you apply mud when using mesh tape?
When using mesh tape, it is important to apply mud after the tape has been applied to the drywall. This will help to ensure that the tape adheres properly to the surface and that there are no air pockets or bubbles beneath the tape.
What are the advantages of using mesh tape?
Mesh tape has several advantages over traditional paper tape. It is more durable, easier to apply, and less likely to crack or peel over time. Additionally, mesh tape is self-adhesive, which means that it does not require an initial layer of mud to stick to the drywall.
How do you properly apply mesh tape?
To properly apply mesh tape, start by cutting a piece of tape to the desired length. Then, place the tape over the joint or crack in the drywall, pressing it firmly into place. Next, use a putty knife to apply a thin layer of mud over the tape, smoothing it out as you go. Be sure to remove any excess mud to avoid creating a lumpy finish.
Can you use mesh tape for ceiling repairs?
Yes, mesh tape can be used for ceiling repairs. However, it is important to use a lightweight joint compound when working on ceilings, as heavy compounds can cause the tape to sag or pull away from the surface.
What is the best way to finish mesh tape?
To finish mesh tape, start by sanding down any high spots or rough patches in the mud. Then, apply a second coat of mud, feathering it out from the edges of the tape to create a smooth, even finish. Repeat this process until the tape is completely covered and the surface is smooth.
How do you avoid bubbles when applying mesh tape?
To avoid bubbles when applying mesh tape, be sure to press the tape firmly into place as you apply it. Additionally, use a putty knife to smooth out any air pockets or wrinkles in the tape before applying the mud. Finally, be sure to remove any excess mud to avoid creating bubbles or lumps in the finished surface.

Hi, I’m Sal Muller of Tooltrip.com. My DIY experience led me to understand essential power tools for home projects. Tooltrip.com guides enthusiasts and professionals in choosing right tools for any job. I provide concise top tool reviews for easier, efficient DIY.
