
When it comes to painting a ceiling, lap marks can be a frustrating issue to deal with. Lap marks are visible lines on the ceiling where the paint overlaps, creating an uneven finish. Fortunately, there are steps you can take to fix lap marks and prevent them from happening in the future.
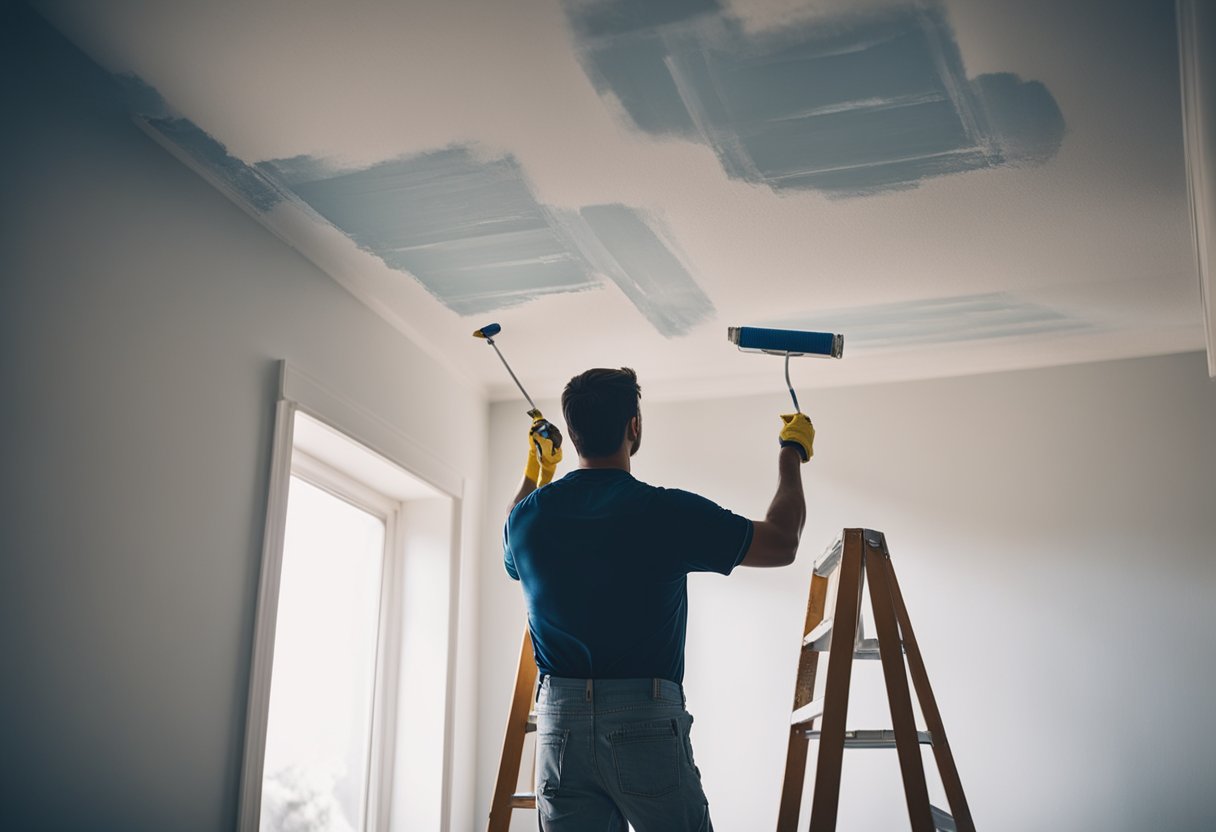
Understanding lap marks is the first step to fixing them. Lap marks occur when wet paint is applied over partially dried paint, resulting in visible lines. These lines can be caused by a variety of factors, such as using the wrong paint roller, applying too much pressure, or painting in direct sunlight. By understanding the causes of lap marks, you can take steps to prevent them from happening in the first place.
To fix lap marks on a ceiling, you will need to properly prepare the surface, choose the right tools and paint, and use proper painting techniques. Depending on the severity of the lap marks, you may need to sand and repaint the affected areas. By taking the time to fix lap marks, you can ensure a smooth and even finish on your ceiling.
Key Takeaways
- Understanding the causes of lap marks is key to preventing them from happening in the first place.
- Proper preparation, tool selection, and painting techniques can help avoid lap marks.
- Fixing lap marks may require sanding and repainting the affected areas, but taking the time to do so will result in a smoother finish.
Understanding Lap Marks
https://www.youtube.com/watch?v=YHL6mH6DfCk&embed=true
As a professional painter, I have seen many cases of lap marks on ceilings. Lap marks are a common painting mistake that can be frustrating to deal with. They occur when a new coat of paint is applied over a partially dried or already dried coat of paint. The result is a visible line or mark where the two coats overlap.
Lap marks can be caused by a variety of factors, including using the wrong type of paint, improper paint application technique, or painting in the wrong weather conditions. One of the most common causes of lap marks is painting too slowly, which allows the paint to dry before you can finish the entire surface.
To avoid lap marks, it is important to use the right type of paint and painting tools. Using a paint with a longer drying time can help prevent lap marks. It is also important to maintain a “wet edge” while painting. This means applying paint a short distance away from the portion you just painted and rolling or brushing back into that wet area.
Another way to avoid lap marks is to plan breaks at natural interruptions such as a window, door, or corner. Cut into planned breaks with a brush while wall paint is still wet. This will help to maintain a consistent finish across the entire surface.
In summary, lap marks are a common painting mistake that can be easily avoided with the right techniques and tools. By using the right type of paint, maintaining a wet edge, and planning breaks, you can ensure a smooth and consistent finish on your ceiling.
Causes of Lap Marks
https://www.youtube.com/watch?v=WffcTHkuUpg&embed=true
When it comes to painting a ceiling, lap marks can be a frustrating problem to deal with. Lap marks are those ugly stripes that appear on the painted surface, caused by uneven layers of paint. As a professional painter, I have come across this issue many times, and I know how challenging it can be to fix it.
Here are some of the most common causes of lap marks:
1. Paint Application
One of the main causes of lap marks is improper paint application. If you apply too much paint or overlap the edges of the painted area, it can cause the paint to dry unevenly, resulting in lap marks. To avoid this, always follow the manufacturer’s directions for the recommended thickness of the paint and apply it evenly.
2. Poor-Quality Paints
Using low-quality paints can also lead to lap marks. These paints tend to dry too quickly, leaving behind uneven layers of paint and causing lap marks. To avoid this, always use high-quality paints that are designed for the surface you are painting.
3. Dry Roller
A dry roller is another common cause of lap marks. If you don’t keep your roller wet enough, it can cause the paint to dry too quickly, resulting in lap marks. To avoid this, always keep your roller wet and use a wet edge technique while painting.
4. Dust and Pressure
Dust and pressure can also cause lap marks. If there is dust on the surface you are painting, it can mix with the paint and cause lap marks. Similarly, if you apply too much pressure while painting, it can cause the paint to dry unevenly, resulting in lap marks.
5. Gravity
Gravity can also cause lap marks. If you are painting a ceiling, the paint can drip and create lap marks. To avoid this, always use a primer and paint in the direction of the light source.
By understanding the causes of lap marks, you can take the necessary steps to avoid them. Use high-quality paints, follow the manufacturer’s directions, keep your roller wet, and be mindful of dust, pressure, and gravity.
Preparation Before Painting
Before painting your ceiling, it’s important to prepare the surfaces properly to ensure a smooth and even finish. Here are some steps I take to prepare the ceiling for painting:
Clear the Room
First, I clear the room of all furniture and other items. This is to ensure that they don’t get damaged by paint or dust during the painting process. I also cover the floor with drop cloths to protect it from paint drips and spills.
Clean the Ceiling
Next, I clean the ceiling thoroughly to remove any dust or debris that may have accumulated. I use a soft-bristled brush or a vacuum cleaner with a soft brush attachment to gently remove any dust or cobwebs from the ceiling. If there are any stubborn stains or marks on the ceiling, I use a damp cloth to wipe them away.
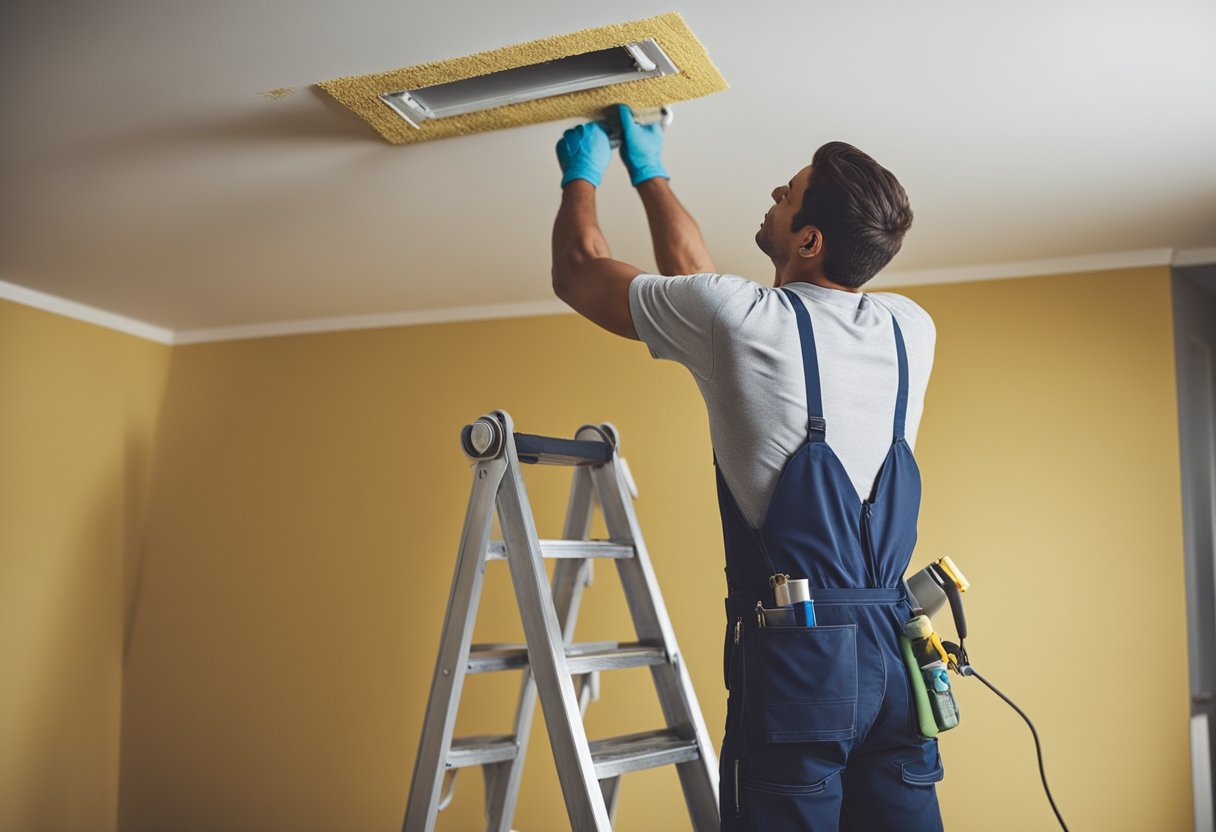
Tape Off Areas
To make sure I don’t accidentally paint areas that I don’t want to be painted, I use painter’s tape to tape off the edges of the ceiling where it meets the walls, as well as any light fixtures or ceiling fans. I also use a utility knife to cut the tape neatly around door frames, corners, and windows.
Prepare the Paint
Before starting to paint, I make sure that I have all the necessary supplies, including the paint, paint brushes, and rollers. I also make sure to stir the paint thoroughly to ensure that it is well-mixed and that the color is consistent throughout.
By following these steps, I ensure that my ceiling is properly prepared for painting and that I achieve the best possible results.
Choosing the Right Tools and Paint
When it comes to fixing lap marks on the ceiling, choosing the right tools and paint is crucial for achieving a smooth and even finish. Here are some tips on selecting the right tools and paint for the job.
Roller
Using the right roller can make all the difference in achieving a smooth finish on your ceiling. Choose a roller with a nap that is appropriate for your ceiling texture. For example, if you have a textured ceiling, use a roller with a thicker nap to ensure the paint gets into all the crevices. Additionally, using a high-quality roller can help prevent shedding and ensure an even application.
Paint
Selecting the right paint is also important for fixing lap marks on the ceiling. Use a high-quality, interior paint that is specifically designed for ceilings. Flat or matte finishes are most commonly used for ceilings, as they help to hide imperfections. Additionally, ceiling paint is designed to roll on with minimum spatter and resist yellowing over time.
Paintbrush
While a roller is great for covering large areas, a paintbrush is essential for cutting in along the edges of your ceiling. Use a high-quality paintbrush with angled bristles to ensure a clean and precise line.
Paint Tray
Using a paint tray can help you load your roller evenly and avoid drips. Look for a sturdy tray with a deep well to prevent spills.
Quality Paints
Lastly, investing in high-quality paints is essential for achieving a smooth and even finish on your ceiling. While it may be tempting to go for a cheaper option, low-quality paints can result in lap marks, drips, and uneven coverage. Opt for a trusted brand and choose a paint that is specifically designed for ceilings to ensure the best results.
By choosing the right tools and paint, you can easily fix lap marks on your ceiling and achieve a professional-looking finish.
Proper Painting Techniques
https://www.youtube.com/watch?v=7uYMSxBh_Ro&embed=true
When it comes to fixing lap marks on the ceiling, proper painting techniques are essential to prevent them from occurring in the first place. Here are some tips to help you achieve a smooth and consistent finish:
-
Prepare the surface: Before starting to paint, make sure the ceiling is clean and dry. Any dirt, dust, or debris can affect the adhesion of the paint and cause lap marks. If necessary, use a damp cloth to wipe down the surface and let it dry completely.
-
Choose the right paint and roller: Selecting the right paint and roller can make a big difference in the final result. Use a high-quality paint that is specifically designed for ceilings and a roller with the appropriate nap length. A roller with a nap length of 3/8 inch or less is ideal for smooth surfaces like ceilings.
-
Maintain a wet edge: One of the most important techniques to prevent lap marks is to maintain a wet edge while painting. This means applying paint a short distance away from the portion you just painted and rolling or brushing back into that wet area. By doing this, you can avoid overlapping and create a seamless finish.
-
Feather the edges: If you do end up with lap marks, you can try feathering the edges to blend them in with the rest of the ceiling. To do this, use a dry roller or brush to lightly go over the edges of the lap marks in the same direction as the rest of the paint.
-
Follow the directions: Always follow the manufacturer’s directions when it comes to paint application. This includes things like the recommended drying time between coats and the proper way to load the roller with paint. By following these guidelines, you can ensure that the paint goes on smoothly and evenly, reducing the risk of lap marks.
By using these proper painting techniques, you can minimize the risk of lap marks and achieve a professional-looking finish on your ceiling.
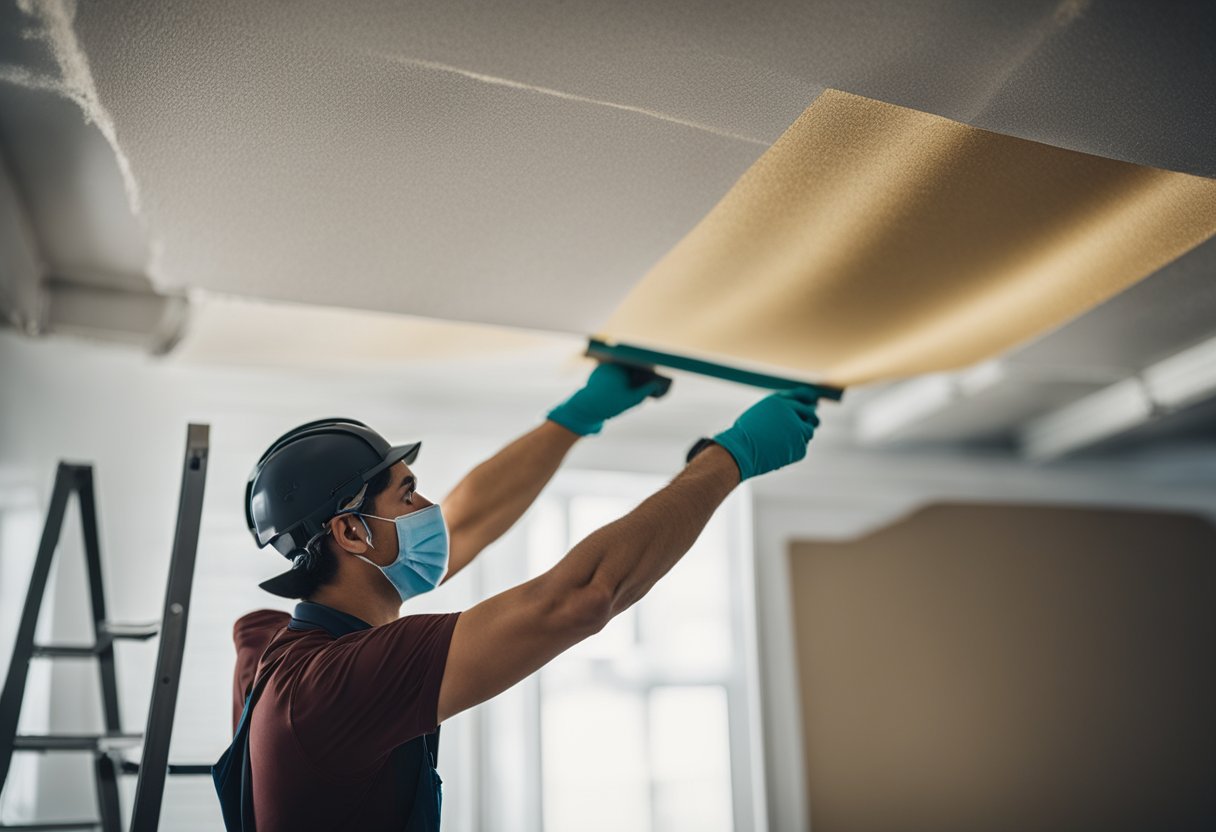
Fixing Existing Lap Marks
https://www.youtube.com/watch?v=r0VX3J3Qa3I&embed=true
If you already have lap marks on your ceiling, don’t worry. There are ways to fix them without having to repaint the entire ceiling.
Sanding
One way to fix lap marks is by sanding them down. Use fine-grit sandpaper or a sanding sponge to lightly sand the area with the lap marks. Be careful not to sand too much, as this can create an uneven surface. Feather the edges of the sanded area by sanding them with a lighter touch. This will help to blend the sanded area with the rest of the ceiling.
Scraping
If the lap marks are particularly stubborn, you may need to use a scraper to remove them. Use a sharp scraper to gently scrape away the lap marks. Be careful not to scrape too hard, as this can damage the ceiling. Once you have removed the lap marks, sand the area to create a smooth surface.
Second Coat
Another way to fix lap marks is by applying a second coat of paint. Make sure the first coat is completely dry before applying the second coat. Use a roller to apply the paint in a W pattern, and then roll over the area in the opposite direction to create a smooth finish. Be careful not to apply too much paint, as this can create paint drips.
Priming
If you have scraped away the lap marks, you may need to prime the area before painting it. Use a primer to create a smooth surface for the paint to adhere to. Once the primer is dry, you can apply the paint as usual.
By using these techniques, you can fix lap marks on your ceiling and create a smooth, even finish.
Preventing Future Lap Marks
https://www.youtube.com/watch?v=Zh9I5HrYadA&embed=true
To prevent future lap marks on the ceiling, it is essential to maintain a wet edge while painting. This means painting from the wet edge of the previous section to the dry edge of the next section. It is also crucial to avoid painting over dried paint, as this can cause roller marks and lap marks.
One way to maintain a wet edge is to use a roller with a high-quality cover that holds a lot of paint. This will allow you to cover a larger area with each stroke and reduce the number of times you need to reload your roller. Additionally, you can apply a second coat of paint before the first coat has completely dried to ensure that the paint stays wet and you can maintain a wet edge.
Another way to prevent lap marks is to apply the right amount of pressure while painting. Applying too much pressure can cause the paint to spread unevenly, leading to lap marks. On the other hand, applying too little pressure can result in a thin coat of paint that dries too quickly and causes lap marks. It is essential to find the right balance of pressure to achieve a smooth, even coat of paint.
Before painting, it is also important to prepare the surface properly. Sanding the ceiling before painting can help to create a smooth surface that is easier to paint. Additionally, applying a sealer or primer can help to create a uniform surface that is easier to paint and reduces the risk of lap marks.
Finally, it is important to use high-quality paints that are less likely to cause lap marks. Cheaper paints may contain impurities that can cause paint spill, paint bubbles, or lap marks. By using high-quality paints, you can reduce the risk of lap marks and achieve a smooth, even coat of paint on your ceiling.
Cleaning Up After Painting
Now that the lap marks on your ceiling are fixed, it’s time to clean up the mess. Painting can be a messy job, but with the right tools and techniques, you can minimize the cleanup time and effort.
First, remove any drop cloths or plastic sheeting you used to protect your floors and furniture. Fold them neatly and dispose of them properly. If you spilled any paint on the floor, clean it up immediately to prevent it from drying and becoming harder to remove later. Use a damp cloth or paper towel to wipe away the paint spill.
Next, clean your paint tray and rollers. If you plan to reuse them for future painting projects, it’s important to clean them thoroughly to prevent the paint from drying and clogging the rollers. Fill a bucket with warm, soapy water, and soak the rollers and tray for a few minutes. Use a brush or your hands to scrub away any paint residue. Rinse the rollers and tray with clean water and let them air dry.
If you accidentally got paint on your floor lamp or other furniture, don’t panic. Use a damp cloth or sponge to gently wipe away the paint. If the paint has already dried, you can try using a paint remover or solvent, but be careful not to damage the surface of your furniture.
In summary, cleaning up after painting is an essential part of any painting project. By following these tips, you can make the cleanup process easier and more efficient. Remember to always use drop cloths and protect your floors and furniture, and clean your painting tools thoroughly to ensure they are ready for future use.
Frequently Asked Questions
What are some tools needed to paint a ceiling?
Painting a ceiling requires some specific tools. You will need a ladder, a paint roller, a paintbrush, a paint tray, and painter’s tape. Depending on the size of your ceiling, you may also need an extension pole for your paint roller.
How can I fix lap marks on my ceiling?
Lap marks on a ceiling can be frustrating to deal with. One way to fix them is to use a drywall sander to smooth out the surface. You can then apply a fresh coat of paint to the area. Another method is to use a vacuum cleaner, ice, hot water, and soap to remove the marks. You can find more information on how to remove lap marks on your ceiling here.
What causes roller marks on a ceiling?
Roller marks on a ceiling can be caused by a variety of factors. One common cause is using a roller that is too dry or has too much paint on it. Another cause is using a roller that is not the right size for the job. Poor technique, such as rolling in different directions or not maintaining a wet edge, can also cause roller marks.
Can I paint over roller marks on my ceiling?
Yes, you can paint over roller marks on your ceiling. However, it is important to fix the underlying issue causing the marks first. If the marks are caused by a dry roller, try using a damp roller instead. If the marks are caused by poor technique, try using a lighter touch and maintaining a wet edge.
How do I prevent lap marks when painting a ceiling?
Preventing lap marks when painting a ceiling requires proper technique. Always maintain a wet edge by working in small sections and rolling in the same direction. Avoid rolling back over areas that have already been painted. If you need to take a break, stop at a natural break point, such as a corner or edge.
What are some common problems when painting a ceiling?
Common problems when painting a ceiling include roller marks, lap marks, and paint drips. Other issues can include uneven coverage, poor adhesion, and peeling paint. These problems can be caused by a variety of factors, such as poor technique, using the wrong type of paint, or painting in the wrong conditions.

Hi, I’m Sal Muller of Tooltrip.com. My DIY experience led me to understand essential power tools for home projects. Tooltrip.com guides enthusiasts and professionals in choosing right tools for any job. I provide concise top tool reviews for easier, efficient DIY.
