
Loading a PowerShot staple gun can seem like a daunting task, especially if you’ve never done it before. However, once you understand the process, it’s actually quite simple. In this article, I will guide you through the steps to load your PowerShot staple gun safely and correctly.
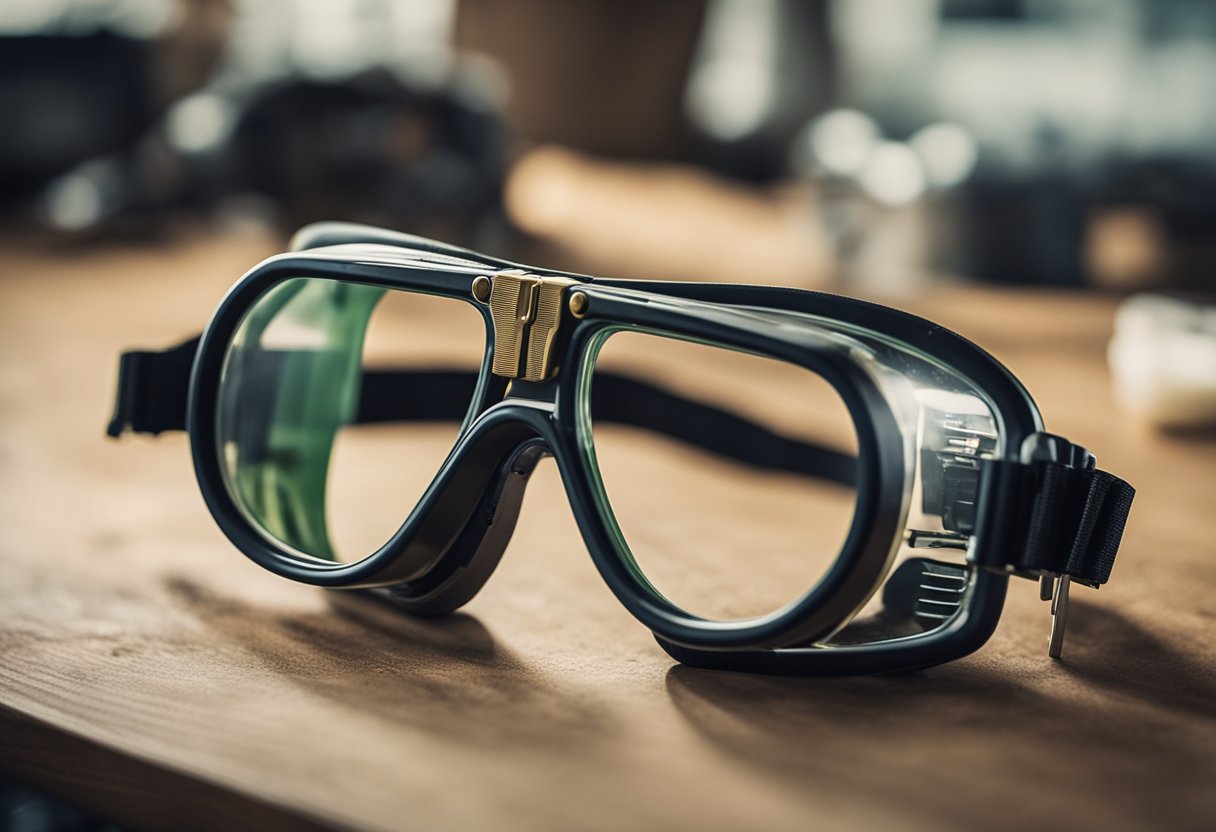
Before we begin, it’s important to note that safety should always be your top priority when handling any kind of power tool. Make sure you read and understand the safety precautions outlined in your PowerShot staple gun manual before attempting to load it. Once you’re familiar with the safety guidelines, you can move on to identifying the key parts of the staple gun and choosing the correct staples and nails.
Key Takeaways
- Loading a PowerShot staple gun can seem daunting, but it’s actually quite simple once you understand the process.
- Safety should always be your top priority when handling any kind of power tool.
- Before loading your staple gun, make sure you understand the key parts of the tool and choose the correct staples and nails.
Understanding the PowerShot Staple Gun
https://www.youtube.com/watch?v=FsVq10PHkog&embed=true
As a best-selling staple gun, the PowerShot is a great tool for any DIY enthusiast or professional. The forward-action design allows for easy and precise stapling, while the die-cast aluminum body ensures durability and longevity.
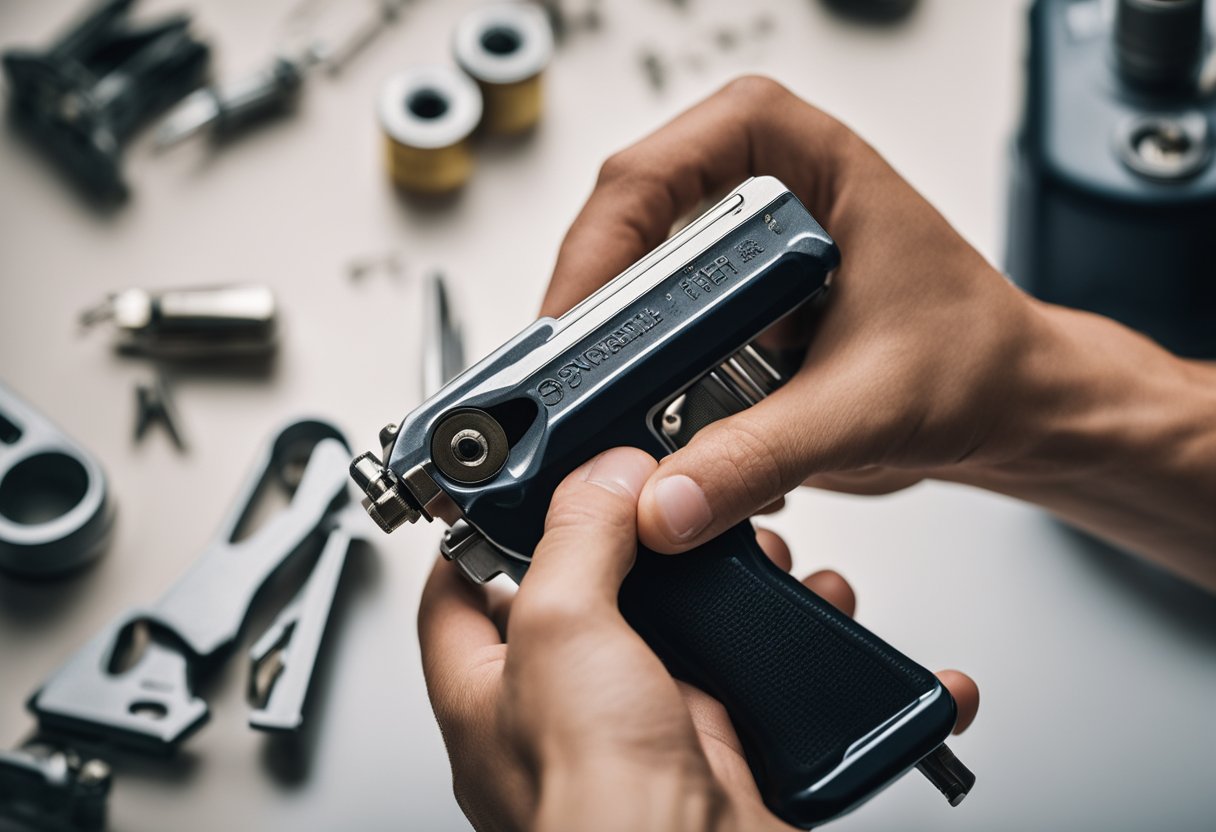
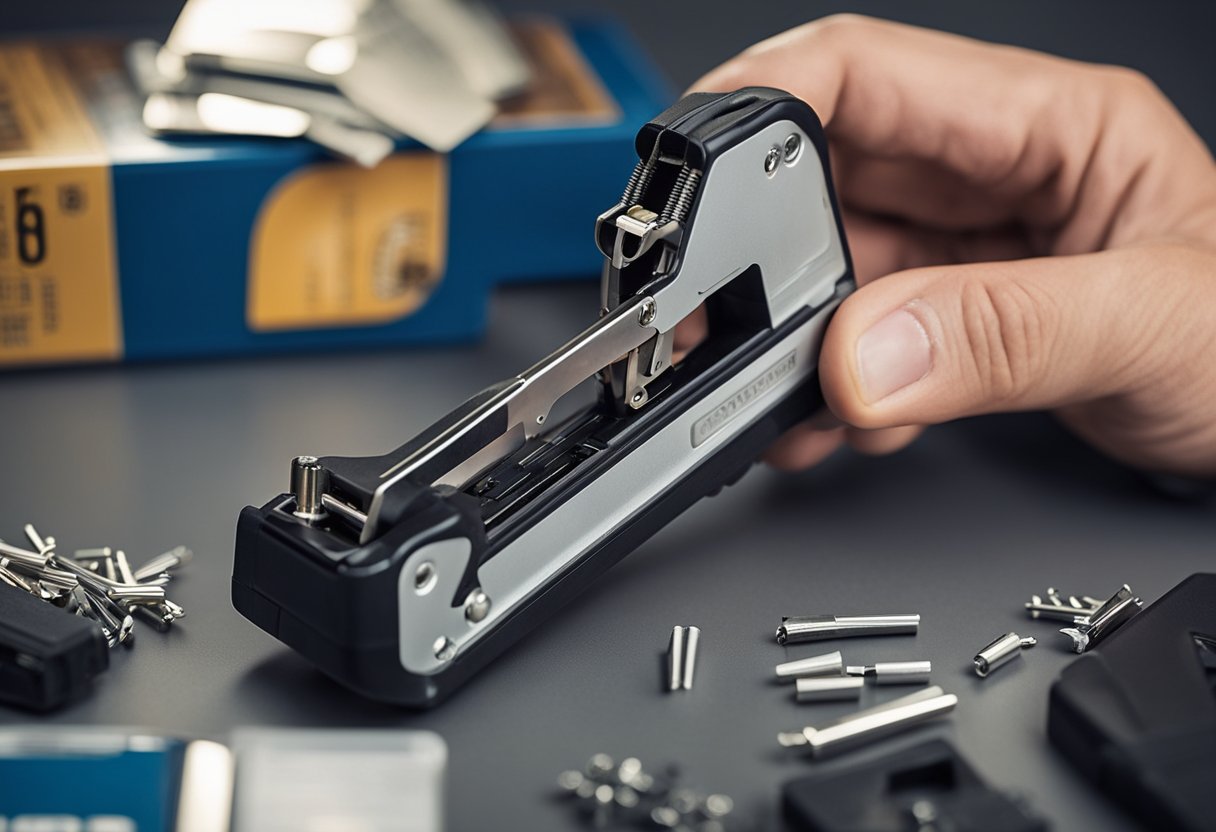
To use the PowerShot staple gun, it’s important to first understand its components. The staple gun consists of a body, handle, magazine, and nose piece. The magazine is where the staples are loaded and the nose piece is where the staples are ejected from.
Loading the staples into the magazine is a simple process. First, make sure the staple gun is unplugged or not loaded. Then, slide the magazine release button located on the back of the magazine to release the magazine from the body. Once the magazine is removed, insert the staples into the magazine with the pointed end facing down. Finally, slide the magazine back into the body until it clicks into place.
It’s important to note that different staple guns may require different types of staples. Make sure to check the manual or manufacturer’s website for the correct staple size and type before loading the staples into the magazine.
In summary, the PowerShot staple gun is a reliable and durable tool for any stapling project. Understanding its components and how to load the staples will ensure a successful and efficient stapling experience.
Safety Precautions Before Loading
Loading a Powershot staple gun requires caution and attention to safety. Before starting to load the gun, it is important to take the necessary precautions to ensure your safety and the safety of those around you. Here are some safety precautions to take before loading a Powershot staple gun:
-
Read the manual: Before loading the gun, read the manual carefully. The manual provides important information on how to safely and properly load the gun. It is also a good idea to familiarize yourself with the different parts of the gun so that you know what you are doing.
-
Wear protective gear: Always wear protective gear when using a staple gun. This includes gloves to protect your hands, safety glasses to protect your eyes, and ear protection if you are working in a noisy environment. It is important to wear the appropriate gear to protect yourself from any potential harm.
-
Clear the work area: Before loading the gun, clear the area of any debris or obstacles. This will help you move around more easily and avoid any accidents. Make sure the area is well-lit and free of any tripping hazards.
-
Inspect the gun: Inspect the staple gun before loading it. Make sure it is in good condition and free of any damage or defects. If you notice any issues, do not use the gun and have it repaired or replaced.
By taking these safety precautions, you can ensure that you are properly prepared to load your Powershot staple gun. Remember to always prioritize safety and take the necessary steps to protect yourself and those around you.
Identifying Key Parts of the Staple Gun
As someone who has used a Powershot staple gun before, I know that it can be confusing to figure out all the different parts of the tool. In this section, I will go over the key parts of the staple gun and explain what they do.
The Magazine
The magazine is the part of the staple gun that holds the staples. It is located at the bottom of the tool and is usually made of plastic. To load the staples into the magazine, you need to slide them in from the top until they are flush with the edge of the slot. Make sure to align them in a single row to prevent jams.
The Pusher
The pusher is a small metal piece that sits inside the magazine and pushes the staples forward when you squeeze the trigger. To load the staples, you need to remove the pusher from the magazine by pushing it in and pulling it out. After you load the staples, you need to reinsert the pusher and push it all the way in until it locks in place.
The Release Button
The release button is a small plastic piece located on the back of the staple gun. It is used to release the magazine from the tool when you need to reload it with staples. To remove the magazine, you need to press the release button and pull the magazine down and away from the tool.
Overall, the magazine, pusher, and release button are the key parts of the Powershot staple gun that you need to be familiar with. Other parts, such as the magazine release button, nail indicator, and guide rail, are also important, but they are not essential to understanding how to load the staple gun.
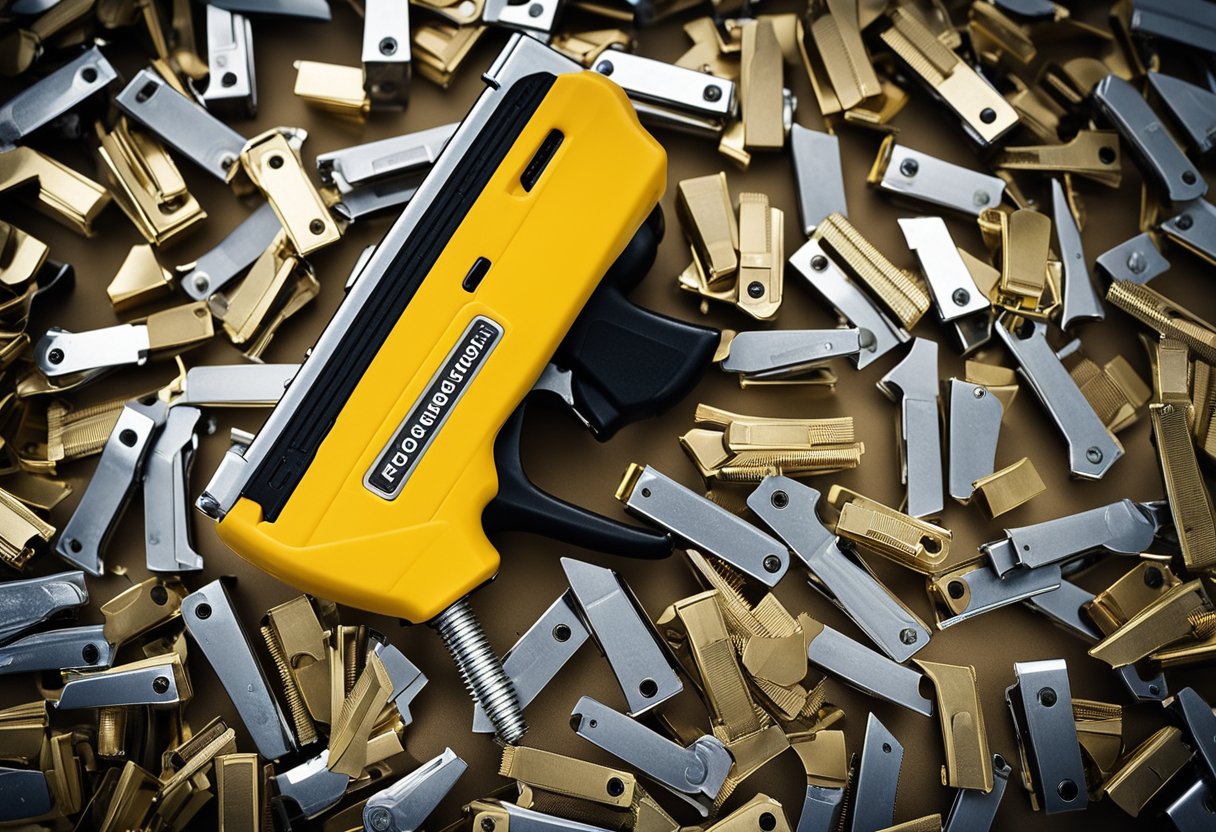
Choosing the Correct Staples and Nails
As I’ve learned from my experience, choosing the correct staples and nails is crucial for the efficient working of the PowerShot staple gun. The correct staple size and nail size will determine the success of your stapling and nailing tasks.
When it comes to staples, the PowerShot staple gun uses T50 staples. These staples come in different sizes ranging from 1/4 inch to 9/16 inch. It is important to choose the correct staple size based on the thickness of the material you are stapling. For example, if you are stapling thin material, you should use a smaller staple size, while thicker materials require larger staple sizes.
In addition to the size of the staples, it is important to consider the type of material the staples are made of. Stainless steel staples are ideal for outdoor projects since they are rust-resistant. On the other hand, galvanized staples are perfect for indoor projects since they are less expensive and work well with most materials.
When it comes to nails, the PowerShot staple gun uses brad nails. Brad nails come in different sizes ranging from 5/8 inch to 1 1/4 inches. It is important to choose the correct nail size based on the thickness of the material you are nailing. For example, if you are nailing thin material, you should use a smaller nail size, while thicker materials require larger nail sizes.
It is important to note that the PowerShot staple gun can also use staples as brads. This means that you can use T50 staples as brads by bending them into a U-shape. However, it is important to note that using staples as brads can damage the material you are nailing and may not be as effective as using actual brads.
In conclusion, choosing the correct staple size, nail size, and material is crucial for the efficient working of the PowerShot staple gun. By considering the thickness of the material and the type of project you are working on, you can choose the correct staples and nails for your task.
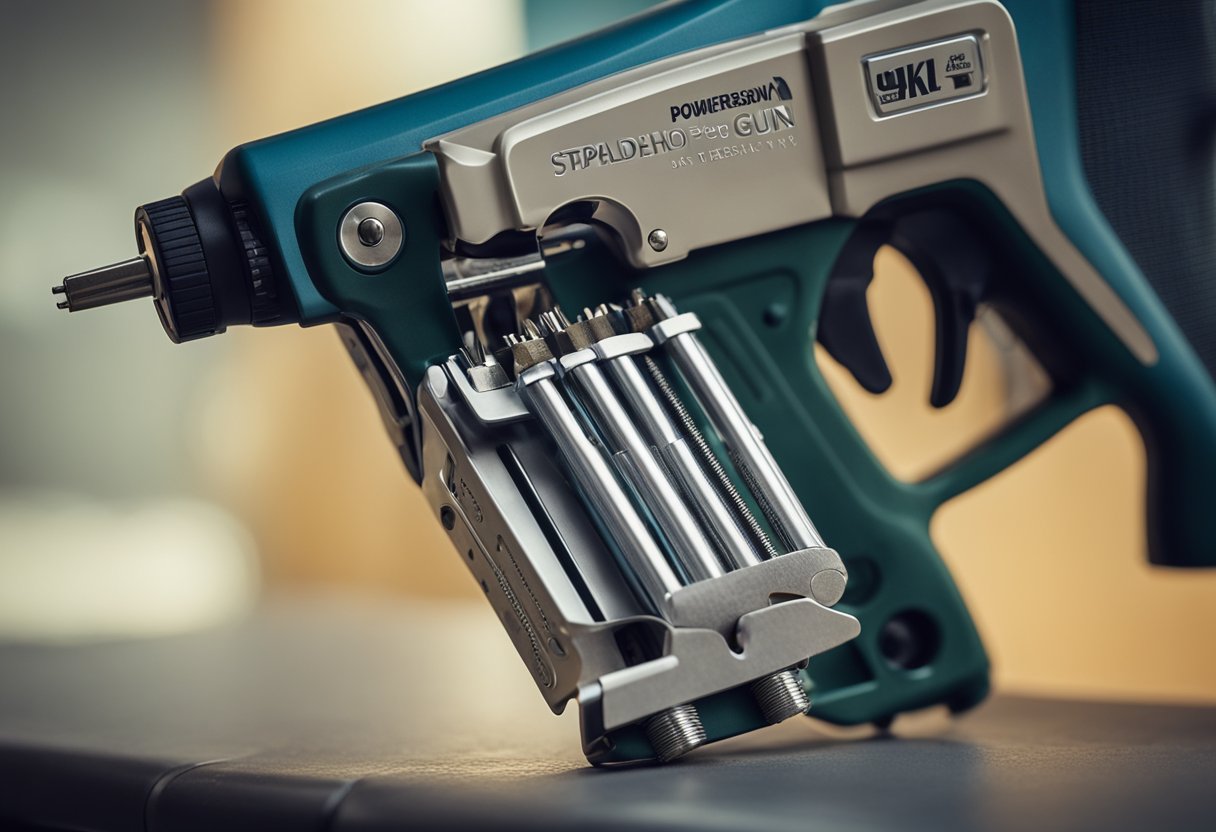
Step by Step Guide to Loading the Staple Gun
https://www.youtube.com/watch?v=UdygJVt5zNk&embed=true
As a professional carpenter, I have used many staple guns over the years, and the Powershot staple gun is one of my favorites. Here’s a step-by-step guide to loading the Powershot staple gun.
Releasing the Magazine
First, you need to release the magazine. To do this, simply press the button located on the back of the staple gun. This will release the magazine, allowing you to load staples or nails into the gun.
Loading Staples or Nails
Once you have released the magazine, you can then load your staples or nails into the gun. Make sure that you have the correct size and type of staples or nails for your project. The loading mechanism may differ slightly depending on the model of your Powershot staple gun, so refer to the manufacturer’s instructions.
Generally, you will need to do the following:
- Hold the staple gun upside down.
- Insert the staple stack into the loading chamber with the pointed end facing down.
- Push the stack in until it is flush with the back of the magazine.
Securing the Magazine
After loading the staples or nails, you can then secure the magazine back into place. To do this, simply push the magazine back into the staple gun until you hear a click. This indicates that the magazine is securely in place and ready to use.
In conclusion, loading a Powershot staple gun is a simple process that can be done in just a few steps. By following these steps, you can ensure that your staple gun is loaded correctly and ready to use for your next project.
Testing the Staple Gun
https://www.youtube.com/watch?v=1GMk-4EwPn4&embed=true
After loading the staples into the magazine, it’s time to test the PowerShot staple gun to ensure it’s working consistently. I always test my staple gun on a scrap piece of wood or cardboard to ensure that it’s firing properly.
To test the staple gun, I first press the nose of the tool firmly against the material I want to staple. Then, I squeeze the trigger to fire the staple. I repeat this process several times to ensure that the staple gun is firing consistently and that the staples are being driven in all the way.
If the staple gun is not firing consistently, I check to make sure that the staples are loaded correctly and that the magazine is not jammed. If everything looks good, I try adjusting the depth control to see if that helps.
Consistent performance is important when using a staple gun, especially if you’re working on a large project. Testing the staple gun before you start your project can help you avoid any issues down the line.
Troubleshooting Common Issues
https://www.youtube.com/watch?v=BWjajkMeJ2s&embed=true
As with any tool, the Powershot staple gun may encounter issues during use. Here are some common issues you may encounter while loading and using the Powershot staple gun, and how to troubleshoot them.
Clearing a Jam
If the staple gun is not firing, it may be due to a jam. To clear a jam, follow these steps:
-
Remove the magazine: First, remove the magazine from the staple gun. You can do this by pulling down on the magazine release lever and sliding the magazine out.
-
Clear the jam: Use pliers, tweezers, or a screwdriver to remove any jammed staples from the magazine. Be sure to remove all pieces of the jammed staple, as any remaining pieces can cause further jams.
-
Reassemble the magazine: Once the jam has been cleared, reassemble the magazine and slide it back into the staple gun. Be sure to test the staple gun to ensure it is firing properly.
Addressing Misfires
Another issue you may encounter while using the Powershot staple gun is misfires. If the staple gun is misfiring, follow these steps:
-
Check the staples: Make sure you are using the correct size and type of staples for the Powershot staple gun. Using the wrong staples can cause misfires.
-
Adjust the air pressure: If the staple gun is air-powered, adjust the air pressure to ensure it is within the recommended range for the staple gun.
-
Clean the staple gun: Use a clean, dry cloth to wipe down the staple gun and remove any debris or dust that may be causing misfires.
By following these steps, you can troubleshoot common issues with the Powershot staple gun and ensure it is working properly.
Maintaining Your Staple Gun for Longevity
As a DIY enthusiast, I know that my staple gun is an essential tool in my toolkit. It’s versatile and can be used for a variety of projects, from simple home repairs to more complex DIY projects. However, like any tool, it requires proper maintenance to ensure its longevity and optimal performance.
First and foremost, it’s important to keep your staple gun clean. After each use, wipe it down with a clean, dry cloth to remove any dust or debris. If there is any buildup of dirt or grime, use a damp cloth to clean it thoroughly. Be sure to dry it completely before storing it.
Another way to maintain your staple gun is to lubricate it regularly. Apply a few drops of oil to the moving parts of the gun, such as the trigger and the magazine. This will help prevent rust and ensure that the gun operates smoothly.
In addition to cleaning and lubricating, it’s important to store your staple gun properly. Keep it in a dry, cool place, away from direct sunlight or heat sources. If you have a case for your staple gun, use it to protect it from dust and moisture.
By following these simple maintenance tips, you can ensure that your staple gun will last for years to come and continue to be a valuable tool in your DIY arsenal.
Frequently Asked Questions
What is the recommended staple size for the PowerShot staple gun?
The recommended staple size for the PowerShot staple gun varies depending on the model. For example, the PowerShot Pro 9100 electric stapler/nail gun is designed to work with genuine PowerShot narrow crown heavy-duty staples in various lengths from 1/4 inch to 9/16 inch. It is important to always use the correct size staple for your project to ensure proper performance.
How do you load staples into a Black and Decker PowerShot stapler?
To load staples into a Black and Decker PowerShot stapler, follow these steps:
- Push in the magazine release tab on the bottom of the stapler to release the staple magazine.
- Pull the staple magazine out of the stapler.
- Load the staples into the magazine with the points facing down.
- Slide the staple magazine back into the stapler until it clicks into place.
What are some common reasons why a PowerShot staple gun may not work?
Some common reasons why a PowerShot staple gun may not work include:
- Using the wrong size staples for the stapler
- Jammed staples or nails in the stapler
- Low battery or power source for electric models
- Worn or damaged parts in the stapler
What is the difference between the PowerShot 5700 and 5700M staple guns?
The PowerShot 5700 and 5700M staple guns are very similar, but the 5700M model is designed to work with brad nails in addition to staples. The 5700M model can handle brad nails up to 1-1/4 inch in length, while the 5700 model is designed for staples only.
How do you troubleshoot a PowerShot 5700 staple gun?
If your PowerShot 5700 staple gun is not working properly, try these troubleshooting steps:
- Check to make sure you are using the correct size staples for the stapler.
- Clear any jammed staples or nails from the stapler.
- Check the power source or battery for electric models.
- Inspect the stapler for any worn or damaged parts that may need to be replaced.
What size brad nails are compatible with the PowerShot 5700M stapler?
The PowerShot 5700M stapler is designed to work with brad nails up to 1-1/4 inch in length. It is important to always use the correct size brad nail for your project to ensure proper performance.

Hi, I’m Sal Muller of Tooltrip.com. My DIY experience led me to understand essential power tools for home projects. Tooltrip.com guides enthusiasts and professionals in choosing right tools for any job. I provide concise top tool reviews for easier, efficient DIY.
