
Toenailing is an essential technique for framing and carpentry work that involves driving a nail at an angle to join two pieces of wood. While toenailing can be done manually with a hammer, using a nail gun can save you time and effort. In this article, I will share my knowledge and experience on how to toenail using a nail gun, including understanding nail guns, safety measures, preparation and setup, toenailing technique, and nail gun maintenance.

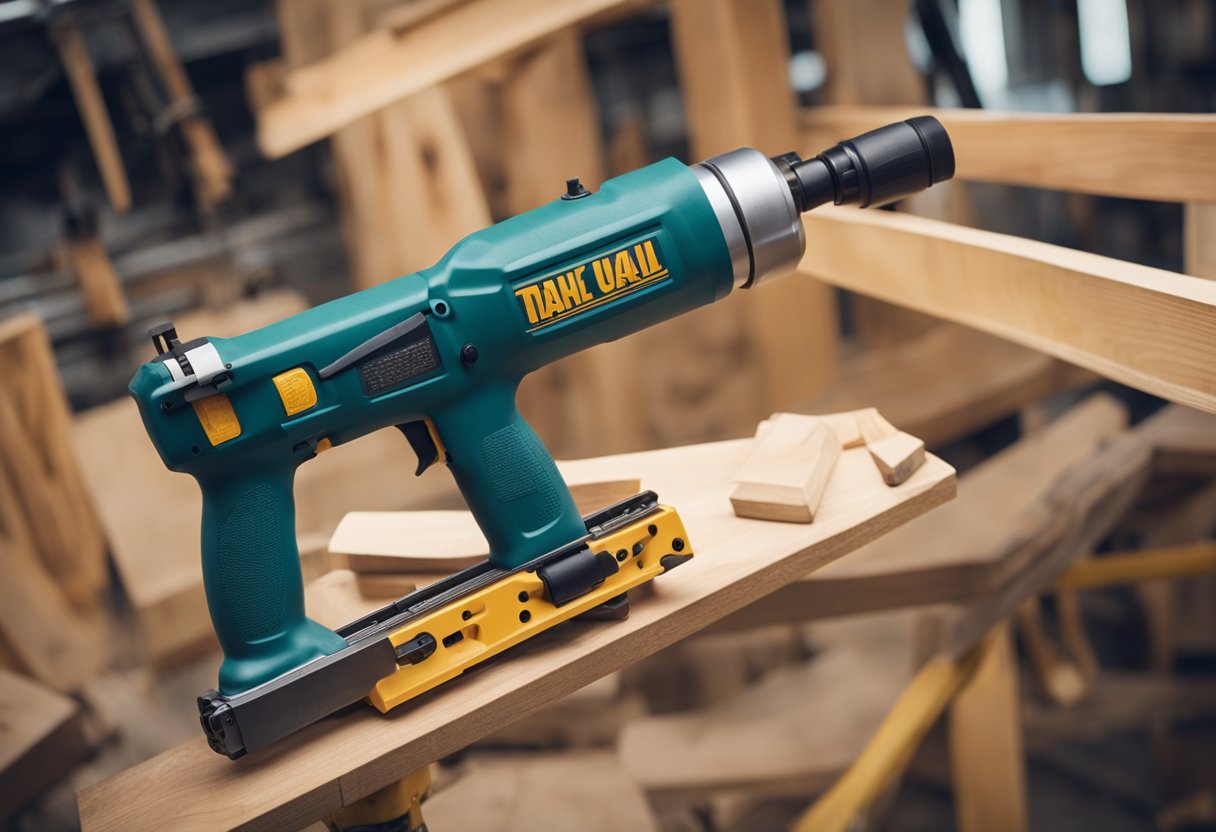
Before we dive into the specifics of using a nail gun for toenailing, it’s essential to understand the different types of nail guns available and their uses. There are two main types of nail guns: pneumatic and cordless. Pneumatic nail guns use compressed air to drive nails, while cordless nail guns use battery power. Each type has its pros and cons, and choosing the right one for your project is essential. Additionally, it’s crucial to understand the different nail sizes and types available and which ones are best suited for toenailing.
Safety is a top priority when using a nail gun. Nail guns can cause serious injuries if not used correctly, and it’s essential to follow safety measures to avoid accidents. Some of the safety measures include wearing eye and ear protection, keeping your fingers away from the trigger, and ensuring that the nail gun is pointed away from your body and others. In the next section, we’ll cover more safety measures in detail.
Key Takeaways
- Toenailing can be done using a nail gun, which saves time and effort.
- Understanding nail guns, safety measures, and preparation and setup is essential before using a nail gun for toenailing.
- Nail gun maintenance is crucial to ensure the tool’s longevity and performance.
Understanding Nail Guns
https://www.youtube.com/watch?v=hLwb-rYlI3s&embed=true
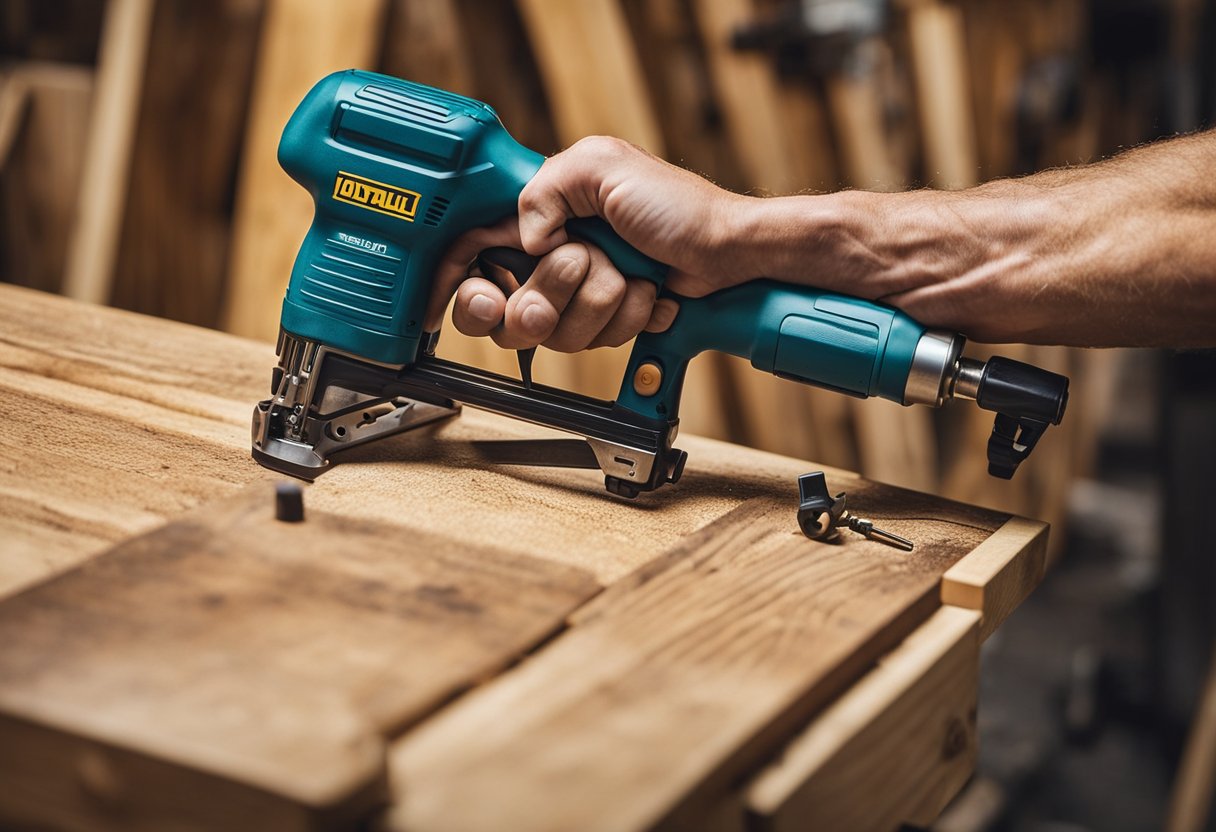
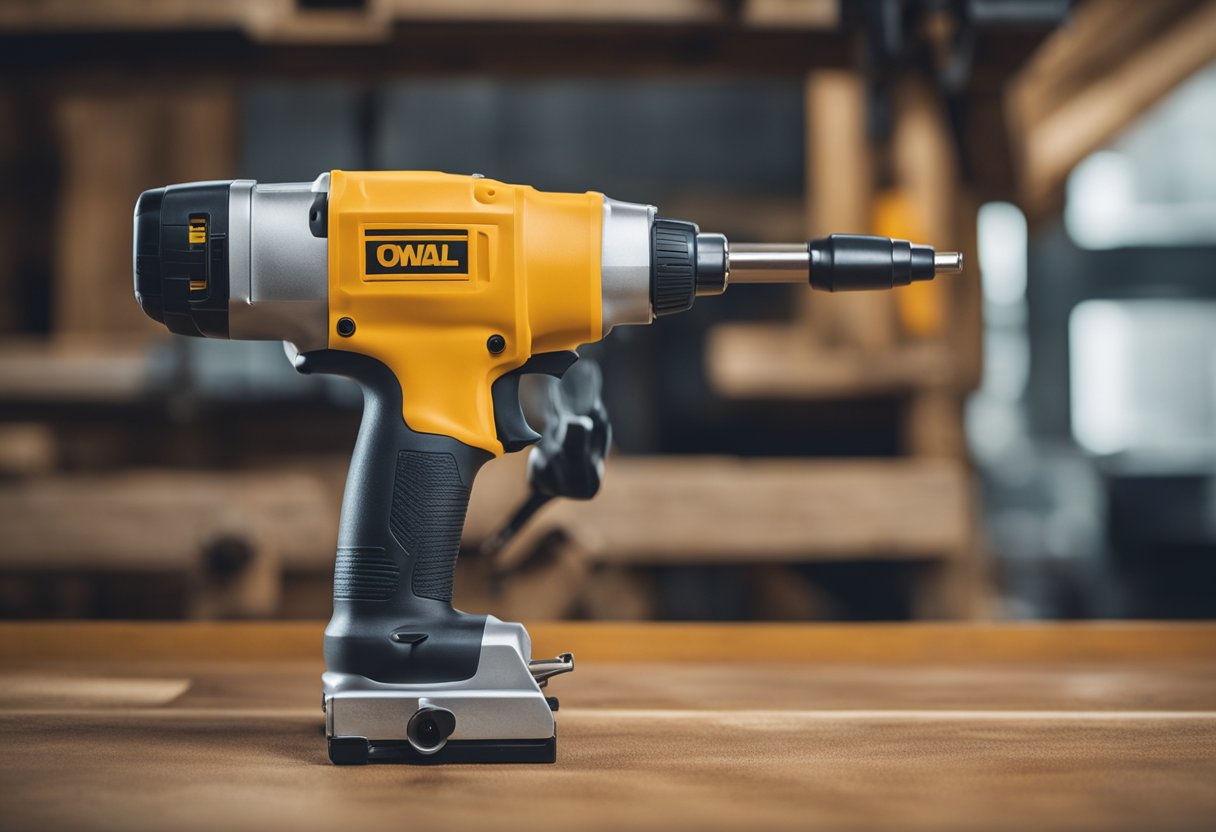
As a professional carpenter, I can attest that a nail gun is an essential power tool for any serious carpenter or DIY enthusiast. A nail gun, also known as a framing nailer, is a pneumatic or electric tool that drives nails into wood or other materials.
The main advantage of using a nail gun is speed. A nail gun can drive nails much faster than a hammer, saving you time and effort. Additionally, a nail gun can help you achieve a more precise and consistent nailing pattern, which is especially important when working on large projects.
There are different types of nail guns available, including framing nailers, siding nailers, and battery-operated nailers, each designed for specific tasks. A framing nailer is the most commonly used nail gun and is ideal for framing, decking, and other similar projects. A siding nailer, on the other hand, is designed for installing siding and other exterior projects. A battery-operated nailer is a great option for those who prefer a cordless tool.
Understanding the parts of a nail gun is also crucial. A nail gun typically consists of a magazine, which holds the nails, a trigger, which controls the nail gun’s firing mechanism, and a nosepiece, which guides the nail gun’s tip. Additionally, a pneumatic nailer requires an air compressor to operate, while an electric nail gun can be plugged into an electrical outlet.
In conclusion, a nail gun is a powerful and versatile tool that can help you save time and effort on your projects. Whether you are a professional carpenter or a DIY enthusiast, investing in a quality nail gun is a wise decision that can pay off in the long run.
Safety Measures
https://www.youtube.com/watch?v=EKANcOPnL5o&embed=true
When it comes to using a nail gun for toenailing, safety should always be a top priority. Here are some safety measures that I follow to ensure that I stay safe while using a nail gun:
1. Wear Appropriate Safety Gear
Wearing appropriate safety gear is essential when using a nail gun. I always wear safety glasses or goggles to protect my eyes from flying debris. Additionally, I wear gloves to protect my hands from getting injured. Hearing protection is also recommended to protect your ears from the loud noise that the nail gun produces.
2. Check the Safety Mechanism
Before using the nail gun, I always check to make sure that the safety mechanism is working correctly. This mechanism is designed to prevent accidental firing of the nail gun, which could cause serious injuries. If the safety mechanism is not functioning correctly, I do not use the nail gun until it has been repaired or replaced.
3. Follow Safety Tips
Following safety tips is crucial when using a nail gun. Some of the tips that I follow include:
- Always keep your finger off the trigger until you are ready to fire the nail gun.
- Do not point the nail gun at anyone, even if it is not loaded.
- Keep the nail gun pointed away from your body and others.
- Do not bypass or disable any safety features of the nail gun.
4. Consider Safety Considerations
There are some safety considerations that you should keep in mind when using a nail gun. For example, you should never use a nail gun near children or pets, as they could accidentally get injured. Additionally, you should always make sure that the work area is clear of any debris or obstacles that could cause you to trip or fall.
By following these safety measures, you can stay safe while using a nail gun for toenailing. Remember, safety should always be your top priority when using any power tool.
How to Load a Nail Gun
https://www.youtube.com/watch?v=HLQjb073Ess&embed=true
Loading a nail gun is a simple process that requires attention to detail. Before loading the nail gun, make sure that it is turned off and disconnected from the power source. Here are the steps to load a nail gun:
-
Determine the type of nail gun: There are two types of nail guns; coil nail gun and strip nail gun. A strip nail gun uses nail strips, while a coil nail gun uses a coil of nails. Check the user manual to determine which type of nail gun you have.
-
Check the magazine: The magazine is where the nails are loaded. Check the magazine for any debris, and clean it if necessary. Make sure that the magazine is free from any obstructions.
-
Load the nails: Depending on the type of nail gun, load the nails into the magazine. For a strip nail gun, slide the nail strip into the magazine with the nails pointing forward. For a coil nail gun, load the coil of nails into the magazine.
-
Latch the magazine: After loading the nails, latch the magazine. Make sure that the magazine is securely latched, so that the nails do not fall out during use.
-
Check the air pressure: Check the air pressure of the nail gun. The air pressure should be set according to the manufacturer’s recommendations. Use an air compressor and air hose to adjust the air pressure if necessary.
-
Connect the power source: Connect the nail gun to the power source. Turn on the nail gun and test it to make sure that it is working properly.
-
Use the correct fasteners: Make sure that you are using the correct fasteners for the job. For example, use brads for finishing work, and aluminum nails for siding.
By following these steps, you can load a nail gun safely and efficiently. Remember to always follow the manufacturer’s instructions and wear appropriate safety gear when using a nail gun.
Preparation and Setup
https://www.youtube.com/watch?v=EsAhURtu-4k&embed=true
Before I start toenailing with a nail gun, I make sure that I have all the necessary tools and materials ready. The tools I need are a framing nail gun, nails, safety goggles, and a measuring tape. The materials I need are wood or lumber, scrap wood, or plywood, depending on the project.
First, I check the nailing surface to ensure that it is clean and free of debris. Any debris on the surface can cause the nail gun to malfunction, so I make sure to clean it thoroughly.
Next, I measure the length of the board or lumber that I need to toenail. I use a measuring tape to measure the length accurately and mark the spot where I need to toenail.
Then, I hold the board or lumber in place with scrap wood or plywood to ensure that it stays in place while I toenail. This also helps to prevent the board or lumber from splitting or cracking while I nail it in place.
Once I have everything in place, I put on my safety goggles to protect my eyes from any flying debris that may occur during the nailing process.
Overall, preparation and setup are essential steps when toenailing with a nail gun. By taking the time to prepare and set up properly, I can ensure that my project will be successful and that the wood or lumber will be securely fastened.
Toenailing Technique
https://www.youtube.com/watch?v=BKDHLZkQknA&embed=true
Toenailing with a nail gun is a powerful and durable nailing job that requires consistency, precision, and the right technique. Here are some guidelines to help you achieve the perfect toenailing technique.
Angle and Depth
Toenailing requires an angle of 45 to 50 degrees with the bottom wood to achieve the diagonal direction of the nail. It is important to note that the nail depth should be consistent with the thickness of the wood being nailed.
Nose and Trigger
To toenail with a nail gun, align the framing nailer at your desired angle and hold the nose of the nail gun against the wood. Once you have established the angle, pull the trigger to shoot the toenail through the wooden studs and their joints.
Toenails and Steel
Toenails are used to attach wood to wood at an angle. They are also used to attach wood to steel. When toenailing into steel, it is important to use hardened steel nails that are specifically designed for the job.
Spacer and Shoe
To ensure consistency and precision when toenailing, use a spacer to hold the studs in place. The spacer should be placed on top of the sole plate and the stud should be held against it. The shoe of the nail gun should be placed firmly against the wood to ensure a precise and accurate shot.
Toenailing with a nail gun requires practice and patience. By following these guidelines, you can achieve the perfect toenailing technique and ensure a strong and durable nailing job.
Nail Gun Maintenance
As a responsible nail gun owner, it is essential to maintain your tool regularly to keep it in good working condition and extend its lifespan. Proper maintenance also ensures that your nail gun operates safely and efficiently. Here are some tips on how to maintain your nail gun:
Read the User Manual
Before using your nail gun, it is crucial to read the user manual provided by the manufacturer. The manual contains essential information on how to use and maintain your nail gun. It also provides safety guidelines, troubleshooting tips, and warranty information. Make sure to follow the instructions in the manual carefully.
Check Air Pressure
The air pressure is a critical factor in the performance of your nail gun. Always check the air pressure before using your nail gun and ensure that it is at the recommended level. Too much or too little air pressure can cause your nail gun to malfunction, or worse, cause an accident.
Lubricate Moving Parts
Lubricating the moving parts of your nail gun is essential to keep it running smoothly. Apply a few drops of air tool oil to the fittings and moving parts of your nail gun before and after use. Proper lubrication will help reduce wear and tear on the tool and keep it operating efficiently.
Clean Air Compressor and Air Hose
The air compressor and air hose are critical components of your nail gun. Regularly inspect and clean them to ensure that they are free of dust, debris, and moisture. Moisture can cause rust and corrosion, which can damage your nail gun. Use a clean, dry cloth to wipe down the compressor and hose regularly.
Check Power Source
If your nail gun is cordless, make sure to check the battery before use. Ensure that it is fully charged and in good condition. If your nail gun is corded, check the power cord for any damage or fraying. Always use a properly grounded outlet.
By following these simple maintenance tips, you can ensure that your nail gun operates safely and efficiently for years to come.
Common Uses of Nail Guns
As a carpenter, I have used nail guns extensively in my projects. Nail guns are versatile tools that can be used for a wide range of building and home improvement projects. They can be used for both small DIY projects and large construction projects.
One of the most common uses of nail guns is for framing. Framing nail guns are designed to drive nails into wall studs, making them ideal for construction projects. They can also be used for installing hardwood floors, furniture, and decking.
Another common use of nail guns is for trim work. Trim nail guns are designed to drive nails into baseboards, crown molding, and other types of trim. They are ideal for DIY projects and can help you achieve a professional-looking finish.
Siding nailers are another type of nail gun that are commonly used in construction projects. They are designed to drive nails into siding, making it easy to install and repair house siding.
In addition to these common uses, nail guns can also be used for a wide range of woodworking projects. They can be used to join two pieces of wood together, making it easy to build furniture and other types of woodworking projects.
Overall, nail guns are versatile tools that can be used for a wide range of building and home improvement projects. Whether you are a professional carpenter or a DIY enthusiast, a nail gun is a must-have tool in your arsenal.
Potential Risks and Injuries
As with any power tool, using a nail gun comes with inherent risks. It is important to understand these risks and take the necessary precautions to prevent accidents and injuries.
Nail Gun Accidents
Nail gun accidents can occur when the user is not properly trained or does not follow the manufacturer’s instructions. Accidents can also occur when the nail gun malfunctions or when the safety mechanism fails.
Safety Mechanism
Most nail guns have a safety mechanism that prevents the gun from firing unless the nose is pressed against a surface. However, this safety mechanism can be bypassed by using a bump or automatic trigger, which can result in unintended nail discharge. It is important to use a nail gun with a single shot or full sequential trigger to reduce the risk of injury.
Safety Tips
To prevent nail gun injuries, it is important to follow these safety tips:
- Always wear eye protection and hearing protection when using a nail gun.
- Keep your fingers away from the trigger when not nailing.
- Use a nail gun with a single shot or full sequential trigger.
- Never point a nail gun at yourself or anyone else.
- Keep the nail gun pointed away from your body.
- Do not use a nail gun in wet or damp conditions.
- Keep the work area clean and free of debris.
Nail Gun Injuries
Nail gun injuries can range from minor to severe. Minor injuries include puncture wounds and lacerations, while severe injuries can include bone fractures, brain damage, blindness, and even death. According to a study, 2 out of 5 residential carpenter apprentices experienced a nail gun injury over a four-year period.
Construction Work
Nail guns are commonly used in construction work, where accidents and injuries can occur. It is important for construction workers to receive proper training on how to use a nail gun safely and to follow all safety precautions. Employers should provide such training for their workers.
In conclusion, understanding the potential risks and injuries associated with using a nail gun is critical for preventing accidents and injuries. By following safety tips and using a nail gun with a single shot or full sequential trigger, users can minimize the risk of injury and ensure a safe work environment.
Conclusion
Toenailing with a nail gun can be a bit tricky at first, but with the right technique and equipment, it can be done easily and efficiently. As a DIYer or builder, it’s important to follow safety guidelines, such as wearing safety glasses and hearing protection, to avoid any accidents.
Regular maintenance of your nail gun is also crucial to ensure its longevity and performance. Cleaning the gun after each use, oiling it regularly, and checking for any damages or malfunctions are some of the maintenance practices that should be observed.
If you’re new to using a nail gun, it’s recommended to start with a stick-style nail gun, which is more user-friendly and easier to handle. As you gain more experience, you can move on to more advanced types of nail guns.
In summary, toenailing with a nail gun is a useful skill to have, especially for DIYers and builders. By following safety guidelines, performing regular maintenance, and using the right equipment, you can achieve professional-looking results in your projects.
Frequently Asked Questions
What is the toenail method of nailing?
Toenailing is a technique of driving a nail at an angle through one board and into another. It is commonly used in framing to attach joists, studs, and rafters to plates or other structural members. The toenail method provides a strong and secure connection that resists lateral forces.
How to use a framing nailer at an angle?
To use a framing nailer at an angle, adjust the depth of the nailer and the angle of the magazine. Set the depth to match the thickness of the material being nailed and the angle to match the angle of the toenail. Hold the nailer firmly and press the trigger to drive the nail at the desired angle.
What is the best angle for toe nailing?
The best angle for toenailing depends on the thickness of the material being nailed and the type of joint being made. In general, a 45-degree angle is a good starting point for most applications. However, for thicker materials or stronger joints, a steeper angle may be necessary.
What size nails for toenail framing?
The size of nails for toenail framing depends on the thickness and type of material being nailed. For 2x4s and 2x6s, use 10d or 12d nails that are at least 3 inches long. For thicker materials or stronger joints, use longer and thicker nails.
When not to use a nail gun?
A nail gun should not be used in certain situations, such as when nailing close to electrical wiring or plumbing, when nailing into hard or brittle materials, or when nailing in areas where there is a risk of hitting hidden objects. In these situations, hand nailing or drilling pilot holes may be necessary.
Alternative to toe nailing?
An alternative to toenailing is using metal connectors, such as joist hangers, hurricane ties, or straps. These connectors provide a strong and secure connection that is resistant to lateral forces and can be used in a variety of applications. However, they may be more expensive and time-consuming to install than toenails.

Hi, I’m Sal Muller of Tooltrip.com. My DIY experience led me to understand essential power tools for home projects. Tooltrip.com guides enthusiasts and professionals in choosing right tools for any job. I provide concise top tool reviews for easier, efficient DIY.
