
As a DIY enthusiast, I know how irritating it can be when your tools don’t work as they should. The Ryobi glue gun is a popular tool that many people rely on for their DIY projects. However, like any other tool, it can develop issues that prevent it from functioning correctly. In this article, I will guide you through the process of troubleshooting and repairing your Ryobi glue gun.
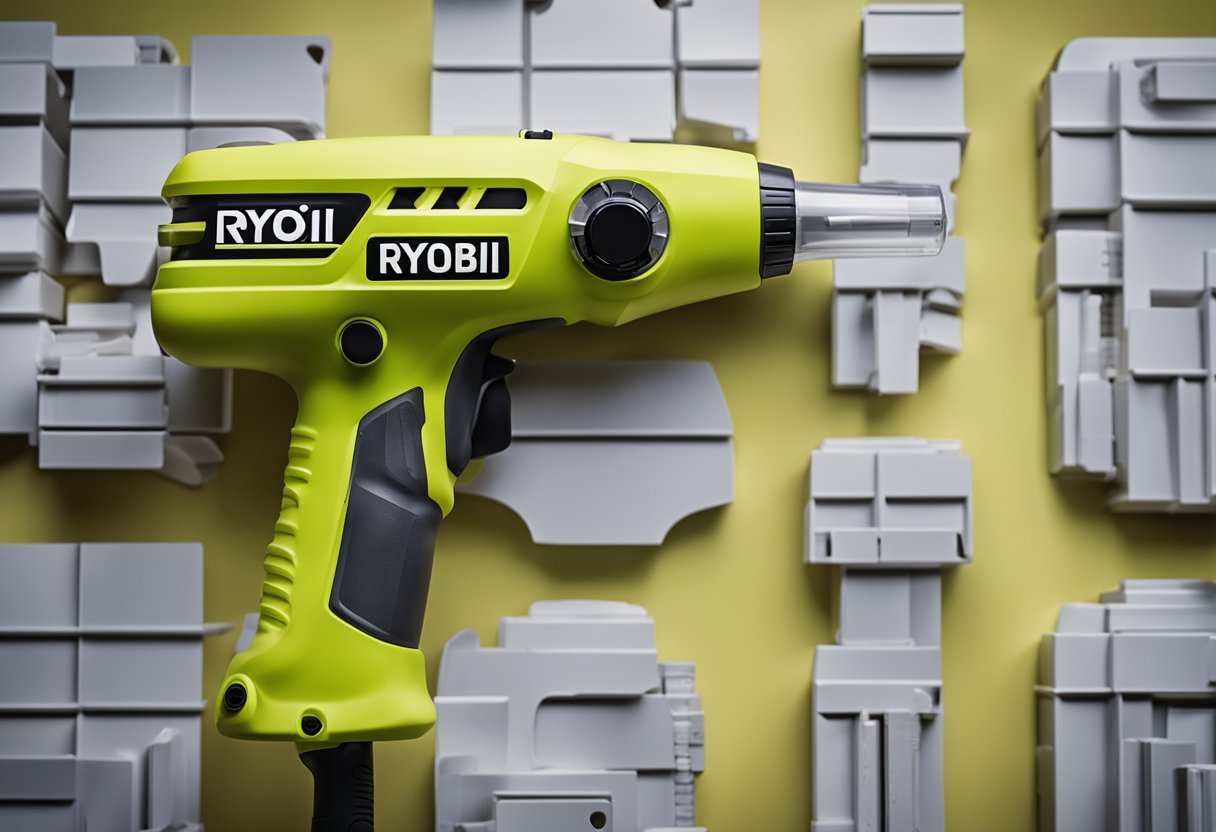
Understanding the Ryobi Glue Gun is the first step in troubleshooting it. This tool is part of the Ryobi One+ range, which features 280 innovative products that offer ultimate versatility and selection to get the job done. The glue gun is designed to work with 18V One+ batteries and has an LED on/off indicator that lets you know when the tool is heating up. The gun also has a safety lock that prevents accidental activation of the trigger when not in use.
Common Issues and Their Causes are the next topics we will cover. There are several reasons why your Ryobi glue gun may not be working. These include clogged nozzles, bad flow, electrical issues, power supply failure, triggers not working, and many more. By identifying the problem, you can take the necessary steps to fix it and get your Ryobi glue gun back to working order.
Understanding the Ryobi Glue Gun
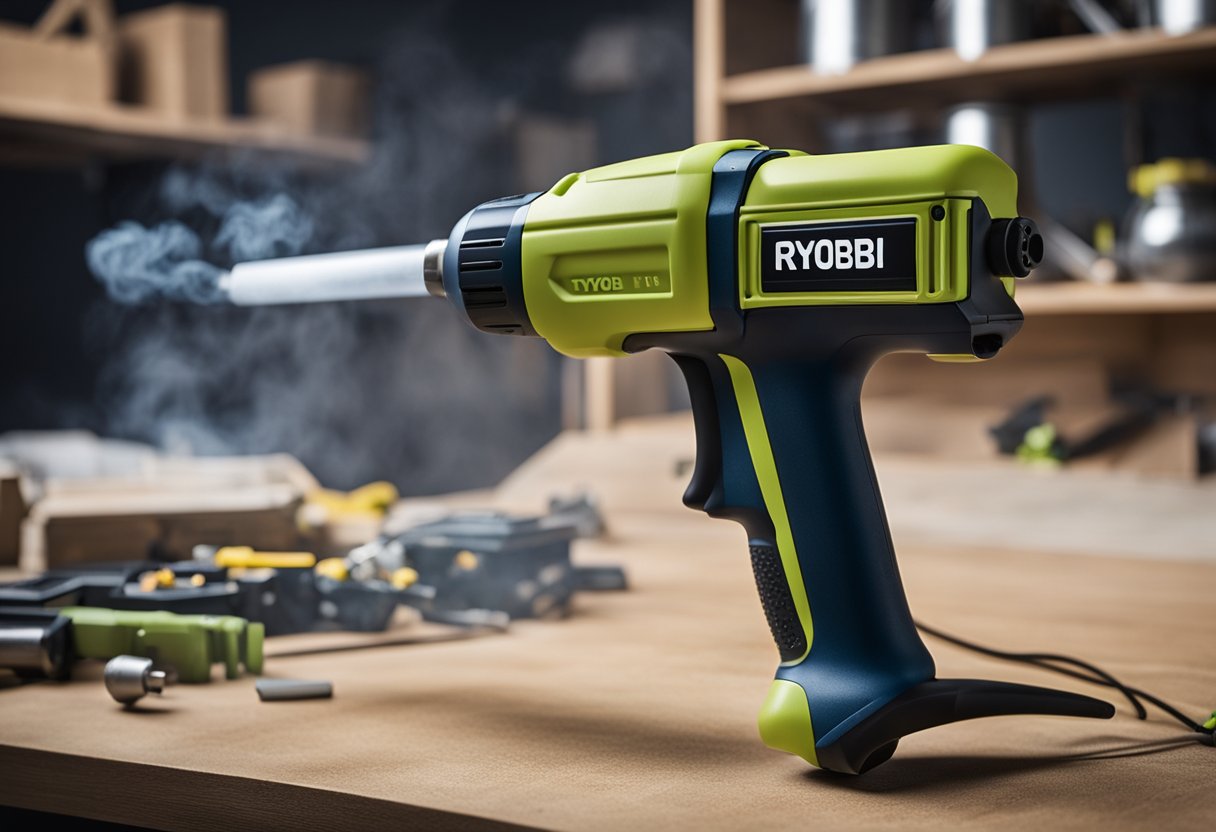
As an avid crafter, I have come to appreciate the convenience of a reliable glue gun. Recently, I have been using the Ryobi Glue Gun, which is a part of the 18V ONE+ system. This cordless glue gun is a popular choice among DIY enthusiasts because of its dual temperature feature.
The Ryobi Glue Gun has a low-temperature setting that is perfect for delicate materials such as paper and fabric. On the other hand, the high-temperature setting is ideal for bonding tougher materials such as wood and plastic. This dual-temperature feature makes the Ryobi Glue Gun a versatile tool that can be used for a wide range of projects.
One of the standout features of the Ryobi Glue Gun is its fast heating time. The glue gun heats up quickly, which means you can start using it almost immediately after turning it on. This is a huge plus for those who want to get their projects done quickly.
Another great feature of the Ryobi Glue Gun is its compatibility with the 18V ONE+ system. This means that if you already have other tools from the ONE+ system, you can use the same battery for your glue gun. This is a cost-effective and convenient feature that makes the Ryobi Glue Gun a great addition to any DIY enthusiast’s tool collection.
Overall, the Ryobi Glue Gun is a reliable and versatile tool that is perfect for a wide range of projects. Its dual-temperature feature, fast heating time, and compatibility with the 18V ONE+ system make it a great choice for DIY enthusiasts. Whether you are a seasoned crafter or a beginner, the Ryobi Glue Gun is definitely worth considering.
Common Issues and Their Causes
https://www.youtube.com/watch?v=pxCWPCVFa-4&embed=true
As an experienced user of Ryobi glue guns, I have encountered several issues that can cause the gun to stop working or malfunction. Here are some of the most common issues and their causes:
Clogged Nozzle
One of the most common issues with Ryobi glue guns is a clogged nozzle. This can happen due to excessive use of the gun or using low-quality glue sticks. If the nozzle is clogged, the glue will not flow properly, or it may not come out at all. To fix this issue, preheat the glue gun and then use a pin or a toothpick to clear the nozzle. You can also try using a different type of glue stick that is less likely to clog the nozzle.
Poor Flow
If the glue is not flowing properly, it could be due to using the incorrect type or size of glue stick. Make sure you are using the right glue stick for your gun, and refer to the manufacturer’s instructions for guidance. Another reason for poor flow could be a faulty heating element. In this case, you may need to replace the heating element or the entire gun.
Power Issues
If your Ryobi glue gun is not turning on or is not heating up, it could be due to a power issue. Check to make sure the gun is plugged in and that the power source is working. If the gun still does not turn on, it could be due to a faulty switch or wiring. In this case, you may need to take the gun to a repair shop or contact Ryobi customer support for assistance.
Leaking or Damaged Gun
If your Ryobi glue gun is leaking or is visibly damaged, it may be time to replace the gun. Leaking glue can be dangerous and can cause burns or other injuries. If the gun is damaged, it may not work properly and could cause further damage or injury. Always inspect your glue gun before use and replace it if you notice any signs of damage or wear.
Overall, there are several issues that can cause a Ryobi glue gun to stop working or malfunction. By understanding the common issues and their causes, you can troubleshoot and fix many problems on your own. If you are unsure about how to fix a problem or if the issue is more serious, seek professional help or contact Ryobi customer support for assistance.
Troubleshooting Your Ryobi Glue Gun
https://www.youtube.com/watch?v=w9-noJgnwlc&embed=true
If you’re experiencing issues with your Ryobi glue gun, don’t worry, there are a few things you can do to troubleshoot it. Here are some common problems and their solutions.
Power and Battery Issues
If your glue gun isn’t working, the first thing to check is the power supply. If you’re using an 18V battery, make sure it’s fully charged. The Ryobi glue gun has up to 3.5 hours of runtime, so you should be able to use it for a while before needing to recharge.
Nozzle and Flow Problems
If your glue gun is not dispensing glue properly, it could be due to a clogged nozzle or poor flow. To fix this, try cleaning the nozzle with a needle or toothpick. If that doesn’t work, you may need to replace the nozzle. Also, make sure you’re using the right glue sticks. The Ryobi glue gun works with all-purpose and high strength adhesives, but general purpose glue sticks may not work as well.
Glue Stick Selection and Usage
Using the right glue sticks is important for getting good results with your Ryobi glue gun. Make sure you’re using the right type of glue stick for your project. All-purpose and high strength adhesives are the best choices for most projects. Also, make sure you’re using the right amount of glue. Too little glue won’t hold your project together, but too much glue can cause problems with dripping and leaking.
Dealing with Leaks and Drips
If your glue gun is leaking or dripping, it could be due to a problem with the trigger or nozzle. Check the trigger to make sure it’s working properly and not sticking. Also, make sure the glue gun is on a flat surface and that the drip tray is in place. If the problem persists, you may need to replace the nozzle.
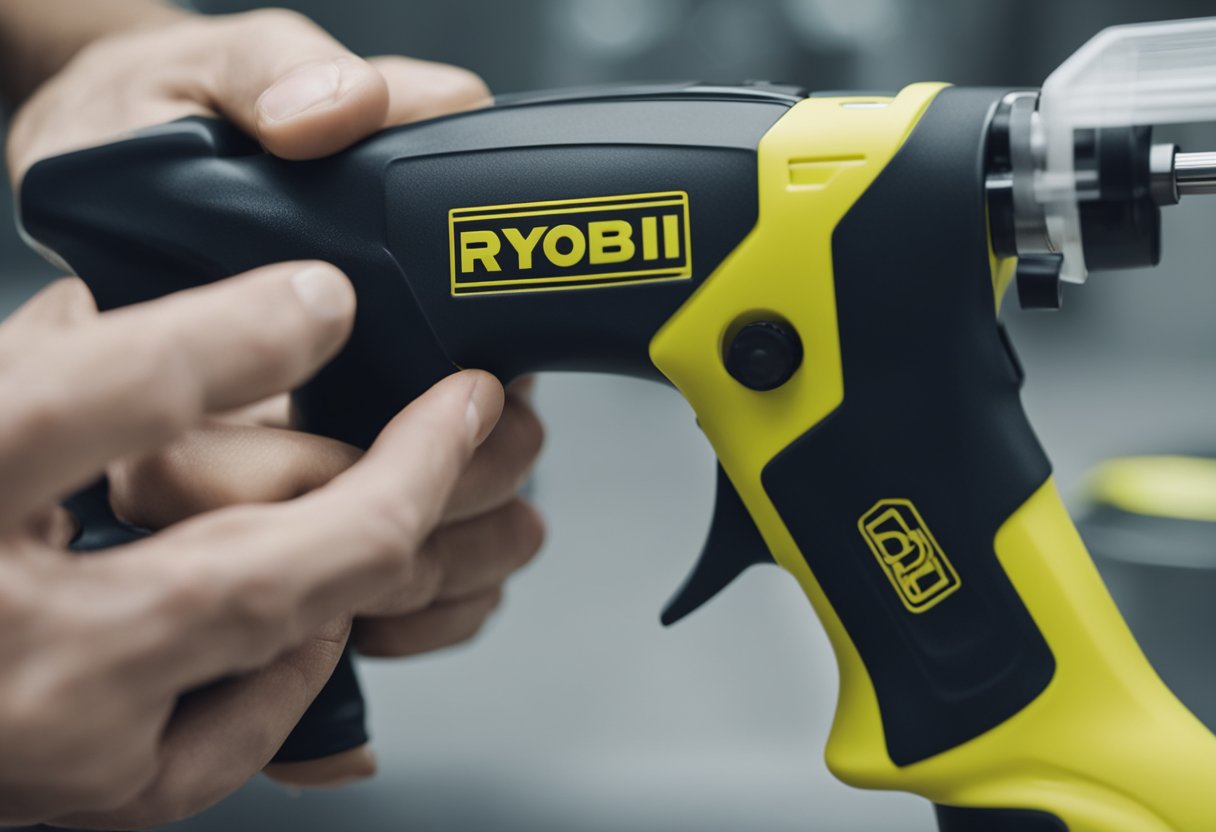
Trigger and Ergonomics
The trigger on your Ryobi glue gun should be easy to use and comfortable to hold. If you’re having trouble with the trigger, check to make sure it’s not sticking or jammed. Also, make sure the glue gun is comfortable to hold and use. If it’s too heavy or awkward to use, you may need to look for a different glue gun that’s more ergonomic.
Disassembly and Repair
https://www.youtube.com/watch?v=7iKCyKEyVbg&embed=true
If your Ryobi glue gun is not working, you may need to disassemble it and repair it. Before disassembling the glue gun, make sure it is unplugged and has completely cooled down.
To disassemble the glue gun, you will need a Phillips head screwdriver. Remove all the screws from the glue gun and carefully separate the housing, exposing the heating element and the plastic seals.
Inspect the plastic seals for any cracks or damage. If the plastic seals are damaged, they will need to be replaced. You can purchase replacement plastic seals from Ryobi or from a hardware store.
Next, inspect the heating element for any damage or corrosion. If the heating element is damaged, it will need to be replaced. You can purchase a replacement heating element from Ryobi or from a hardware store.
Once you have replaced any damaged parts, reassemble the glue gun by reversing the disassembly process. Make sure all screws are tightened and the housing is securely in place.
If your Ryobi glue gun is still not working after disassembly and repair, it may be a more serious issue. In this case, it is best to contact Ryobi customer service or take the glue gun to a professional repair shop.
Maintaining Your Ryobi Glue Gun
https://www.youtube.com/watch?v=Iu563fpe33Q&embed=true
As a proud owner of a Ryobi glue gun, I understand the importance of keeping it in good condition. Proper maintenance can help ensure that your glue gun continues to work efficiently and effectively for years to come. In this section, I will share some tips on how to maintain your Ryobi glue gun.
First and foremost, it is important to read the manual that comes with your glue gun. The manual provides valuable information on how to use and maintain your glue gun properly. Make sure to follow the instructions carefully, especially when it comes to cleaning and storing your glue gun.
One of the most important maintenance tasks is to keep your glue gun clean. Over time, glue residue can build up inside the gun, which can cause it to malfunction. To clean your glue gun, you can use alcohol and a cotton swab. Simply dip the cotton swab in alcohol and use it to clean the nozzle and other parts of the gun. Be sure to unplug the glue gun and let it cool down before cleaning it.
Another way to maintain your glue gun is to use it properly. Avoid using the glue gun for extended periods of time, as this can cause it to overheat and damage the internal components. Also, make sure to use the right type of glue stick for your gun. Using the wrong type of glue stick can cause the gun to clog or malfunction.
In addition to cleaning and proper usage, storing your glue gun properly is also important. When not in use, make sure to unplug the glue gun and let it cool down completely before storing it. Store the glue gun in a dry, cool place, and avoid exposing it to direct sunlight or extreme temperatures.
By following these simple tips, you can help ensure that your Ryobi glue gun continues to work like new for years to come.
Warranty and Customer Support
https://www.youtube.com/watch?v=ABM6f3ifcX4&embed=true
When purchasing a Ryobi glue gun, it is essential to understand the warranty and customer support options available. The 18V ONE+ Hot Glue Gun comes with a 3-year limited warranty, which covers defects in materials and workmanship. If you experience any issues with your glue gun, you can contact Ryobi customer support for assistance.
To take advantage of the warranty, you need to register your tool online within 30 days of purchase. You can also visit the Ryobi website to learn more about the warranty and find authorized service centers for repairs. Keep in mind that the warranty does not cover normal wear and tear or misuse of the tool.
If you have any questions about the warranty or need assistance with your glue gun, Ryobi offers customer support by phone, text, chat, and email. Their customer service hours are Monday through Friday, 9 am to 5 pm EST for phone support, and 9 am to 6 pm EST for text or chat support. You can also contact them by mail at 100 Innovation Way, Anderson, SC 29621.
Before contacting customer support, you may want to check the Ryobi website’s FAQ section to see if your question has already been answered. Additionally, you can read reviews of the product to see if other users have experienced similar issues and how they resolved them.
Overall, Ryobi offers a 3-year limited warranty and various customer support options to ensure you have a positive experience with their products. If you experience any issues with your glue gun, don’t hesitate to contact their customer support for assistance.
Exploring the Ryobi One+ Range
As a fan of the Ryobi brand, I have been impressed with their One+ range of products. The One+ range is a battery platform that offers users the ability to power over 225 unique products with a single battery. This level of versatility is unmatched by any other brand on the market, making the One+ system a top choice for DIY enthusiasts and professionals alike.
One of the best things about the One+ system is the savings it offers. Rather than purchasing multiple batteries and chargers for different tools, users can simply swap out the battery between tools. This not only saves money, but it also saves time and reduces clutter in the workshop.
Ryobi is constantly releasing new products in the One+ range, which is great news for those who are looking to expand their collection. The brand is also known for offering promotions and discounts on their products, which is a great way to save even more money.
One of the most popular products in the One+ range is the 18v One+ Hot Glue Gun. This heavy-duty glue gun is designed to work with all-purpose and high-strength adhesives, making it a versatile tool for any workshop. With up to 3.5 hours of runtime, this glue gun is perfect for both small and large projects.
Overall, I highly recommend the Ryobi One+ range to anyone who is looking for a versatile and reliable battery platform. With a wide range of products, promotions, and savings available, there has never been a better time to invest in the One+ system.
Frequently Asked Questions
How to fix a clogged hot glue gun
If your hot glue gun is not dispensing glue, it could be due to a clogged nozzle. To fix this, you can try cleaning the nozzle with a pin or a toothpick. First, unplug the glue gun and let it cool down. Then, gently insert the pin or toothpick into the nozzle to remove any glue buildup. Be careful not to damage the nozzle or push the clog further into the gun. Once you’ve cleared the clog, plug in the glue gun and test it to see if it dispenses glue properly.
Gorilla glue gun not working
If your Gorilla glue gun is not working, it could be due to a few reasons. First, make sure the glue stick is the correct size for the gun. Gorilla glue guns are designed to work with 1/2 inch glue sticks, so using a different size can cause issues. If the glue stick is the correct size, check that the gun is properly heated. Gorilla glue guns have an indicator light that turns off when the gun is heated and ready to use. If the light is off, the gun may not be hot enough to melt the glue stick. Finally, check for any clogs in the nozzle or feed mechanism, and clean them if necessary.
Wrong size glue stick in glue gun
Using the wrong size glue stick in your glue gun can cause issues with dispensing glue. If the glue stick is too small, it may not be held securely in the gun, which can cause the stick to fall out or not feed properly. If the glue stick is too large, it may not fit into the gun at all. Always check the label on the glue stick to ensure it is the correct size for your glue gun.
What happens if you leave a hot glue gun plugged in overnight
Leaving a hot glue gun plugged in overnight can be dangerous and cause a fire hazard. Always unplug your glue gun when you’re finished using it, and never leave it unattended while it’s plugged in. If you forget to unplug your glue gun and it has been left on overnight, let it cool down completely before using it again.
How to remove stuck glue stick from glue gun
If a glue stick gets stuck in your glue gun, first unplug the gun and let it cool down. Then, gently pull on the glue stick to see if it will come out. If it doesn’t, try heating up the gun again to soften the glue and push the stick through. If that doesn’t work, you may need to disassemble the gun and remove the stick manually. Consult your glue gun’s user manual for instructions on how to do this.
Why is the glue not coming out of my gun?
If the glue is not coming out of your gun, it could be due to a few reasons. First, make sure the glue stick is the correct size for the gun and that it is inserted properly. If the glue stick is the correct size and inserted properly, check that the gun is properly heated. If the gun is not hot enough, the glue won’t melt and won’t come out of the gun. Finally, check for any clogs in the nozzle or feed mechanism, and clean them if necessary.

Hi, I’m Sal Muller of Tooltrip.com. My DIY experience led me to understand essential power tools for home projects. Tooltrip.com guides enthusiasts and professionals in choosing right tools for any job. I provide concise top tool reviews for easier, efficient DIY.
