
Bench testing a distributor is a simple and effective way to diagnose issues with your vehicle’s ignition system. The distributor is a critical component of the ignition system that is responsible for distributing high voltage sparks to the spark plugs. If the distributor is not functioning properly, it can cause a variety of issues, including misfires, hard starts, and even engine stalls.
Understanding the distributor and its components is an essential first step in bench testing. The distributor consists of a rotor, cap, points, and condenser, which work together to distribute the spark to the correct cylinder at the right time. Before beginning the bench test, it’s crucial to prepare the distributor by cleaning and inspecting all components thoroughly.
In this article, I will guide you through the steps to bench test a distributor, troubleshoot common distributor problems, and provide tips for maintaining your distributor to ensure it continues to function correctly. By following these steps, you can diagnose and fix issues with your vehicle’s ignition system, saving you time and money in the long run.
Key Takeaways
- Bench testing a distributor is a simple and effective way to diagnose issues with your vehicle’s ignition system.
- Understanding the distributor and its components is an essential first step in bench testing.
- By following the steps outlined in this article, you can diagnose and fix issues with your vehicle’s ignition system, saving you time and money in the long run.
Understanding Distributor and Its Components
https://www.youtube.com/watch?v=GnRdS73Eq9Q&embed=true
As someone who has worked on vintage cars, I know how important it is to understand the distributor and its components. The distributor is responsible for distributing high voltage from the ignition coil to the spark plugs. This ensures that the engine runs smoothly and efficiently.
The distributor is made up of several components, including the distributor cap, rotor, points, terminals, vacuum advance, ignition module, pick-up coil, condenser, and ballast resistor. Each component plays a critical role in the proper functioning of the distributor.
The distributor cap is located on top of the distributor and is responsible for distributing the high voltage from the ignition coil to the spark plugs. It is important to ensure that the distributor cap is clean and free of any cracks or damage.
The rotor is located inside the distributor cap and is responsible for directing the high voltage from the ignition coil to the correct spark plug. It is important to ensure that the rotor is clean and free of any damage.
The points are located inside the distributor and are responsible for opening and closing the circuit that allows the high voltage to flow to the spark plugs. It is important to ensure that the points are clean and properly adjusted.
The terminals are located on the distributor cap and are responsible for connecting the spark plug wires to the distributor. It is important to ensure that the terminals are clean and free of any corrosion or damage.
The vacuum advance is responsible for advancing the timing of the distributor based on the engine load. It is important to ensure that the vacuum advance is functioning properly.
The ignition module is responsible for controlling the timing of the spark and ensuring that it is delivered at the correct time. It is important to ensure that the ignition module is functioning properly.
The pick-up coil is responsible for sensing the position of the rotor and sending a signal to the ignition module. It is important to ensure that the pick-up coil is functioning properly.
The condenser is responsible for storing electrical energy and releasing it at the correct time. It is important to ensure that the condenser is functioning properly.
The ballast resistor is responsible for reducing the voltage to the ignition coil to prevent it from overheating. It is important to ensure that the ballast resistor is functioning properly.
Understanding each component of the distributor is essential for bench testing and diagnosing any issues that may arise.
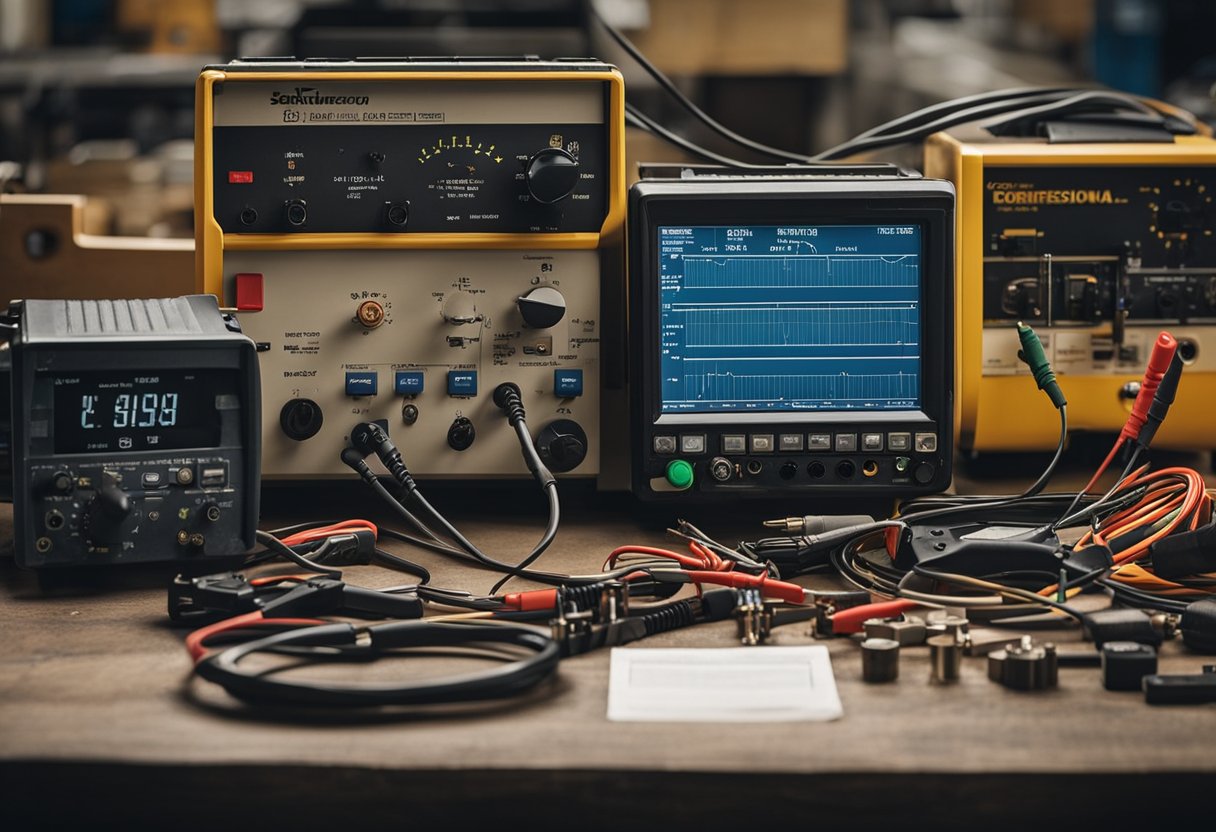
Preparation for Bench Test
Before proceeding with the bench test of a distributor, it is essential to gather all the necessary tools and equipment. Here are the things I recommend having on hand:
Tools and Equipment
- Multimeter: A multimeter is a device that measures voltage, current, and resistance. It is an essential tool for testing the distributor.
- Socket set: A socket set is needed to remove the distributor from the engine block.
- Ohmmeter: An ohmmeter is used to measure the resistance of the distributor.
- Bench Test Stand: A bench test stand is a device that is used to test the distributor outside of the engine block. It is not necessary, but it makes the process much easier.
Steps
- Remove the distributor from the engine block using a socket set.
- Inspect the distributor for any signs of wear or damage. Check the cap, rotor, and points for any signs of corrosion or damage.
- Connect the distributor to the bench test stand. If you don’t have a bench test stand, you can use a multimeter to test the distributor.
- Use the multimeter to test the resistance of the distributor. Set the multimeter to the ohms setting and touch the leads to the distributor terminals. The resistance should be between 0.5 and 3 ohms.
- Check the distributor cap and rotor for any signs of wear or damage.
- Use the multimeter to test the continuity of the distributor cap and rotor. Set the multimeter to the ohms setting and touch the leads to the terminals. The resistance should be less than 10,000 ohms.
By following these steps, you can ensure that your distributor is in good working condition.
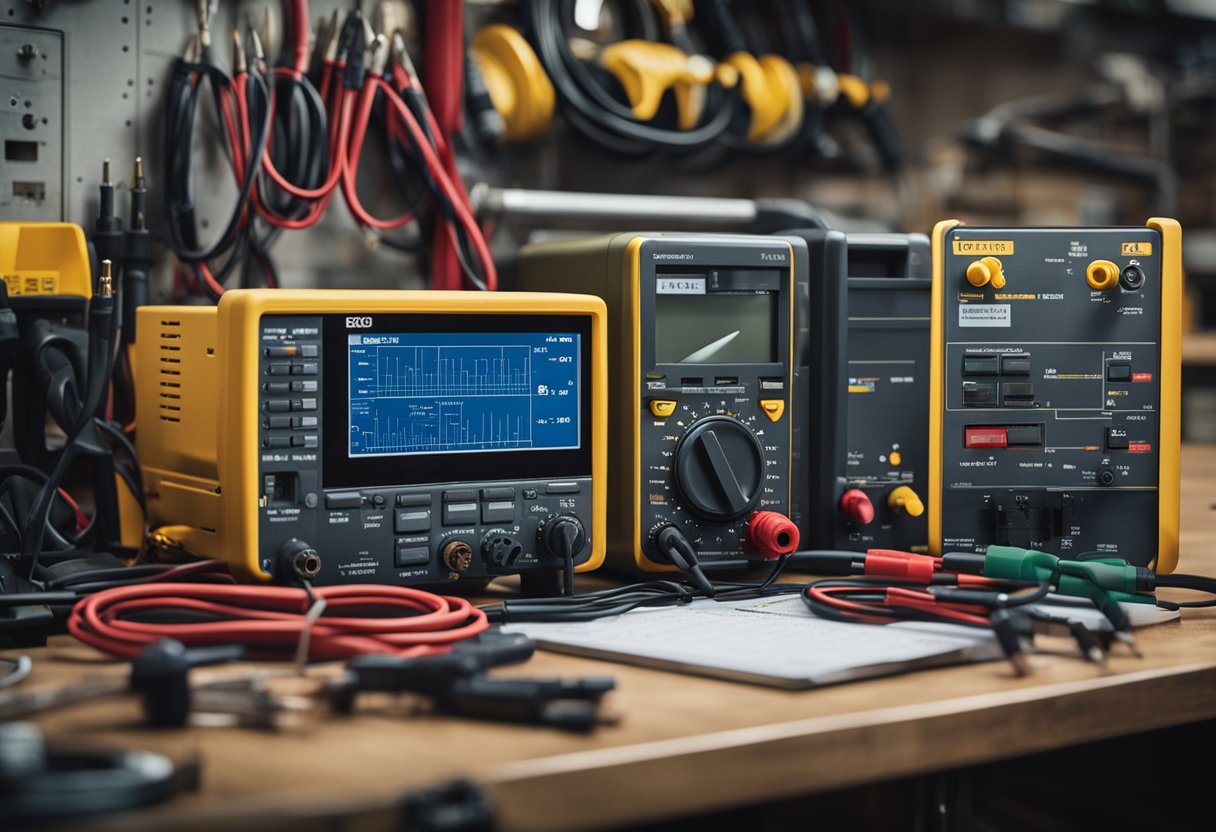
Steps to Bench Test a Distributor
https://www.youtube.com/watch?v=5BTzQe1bfkY&embed=true
Bench testing a distributor is a simple process that can help you diagnose issues in your ignition system. Here are the steps to bench test a distributor:
-
Remove the distributor cap: Start by removing the distributor cap to expose the rotor and the points. You may need a screwdriver or a socket wrench, depending on your distributor.
-
Check the points: Inspect the points for any signs of wear, corrosion, or damage. If the points are dirty, you can clean them with a fine-grit sandpaper or a point file. Check the gap between the points using a feeler gauge. The gap should be within the normal range specified in your vehicle’s manual.
-
Test the pick-up coil: Use a multimeter to test the pick-up coil for continuity. Set the multimeter to the ohms setting and touch the probes to the terminals on the pick-up coil. The resistance should be within the normal range specified in your vehicle’s manual.
-
Test the ignition module: If your distributor has an ignition module, test it for continuity using a multimeter. Set the multimeter to the ohms setting and touch the probes to the terminals on the module. The resistance should be within the normal range specified in your vehicle’s manual.
-
Test the spark: Reconnect the distributor cap and the spark plug wires. Use a spark tester to test the spark. If there is no spark, check the wiring diagram for your vehicle and make sure the wires are connected correctly. Check the ignition timing and the gap on the spark plugs.
-
Test the condenser: If your distributor has a condenser, test it for continuity using a multimeter. Set the multimeter to the ohms setting and touch the probes to the terminals on the condenser. The resistance should be within the normal range specified in your vehicle’s manual.
By following these steps, you can diagnose and fix most ignition issues related to your distributor. If you are still experiencing issues after bench testing your distributor, consult a professional mechanic for further assistance.
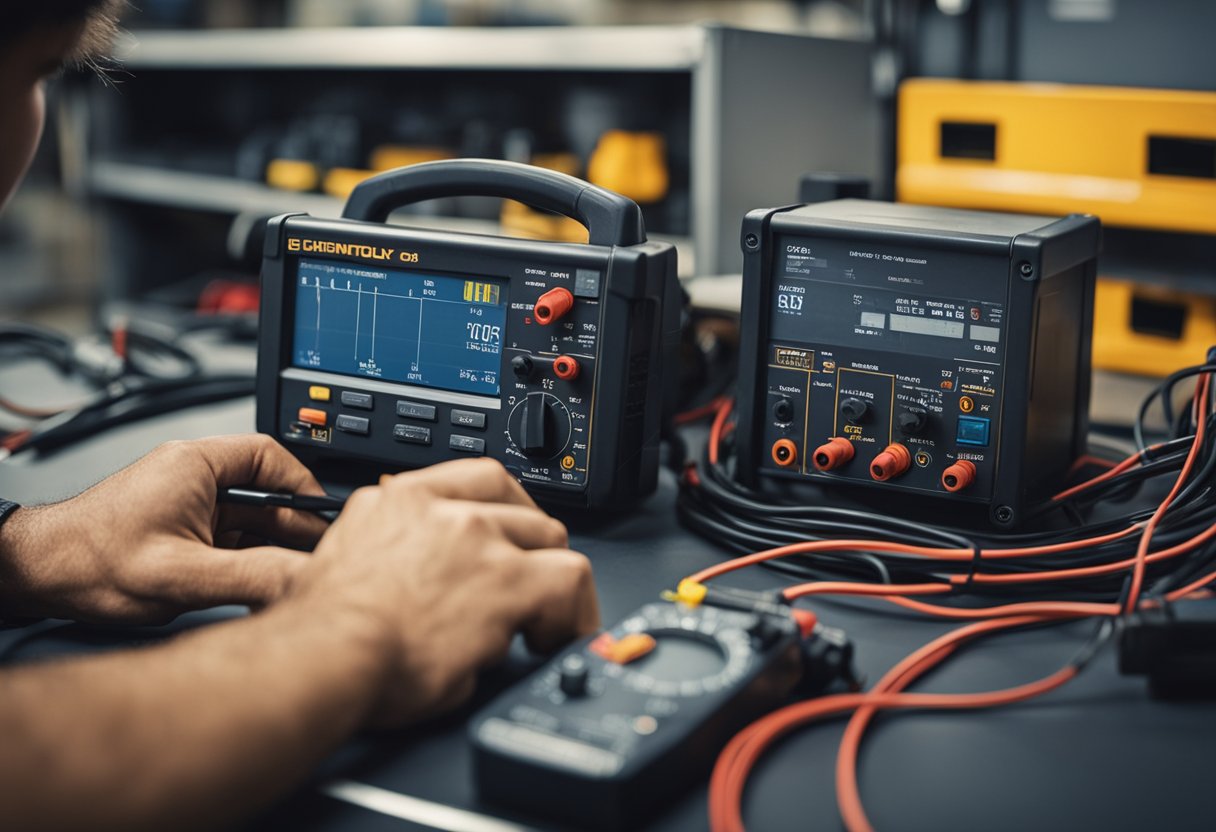
Troubleshooting Common Distributor Problems
https://www.youtube.com/watch?v=tSs8gE4egNg&embed=true
When bench testing a distributor, it’s common to run into issues that need troubleshooting. Here are some of the most common distributor problems and how to troubleshoot them.
No Spark
If you’re not getting any spark from your distributor, there are a few potential problems to check for. First, check the voltage at the distributor terminals. If the voltage is low, this could be a sign of a bad ignition coil or a problem with the battery. If the voltage is good, check the spark plugs for signs of wear or damage. If the spark plugs are fine, the problem could be with the points or timing.
Misfires
If your engine is misfiring, it could be due to a problem with the distributor. Check the distributor cap and rotor for signs of wear or damage. If they look fine, check the spark plugs and ignition coil. A bad coil can cause misfires, as can a problem with the timing.
Check Engine Light
If your check engine light is on, it could be due to a problem with the distributor. Use a code reader to check for any error codes related to the distributor. If there are no error codes, check the distributor cap and rotor for signs of wear or damage. A bad cap or rotor can cause the check engine light to come on.
Rust
Rust can be a problem with older distributors. If you notice rust on the distributor, it’s important to clean it off as soon as possible. Use a wire brush or sandpaper to remove the rust, then apply a rust inhibitor to prevent future rusting.
Troubleshooting Tips
When troubleshooting distributor problems, it’s important to work systematically. Start with the most obvious potential problems, such as the battery and spark plugs, and work your way down the list. Use a multimeter to check voltage and resistance at various points in the distributor, and consult your vehicle’s manual for specific troubleshooting tips.
Understanding Ignition System and Its Role
https://www.youtube.com/watch?v=1lZqsZq23pU&embed=true
As an automotive enthusiast, I know that the ignition system is one of the most critical components in a vehicle’s engine. It is responsible for igniting the fuel-air mixture in the engine’s cylinders, which is necessary for the engine to run. The ignition system consists of several components that work together to provide the spark that ignites the fuel-air mixture. These components include the ignition coil, spark plugs, ignition control module, and distributor.
The ignition coil is a transformer that converts the low voltage from the battery to the high voltage needed to create a spark. The spark plugs then use this high voltage to ignite the fuel-air mixture. The ignition control module is responsible for controlling the ignition timing and firing the spark plugs at the correct time. The distributor is a device that distributes the high voltage from the ignition coil to the spark plugs in the correct firing order.
The ignition system’s role is to provide the spark that ignites the fuel-air mixture in the engine’s cylinders. This spark must occur at the correct time for the engine to run smoothly and efficiently. The ignition timing is critical to ensure that the spark occurs at the right time. If the ignition timing is off, it can cause the engine to run poorly, decrease fuel efficiency, and even damage the engine.
A bad coil can also cause problems with the ignition system. If the coil is faulty, it may not provide enough voltage to the spark plugs, resulting in a weak spark or no spark at all. This can cause the engine to misfire, run poorly, or not start at all.
In summary, the ignition system plays a critical role in a vehicle’s engine. It is responsible for igniting the fuel-air mixture in the engine’s cylinders, which is necessary for the engine to run. The ignition system consists of several components that work together to provide the spark that ignites the fuel-air mixture. The ignition timing is critical to ensure that the spark occurs at the right time, and a bad coil can cause problems with the ignition system.
Tips for Maintaining a Distributor

As a car owner, it is important to maintain the distributor to ensure the smooth functioning of the ignition system. Here are some tips to maintain your car distributor:
Regular Inspection
Regular inspection of the distributor, including the distributor cap, rotor, and spark plug wires, is essential. Look for signs of wear and tear, rust, and damage. Replace any damaged or worn-out parts as soon as possible.
Check the Ignition Timing
Incorrect ignition timing can cause engine problems and poor fuel economy. Use a timing light to check the ignition timing and adjust it if necessary. Refer to the car’s manual or wiring diagram for instructions.
Test the Ignition Coil
The ignition coil is responsible for providing the voltage required to create the spark that ignites the fuel in the engine. Use a multimeter to test the ignition coil for continuity and voltage. If the ignition coil is faulty, replace it.
Troubleshoot Ignition Issues
If you are experiencing misfires or other ignition issues, use an ohmmeter to check the resistance of the spark plug wires, pick-up coil, and ignition module. Check for continuity and voltage at the terminals. If you are unable to identify the problem, take your car to a shop for further diagnosis.
Bench Test the Distributor
Bench testing the distributor is an effective way to check its functionality. Use a socket set to remove the distributor from the engine block and perform a bench test using a multimeter. Refer to the car’s manual or wiring diagram for instructions.
Maintain the Vacuum Advance Unit
The vacuum advance unit is responsible for advancing the ignition timing when the engine is under load. Regularly inspect and maintain the vacuum advance unit to ensure proper functioning.
By following these tips, you can maintain your car distributor and prevent potential problems.
Conclusion
https://www.youtube.com/watch?v=4sANtpLZRFY&embed=true
Bench testing a distributor is an essential process to ensure that the distributor is working correctly and to avoid any engine problems. In this article, I have discussed how to perform a bench test on a distributor using a multimeter.
It is important to note that if you encounter any problems during the bench test, you should troubleshoot the distributor to identify the issue. Some potential problems that you may encounter include no spark, misfires, or problems with the ignition timing.
During the bench test, you should check the resistance of the distributor. A working distributor should have a reading of between 600 and 1400 ohms. If the reading is outside of this range, it may indicate a problem with the distributor, such as a bad coil or pick-up coil.
To perform the bench test, you will need a multimeter, socket set, and wiring diagram. It is also important to disconnect the negative battery cable before removing the distributor cap and rotor.
In addition to bench testing the distributor, it is important to check the spark plugs, spark plug wires, and ignition system for any potential issues. This will help to ensure that the engine is running smoothly and efficiently.
Overall, bench testing a distributor is a straightforward process that can help to identify any potential problems with the distributor and prevent engine issues. By following the steps outlined in this article, you can confidently bench test a distributor and troubleshoot any ignition issues that may arise.
Frequently Asked Questions
How to test a distributor pickup coil?
To test a distributor pickup coil, you will need a multimeter tool. First, you need to disconnect the coil from the distributor. Then, set the multimeter to the ohms setting and connect the positive and negative leads to the corresponding terminals on the pickup coil. The resistance reading should be between 500 and 1500 ohms. If the reading is outside the range, the pickup coil needs to be replaced.
How to test a 4 pin GM ignition module?
To test a 4 pin GM ignition module, you will need a test light and a multimeter tool. First, connect the test light to the positive terminal of the battery and touch the negative terminal of the test light to the “B” terminal on the ignition module. The test light should light up. Next, set the multimeter to the ohms setting and connect the positive and negative leads to the “A” and “C” terminals on the ignition module. The resistance reading should be between 500 and 1500 ohms. If the test light does not light up or the resistance reading is outside the range, the ignition module needs to be replaced.
How to test distributor with multimeter?
To test a distributor with a multimeter tool, you need to measure the resistance between the positive and negative terminals. The reading should be between 600 and 1400 ohms for a functional distributor. You can also test the distributor cap and rotor for wear and damage. If the resistance reading is outside the range or the cap and rotor are damaged, the distributor needs to be replaced.
HEI distributor problems?
HEI distributor problems can include rough idle, poor performance, and misfiring. These problems can be caused by a variety of issues, such as a faulty ignition module, worn distributor cap and rotor, or a clogged fuel filter. It is important to diagnose the specific issue before attempting any repairs.
HEI distributor no spark?
If your HEI distributor is not producing spark, it could be due to a faulty ignition module, a bad coil, or a broken distributor cap and rotor. You can test the ignition module and coil with a multimeter tool, and inspect the cap and rotor for damage. If any of these components are faulty, they need to be replaced.
How to test A Chevy distributor?
To test a Chevy distributor, you need to measure the resistance between the positive and negative terminals with a multimeter tool. The reading should be between 600 and 1400 ohms for a functional distributor. You can also test the distributor cap and rotor for wear and damage. If the resistance reading is outside the range or the cap and rotor are damaged, the distributor needs to be replaced.

Hi, I’m Sal Muller of Tooltrip.com. My DIY experience led me to understand essential power tools for home projects. Tooltrip.com guides enthusiasts and professionals in choosing right tools for any job. I provide concise top tool reviews for easier, efficient DIY.
