
As an electrician or someone who works with electrical systems, you need to be able to measure voltage, current, and resistance accurately. A Greenlee multimeter is a versatile tool that can help you achieve this. It is a digital multimeter that measures voltage, current, and resistance, and it can also check diodes, verify continuity, and test 1.5 V and 9 V batteries. In this article, I will guide you through the process of using a Greenlee multimeter, from understanding its features to operating it safely and effectively.
Before we dive into the specifics of using a Greenlee multimeter, it is important to understand the various models available and their features. Greenlee offers a range of digital multimeters that differ in terms of accuracy, range, and functionality. By comparing the various models, you can choose the one that best suits your needs and budget. Once you have selected a model, you can then proceed to learn how to use it safely and effectively.
Key Takeaways
- Greenlee multimeters are versatile tools that can help you measure voltage, current, and resistance accurately.
- Before using a Greenlee multimeter, it is important to understand the various models available and their features.
- To use a Greenlee multimeter safely and effectively, you need to follow some basic guidelines and learn how to operate it correctly.
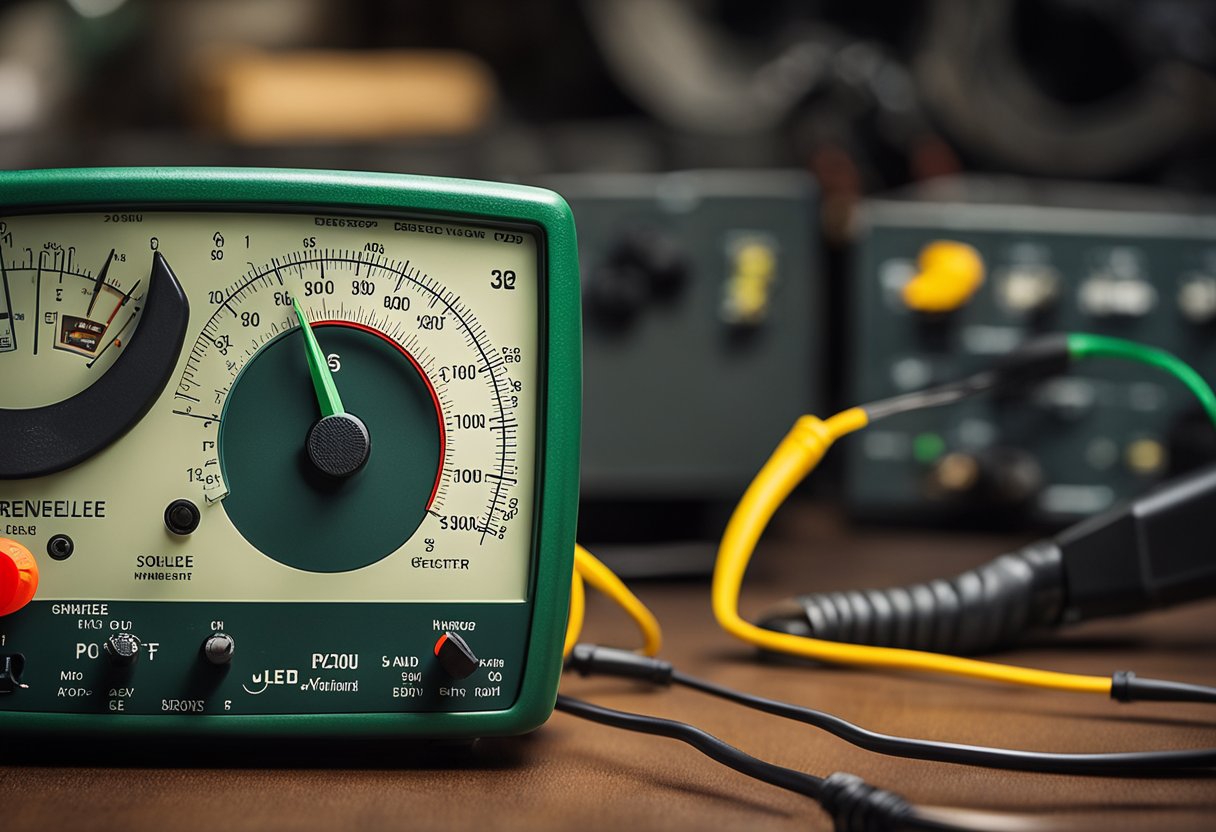
Understanding Your Greenlee Multimeter
https://www.youtube.com/watch?v=SIQuk0E6wdU&embed=true
As an electrician, I know the importance of having a reliable and accurate multimeter. That’s why I chose the Greenlee multimeter. Let’s take a closer look at the various components of the Greenlee multimeter and how to use them.
Display
The display is the most important part of the Greenlee multimeter. It shows the readings of the different measurements you take. The display is clear and easy to read, which is essential when working in low light conditions.
Battery
The Greenlee multimeter is powered by a 9-volt battery, which is easy to replace. It’s important to keep an eye on the battery level and replace it when needed to ensure accurate readings.
Probes
The probes are the two metal tips that you use to make contact with the circuit you’re testing. The Greenlee multimeter comes with detachable probes, which makes it easy to replace them if they become damaged.
Frequency
The Greenlee multimeter can measure frequency, which is the number of cycles per second of an alternating current (AC). This is important when working with electrical systems that use AC power.
DCV
The selection knob on the Greenlee multimeter allows you to choose the measurement you want to take. One of the most common measurements is DCV, which stands for Direct Current Voltage. This is the voltage of a circuit when the current is flowing in one direction.
COM Port
The COM port is the common port, which is used to measure voltage, current, and resistance. It’s important to connect the black probe to the COM port when taking measurements.
VΩmA Port
The VΩmA port is used to measure voltage, resistance, and current. When taking measurements, the red probe should be connected to this port.
10ADC Port
The 10ADC port is used to measure current up to 10 amps. When taking measurements, the red probe should be connected to this port.
Selection Knob
The selection knob on the Greenlee multimeter allows you to choose the measurement you want to take. It’s important to choose the correct setting for the measurement you’re taking to ensure accurate readings.
Symbols
The Greenlee multimeter has several symbols on the selection knob that represent different measurements. It’s important to familiarize yourself with these symbols to ensure you’re choosing the correct setting for the measurement you’re taking.
In conclusion, understanding the various components of your Greenlee multimeter is essential to ensure accurate readings. By familiarizing yourself with the display, battery, probes, frequency, DCV, COM port, VΩmA port, 10ADC port, selection knob, and symbols, you’ll be well on your way to becoming a master of your Greenlee multimeter.
Safety Information and Guidelines
As an electrician, I know that safety is of utmost importance when working with electricity. When using a Greenlee multimeter, there are some safety guidelines you should follow to protect yourself and your equipment.
Firstly, always make sure that the multimeter is in good working condition and that the test leads are not damaged. Damaged leads can cause inaccurate readings and even electric shock. If you notice any damage, replace the leads before using the multimeter.
Secondly, before making any measurements, make sure that the circuit is not live. To do this, turn off the power source and use a non-contact voltage detector to check for any live wires. This will help prevent electric shock.
Thirdly, always start by measuring the voltage on the circuit. This will help you determine if the circuit is safe to work on. If the voltage is too high, do not attempt to work on the circuit. Instead, call a qualified electrician.
Fourthly, when measuring current, always start with the highest range and work your way down. This will help prevent damage to the multimeter and ensure accurate readings.
Finally, when connecting the test leads to the circuit, always connect the negative terminal first. This will help prevent sparking and damage to the circuit.
By following these safety guidelines, you can ensure that you are using your Greenlee multimeter safely and accurately.
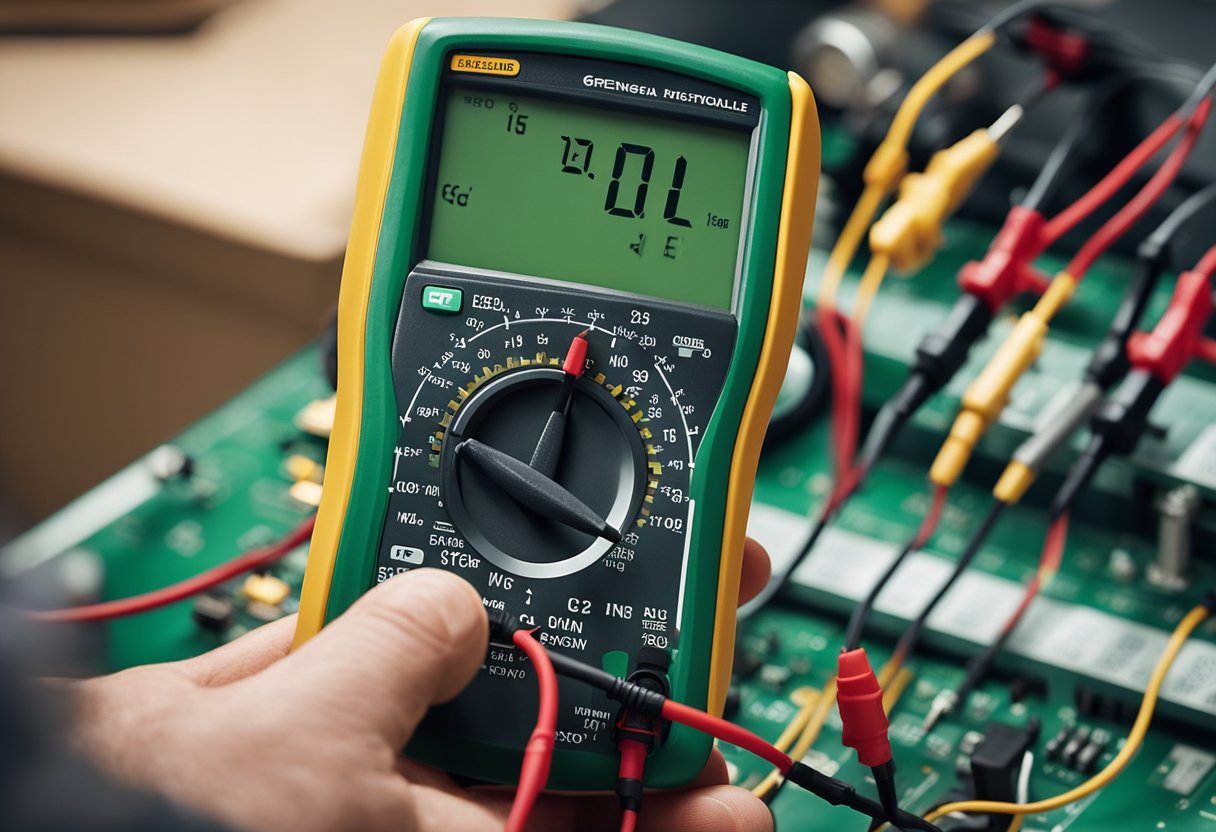
Operating the Greenlee Multimeter
https://www.youtube.com/watch?v=TEDKpOPRqTI&embed=true
As an electrician, I have found the Greenlee multimeter to be an essential tool in my work. It is easy to use, accurate, and can measure a range of electrical properties. In this section, I will guide you through the steps to operate the Greenlee multimeter.
Setting up the Greenlee Multimeter
Before using the Greenlee multimeter, it is essential to set it up correctly. First, insert the black probe into the COM jack and the red probe into the VΩmA jack. Ensure that the probes are connected correctly; otherwise, you may get incorrect readings.
Measuring Voltage and Resistance
To measure voltage, turn the dial to the V~ or V= setting, depending on whether you want to measure AC or DC voltage. Then, connect the probes to the circuit, with the black probe in the negative terminal and the red probe in the positive terminal. The multimeter will display the voltage reading.
To measure resistance, turn the dial to the Ω setting. Connect the probes to the circuit, with the black probe in the negative terminal and the red probe in the positive terminal. The multimeter will display the resistance reading.
Measuring Current and Continuity
To measure current, turn the dial to the A setting, either AC or DC, depending on the type of current you want to measure. Connect the probes to the circuit, with the black probe in the negative terminal and the red probe in the positive terminal. The multimeter will display the current reading.
To check for continuity, turn the dial to the continuity setting, which is usually denoted by a symbol that looks like a sound wave. Connect the probes to the circuit, with the black probe in the negative terminal and the red probe in the positive terminal. If there is continuity, the multimeter will beep.
Direct Current and Alternating Current
It is essential to note that the Greenlee multimeter can measure both DC and AC. When measuring DC, ensure that the dial is set to the V= or A= setting, while for AC, set it to the V~ or A~ setting.
Conclusion
Operating the Greenlee multimeter is easy and straightforward. By following the steps outlined above, you can measure voltage, resistance, current, and continuity with accuracy. Always ensure that the probes are connected correctly and that you use the correct setting for the type of measurement you want to take.
Troubleshooting and Servicing
https://www.youtube.com/watch?v=ciyWwcKmPC4&embed=true
When using a Greenlee multimeter, it is essential to know how to troubleshoot and service it. Regular maintenance and troubleshooting can help ensure that the multimeter is functioning correctly and accurately.
If you notice any issues with your Greenlee multimeter, the first step is to check the batteries. A low battery can cause inaccurate readings or cause the multimeter to stop functioning altogether. Replace the batteries with new ones if they are low or dead.
If the multimeter is still not functioning correctly, you may need to troubleshoot the device. Check the leads for any damage or wear and tear, and make sure they are properly connected to the multimeter. If the leads are damaged, replace them with new ones.
If the multimeter is overloaded, it may stop functioning correctly. To avoid overloading the multimeter, make sure that you are using the correct range for the measurement you are taking. If the multimeter is still overloaded, you may need to reduce the current draw or use an alternator to power the circuit.
If you are unable to troubleshoot and fix the issue yourself, you may need to send the multimeter to Greenlee for servicing. Greenlee offers a warranty for their products, and their customer service team can help you with any issues you may be experiencing.
By following these troubleshooting and servicing tips, you can ensure that your Greenlee multimeter is functioning correctly and accurately.
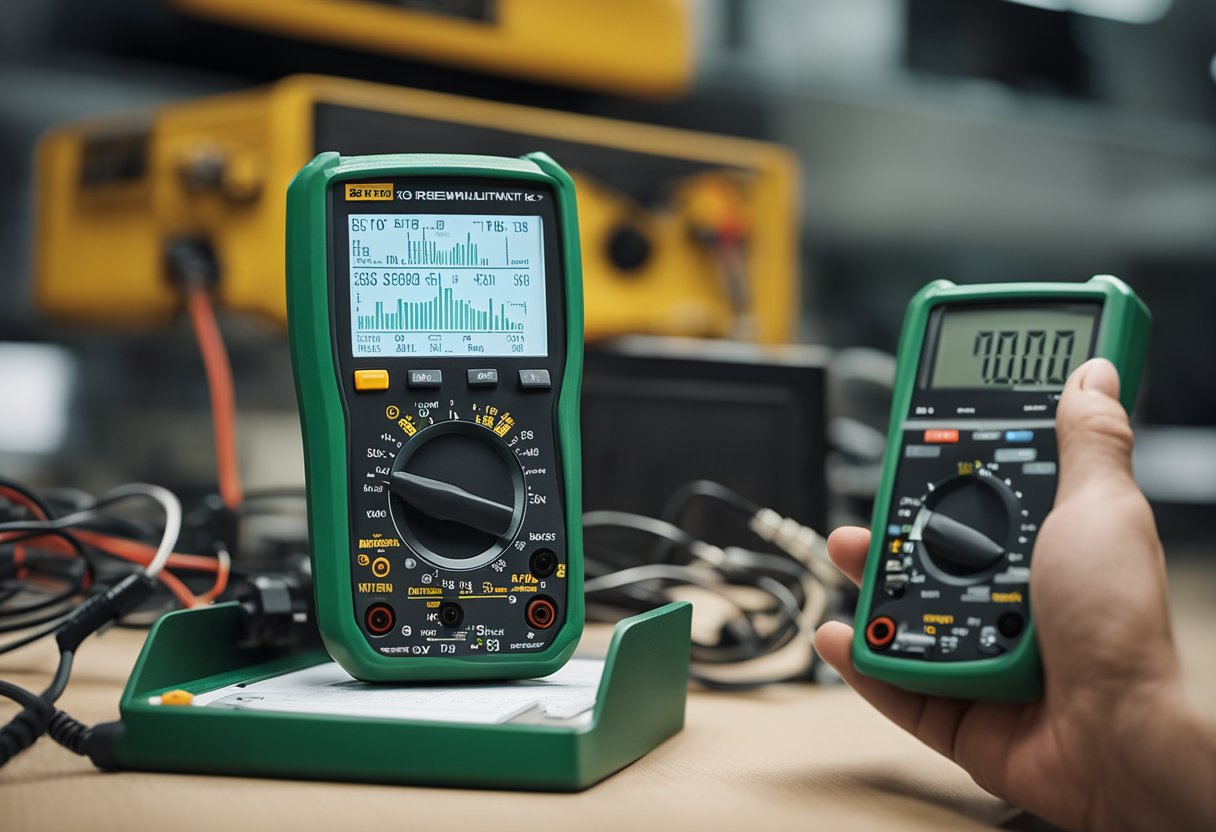
Using the Multimeter for Various Measurements
https://www.youtube.com/watch?v=TdUK6RPdIrA&embed=true
As a beginner, it is important to understand the various measurements that can be taken using a Greenlee multimeter. The Greenlee multimeter is a versatile tool that can be used to measure voltage, current, resistance, capacitance, and temperature. It can also be used to test diodes and transistors.
To measure voltage, set the meter to AC or DC voltage mode and connect the probes to the circuit being tested. The meter will display the voltage reading in volts (V). It is important to select the correct voltage range to avoid damaging the meter or the circuit being tested.
To measure current, set the meter to DC amperage mode and connect the probes in series with the circuit being tested. The meter will display the current reading in milliamps (mA) or amps (A). Again, it is important to select the correct amperage range to avoid damage.
To test diodes and transistors, set the meter to the diode test mode or the hFE mode. Connect the probes to the diode or transistor and the meter will display the forward voltage drop or the direct current gain, respectively.
The Greenlee multimeter can also be used to measure resistance and capacitance. To measure resistance, set the meter to resistance mode and connect the probes to the circuit being tested. The meter will display the resistance reading in ohms (Ω). To measure capacitance, set the meter to capacitance mode and connect the probes to the capacitor being tested. The meter will display the capacitance reading in farads (F).
It is important to refer to the manual de instrucciones or manuel d’instructions provided by Greenlee Textron Inc. for detailed instructions on how to use the meter for various measurements and for maintenance of the tool. The manual provides information on how to replace the 9V batteries or the AA/AAA batteries used in the meter, as well as how to replace parts if needed.
In addition, it is important to ensure that the meter is properly maintained to ensure accurate readings. This includes periodic cleaning of the meter with a damp cloth and mild detergent, and avoiding the use of abrasives or solvents. The meter should also be stored in a dry place and away from direct sunlight or extreme temperatures.
Overall, the Greenlee multimeter is a reliable tool for electrical work and can be used by beginners and professionals alike to measure a variety of parameters in a circuit.
Comparing Greenlee Multimeter Models
https://www.youtube.com/watch?v=MuaJobN-Pew&embed=true
As a professional electrician, I have used various Greenlee multimeter models over the years. Each model has its own unique features and capabilities. In this section, I will compare some of the most popular Greenlee multimeter models.
DM-20
The DM-20 is a basic Greenlee multimeter model that is perfect for beginners. It has a large, easy-to-read display and is very user-friendly. This model can measure AC/DC voltage, DC current, and resistance. It comes with a protective cover and a battery.
DM-25
The DM-25 is a step up from the DM-20 and has more advanced features. It can measure AC/DC voltage, DC current, resistance, and continuity. This model also has a data hold function and a low battery indicator. It comes with a protective cover and a battery.
DM-40
The DM-40 is a versatile Greenlee multimeter model that can measure AC/DC voltage, DC current, resistance, continuity, and diode. It also has a data hold function, a low battery indicator, and a protective cover. This model is perfect for professionals who need a multimeter with advanced features.
DM-50
The DM-50 is similar to the DM-40 but has additional features. It can measure AC/DC voltage, DC current, resistance, continuity, diode, and capacitance. It also has a data hold function, a low battery indicator, and a protective cover. This model is perfect for professionals who need a multimeter with more advanced capabilities.
DM-55
The DM-55 is a high-end Greenlee multimeter model that can measure AC/DC voltage, DC current, resistance, continuity, diode, capacitance, and frequency. It also has a data hold function, a low battery indicator, and a protective cover. This model is perfect for professionals who need a multimeter with the most advanced features.
DM-200
The DM-200 is a digital multimeter that is designed for use in industrial and commercial applications. It can measure AC/DC voltage, DC current, resistance, continuity, diode, capacitance, and temperature. It also has a data hold function, a low battery indicator, and a protective cover. This model is perfect for professionals who need a multimeter that can handle the toughest jobs.
DM-210
The DM-210 is a digital multimeter that is designed for use in HVAC and electrical applications. It can measure AC/DC voltage, DC current, resistance, continuity, diode, capacitance, and temperature. It also has a data hold function, a low battery indicator, and a protective cover. This model is perfect for professionals who work in the HVAC or electrical industry.
Reviews
Before purchasing any Greenlee multimeter model, it is important to read reviews from other professionals in the industry. This will give you an idea of how well the multimeter performs and if it is worth the investment. You can find reviews on various websites, including Amazon and Home Depot.
Conclusion
I hope this guide on how to use a Greenlee multimeter has been helpful to you. As you can see, a digital multimeter such as the Greenlee multimeter is a versatile tool that can be used for a wide range of electrical measurements. Whether you are a professional electrician or a DIY enthusiast, having a reliable multimeter is essential for troubleshooting and testing electrical circuits.
One of the key benefits of the Greenlee multimeter is its accuracy. This is an important factor when working with electrical systems, as even a small error can be dangerous. The Greenlee multimeter is also easy to use, even for beginners, thanks to its intuitive interface and clear display.
Another advantage of the Greenlee multimeter is its durability. This tool is built to last, with a rugged design that can withstand the wear and tear of regular use. Whether you are working in a commercial or residential setting, the Greenlee multimeter is a reliable choice that will provide accurate readings for years to come.
In conclusion, the Greenlee multimeter is an essential tool for anyone working with electrical systems. Whether you are a professional electrician or a DIY enthusiast, having a reliable multimeter is essential for troubleshooting and testing electrical circuits. With its accuracy, ease of use, and durability, the Greenlee multimeter is a top choice for anyone looking for a high-quality digital multimeter.
Frequently Asked Questions
How do I test a capacitor with a Greenlee multimeter?
To test a capacitor with a Greenlee multimeter, set the multimeter to the capacitance setting and connect the probes to the capacitor terminals. The multimeter will display the capacitance value. If the capacitor is faulty, the reading will be significantly lower than the rated value.
What are the steps to check continuity with a Greenlee multimeter?
To check continuity with a Greenlee multimeter, set the multimeter to the continuity setting and touch the probes together. The multimeter will beep or display a reading indicating continuity. To test a circuit, touch one probe to one end of the circuit and the other probe to the opposite end. If the circuit is complete, the multimeter will beep or display a reading indicating continuity.
How do I replace the battery in a Greenlee DM-20 multimeter?
To replace the battery in a Greenlee DM-20 multimeter, remove the screws from the back cover, remove the cover, replace the battery (observing polarity), and replace the cover and screws. Refer to the instruction manual for more detailed instructions.
What are the symbols on a multimeter and how do I use them?
The symbols on a multimeter indicate the different settings and functions of the device. The most common symbols include V for voltage, A for current, Ω for resistance, and ~ for AC voltage. To use the symbols, set the multimeter to the desired function and range, then connect the probes to the circuit or component being tested.
How do I use a voltage tester from Greenlee?
To use a voltage tester from Greenlee, turn on the tester and select the appropriate voltage range. Hold the tester’s tip near the circuit or component being tested. If voltage is present, the tester will beep or light up. Refer to the instruction manual for more detailed instructions.
What are the basic steps to use a multimeter for beginners?
The basic steps to use a multimeter for beginners include selecting the desired function and range, connecting the probes to the circuit or component being tested, and reading the multimeter display. It is important to ensure that the multimeter is set to the appropriate function and range before testing, and to follow proper safety precautions. Refer to the instruction manual for more detailed instructions.

Hi, I’m Sal Muller of Tooltrip.com. My DIY experience led me to understand essential power tools for home projects. Tooltrip.com guides enthusiasts and professionals in choosing right tools for any job. I provide concise top tool reviews for easier, efficient DIY.
