
Resurfacing rotors with sandpaper is a simple and cost-effective way to extend the life of your brakes. Over time, brake rotors can develop grooves, rough spots, and uneven wear that can cause vibrations, noise, and decreased stopping power. Resurfacing the rotors removes these imperfections and restores a smooth surface for the brake pads to grip onto.
To resurface rotors with sandpaper, you’ll need a few basic tools and materials, including sandpaper, a sanding block, a cleaning solvent, and safety gear. The process involves removing the rotors from the vehicle, cleaning them, and sanding them down to a smooth finish. While it may seem intimidating at first, with the right tools and some basic knowledge, resurfacing your rotors can be done in just a few hours.
Key Takeaways
- Resurfacing rotors with sandpaper can extend the life of your brakes and improve their performance.
- Basic tools and materials, including sandpaper, a sanding block, and cleaning solvent, are needed for the process.
- The process involves removing the rotors from the vehicle, cleaning them, and sanding them down to a smooth finish.
Understanding Rotors and Their Role
As a car enthusiast, I know that the braking system is a critical part of any vehicle. It is essential to understand how the braking system works, especially the role of brake rotors, to ensure safety and optimal performance.
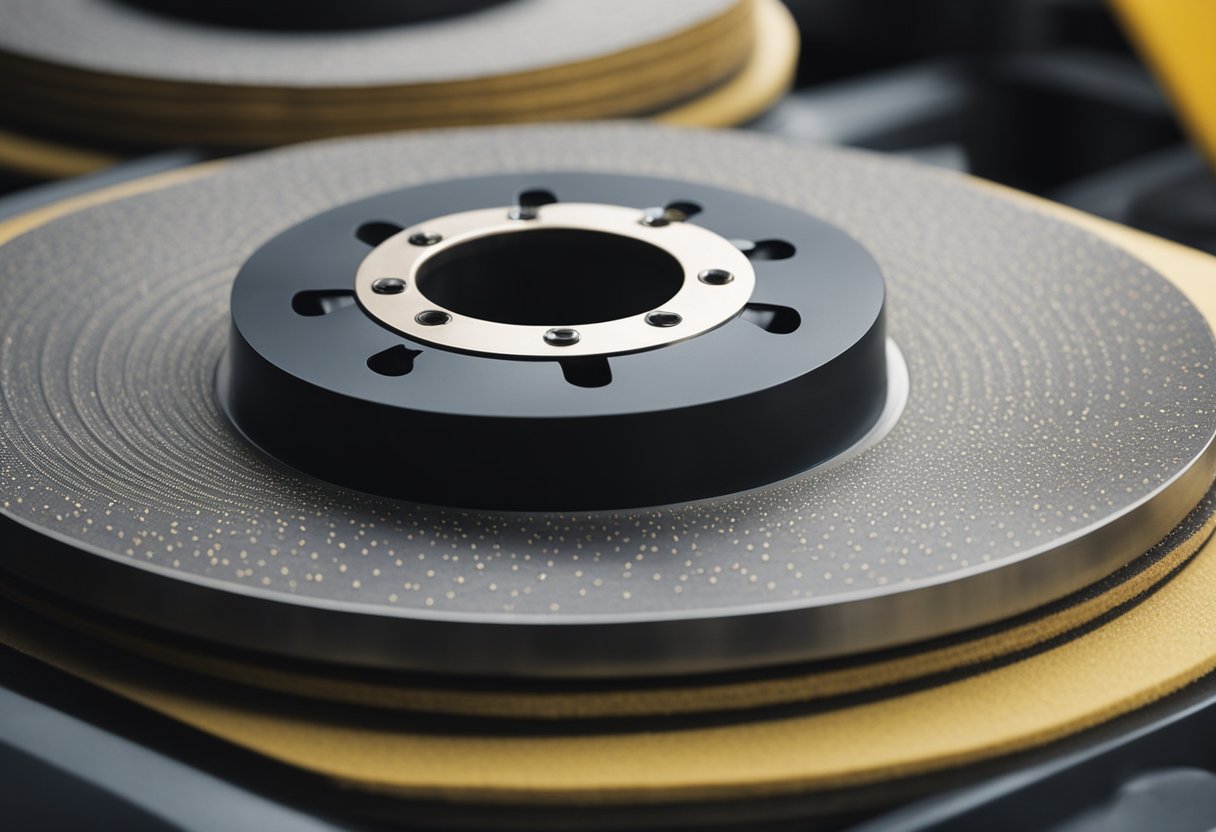
Brake rotors, also known as brake discs, are an essential component of the braking system. They are typically made of cast iron, which provides excellent heat capacity and durability. The rotor’s primary function is to provide a surface for the brake pads to clamp down on, creating friction that slows down or stops the vehicle.
Performance enthusiasts often upgrade their brake rotors to improve the braking system’s efficiency and reduce the risk of brake fade. Brake fade occurs when the braking system overheats, reducing its effectiveness. Performance brake rotors are designed to dissipate heat more efficiently, reducing the risk of brake fade.
When resurfacing brake rotors, it is essential to use the correct sandpaper grit. Typically, 80 or 120 grit sandpaper is recommended for resurfacing brake rotors. The sandpaper quickly removes rough spots and grooves while maintaining a smooth surface, ensuring optimal performance of the braking system.
In conclusion, understanding the role of brake rotors in the braking system is crucial for any car enthusiast. When resurfacing brake rotors, it is essential to use the correct sandpaper grit to ensure optimal performance. Upgrading to performance brake rotors can also improve the braking system’s efficiency and reduce the risk of brake fade.
Signs Your Rotors Need Resurfacing
As a car owner, I know that brakes are one of the most important components of a vehicle. They help us stay safe on the road and avoid accidents. That’s why it’s important to keep them in good condition. One of the ways to do that is by resurfacing the rotors when they start to show signs of wear and tear.
Here are some signs that your rotors need resurfacing:
Vibration
If you feel a vibration in the steering wheel or the brake pedal when you apply the brakes, it could be a sign that your rotors are warped or damaged. This vibration could be caused by uneven wear or surface irregularities on the rotor.
Thickness Variance
Another sign that your rotors need resurfacing is if there is a thickness variance in one or both front rotors. This can cause shimmying or shaking in the vehicle body, which is often felt through the seat or brake pedal.
Squealing or Pulsation
If you hear a squealing noise when you apply the brakes, it could be a sign that your rotors are worn or damaged. Pulsation or shaking when you apply the brakes is another sign of worn rotors.
Deep Grooves or Scoring
If you notice deep grooves or scoring on the surface of your rotors, it’s a sign that they need resurfacing. These grooves can cause the brake pads to wear unevenly, which can lead to further damage to the rotor.
Rust, Corrosion, or Cracks
Rust, corrosion, or cracks on the surface of the rotor can also be signs that it needs resurfacing. These issues can cause the rotor to overheat, which can lead to warping or severe damage.
By paying attention to these signs, you can catch rotor wear and tear early and avoid more costly repairs down the road.
Tools and Materials Needed
To resurface rotors with sandpaper, you will need a few tools and materials. These include:
- Sandpaper (120 grit)
- Micrometer
- Jack stands
- Brake lathe (optional)
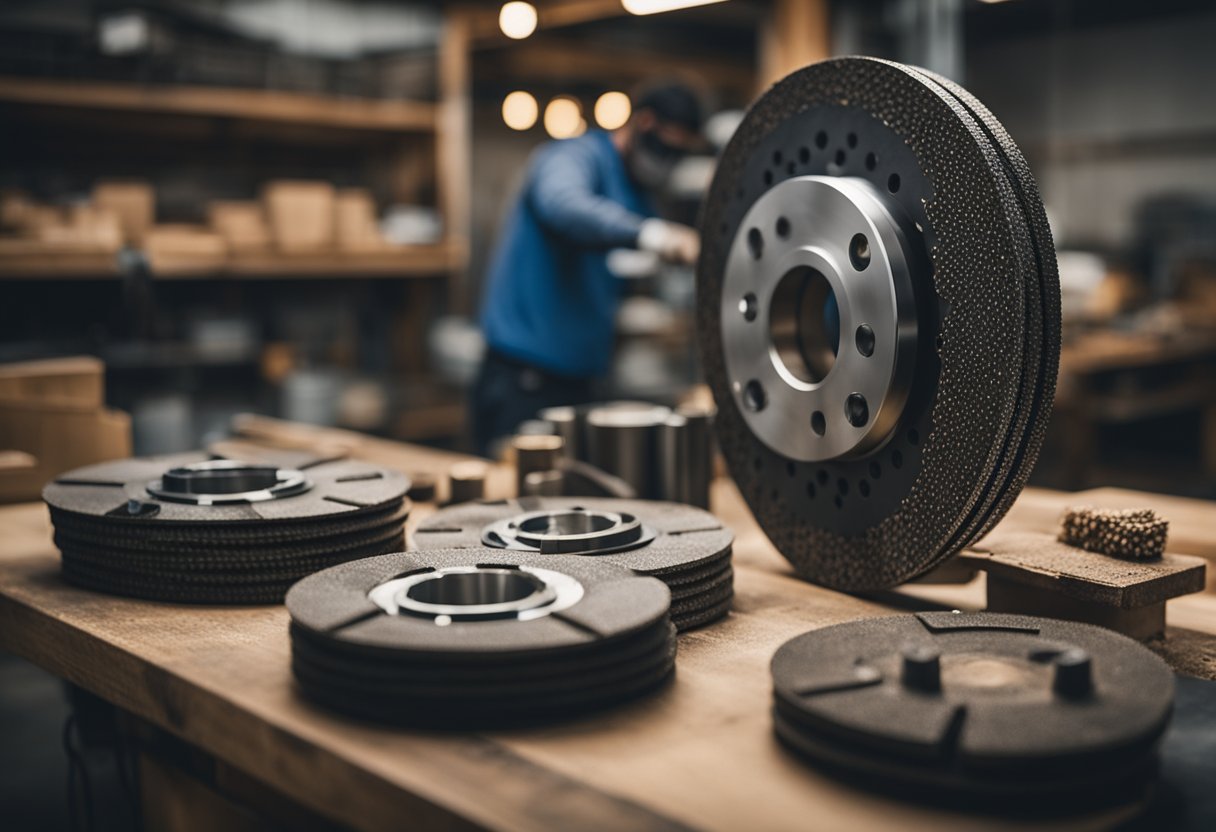
Sandpaper is the most important tool when it comes to resurfacing rotors. You will need 120 grit sandpaper to remove any rust and debris from the rotor surface. A micrometer is also necessary to measure the thickness of the rotor before and after resurfacing.
Jack stands are required to lift the car and remove the wheels. This will allow you to access the brake rotors easily. A brake lathe is an optional tool that can be used to resurface the rotor quickly and efficiently. However, it is not required, and sandpaper can be used as an alternative.
When selecting sandpaper, it is important to choose the right grit. 120 grit sandpaper is the most commonly used grit for resurfacing rotors. It is rough enough to remove any rust or debris but not too rough that it damages the rotor surface.
In addition to sandpaper, you may also need other equipment such as a ratchet, a clean rag, and a paintbrush or stiff brush to clean the rotor surface before and after resurfacing.
Overall, with the right tools and materials, resurfacing rotors with sandpaper can be a simple and cost-effective way to improve your car’s braking performance.
The Process of Resurfacing Rotors
https://www.youtube.com/watch?v=VD6cXGCnLPc&embed=true
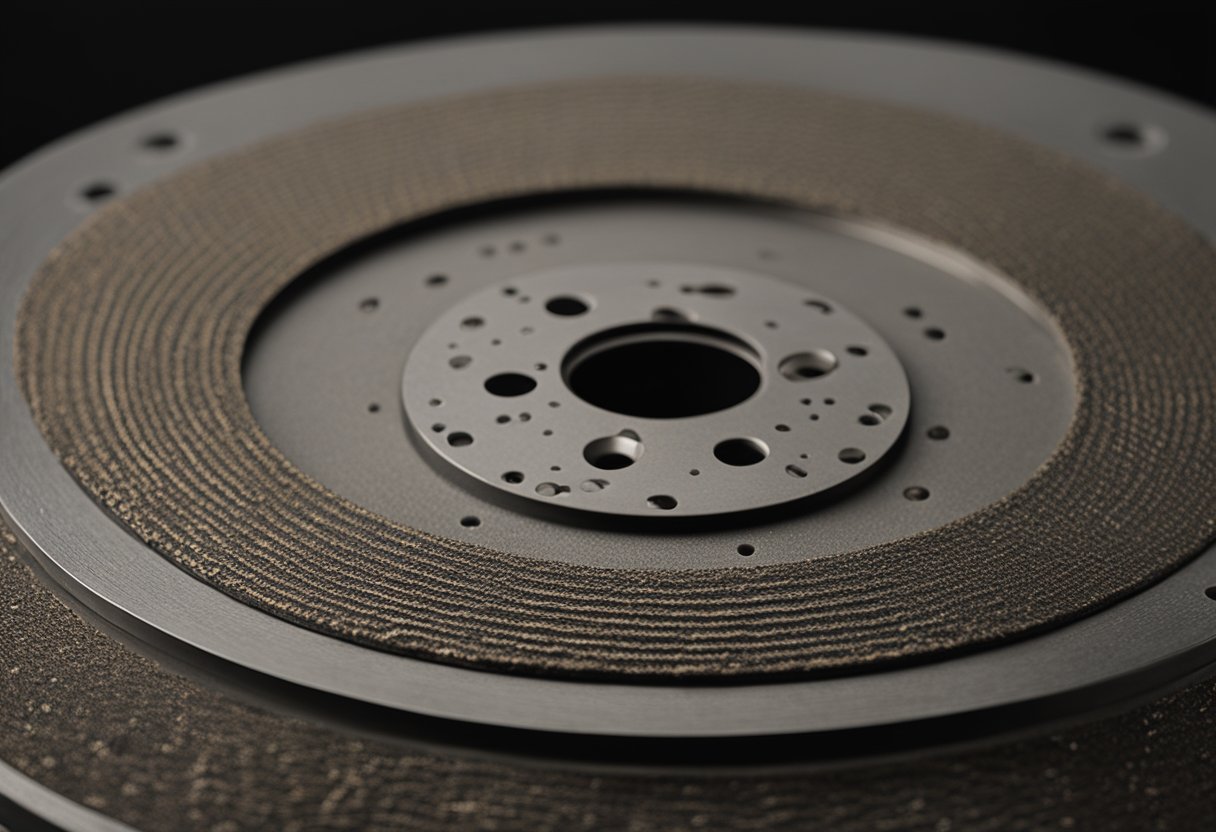
Resurfacing rotors is a process that involves removing a thin layer of metal from the surface of the rotor to create a smooth, even surface. This process can help to eliminate corrosion and brake pad deposits, which can cause vibrations and reduce the effectiveness of your brakes. In this section, I will explain how to resurface rotors with sandpaper.
Step 1: Preparation
Before you begin resurfacing your rotors, you need to prepare your work area. Start by gathering all the necessary tools and materials, including sandpaper, brake cleaner, and a microfiber towel. Park your car on a level surface and engage the parking brake. Remove the wheel or wheels that need to be resurfaced and set them aside.
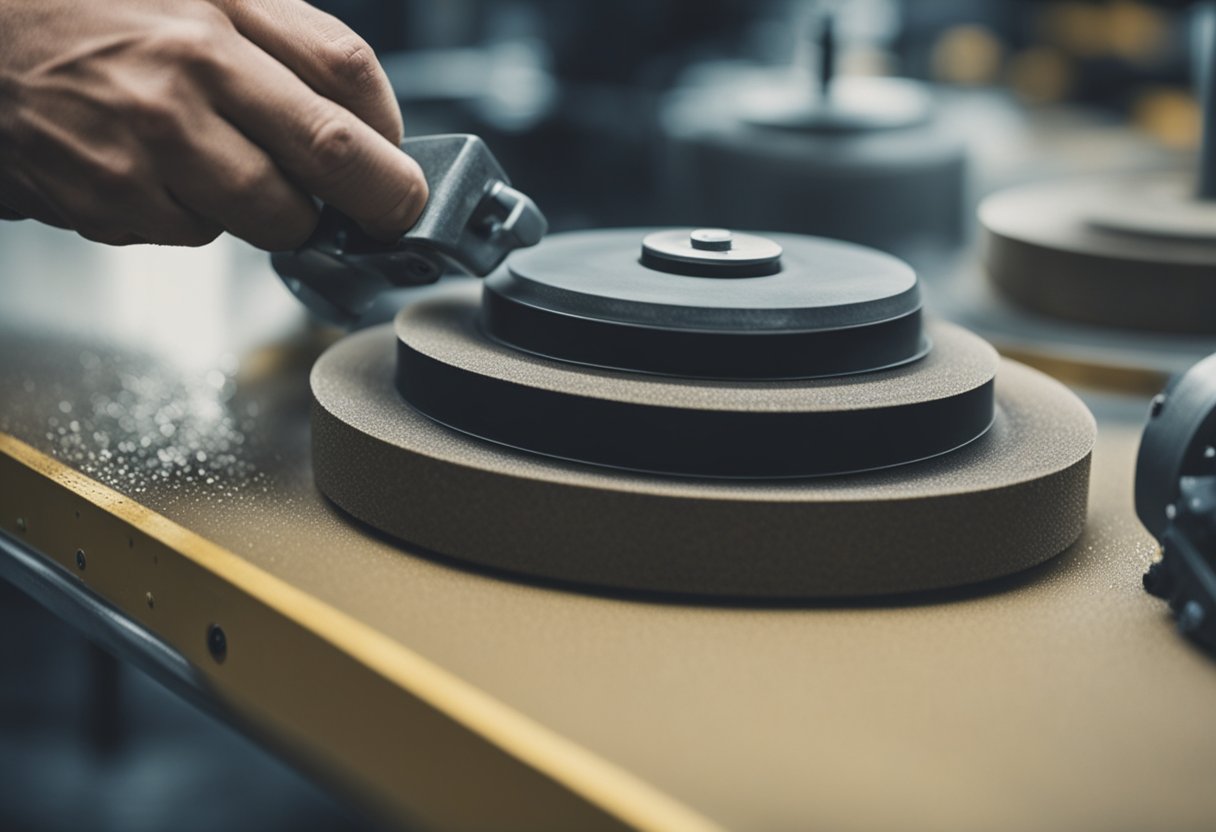
Step 2: Sanding the Rotor
Next, you need to sand the rotor using sandpaper. Start with a coarse grit sandpaper (such as 80 grit) and work your way up to a finer grit (such as 220 grit). Sand the rotor in a circular motion, making sure to apply even pressure. Be sure to sand the entire surface of the rotor, including the edges. Once you have finished sanding, use brake cleaner and a microfiber towel to clean the rotor thoroughly.
Step 3: Inspect the Rotor
After you have finished sanding the rotor, inspect it for any signs of damage or wear. Look for cracks, grooves, or other signs of wear that may indicate that the rotor needs to be replaced. If the rotor is in good condition, you can move on to the next step.
Step 4: Reinstall the Wheel
Once you have finished resurfacing the rotor, it’s time to reinstall the wheel. Make sure to tighten the lug nuts to the manufacturer’s recommended torque specification. Repeat this process for each wheel that needs to be resurfaced.
In conclusion, resurfacing your rotors with sandpaper is a simple DIY process that can help to improve the performance of your brakes. By following the steps outlined in this section, you can resurface your rotors quickly and easily, without the need for expensive tools or equipment.
When to Replace Instead of Resurface
As a mechanic, I always recommend resurfacing brake rotors whenever possible. However, there are times when it’s better to replace the rotors altogether. Here are some situations where I would recommend replacing the rotors instead of resurfacing them:
Minimum Thickness
Every rotor has a minimum thickness specified by the manufacturer. If the rotor has worn below this minimum thickness, it cannot be resurfaced and must be replaced. Check the manufacturer’s specifications to determine the minimum thickness of the rotor.
Cracks
If the rotor has any visible cracks, it must be replaced. Resurfacing a cracked rotor will only make the problem worse and compromise the safety of the vehicle.
Warping
If the rotor is warped, it may not be able to be resurfaced. Warping can occur due to overheating or excessive wear. A warped rotor can cause vibration and uneven wear on the brake pads. In this case, it’s better to replace the rotor.
New Brake Pads
If you are installing new brake pads, it’s a good idea to replace the rotors as well. This will ensure that the new pads wear evenly and provide optimal braking performance. Installing new pads on worn rotors can cause uneven wear and reduce the lifespan of the pads.
Cost
In some cases, it may be more cost-effective to replace the rotors rather than resurface them. If the rotor is heavily worn or damaged, it may require more time and labor to resurface it than to simply replace it with a new rotor.
In conclusion, while resurfacing brake rotors is a great way to save money and extend the life of your brakes, there are times when it’s better to replace the rotors altogether. Always check the manufacturer’s specifications and consult with a qualified mechanic to determine the best course of action for your vehicle.
Post-Resurfacing Steps and Checks
After resurfacing your rotors with sandpaper, there are a few steps and checks that you should perform to ensure your brakes are working optimally. Here are some of the things I recommend doing:
Install New Brake Pads
It’s always a good idea to install new brake pads after resurfacing your rotors. Old brake pads may have worn down unevenly, and will not mate well with the freshly resurfaced rotor surface. Installing new brake pads will ensure even wear and optimal performance.
Test Drive
Take your vehicle for a test drive to ensure that the braking system is working correctly. During the test drive, pay attention to the brake pedal. If it feels spongy or soft, there may be air in the brake lines. If the brake pedal pulsates or vibrates, this may indicate that the rotors are still warped or uneven.
Check for Squeaking
If you hear a squeaking noise when applying the brakes, this may indicate that the brake pads are not mating correctly with the resurfaced rotor surface. This can be caused by oil or other contaminants on the rotor surface. To fix this issue, clean the rotor surface with brake cleaner and reinstall the brake pads.
Check for Overheating
After resurfacing your rotors, it’s important to monitor them for overheating. Overheating can cause the rotor surface to glaze, reducing its ability to grip the brake pads. If you notice that your brakes are overheating, you may need to upgrade to a higher quality brake pad or caliper.
In conclusion, resurfacing your rotors with sandpaper is a great way to save money and extend the life of your braking system. However, it’s important to follow these post-resurfacing steps and checks to ensure that your brakes are working optimally and safely.
Safety and Cost Considerations
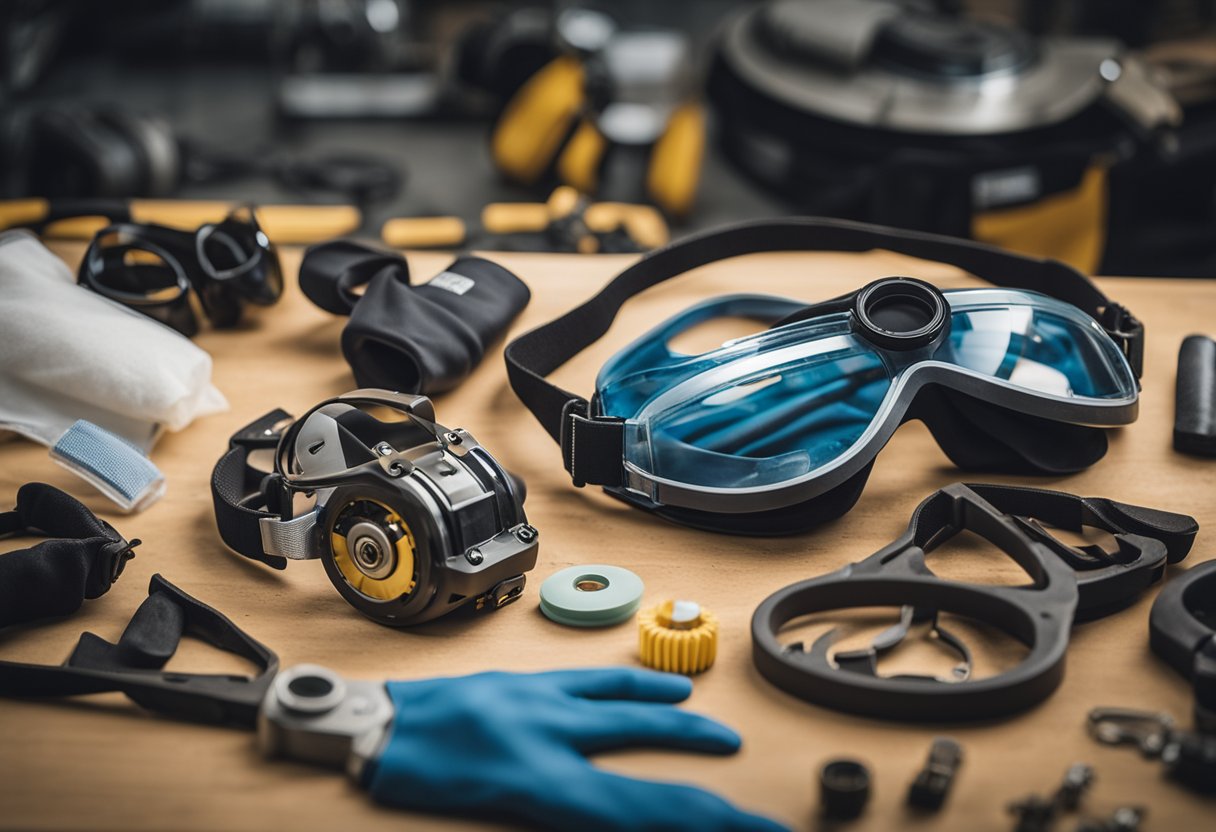
When it comes to resurfacing rotors with sandpaper, there are a few safety and cost considerations to keep in mind. First and foremost, it is important to wear the proper safety gear, such as safety goggles and gloves, to protect yourself from any debris that may fly off during the sanding process. Additionally, it is recommended to wear a respirator mask to avoid inhaling any harmful dust particles.
In terms of cost, resurfacing rotors with sandpaper is generally a more affordable option compared to replacing them altogether. However, it is important to note that the cost of sandpaper and any necessary cleaning solvents should also be factored in.
When it comes to pressure and power, it is important to apply even pressure when sanding the rotors to ensure a smooth and consistent finish. It is also recommended to use a sanding block to ensure an even application of pressure. Additionally, it is important to note that the weight of the vehicle can affect the necessary quality of the rotor resurfacing, as heavier vehicles may require a more thorough sanding process.
Overall, while resurfacing rotors with sandpaper can be a cost-effective and necessary solution, it is important to take the necessary safety precautions and consider all factors, such as the weight of the vehicle, to ensure a quality finish.
Maintenance Tips to Prevent Rotor Wear
As someone who has resurfaced rotors with sandpaper, I know that it’s not an easy task. It’s time-consuming and requires patience and attention to detail. Therefore, it’s essential to take care of your rotors to prevent them from wearing out faster and needing resurfacing more frequently. Here are some maintenance tips to help you extend the life of your rotors.
Keep Your Rotors Clean
One of the main causes of rotor wear is the accumulation of brake pad deposits. These deposits can cause uneven wear and tear, which can lead to vibration and noise. To prevent this from happening, it’s essential to keep your rotors clean. You can use a brake cleaner to remove any debris or dirt that may have accumulated on the rotors. This will help to ensure that the brake pads make even contact with the rotors, which will reduce the risk of uneven wear and tear.
Be Mindful of Your Driving Conditions
Driving conditions can also impact the life of your rotors. For example, driving in stop-and-go traffic or on steep hills can cause your brakes to overheat. Overheating can cause your rotors to warp, which can lead to uneven wear and tear. Therefore, it’s essential to be mindful of your driving conditions and adjust your driving accordingly. For example, you can try to avoid driving in stop-and-go traffic or use engine braking when driving downhill.
Check Your Brake Calipers
Your brake calipers are responsible for applying pressure to the brake pads, which in turn, apply pressure to the rotors. If your brake calipers are not working correctly, they may not apply even pressure to the brake pads, which can cause uneven wear and tear on the rotors. Therefore, it’s essential to check your brake calipers regularly to ensure that they are working correctly.
Allow for Adequate Cooling
Brakes generate a lot of heat, and overheating can cause your rotors to warp. Therefore, it’s essential to allow for adequate cooling. This means avoiding riding your brakes or using them excessively. If you notice that your brakes are starting to feel spongy or soft, it may be a sign that they are overheating. In this case, it’s essential to pull over and allow your brakes to cool down before continuing.
Conclusion
In conclusion, taking care of your rotors is essential if you want to extend their life and reduce the need for resurfacing. By keeping your rotors clean, being mindful of your driving conditions, checking your brake calipers, and allowing for adequate cooling, you can help to prevent uneven wear and tear on your rotors.
Frequently Asked Questions
What is the recommended grit of sandpaper for resurfacing brake rotors?
The recommended grit of sandpaper for resurfacing brake rotors is 80 or 120 grit. This grit is coarse enough to remove the rust and other debris that has accumulated on the surface of the rotor, but not so coarse that it will damage the rotor itself. It is important to note that using sandpaper that is too fine will not effectively resurface the rotor.
How can I resurface brake rotors without a brake lathe?
If you don’t have access to a brake lathe, you can still resurface your brake rotors using sandpaper. First, clean the rotor surface with a solvent to remove any oil or debris. Then, use 80 or 120 grit sandpaper to sand the surface of the rotor in a circular motion. Be sure to apply even pressure and keep the sandpaper moving to avoid creating grooves in the rotor surface. Repeat the process until the rotor surface is smooth and even.
Is it possible to resurface slotted brake rotors with sandpaper?
Yes, it is possible to resurface slotted brake rotors with sandpaper. However, it may be more difficult to achieve a smooth and even surface due to the slots in the rotor. It is important to take extra care when sanding slotted rotors to avoid damaging the slots or creating uneven surfaces.
Can I use a brake rotor resurfacing kit to fix my warped rotors?
Yes, a brake rotor resurfacing kit can be used to fix warped rotors. These kits typically include sandpaper and a holder that allows you to attach the sandpaper to the rotor. Follow the instructions included with the kit to ensure that you are using it correctly.
What are the steps to resurface brake rotors with a grinder?
Resurfacing brake rotors with a grinder is not recommended as it can be difficult to achieve a smooth and even surface. Additionally, using a grinder can create grooves in the rotor surface, which can cause uneven wear on the brake pads. If you must use a grinder, be sure to use a very fine grit and take extra care to avoid creating grooves.
Should I sand new brake rotors before installing them?
No, you should not sand new brake rotors before installing them. New rotors are already smooth and even, and sanding them can damage the surface and reduce their effectiveness. If you are experiencing brake pulsation or uneven wear on your new rotors, it is likely due to another issue and should be addressed by a professional mechanic.

Hi, I’m Sal Muller of Tooltrip.com. My DIY experience led me to understand essential power tools for home projects. Tooltrip.com guides enthusiasts and professionals in choosing right tools for any job. I provide concise top tool reviews for easier, efficient DIY.
