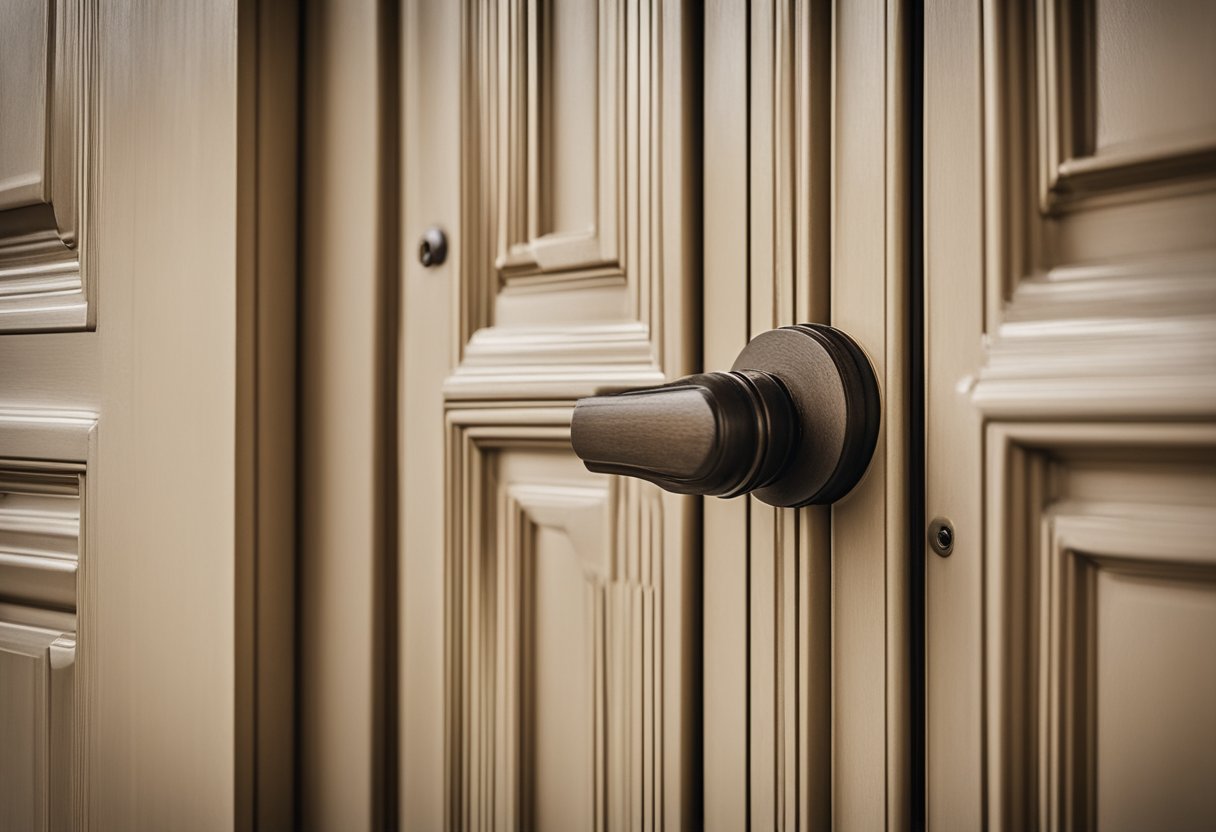
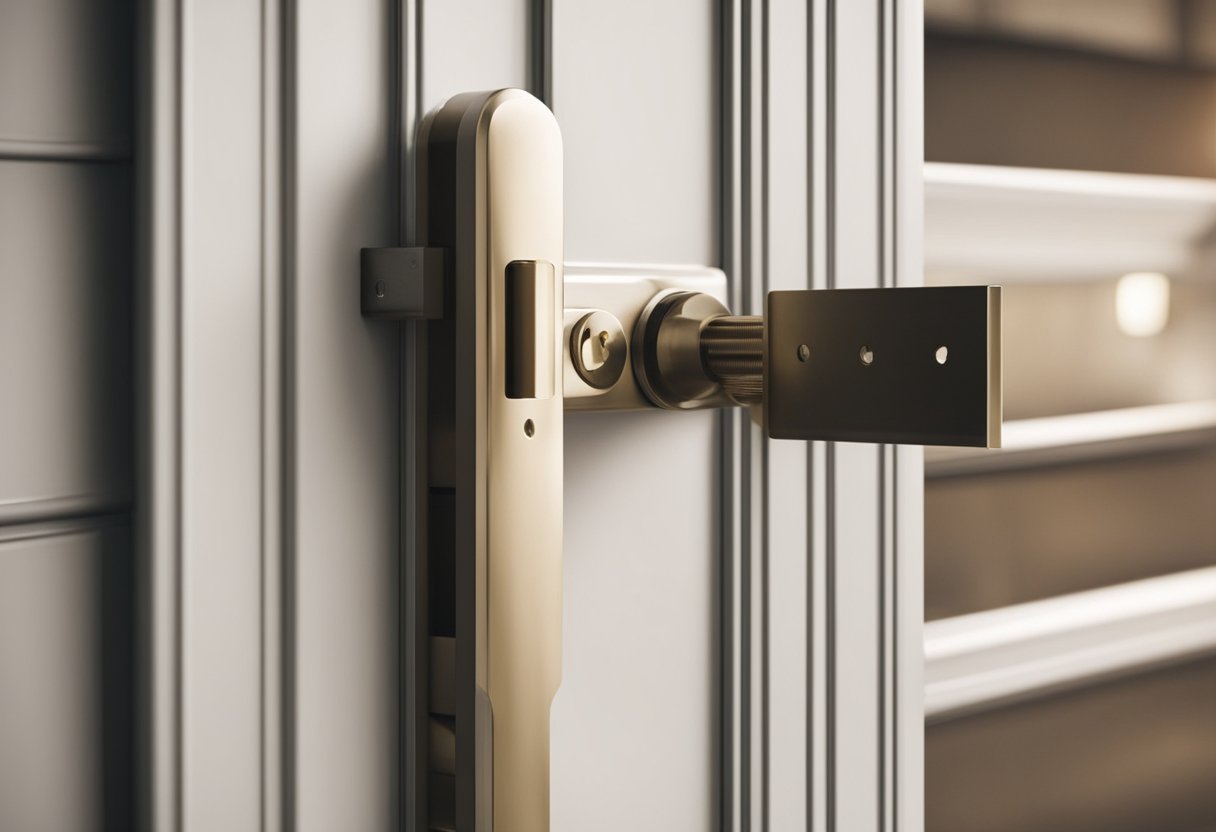
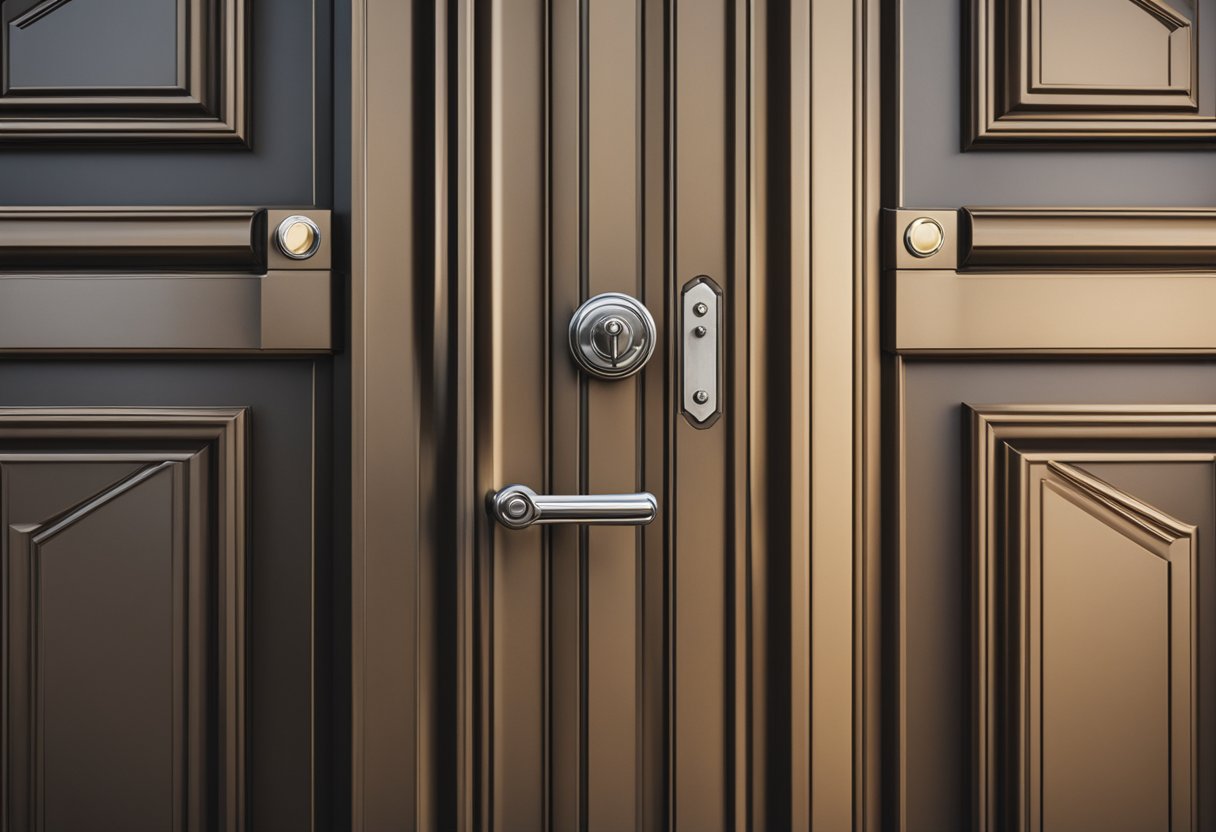
As a homeowner, you might have noticed a gap between the door jamb and casing, which can be an eyesore and can cause drafts. This gap can occur due to various reasons, such as settling of the house or incorrect installation of the door jamb and casing. However, fixing this gap is a relatively easy task that can be done with some basic tools and materials.
Understanding the basics of door jamb and casing installation is crucial to fix the gap between them. The door jamb is the vertical frame that surrounds the door, while the casing is the decorative molding that covers the gap between the jamb and the wall. The gap between the door jamb and casing can occur due to various reasons, such as incorrect measurements, warping of the jamb or casing, or settling of the house. In this article, I will guide you through the process of fixing this gap, from preparation to finishing touches.
Key Takeaways
- Understanding the basics of door jamb and casing installation is crucial to fix the gap between them.
- Fixing the gap is a relatively easy task that can be done with some basic tools and materials.
- The process involves preparing for installation, installing the door jamb and casing, dealing with the gap, and finishing touches.
Understanding the Basics
https://www.youtube.com/watch?v=hEa9El-AyK4&embed=true
When it comes to installing doors, one of the most common problems is the gap between the door jamb and casing. This gap can be caused by a number of factors, including uneven walls, improperly installed door frames, or simply poor workmanship. Regardless of the cause, it’s important to understand the basics of this issue in order to address it effectively.
The gap between the door jamb and casing can be a cosmetic issue, but it can also cause problems with insulation, noise, and even security. It’s important to address this issue as soon as possible to avoid any potential problems down the line.
The door jamb is the vertical part of the door frame that runs along the sides of the door. The casing, on the other hand, is the decorative trim that covers the gap between the door frame and the wall. When installed properly, the casing should be flush with the wall and the door jamb, leaving no gap between them. If there is a gap, it can be unsightly and can create a number of issues.
One of the most common causes of the gap between the door jamb and casing is uneven walls. If the wall is not straight or is bowed in some way, it can create a gap between the door jamb and casing. In this case, the best solution is to use shims to even out the wall and create a flush surface for the casing to rest against.
Another cause of the gap can be an improperly installed door frame. If the frame is not installed correctly, it can cause the door jamb to be out of alignment, creating a gap between the jamb and casing. In this case, it may be necessary to remove the frame and reinstall it correctly.
Overall, understanding the basics of the gap between the door jamb and casing is essential for any homeowner or DIY enthusiast. By identifying the cause of the gap and addressing it properly, you can ensure that your doors are installed correctly and will function properly for years to come.
Materials and Tools Required
To fix the gap between the door jamb and casing, you will need some materials and tools. Here are the things you need:
Materials
- Caulk: You will need caulk to fill in the gap between the door jamb and casing. Caulk is a flexible material that can expand and contract with temperature changes.
- Shims: Shims are small, wedge-shaped pieces of wood that can be used to level the door jamb. You will need shims to adjust the position of the door jamb if it is not level.
- Wood fill: Wood fill is a putty-like substance that can be used to fill in gaps and holes in wood. You will need wood fill to fill in any gaps or holes in the door jamb or casing.
- Plinth block: A plinth block is a decorative block of wood that can be used to cover up gaps between the door jamb and casing. You will need a plinth block if the gap between the door jamb and casing is too large to be filled with caulk or wood fill.
Tools
- Putty knife: You will need a putty knife to apply caulk and wood fill to the gap between the door jamb and casing.
- Hacksaw: A hacksaw can be used to cut shims to the correct size.
- Drill: You will need a drill to attach the plinth block to the wall.
- Screws: You will need screws to attach the plinth block to the wall.
- Nails: Nails can be used to attach the casing to the wall.
- Foam: If there is a large gap between the door jamb and casing, you can use foam to fill in the gap. Foam is an expanding material that can fill in gaps of different sizes.
- Silicone: Silicone can be used to seal the gap between the door jamb and casing. Silicone is a waterproof material that can prevent drafts and moisture from entering the room.
Having these materials and tools ready will make the process of fixing the gap between the door jamb and casing much easier and efficient.
Preparation for Installation
Before installing the casing, it is important to prepare the area surrounding the door jamb. This includes checking the plumb of the framing, ensuring the drywall is flush with the jamb, and making sure the threshold is level.
If the door is new, it is important to check that the tongue on the hinge side is the correct size for the jamb. Additionally, if the door is not pre-primed, it should be primed before installation to prevent moisture from penetrating the wood.
When installing the casing, it is important to determine the type of joint to use. A miter joint is a good option for a clean, seamless look, while a butt joint is more forgiving for those new to casing installation.
It is also important to mark the reveal, which is the distance between the casing and the face of the jamb. This can be done using a set square and a sharp pencil, as demonstrated in this article.
To ensure a tight fit, shimming may be necessary. This involves inserting small pieces of wood between the jamb and the casing to fill any gaps and create a snug fit.
Finally, it is important to install a door stop to prevent the door from swinging too far and damaging the wall. This can be done using finishing nails and a hammer.
By following these steps and taking the time to properly prepare the area, you can ensure a professional-looking installation that will last for years to come.
Installing the Door Jamb and Casing
https://www.youtube.com/watch?v=bPuA2d5MU20&embed=true
When it comes to installing a door jamb and casing, there are a few key things to keep in mind. First, it’s important to ensure that the jamb is properly secured and level. This will help to ensure that the door functions properly and stays stable over time.
Once the jamb is in place, it’s time to install the casing. This can be done using a variety of materials, including wood, metal, or even plaster. Regardless of the material used, it’s important to ensure that the casing is properly aligned with the jamb and that any gaps or spaces are filled in using wood filler.
Another important consideration when installing a door jamb and casing is weatherstripping. This can help to prevent drafts and improve energy efficiency, which is especially important if you have hardwood floors or other features that can be negatively impacted by changes in temperature or humidity.
Finally, it’s worth noting that installing door trim can be a bit of a challenge, especially if you’re working with an older home or a space that has a lot of unique features. That said, with a bit of patience and attention to detail, it’s possible to achieve a beautiful and functional finished product that will stand the test of time.
Dealing with the Gap between Door Jamb and Casing
https://www.youtube.com/watch?v=3guMCdp7arc&embed=true
As a professional handyman, I have dealt with many gaps between door jamb and casing. The gap between the door jamb and casing is a common issue in many homes. It can be caused by a variety of factors, such as settling of the house, shrinkage of the wood, or improper installation. Regardless of the cause, it is important to deal with this issue promptly to prevent drafts and energy loss.
One of the most common ways to deal with the gap between door jamb and casing is to use caulk or foam. Caulk is a flexible material that can be used to fill gaps and cracks around doors and windows. Foam is another option that can be used to fill gaps and cracks. It is important to choose the right type of caulk or foam for the job, as some types may not be suitable for use around doors.
Another option to deal with the gap between door jamb and casing is to use shims or wood filler. Shims are thin pieces of wood that can be used to fill gaps and level out surfaces. Wood filler is a putty-like substance that can be used to fill gaps and cracks in wood. It is important to choose the right type of wood filler for the job, as some types may not be suitable for use around doors.
Felt is another material that can be used to fill gaps between the door jamb and casing. Felt is a soft, flexible material that can be easily cut to size and placed in the gap. It is important to choose the right thickness of felt for the job, as thicker felt may not fit properly in the gap.
In conclusion, there are many ways to deal with the gap between door jamb and casing. The best method depends on the cause of the gap and the type of door and casing being used. It is important to choose the right materials and techniques to ensure a proper and long-lasting repair.
Finishing Touches
https://www.youtube.com/watch?v=AQHHfZqRTyE&embed=true
Now that the gap between the door jamb and casing has been fixed, it’s time to give it a finishing touch. The final touches will not only make the door look better, but also improve its functionality.
Paint and Finish
If you haven’t already painted or finished the door, now is the time to do so. A fresh coat of paint or finish will make the door look new and protect it from damage. Make sure to use a high-quality paint or finish that is durable and long-lasting.
Nails and Screws
Check to see if any nails or screws are visible and fill them with wood fill or silicone. This will give the door a smooth finish and prevent any rust or corrosion.
Door Sweep and Weatherstripping
Installing a door sweep or weatherstripping will prevent drafts and keep out unwanted moisture. This is especially important if you have hardwood floors, as they can be damaged by moisture.
Hinges
Check the hinges to make sure they are secure and lubricated. If they are loose or squeaky, tighten them with screws or replace them altogether.
Molding
If you have molding around the door, make sure it is secure and flush against the wall. Use nails or screws to secure it in place if necessary.
Sanded and Smooth
Finally, make sure the door jamb and casing are sanded and smooth. This will give the door a professional finish and prevent any splinters or rough edges.
By following these simple steps, you can give your door a professional and polished look. If you’re not handy, consider hiring a professional to help you with the finishing touches.
Maintenance and Troubleshooting
https://www.youtube.com/watch?v=virO6RGakXU&embed=true
As a handy homeowner, I know that maintaining the gap between the door jamb and casing is crucial for the longevity of the door. One of the most common issues with the gap is moisture. Moisture can cause the wood to warp, which can create a larger gap between the jamb and casing. To prevent this, I recommend applying a coat of felt to the door jamb. The felt will absorb any moisture that may seep in and prevent the wood from warping.
If the gap between the door jamb and casing is too large, it can cause air leaks, which can lead to energy loss. To fix this issue, I suggest checking the door gap to ensure it is plumb. If it is not plumb, then shimming may be necessary to bring it back into alignment. Shimming involves adding thin pieces of wood to the framing to level the door and create a tight fit.
Another common issue with the gap is that it may not be deep enough to accommodate the thickness of the casing. In this case, I recommend creating a groove in the door jamb to allow the casing to sit flush. This will ensure that the casing is properly secured and will not move over time.
Finally, if the gap is on the hinge side of the door, it may be caused by loose screws. To fix this issue, I suggest tightening the screws or replacing them with longer screws that will anchor the jamb to the framing. This will prevent the jamb from moving and creating a larger gap over time.
In summary, maintaining the gap between the door jamb and casing is essential for the longevity of the door. By addressing issues such as moisture, door gap, felt, groove, plumb, framing, hinge side, shimming, and loose screws, you can ensure that your door will function properly for years to come.
Frequently Asked Questions
How can I fix an uneven gap between my door and frame?
If you have an uneven gap between your door and frame, there are a few things you can do to fix it. One option is to use a door sweep to fill the gap. Another option is to install new shims to make the door fit more snugly. You can also adjust the hinges to make the door hang straighter.
What is the recommended gap clearance between a door and a jamb?
The recommended gap clearance between a door and a jamb is typically around 1/8 inch. This allows for proper clearance and prevents the door from binding or sticking.
What is the maximum allowable gap between a door and frame?
The maximum allowable gap between a door and frame can vary depending on the type of door and frame. However, a gap larger than 1/4 inch can allow drafts and noise to enter the room, and can also compromise the security of the door.
How do I fill the gap between my door jamb and trim?
To fill the gap between your door jamb and trim, you can use wood filler or caulk. Wood filler is a good option for larger gaps, while caulk is better for smaller gaps. Simply apply the filler or caulk, smooth it out, and let it dry before painting.
What causes a gap between a door frame and wall?
A gap between a door frame and wall can be caused by a number of factors, including settling of the foundation, humidity changes, or improper installation. It is important to identify the cause of the gap before attempting to fix it.
What is the gap between a door frame and rough opening?
The gap between a door frame and rough opening can vary depending on the type of door and frame. However, a gap of 1/8 inch is typically recommended to allow for proper clearance and prevent the door from binding or sticking.

Hi, I’m Sal Muller of Tooltrip.com. My DIY experience led me to understand essential power tools for home projects. Tooltrip.com guides enthusiasts and professionals in choosing right tools for any job. I provide concise top tool reviews for easier, efficient DIY.


