
As a homeowner, one of the most frustrating things you can encounter is a gap between your tub and the wall. Not only is it unsightly, but it can also lead to water damage and mold growth. If you’re dealing with a 2-inch gap between your tub and the wall, you might be wondering how to fix it. Fortunately, there are several solutions available.
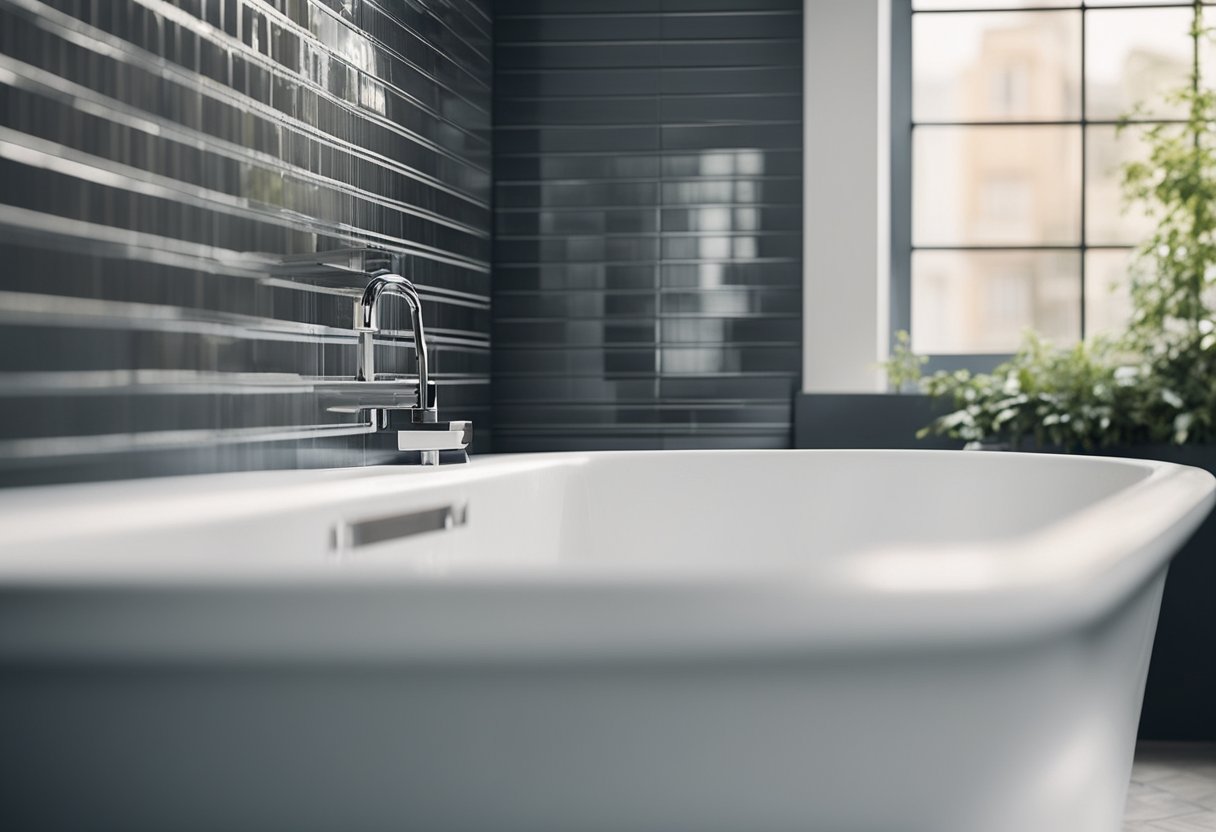
Before you start fixing the gap, it’s important to understand the problem. A 2-inch gap between your tub and the wall is not only unsightly but also poses a risk of water damage. Water can seep through the gap and cause damage to the floor and wall. Additionally, the gap can be a breeding ground for mold and bacteria that can cause health problems. It’s essential to fix the gap as soon as possible to prevent further damage and protect your health.
To fix the gap, you’ll need to follow a few preliminary steps. You’ll need to gather the necessary materials, prepare the area, and ensure that the gap is clean and dry. Once you’ve completed these steps, you can start fixing the gap using one of the several solutions available. With the right tools and materials, you can fix the gap and restore your bathroom’s aesthetic appeal.
Understanding the Problem
https://www.youtube.com/watch?v=o3bHujLQzMo&embed=true
As a homeowner, I have come across various problems that require immediate attention. One of the most common issues I have encountered is the 2-inch gap between the tub and the wall. This gap can be unsightly and can lead to water leaks and mold growth if not addressed promptly. In this section, I will discuss the problem in detail, including how to identify it and the potential risks.
Identifying the Gap
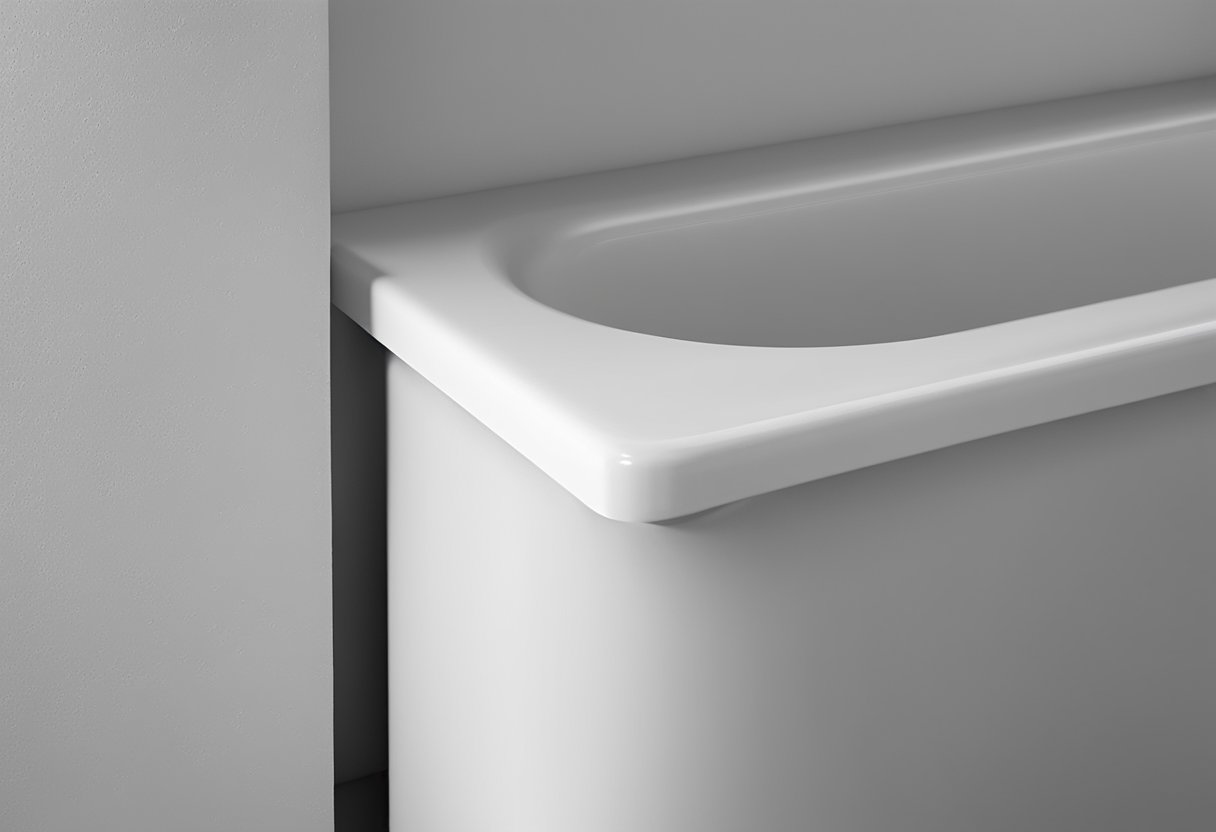
The 2-inch gap between the tub and the wall is usually caused by an improper installation of the tub. The gap can occur due to various reasons, such as the tub being too small for the space or the walls being too far apart. The gap can also occur due to the walls being uneven or the tub being installed at an angle.
To identify the gap, you can visually inspect the area around the tub. Look for any visible gaps between the tub and the wall. You can also run your hand along the wall and the tub to feel for any gaps. If you find a gap, it is essential to address it as soon as possible to prevent any further damage.
Potential Risks
The 2-inch gap between the tub and the wall can lead to several potential risks. The most immediate risk is water leaks. Water can seep through the gap and into the wall, causing damage to the drywall and potentially leading to mold growth. Mold can be dangerous to your health and can cause respiratory problems.
Another potential risk is that the gap can be a breeding ground for bacteria and other microorganisms. This can lead to unpleasant odors and can be a health hazard, especially if you have young children or elderly people living in your home.
In conclusion, the 2-inch gap between the tub and the wall is a problem that requires immediate attention. Identifying the gap and understanding the potential risks is the first step in addressing the issue. In the next section, I will discuss various ways to fix the gap and prevent any further damage.
Preliminary Steps
https://www.youtube.com/watch?v=oq0juhNqGss&embed=true
Before starting any project, it’s important to take the necessary preliminary steps to ensure that the job is done correctly. When it comes to dealing with a 2 inch gap between a tub and wall, there are a few things you should do before you begin.
Inspecting the Tub and Wall
The first step is to inspect the tub and wall to determine the cause of the gap. In some cases, the gap may be due to improper installation or poor construction. In other cases, it may be due to natural settling or movement of the house.
Once you have determined the cause of the gap, you can then decide on the best course of action to take. If the gap is due to poor construction or installation, you may need to consider replacing the tub or wall. If the gap is due to natural settling or movement, you may be able to simply fill it in with caulking or other materials.
Gathering Necessary Tools
Once you have inspected the tub and wall, the next step is to gather the necessary tools for the job. Depending on the cause of the gap and the method you choose to fill it in, you may need a variety of tools and materials.
Some of the tools you may need include a caulking gun, silicone caulk, a putty knife, a utility knife, and sandpaper. You may also need other materials such as backer rod or foam backer strips, depending on the size of the gap.
Before you begin, make sure you have all the necessary tools and materials on hand. This will help ensure that the job goes smoothly and that you don’t have to stop in the middle of the project to go out and buy something you forgot.
Materials Required

When it comes to filling a 2-inch gap between your tub and wall, you need to make sure you have the right materials to get the job done correctly. Here are the essential supplies you’ll need:
Choosing the Right Caulk
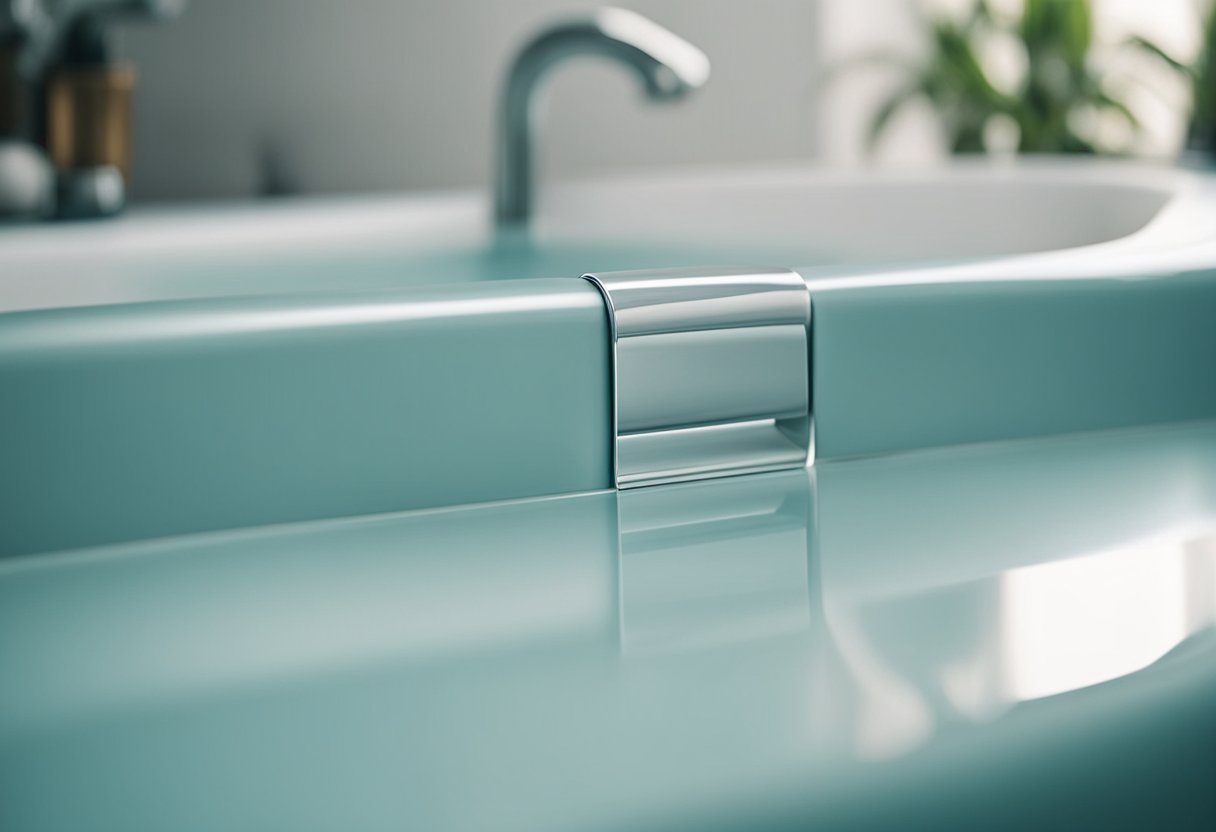
Caulk is a type of adhesive that is used to seal gaps and cracks between surfaces. When choosing the right caulk for your project, you need to make sure it is designed for use in wet areas, such as bathrooms. Silicone-based caulks are the best choice for sealing gaps between your tub and wall because they are waterproof and flexible. This type of caulk will prevent water from seeping into the gap and causing damage to your walls or floors.
Other Essential Supplies
In addition to the right caulk, you’ll also need a few other essential supplies to fill the gap between your tub and wall. Here is a list of items you’ll need:
-
Backer rod: This foam rod is used to fill large gaps before applying caulk. It helps to create a smooth, even surface for the caulk to adhere to.
-
Sealant: A sealant is used to protect the caulk from moisture and to help it adhere to the surfaces.
-
Putty knife: You’ll need a putty knife to apply the caulk to the gap between your tub and wall.
-
Sanded caulk: If the gap between your tub and wall is larger than 1/8 inch, you’ll need to use sanded caulk. This type of caulk contains sand particles that help to fill larger gaps and create a more even surface.
By having all the necessary materials on hand, you can ensure that your project goes smoothly and that the gap between your tub and wall is filled correctly.
Preparation Process
https://www.youtube.com/watch?v=utijkt0RKzI&embed=true
Setting Up the Bathroom
Before starting the process of filling the gap between the tub and wall, it is important to clear the bathroom of any unnecessary items. This will ensure that there is enough space to work comfortably and safely. I like to remove all items from the bathroom, including rugs, mats, and toiletries. If the bathroom is small, I will move all items to another room until the job is complete.
Preparing the Tub and Wall
The next step is to prepare the tub and wall for the gap filling process. It is important to clean the area thoroughly before starting the process. I use a cleaning solution and a scrub brush to clean the area around the gap. Once the area is clean, I will dry it with a clean towel.
If the gap is between drywall and the tub, I will use a plywood shim to fill the gap. The plywood shim will provide a solid base for the caulk and prevent it from sinking into the gap. I will also use a furring strip to secure the plywood shim to the drywall. This will ensure that the shim is flush with the drywall.
If the gap is between the tub and tile, I will use a caulk gun to fill the gap with silicone caulk. Silicone caulk is flexible and waterproof, making it the ideal material for filling gaps between the tub and tile. I will apply the caulk in a smooth, even bead, making sure to fill the entire gap. Once the gap is filled, I will use a caulk smoothing tool to smooth out the caulk and remove any excess.
By following these simple steps, I can prepare the bathroom, tub, and wall for the gap filling process. This ensures that the gap filling process is smooth and efficient, and that the final result is professional-looking and long-lasting.
Fixing the Gap
https://www.youtube.com/watch?v=oP8cUmHLEdQ&embed=true
When it comes to fixing the gap between your tub and wall, there are two primary methods: applying caulk and using a backer rod. Both methods are effective, but which one you choose may depend on the size of the gap.
Applying the Caulk
If the gap between your tub and wall is less than 1/2 inch, applying a bead of caulk is usually the best solution. To do this, start by cleaning the area around the gap with a mild cleaner and a damp cloth. Then, using a caulk gun, apply a bead of caulk directly along the edge of the tub and another bead along the edge of the wall. Make sure the two beads of caulk meet in the joint.
Once you have applied the caulk, use your index finger to carefully smooth out the caulk in the joint. This will help ensure a tight seal and a clean finish. If the gap is wider than 1/2 inch, you may need to apply two beads of caulk side by side.
Using a Backer Rod
If the gap between your tub and wall is wider than 1/2 inch, using a backer rod is usually the best solution. A backer rod is a foam strip that is inserted into the gap before the caulk is applied. This helps fill the gap and prevent the caulk from sagging or cracking.
To use a backer rod, start by cleaning the area around the gap with a mild cleaner and a damp cloth. Then, measure the width of the gap and choose a backer rod that is slightly larger than the gap. Insert the backer rod into the gap, making sure it is snug but not too tight.
Once the backer rod is in place, apply a bead of caulk directly along the edge of the tub and another bead along the edge of the wall, making sure the two beads of caulk meet in the joint. Use your index finger to carefully smooth out the caulk in the joint, making sure it covers the backer rod and creates a tight seal.
In conclusion, fixing the gap between your tub and wall is a simple process that can be done with just a few tools and materials. Whether you choose to apply caulk or use a backer rod, make sure you clean the area thoroughly and take your time to ensure a tight seal and a clean finish.
Finishing Touches
https://www.youtube.com/watch?v=zfQEQHZPfZ0&embed=true
After applying caulk to the gap between the tub and the wall, it is important to finish the job by smoothing the caulk and cleaning up any excess. Here are some tips to ensure that the finished product looks neat and professional.
Smoothing the Caulk
To smooth the caulk, I like to use my index finger. Before doing so, I wet my finger with a small amount of water and then gently run it along the caulk line. This helps to create a smooth and even finish. If you prefer not to use your finger, you can use a caulk smoothing tool instead. These tools are designed to fit into the gap and can help to create a professional finish.
Cleaning Up
Once the caulk is smoothed, it’s important to clean up any excess before it dries. I like to use a paper towel for this step. Simply dampen the paper towel with a small amount of water and then gently run it along the caulk line. This will help to remove any excess caulk and create a clean finish.
It’s important to note that caulk can take several hours to dry completely. During this time, it’s best to avoid touching the caulk or getting it wet. Once it’s dry, you can enjoy your newly sealed gap between the tub and the wall.
By following these tips, you can ensure that your finished product looks neat and professional. Remember to take your time and be patient during the process. With a little practice, you’ll be sealing gaps like a pro in no time.
Post-Project Considerations
After successfully filling the 2-inch gap between the tub and wall, it is important to consider some post-project steps to ensure that the area remains dry and mold-free. Here are some things to keep in mind:
Checking for Leaks
First and foremost, it is important to check for any leaks after filling the gap. Even the smallest leak can lead to moisture buildup and mold growth. To check for leaks, run water into the tub and inspect the gap area for any signs of water seepage. If you notice any leaks, you may need to reapply the caulk or use a different sealant to ensure proper sealing.
Maintenance Tips
Proper maintenance is key to preventing mold growth and keeping the area dry. Here are some tips to consider:
- Regularly check the caulk for any cracks or gaps and reapply as necessary.
- Wipe down the area with a dry towel after each use to prevent moisture buildup.
- Use a fan or open a window to promote air circulation and prevent moisture buildup.
- If you notice any mold growth, clean the area with a mold and mildew remover and reapply caulk as necessary.
By following these post-project considerations, you can ensure that the 2-inch gap between your tub and wall remains sealed and mold-free for years to come.
Advanced Solutions
If you have a 2-inch gap between your tub and wall, there are a few advanced solutions that you can consider to fix the problem. In this section, I will discuss two of these advanced solutions: installing a tub flange and remodeling the bathroom.
Installing a Tub Flange
One of the most effective ways to cover a 2-inch gap between your tub and wall is by installing a tub flange. A tub flange is a lip that is built into the tub surround, which covers the gap between the tub and the wall. This lip is usually 1/4 inch thick and is designed to fit snugly against the framing and plumbing of your bathroom.
To install a tub flange, you will need to remove the existing tub surround and replace it with a new one that has a built-in flange. This can be a time-consuming and expensive process, but it is the best way to ensure that your tub is properly installed and that the gap is covered.
Remodeling the Bathroom
If you have a 2-inch gap between your tub and wall and you are remodeling your bathroom, you may want to consider a more extensive solution. This could involve straightening the walls, replacing the plumbing, or even moving the location of the tub.
If you are remodeling your bathroom, you should work with a professional contractor who can help you design a new layout that will work for your space. This may involve moving the location of the tub, which can be a complex process that requires careful planning and execution.
In conclusion, if you have a 2-inch gap between your tub and wall, there are advanced solutions that you can consider to fix the problem. Installing a tub flange is a great option if you want to cover the gap without remodeling your bathroom. However, if you are already remodeling your bathroom, you may want to consider a more extensive solution that involves straightening the walls, replacing the plumbing, or even moving the location of the tub.
Frequently Asked Questions

What is backer rod and how can it be used to fill gaps around a bathtub?
Backer rod is a cylindrical foam material that is used to fill gaps between building materials. It is commonly used to fill gaps around bathtubs before applying silicone sealant. Backer rod is available in different sizes, and you should choose the size that best fits the gap you need to fill. To use backer rod, you simply insert it into the gap, ensuring that it is pushed in firmly. Once you have inserted the backer rod, you can then apply silicone sealant over the top.
How can I fix a 2 inch gap between my bathtub and the wall?
A 2 inch gap between your bathtub and the wall can be a challenge to fill. One solution is to use a flexible tub flange, which can be attached to the edge of the bathtub and extended up the wall to cover the gap. Alternatively, you can use backer rod to fill the gap before applying silicone sealant. If the gap is particularly large, you may need to use a combination of these methods.
What is the best way to fill large gaps with silicone sealant?
When filling large gaps with silicone sealant, it is important to use the right technique to ensure a good seal. First, clean the gap thoroughly to remove any dirt or debris. Next, apply a bead of silicone sealant along the gap, ensuring that the sealant is pushed deep into the gap. Use a caulking tool or your finger to smooth the sealant and ensure that it is evenly distributed. Finally, allow the sealant to dry completely before using the bathtub.
Are there any flexible tub flanges available to help bridge the gap between my tub and wall?
Yes, there are flexible tub flanges available that can help bridge the gap between your tub and wall. These flanges are made from a flexible material and can be attached to the edge of the bathtub before being extended up the wall to cover the gap. Flexible tub flanges are available in a range of sizes and can be cut to fit the gap you need to fill.
How can I hide the gap between my bathtub and the wall?
One way to hide the gap between your bathtub and the wall is to install a tub surround. A tub surround is a decorative panel that is installed over the wall around the bathtub. It can be made from a range of materials, including acrylic, fiberglass, and tile. Another solution is to install a tile backsplash around the bathtub. This can be a great way to add a decorative touch to your bathroom while also covering the gap between the bathtub and wall.
What materials can be used to fill the gap between a bathtub and wall?
The most common materials used to fill the gap between a bathtub and wall are silicone sealant and backer rod. Silicone sealant is a flexible material that can be used to create a waterproof seal around the bathtub. Backer rod is a cylindrical foam material that is used to fill gaps before applying silicone sealant. In some cases, a flexible tub flange may also be used to bridge the gap between the bathtub and wall.

Hi, I’m Sal Muller of Tooltrip.com. My DIY experience led me to understand essential power tools for home projects. Tooltrip.com guides enthusiasts and professionals in choosing right tools for any job. I provide concise top tool reviews for easier, efficient DIY.
