
Joining concrete slabs together is an essential process in construction. Whether you’re building a new structure or repairing an existing one, you may need to join two concrete slabs together. This process can be challenging, but it’s necessary to ensure the stability and longevity of the structure.
Understanding concrete slabs is crucial before joining them. Concrete slabs are typically used for floors, walls, and ceilings in residential and commercial buildings. They are also used in outdoor spaces such as patios and driveways. Concrete is a durable and long-lasting material, but it’s prone to cracking and shifting over time. Therefore, joining concrete slabs together requires careful planning and execution to prevent future damage.
To effectively join concrete and metal slabs, you will find these products helpful:
Key Takeaways on Joining Concrete Slabs Together
- Understanding the types of joints in concrete is crucial for joining concrete slabs together.
- Proper preparation is necessary to ensure a successful process of joining concrete slabs together.
- Hiring a professional contractor can help ensure a safe and effective process of joining concrete slabs together.
Understanding Concrete Slabs
Concrete slabs are a popular choice for flooring, sidewalks, driveways, and other outdoor surfaces because of their high compressive strength and durability. They are made by pouring a mixture of cement, sand, and water into a form and allowing it to dry and harden.
One important thing to keep in mind when working with concrete is that it shrinks as it dries. This can cause cracks to form, which can be unsightly and even dangerous if they are large enough. To prevent this, it is important to include joints in the slab that allow it to expand and contract without cracking.
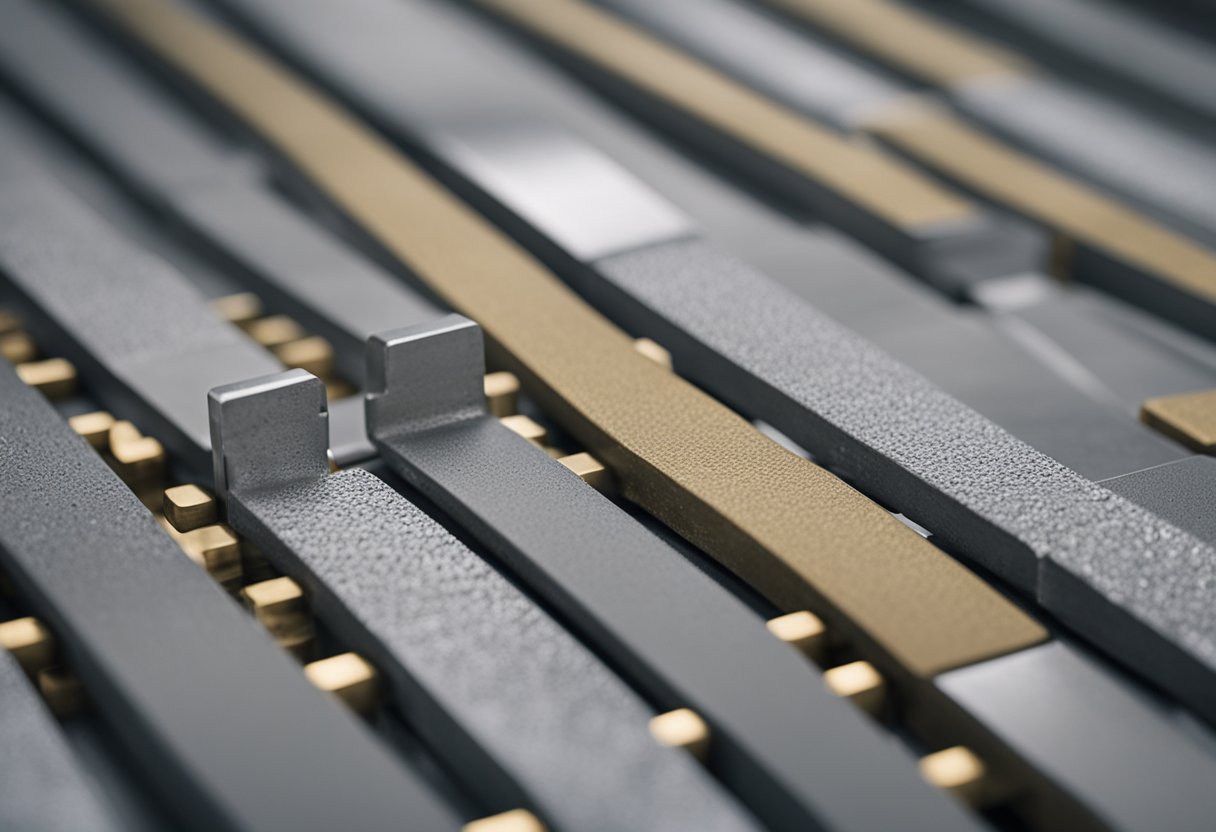
There are several types of joints that can be used in concrete slabs, including isolation joints, construction joints, and control joints. Isolation joints are used to separate the slab from other structures, while construction joints are used to join two separate pours of concrete together. Control joints, on the other hand, are used to control where the slab will crack.
It is also important to consider the compressive strength of the concrete when joining two slabs together. If the strength of the new concrete is significantly different from that of the old concrete, it can cause problems with cracking or even structural failure. To avoid this, it is important to use a concrete mix with a compressive strength that is similar to that of the existing slab.
Overall, understanding the properties of concrete and the importance of joints is essential when working with concrete slabs. Properly joining two slabs together requires careful planning and attention to detail, but with the right techniques and materials, it can be done successfully.
Types of Joints in Concrete
As a concrete contractor, I know that joining concrete slabs together is a crucial aspect of any construction project. Joints are used to prevent the development of cracks in concrete slabs and pavements. There are different types of joints in concrete, each with a specific purpose. In this section, I will discuss the different types of joints in concrete.
Expansion Joints
Expansion joints are used to allow for the expansion of concrete due to temperature changes. Concrete expands and contracts with changes in temperature, and expansion joints are used to accommodate this movement. These joints are typically placed at regular intervals and are filled with a flexible material that allows for movement.
Contraction Joints
Contraction joints, also known as control joints, are used to create a weakened plane in the concrete. This weakened plane allows the concrete to crack in a controlled manner, preventing uncontrolled cracking. Contraction joints are typically placed at regular intervals and are filled with a flexible material that allows for movement.
Construction Joints
Construction joints are used to join two concrete slabs together. These joints are typically created when pouring the concrete in sections. The joint is created by forming a vertical plane in the concrete and then pouring the second section of concrete against it. The joint is then filled with a flexible material that allows for movement.
Isolation Joints
Isolation joints are used to separate the concrete from other materials, such as walls or columns. These joints are typically created by placing a material, such as asphalt or foam, between the concrete and the other material. This allows for movement between the two materials without causing damage.
Control Joints
Control joints are similar to contraction joints in that they are used to create a weakened plane in the concrete. However, control joints are typically used in larger slabs of concrete, such as parking lots or airport runways. These joints are placed at regular intervals and are filled with a flexible material that allows for movement.
In conclusion, understanding the different types of joints in concrete is crucial for any construction project. Each type of joint serves a specific purpose and must be placed correctly to prevent the development of cracks in concrete slabs and pavements. As a concrete contractor, I have extensive experience in creating and placing joints in concrete to ensure the longevity and durability of the structure.
Best Gel for filling and repairing cracks in concrete

- Two-part epoxy adhesive paste to fill and repair cracks in concrete, and to anchor threaded rods, bolts, and dowels into concrete, grout-filled block, and unreinforced masonry
- High-tack paste resists moisture for application in damp environments and can be used in vertical applications
- Can be used in indoor and outdoor applications with an application temperature range from 35 to 115 degrees F and a service temperature range from -20 to +115 degrees F
- Provides work time of 20 minutes and cure time of 4 hours (at 75 degrees F)
- Meets ASTM C881-99
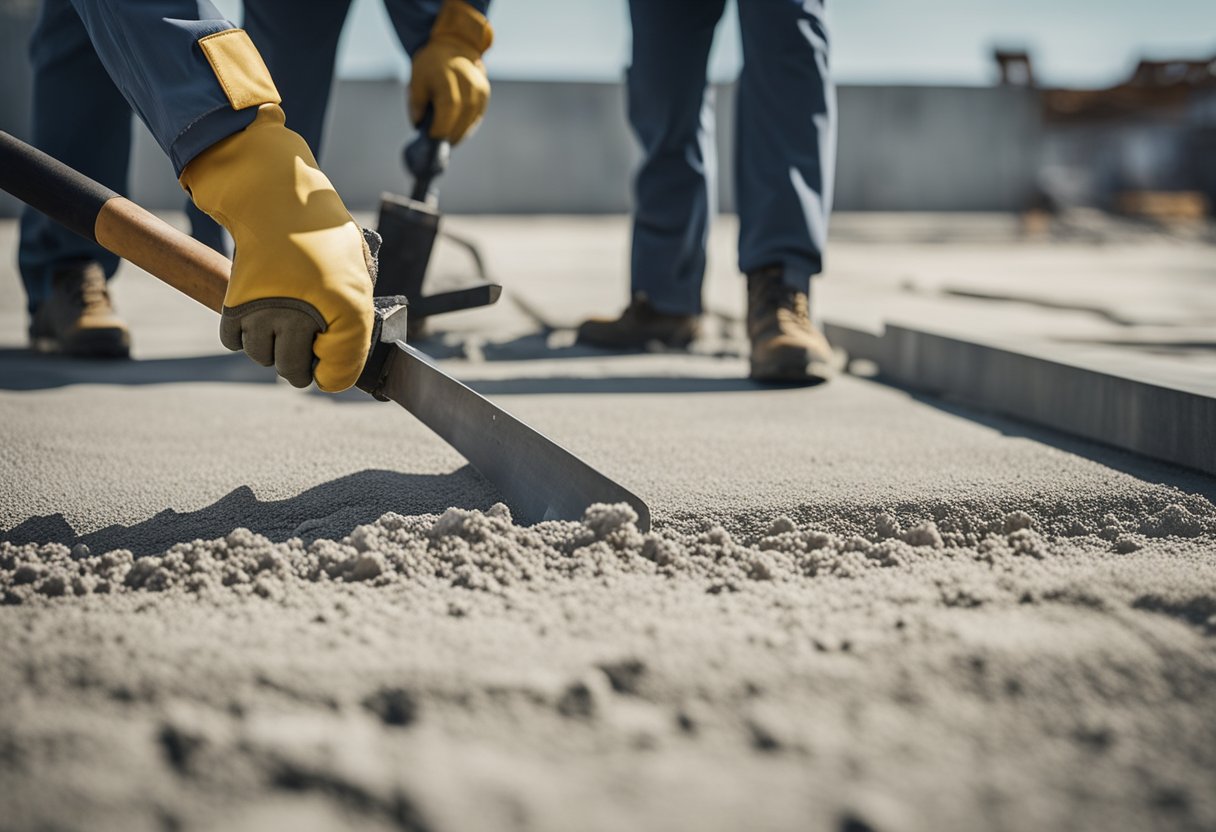
Preparing for Joining Concrete Slabs
Before joining concrete slabs together, it is important to properly prepare the surface and ensure that the new concrete will bond well with the old concrete. Here are some steps to follow to prepare for joining concrete slabs:
-
Clean the surface: First, clean the surface of the existing slab thoroughly to remove any dirt, debris, or loose material. This can be done using a pressure washer, a wire brush, or a broom.
-
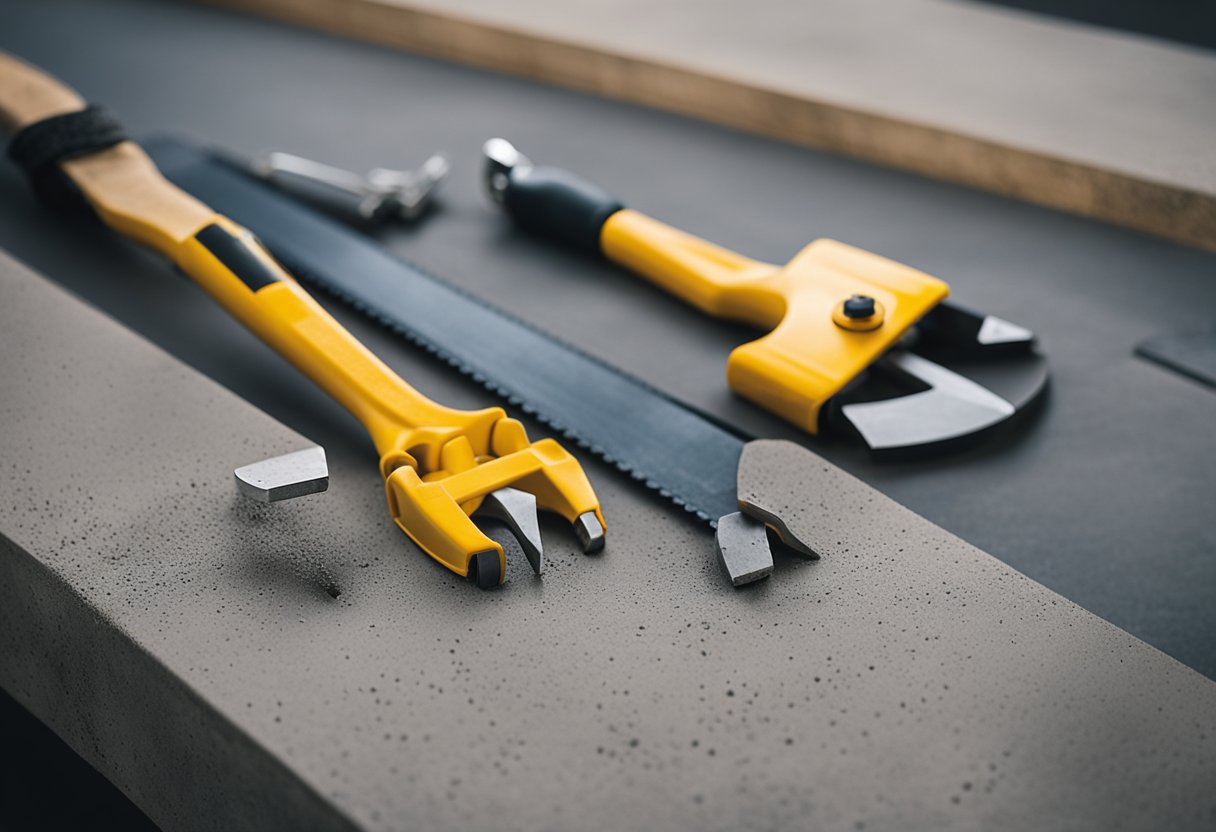
Create a rough edge: Next, create a rough edge along the perimeter of the existing slab where the new concrete will be poured. This can be done using a hammer drill or a chisel to remove a small section of the edge of the existing slab.
-
Install rebar dowels: To ensure a strong bond between the old and new concrete, rebar dowels should be installed into the existing slab. These dowels should be spaced about 12 inches apart and should extend about 6 inches into the existing slab.
-
Install chairs: Chairs can be used to hold the rebar in place while the new concrete is poured. These chairs should be placed about 3 feet apart along the length of the slab.
-
Pour the footing: Before pouring the new concrete, a footing should be poured along the edge of the existing slab. This will provide a solid base for the new concrete and help prevent cracking.
-
Consult a structural engineer: If you are unsure about the strength or stability of the existing slab, it is recommended that you consult a structural engineer before proceeding with the joining process. They can help ensure that the new concrete will be properly supported and will not cause any damage to the existing structure.
By following these steps, you can help ensure that your new concrete will bond well with the existing slab and provide a strong, durable surface for years to come.
Process of Joining Concrete Slabs
When joining concrete slabs, it is important to ensure that the new concrete properly adheres to the existing slabs. The following is a step-by-step process for joining concrete slabs:
-
Drilling: First, use a hammer drill to create holes in the existing slab where the new concrete will be poured. These holes should be deep enough to accommodate rebar dowels, which will help to anchor the new concrete to the existing slab.
-
Placing Rebar Dowels: Next, place rebar dowels into the holes that were drilled in the existing slab. These dowels should be spaced according to the project plans, which will ensure that the new concrete is properly anchored to the existing slab.
-
Preparing the New Concrete: Before pouring the new concrete, it is important to prepare the surface of the existing slab. This can be done by cleaning the surface thoroughly and applying a concrete epoxy, which will help the new concrete to properly adhere to the existing slab.
-
Pouring the New Concrete: Once the surface of the existing slab has been prepared, pour the new concrete into the space between the existing slabs. Make sure that the new concrete is level and smooth, and that it properly covers the rebar dowels that were placed in the existing slab.
-
Finishing the Surface: After the new concrete has been poured, it is important to finish the surface to ensure that it is level and smooth. This can be done by using a trowel to smooth out any rough spots or bumps in the surface of the new concrete.
-
Allowing the Concrete to Cure: Finally, allow the concrete to cure for at least 24-48 hours before walking or driving on it. This will ensure that the new concrete properly adheres to the existing slab and that it is strong enough to support the weight of foot traffic or vehicles.
By following these steps, you can ensure that your concrete slabs are properly joined and that the new concrete adheres securely to the existing slab.
Most versatile epoxy For Concrete and Metal Projects

- For Concrete and Metal Projects: Permanent, high-strength bond works great on railings, awnings, posts, brick, concrete and cinderblock without conducting electricity
- Fast and Professional: High-strength epoxy sets in just 5 to 12 minutes to a metallic grey finish to blend with metal and concrete
- Two-Part Adhesive: Convenient double syringe applicator dispenses equal parts epoxy resin and hardener for a tough, rigid, high-strength bond
- Resilient: Does not shrink and is resistant to humidity and water, most common solvents, and has high impact resistance and can be sanded, drilled, and painted
- Multi-Purpose: Versatile epoxy can be used as an adhesive for a wide range of materials like tile, wood, metal, ceramic, and glass or as a filler for gap filling, surface repairs and laminating
Dealing with Cracks and Stresses
As a concrete slab ages, it is natural for it to develop cracks. These can be caused by a variety of factors, including shrinkage, settlement, temperature changes, and applied loads. However, cracks can be controlled by using joints.
Joints are planned breaks in concrete that allow for movement and help to prevent uncontrolled cracking. There are different types of joints that can be used, including contraction joints, construction joints, and expansion joints. The type of joint used will depend on the specific project requirements.
In addition to using joints, epoxy can also be used to repair cracks in concrete slabs. Epoxy is a two-part adhesive that is mixed together and applied to the crack. Once the epoxy has cured, it forms a strong bond that helps to prevent further cracking.
It is important to note that epoxy should only be used for cracks that are less than 1/8 inch wide. For wider cracks, a concrete epoxy can be used. Concrete epoxy is a two-part system that is mixed together and poured into the crack. Once the epoxy has cured, it forms a strong bond that helps to prevent further cracking.
Stresses can also be a concern when joining concrete slabs together. To help reduce stresses, it is important to ensure that the joint layout divides the slab into relatively small, square-shaped panels. Avoid long and narrow panels, as these can lead to increased stresses.
In summary, controlling cracks and stresses in concrete slabs is important for ensuring the longevity of the slab. Joints can be used to control cracking, while epoxy can be used to repair cracks. By following best practices for joint layout and panel shape, stresses can be reduced and the life of the slab can be extended.
Climate Considerations for Joining Slabs
When joining two concrete slabs together, it is important to consider the climate of the region where the slabs are located. Climate affects the expansion and contraction of concrete, which can cause cracks and damage to the slabs if not properly accounted for.
In regions with extreme temperature fluctuations, such as areas with hot summers and cold winters, it is important to use expansion joints when joining the slabs. Expansion joints allow the concrete to expand and contract without causing damage to the slabs. These joints can be made of materials such as rubber or foam and should be placed every 10 to 15 feet along the length of the slab.
In addition to expansion joints, it is also important to properly insulate the ground beneath the slabs to prevent frost heave. Frost heave occurs when the ground beneath the slab freezes and expands, causing the slab to lift and crack. Insulation can be achieved by placing a layer of rigid foam insulation beneath the slab.
In areas with high moisture levels, such as coastal regions or areas with high rainfall, it is important to use a waterproofing membrane when joining the slabs. This membrane will prevent water from seeping into the joints and causing damage to the slabs.
Overall, climate considerations are an important factor to consider when joining two concrete slabs together. By properly accounting for expansion and contraction, insulating the ground, and using waterproofing membranes, you can ensure that your slabs will remain strong and durable for years to come.
Best Syringe to help when joining concrete slabs together
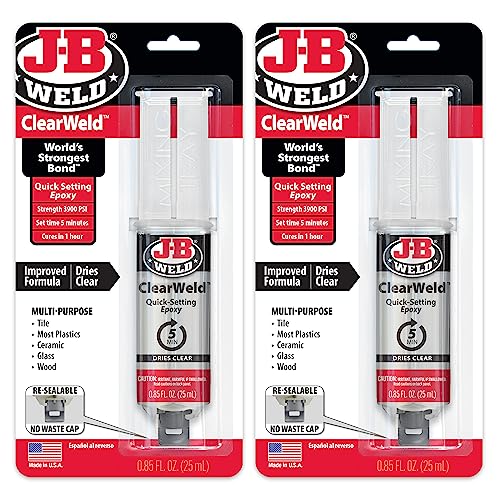
- J-B Weld ClearWeld: A clear, quick setting and multipurpose two part epoxy that provides a strong and lasting bond on surfaces including metal, tile, most plastics, ceramic, glass, wood and more. J-B Weld ClearWeld comes in a syringe allowing for an easy 1:1 mix ratio. The unique syringe has a re-sealable cap that prevents drying out and leaking, allowing for multiple uses
- Cure and Set Time: After mixing the two part formula with the included mixing tray and stir stick, ClearWeld takes 5 minutes to set and 1 hour to cure. J-B Weld ClearWeld set and cure color is clear.
- Strength: J-B Weld ClearWeld has tensile strength of 3900 PSI.
- Surface Applications: Metal, Most Plastics, PVC, Wood, Concrete, Ceramic & Tile, Fiberglass and Glass.
- Do it Yourself: Big or small, you can DIY it with J-B Weld. Our heavy duty epoxy and adhesives repair & restore it right the first time. J-B Weld delivers superior performance, quality, and results for the World’s Strongest Bond.
Hiring a Professional Contractor

When it comes to joining concrete slabs together, hiring a professional contractor can make a big difference. Not only do they have the necessary experience and expertise to get the job done right, but they also have access to specialized equipment and materials that can help ensure a successful outcome.
When looking for a contractor, there are a few things to keep in mind. First and foremost, you want to make sure that they have a solid reputation in the industry. This can be done by checking online reviews, asking for references, and looking at their portfolio of past work.
Another important consideration is their level of experience. You want to work with someone who has a proven track record of successfully joining concrete slabs together. This can help ensure that they have the necessary skills and knowledge to handle your project.
In addition to experience, you also want to make sure that the contractor is properly licensed and insured. This can help protect you in the event that something goes wrong during the project.
Finally, it’s important to discuss the scope of the project with the contractor before work begins. This can help ensure that everyone is on the same page and that there are no surprises down the line. Be sure to ask about their process for joining concrete slabs together, as well as any potential challenges or complications that may arise.
Overall, hiring a professional contractor can be a smart investment when it comes to joining concrete slabs together. With the right contractor on your side, you can rest assured that your project will be completed to the highest standards of quality and safety.
Frequently Asked Questions
What is the proper way to join two concrete slabs together?
The proper way to join two concrete slabs together is to use dowels and epoxy. First, consult your project plans to determine the spacing of the rebar that was placed in the first slab and the spacing of the rebar that is to be placed in the second slab. Measure and mark the side of the concrete where the two slabs will be joined with points where you will need to drill and epoxy splice dowels. Once the holes are drilled, clean them out and insert the dowels. Finally, apply the epoxy and place the second slab on top of the dowels.
How do I extend an existing concrete slab?
To extend an existing concrete slab, you will need to prepare the area where the extension will be added. This includes removing any grass, dirt, or debris and ensuring that the ground is level. Next, create a form to hold the concrete in place while it dries. Once the form is in place, add rebar and pour the concrete into the form. Allow the concrete to dry completely before removing the form.
What is the process for laying rebar for a concrete driveway?
The process for laying rebar for a concrete driveway involves creating a grid of rebar that will reinforce the concrete and prevent cracking. First, determine the spacing of the rebar based on the thickness of the concrete and the load it will need to bear. Next, cut the rebar to size and lay it out in a grid pattern. Finally, tie the rebar together using wire and secure it in place using rebar chairs or blocks.
What are the steps to prepare the ground for a concrete slab?
The first step in preparing the ground for a concrete slab is to remove any grass, dirt, or debris from the area where the slab will be poured. Next, level the ground and create a form to hold the concrete in place while it dries. Once the form is in place, add a layer of gravel or crushed stone to create a stable base for the concrete. Finally, add rebar to reinforce the concrete and prevent cracking.
How do I dowel rebar into existing concrete?
To dowel rebar into existing concrete, first drill a hole into the existing concrete where the dowel will be placed. Clean out the hole and insert the dowel, making sure it is flush with the surface of the concrete. Finally, apply epoxy to the hole and around the dowel to secure it in place.
What is the purpose of a concrete expansion joint?
The purpose of a concrete expansion joint is to allow the concrete to expand and contract with changes in temperature and humidity without cracking. Expansion joints are typically made of a compressible material, such as foam or rubber, and are placed between concrete slabs or sections. They allow the concrete to move without putting stress on the surrounding structure.
To effectively join concrete and metal slabs, you will find these products helpful:

Hi, I’m Sal Muller of Tooltrip.com. My DIY experience led me to understand essential power tools for home projects. Tooltrip.com guides enthusiasts and professionals in choosing right tools for any job. I provide concise top tool reviews for easier, efficient DIY.
