
Applying polyurethane over tacky stain can be a tricky process. It requires patience, attention to detail, and a thorough understanding of the materials and techniques involved. Polyurethane is a popular choice for sealing and protecting wood surfaces, but it can be difficult to apply over a stain that hasn’t fully dried. In this article, I will share my experience and knowledge on how to apply polyurethane over tacky stain to achieve a beautiful and durable finish.
Understanding the properties of polyurethane and tacky stain is essential to achieving a successful finish. Polyurethane is a clear, protective coating that provides a hard, durable finish. It is commonly used to protect wood surfaces from water, UV rays, and general wear and tear. Tacky stain, on the other hand, is a stain that has not fully dried and is still sticky to the touch. Applying polyurethane over tacky stain can result in an uneven finish, peeling, and other issues. By following the proper preparation, application, and safety measures, you can achieve a smooth and durable finish.
Key Takeaways
- Proper preparation of the wood surface is essential for achieving a successful finish.
- Factors such as humidity, temperature, and ventilation can affect the drying time of the stain.
- Applying polyurethane over tacky stain can result in an uneven, blotchy appearance and a weak, brittle finish that is more prone to damage.
Understanding Polyurethane and Tacky Stain
https://www.youtube.com/watch?v=SgCy4ozVuWg&embed=true
When it comes to finishing wood, polyurethane is a popular choice due to its durability and resistance to water and chemicals. However, applying polyurethane over tacky stain can be a tricky process. In this section, I will explain what polyurethane is and why it is important to let the stain dry completely before applying it.
Polyurethane is a type of varnish that is commonly used to protect wood surfaces. It is available in both oil-based and water-based formulations. Oil-based polyurethane is more durable and provides a richer finish, while water-based polyurethane dries faster and has a lower odor.
Tacky stain, on the other hand, refers to a stain that has not fully dried or cured. This can occur when too much stain is applied or if the stain is applied in humid conditions. Tacky stain can also be caused by using an oil-based stain over a water-based stain, or vice versa.
When polyurethane is applied over tacky stain, it is unable to bond effectively with the stain. This can result in an uneven, blotchy appearance and a weak, brittle finish that is more prone to damage. It is important to let the stain dry completely before applying polyurethane over it.
It is also important to note that not all stains are created equal. Gel stains, for example, are thicker and have a longer drying time than oil-based or water-based stains. It is important to follow the manufacturer’s instructions for the specific stain being used to ensure it is fully cured before applying polyurethane.
In summary, polyurethane is a popular choice for protecting wood surfaces, but it is important to let the stain dry completely before applying it. Tacky stain can result in an uneven finish and weak, brittle coating. It is important to follow the manufacturer’s instructions for the specific stain being used and to ensure it is fully cured before applying polyurethane.
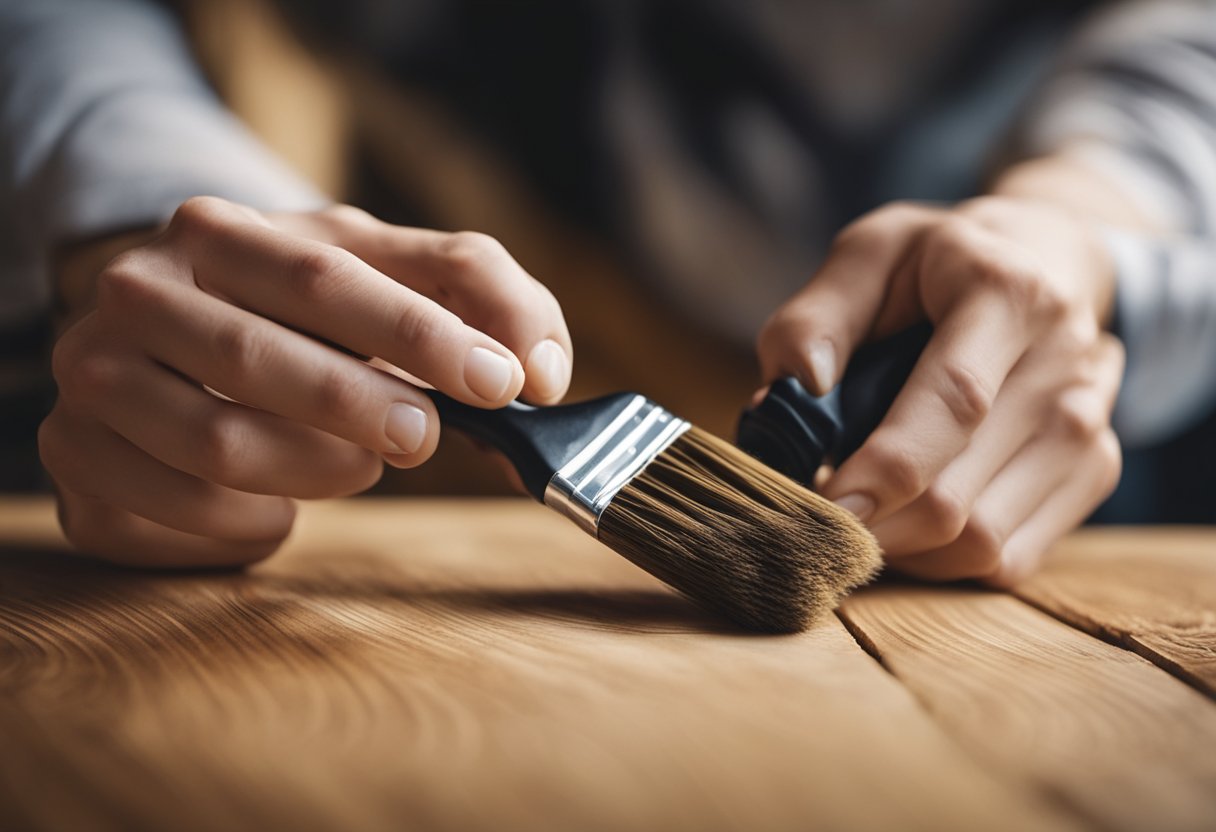
Preparation of Wood Surface
Before applying polyurethane over tacky stain, it is important to properly prepare the wood surface. This will ensure that the polyurethane adheres well and provides a smooth, even finish. Here are the steps I take to prepare the wood surface:
-
Clean the surface: I start by cleaning the wood surface with a shop vacuum to remove any dust or debris. This is important because any particles left on the surface can affect the adhesion of the polyurethane.
-
Sand the surface: Next, I sand the wood surface with sandpaper. The type of sandpaper I use depends on the condition of the surface. If the surface is rough or has deep scratches, I start with a coarse-grit sandpaper and gradually move to a finer-grit sandpaper. This helps to smooth out the surface and remove any imperfections.
-
Sand in the direction of the wood grain: When sanding, it is important to sand in the direction of the wood grain. This helps to prevent any scratches or marks on the surface that can be visible after applying the polyurethane.
-
Clean the surface again: Once I have finished sanding, I clean the surface again with a shop vacuum. This removes any dust or debris that may have been created during the sanding process.
By properly preparing the wood surface, I can ensure that the polyurethane adheres well and provides a smooth, even finish.
Factors Affecting Stain Drying
https://www.youtube.com/watch?v=DHGzH_vpkHs&embed=true
When it comes to applying polyurethane over tacky stain, one of the most critical factors to consider is the drying time of the stain. If the stain is not dry, applying polyurethane over it can lead to a weak, brittle finish that is more prone to damage. There are several factors that can affect the drying time of stain, including:
Humidity Levels
Humidity levels can play a significant role in how quickly stain dries. High humidity levels can slow down the drying process, while low humidity levels can speed it up. If you’re working in a particularly humid environment, you may need to wait longer for the stain to dry before applying polyurethane.
Temperature
Temperature can also impact how quickly stain dries. Generally, warmer temperatures will help the stain dry faster, while colder temperatures will slow it down. If you’re working in a cold environment, you may need to wait longer for the stain to dry.
Moisture
Moisture in the wood can also affect how quickly stain dries. If the wood is damp or has a high moisture content, it may take longer for the stain to dry. It’s essential to ensure that the wood is dry before applying stain to ensure that it dries properly.
Environmental Conditions
Other environmental conditions can also impact how quickly stain dries. For example, if you’re working in a dusty or dirty environment, the dust and debris can settle on the wet stain and slow down the drying process. It’s important to work in a clean, dry environment to ensure that the stain dries correctly.
Dehumidifier
If you’re working in a particularly humid environment, you may want to consider using a dehumidifier to help speed up the drying process. A dehumidifier can help remove excess moisture from the air, which can help the stain dry faster.
Overall, it’s essential to consider these factors when applying polyurethane over tacky stain. By ensuring that the stain is dry and that you’re working in the right environmental conditions, you can help ensure that the polyurethane adheres correctly and provides a strong, durable finish.
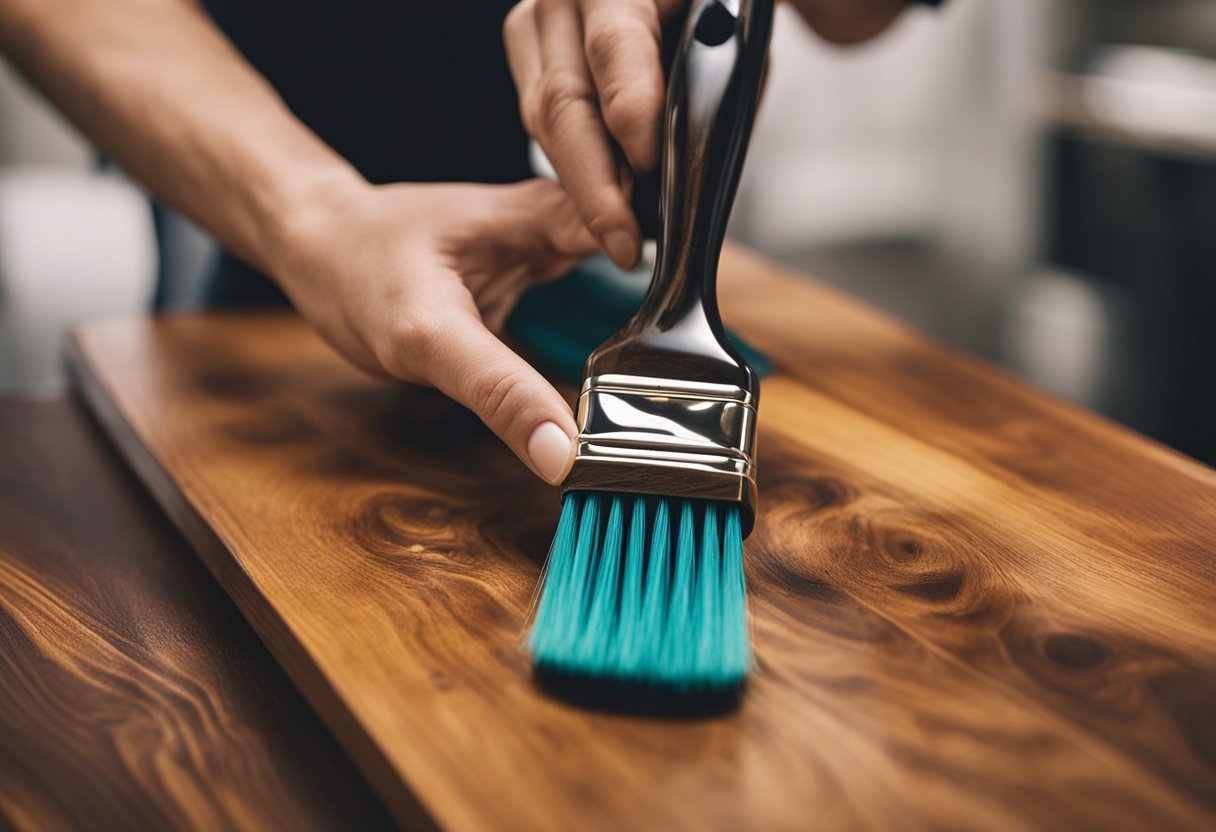
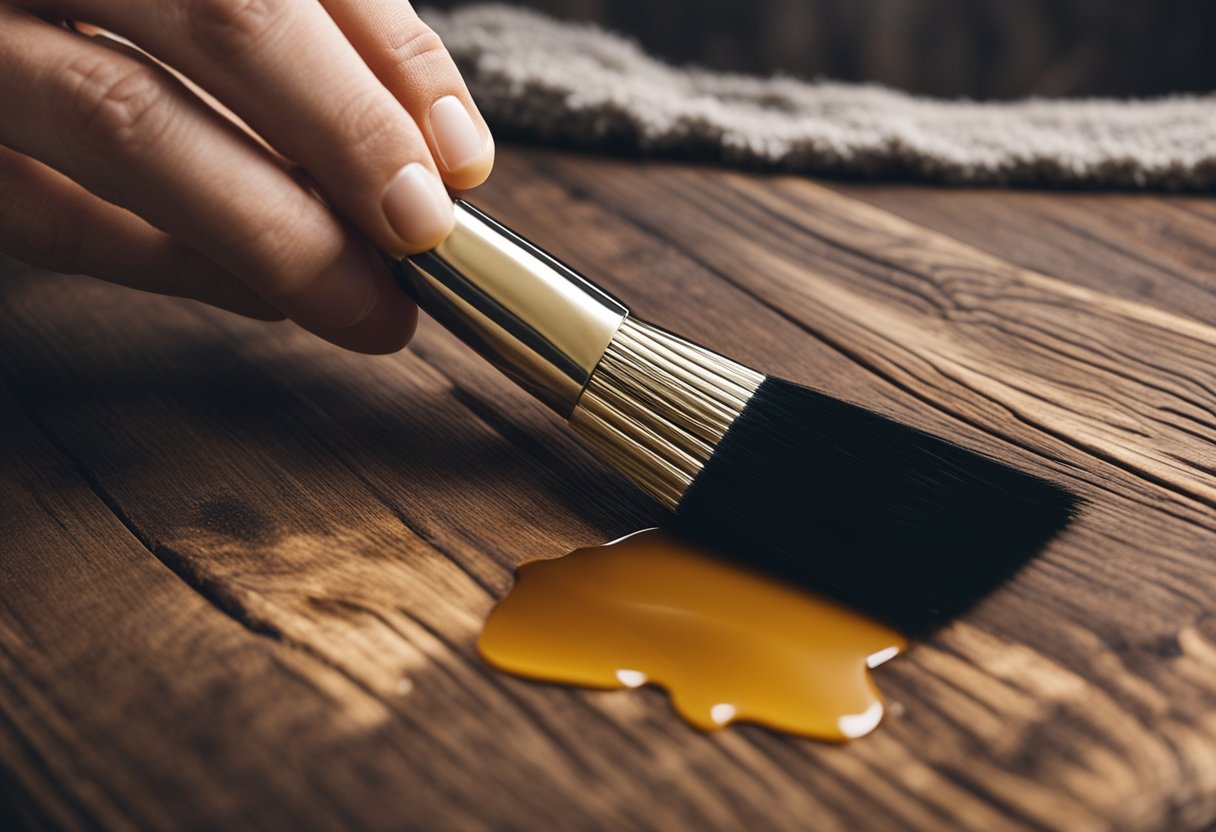
Proper Application of Stain and Polyurethane
https://www.youtube.com/watch?v=WEW4QWWwBPE&embed=true
As a woodworking enthusiast, I have learned that proper application of stain and polyurethane is critical to achieving a flawless finish. Here are some tips that I have found helpful when applying polyurethane over tacky stain.
Use a Natural Bristle Brush
When applying polyurethane over tacky stain, it is important to use a natural bristle brush. Synthetic brushes can leave brush marks and affect the final finish. A natural bristle brush will help to evenly distribute the polyurethane and create a smooth finish.
Stir the Polyurethane
Before applying the polyurethane, it is essential to stir it thoroughly. This will ensure that the polyurethane is evenly mixed and ready for application. It is also important to stir the polyurethane frequently during the application process to maintain consistency.
Apply in a Circular Motion
When applying polyurethane over tacky stain, it is best to apply it in a circular motion. This will help to avoid brush marks and ensure even coverage. It is also important to maintain a “wet edge” while applying the polyurethane to prevent lap marks.
Apply a Top Coat
After applying the first coat of polyurethane, it is best to wait for it to dry completely before applying a second coat. Once the second coat is applied, it is recommended to wait 24 hours before applying a top coat. A top coat will provide additional protection and enhance the final finish.
In conclusion, applying polyurethane over tacky stain requires careful attention to detail and proper technique. By following these tips, you can achieve a flawless finish that will make your woodworking project stand out.
Troubleshooting Common Issues
https://www.youtube.com/watch?v=nxwMmjg4kIY&embed=true
When applying polyurethane over tacky stain, there are a few common issues that may arise. Here are some troubleshooting tips to help you achieve a smooth and flawless finish:
Uneven or Blotchy Appearance
If your polyurethane finish looks uneven or blotchy, it may be due to the tacky stain underneath. To avoid this issue, make sure the stain is completely dry before applying polyurethane. If the stain is still tacky, the polyurethane will not adhere properly and may result in an uneven finish.
Air Bubbles or Drips
Air bubbles and drips can occur when applying polyurethane over tacky stain. To prevent this, make sure to apply the polyurethane in thin, even coats. If you notice air bubbles or drips forming, use a foam brush or roller to smooth them out before the polyurethane dries.
Patches or Flaws
If you notice patches or flaws in your polyurethane finish, it may be due to uneven application. To avoid this issue, make sure to apply the polyurethane in the direction of the wood grain and use long, even strokes. If you do notice patches or flaws, lightly sand the affected area and apply another coat of polyurethane.
In conclusion, applying polyurethane over tacky stain can be a tricky process, but with proper preparation and application techniques, you can achieve a flawless finish. Remember to allow the stain to dry completely before applying polyurethane, apply thin, even coats, and use long, even strokes in the direction of the wood grain.
Safety Measures and Ventilation

As a professional woodworker, I understand the importance of taking safety measures when applying polyurethane over tacky stain. Polyurethane is a strong and durable finish that requires proper ventilation to avoid inhaling the fumes. Therefore, I always ensure that I work in a well-ventilated area to avoid any respiratory problems.
Polyurethane contains volatile organic compounds (VOCs) that are harmful to human health. When inhaled, these fumes can cause dizziness, headaches, and nausea. Therefore, I recommend wearing a respirator to protect yourself from the harmful fumes.
Furthermore, it’s essential to let the stain dry completely before applying polyurethane. This ensures that the polyurethane adheres properly to the wood surface. Applying polyurethane over tacky stain can result in an uneven finish and weak resistance to damage.
In conclusion, proper ventilation and safety measures are crucial when applying polyurethane over tacky stain. Always work in a well-ventilated area, wear a respirator, and allow the stain to dry completely before applying polyurethane. This ensures a smooth and durable finish that is resistant to damage.
Final Touches and Finishing
https://www.youtube.com/watch?v=MN-6kKnnOcE&embed=true
Now that the polyurethane coat has been applied, it’s time to finish the project with a smooth, even finish. The key to a successful wood finishing project is to ensure that the surface is level and free of any bumps or blemishes.
To achieve this, I recommend using a fine-grit sandpaper to lightly sand the surface of the polyurethane coat. This will remove any bumps or bubbles that may have formed during the application process and will also help to smooth out the surface. Be sure to wipe away any dust or debris with a clean cloth before proceeding to the next step.
Next, it’s time to apply a second coat of polyurethane finish. This will help to seal the surface and provide an added layer of protection against scratches and dents. I recommend waiting at least 24 hours before applying the second coat to ensure that the first coat has fully dried and cured.
When applying the second coat, use the same technique as before, making sure to apply the polyurethane in thin, even coats. This will help to prevent any bubbles or bumps from forming and will ensure a smooth, even finish.
Once the second coat has been applied, allow it to dry and cure for at least 24 hours before using the furniture or surface. This will ensure that the polyurethane has fully cured and will provide the best protection against wear and tear.
In conclusion, applying a polyurethane sealant or coating over a tacky stain is not recommended. However, if you do find yourself in this situation, it’s important to follow the proper steps to ensure a smooth and even finish. By using the right tools and techniques, you can achieve a professional-looking finish that will protect your furniture or woodworking project for years to come.
Post Application Care
After applying polyurethane over tacky stain, it is important to take proper care to ensure that the coating adheres well and dries completely. Here are some tips to follow to ensure the best possible outcome:
-
Allow the stain to dry completely before applying polyurethane. If the stain is still tacky, the polyurethane will not adhere properly and may peel off. Depending on the type of stain used, it may take anywhere from a few hours to several days to dry completely. Check the manufacturer’s instructions for specific drying times.
-
Once the stain is completely dry, apply a thin coat of polyurethane using a high-quality brush or foam applicator. Be sure to follow the manufacturer’s instructions for application and drying times.
-
After the first coat of polyurethane has dried, lightly sand the surface with fine-grit sandpaper. This will help the next coat adhere better and create a smoother finish.
-
Apply additional coats of polyurethane as needed, sanding lightly between each coat. The number of coats needed will depend on the desired level of protection and sheen.
-
Allow the final coat of polyurethane to cure completely before using the surface. Curing times can vary depending on the type of polyurethane used, but typically range from 24 to 72 hours. During this time, avoid exposing the surface to water or other liquids, which can cause water damage or affect the curing process.
-
If using a stain that contains linseed oil, be aware that it may take longer to dry and cure than other types of stains. Additionally, linseed oil can affect the adhesion of polyurethane, so be sure to follow the manufacturer’s instructions carefully.
By following these post-application care tips, you can ensure that your polyurethane coating adheres well and provides the protection and sheen you desire.
Conclusion
In conclusion, applying polyurethane over tacky stain is not recommended. The polyurethane will not adhere properly to the tacky stain, resulting in an uneven and weak finish that is more prone to damage. It is important to let the stain dry completely before applying polyurethane over it.
If you have already applied polyurethane over tacky stain, you may need to remove the entire finish and start over. This can be a time-consuming and frustrating process, but it is necessary to achieve a high-quality finish.
To avoid the need for this extra work, it is important to follow the manufacturer’s instructions for the stain and polyurethane products you are using. This includes allowing the stain to dry completely before applying polyurethane, using the recommended application tools, and following the recommended number of coats.
In addition, it is important to consider the environmental conditions when applying stain and polyurethane. High humidity and low temperatures can slow down the drying process, while high temperatures can cause the stain to dry too quickly, resulting in an uneven finish.
By following these guidelines and taking the time to properly prepare and apply your stain and polyurethane, you can achieve a beautiful and durable finish on your woodworking projects.
Frequently Asked Questions

Can you clear coat over a sticky stain?
No, you should not apply clear coat over a sticky stain. Clear coat, also known as polyurethane, will not bond properly with the sticky stain and can result in an uneven, blotchy appearance. It is important to wait until the stain is completely dry before applying clear coat.
How to fix a sticky wood stain?
If you have applied a wood stain and it has become sticky, the best solution is to wait for it to dry completely. You can speed up the drying process by increasing air circulation and lowering humidity. If the stain is still sticky after several days, you may need to remove it and start over.
How to gel stain over polyurethane?
Gel stain can be applied over polyurethane, but only if the polyurethane has been sanded to remove its shine and create a surface for the gel stain to adhere to. It is important to test the gel stain on a small, inconspicuous area first to ensure that it will bond properly with the polyurethane.
How to stain over polyurethane?
Staining over polyurethane is not recommended as the stain will not penetrate the surface and will result in an uneven finish. If you want to change the color of your polyurethane finish, it is best to remove the polyurethane first and then apply the new stain.
What happens if you put polyurethane on too soon?
If you apply polyurethane over a sticky or wet stain, it will not bond properly and can result in an uneven, blotchy appearance. Additionally, the finish may be weak and brittle, making it more prone to damage.
Will tacky polyurethane eventually dry?
Yes, tacky polyurethane will eventually dry, but it may take several days or even weeks depending on the humidity and temperature. It is important to wait until the polyurethane is completely dry before applying additional coats or using the finished product.

Hi, I’m Sal Muller of Tooltrip.com. My DIY experience led me to understand essential power tools for home projects. Tooltrip.com guides enthusiasts and professionals in choosing right tools for any job. I provide concise top tool reviews for easier, efficient DIY.
