
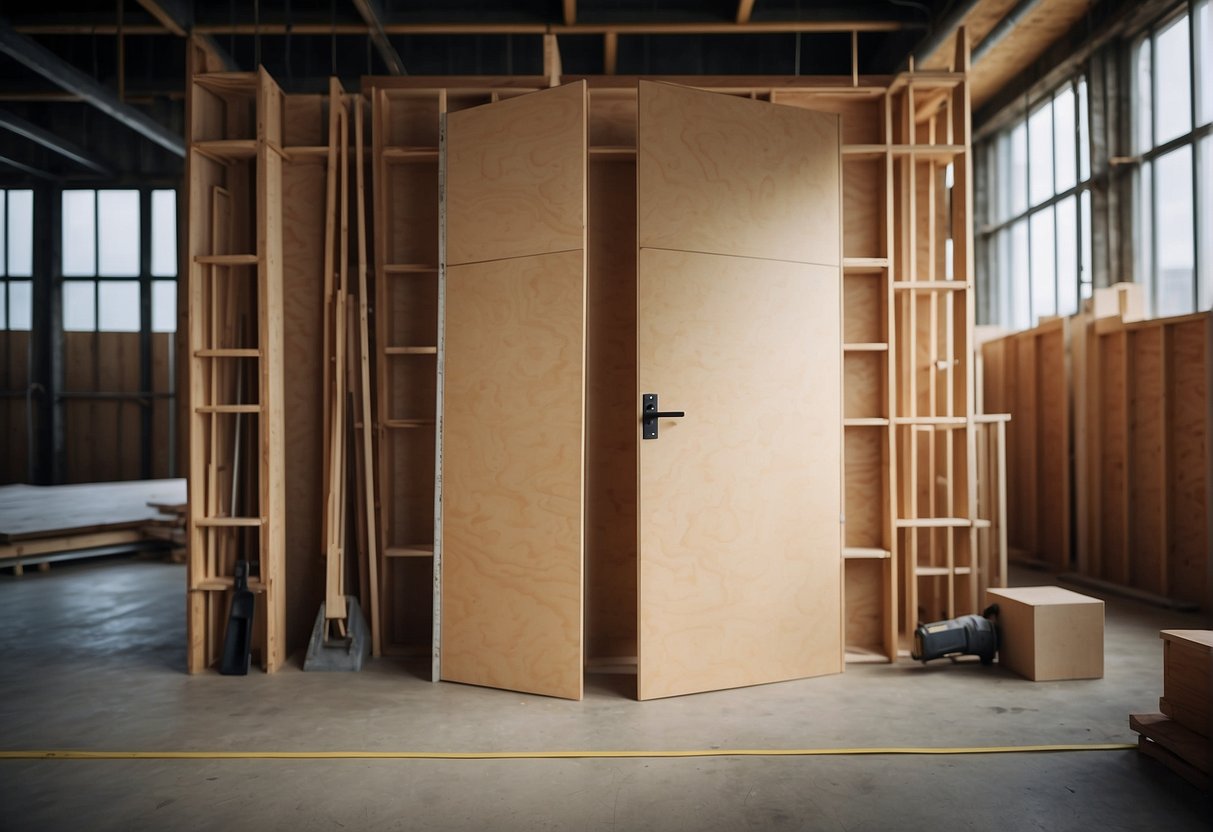
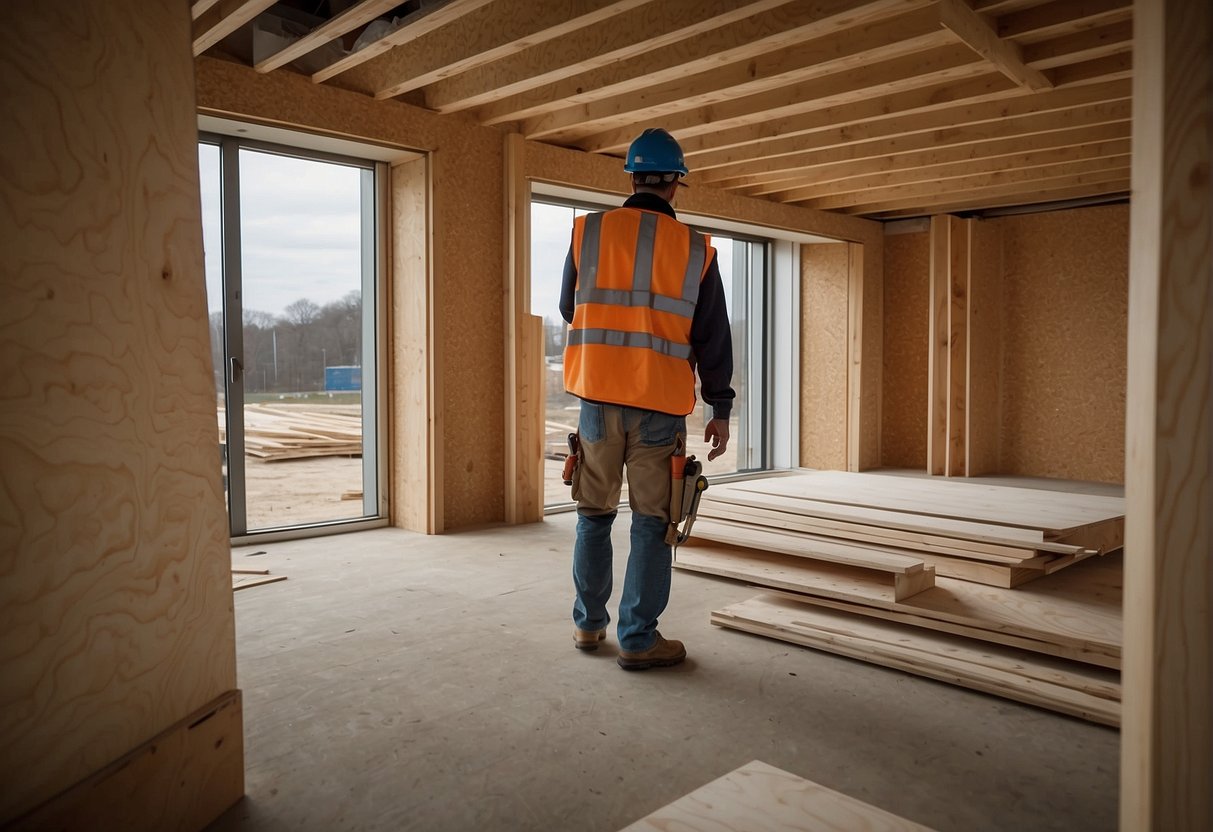
As a construction worker, I have come across several instances where a temporary door is required. Whether it’s to keep the dust and debris from spreading to other parts of the building or to secure the area from unauthorized access, temporary doors are a must-have. One of the most popular types of temporary doors is the plywood door. In this article, I will provide you with a step-by-step guide on how to construct and install a temporary plywood door.
Understanding Plywood Doors
Plywood doors are a popular choice for temporary doors due to their durability and affordability. Plywood is a type of engineered wood made by gluing together thin layers of wood veneers. It is known for its strength, stability, and resistance to warping and cracking. Plywood doors are easy to construct and can be used for a variety of purposes, including as temporary doors.
Preparing the Door Opening
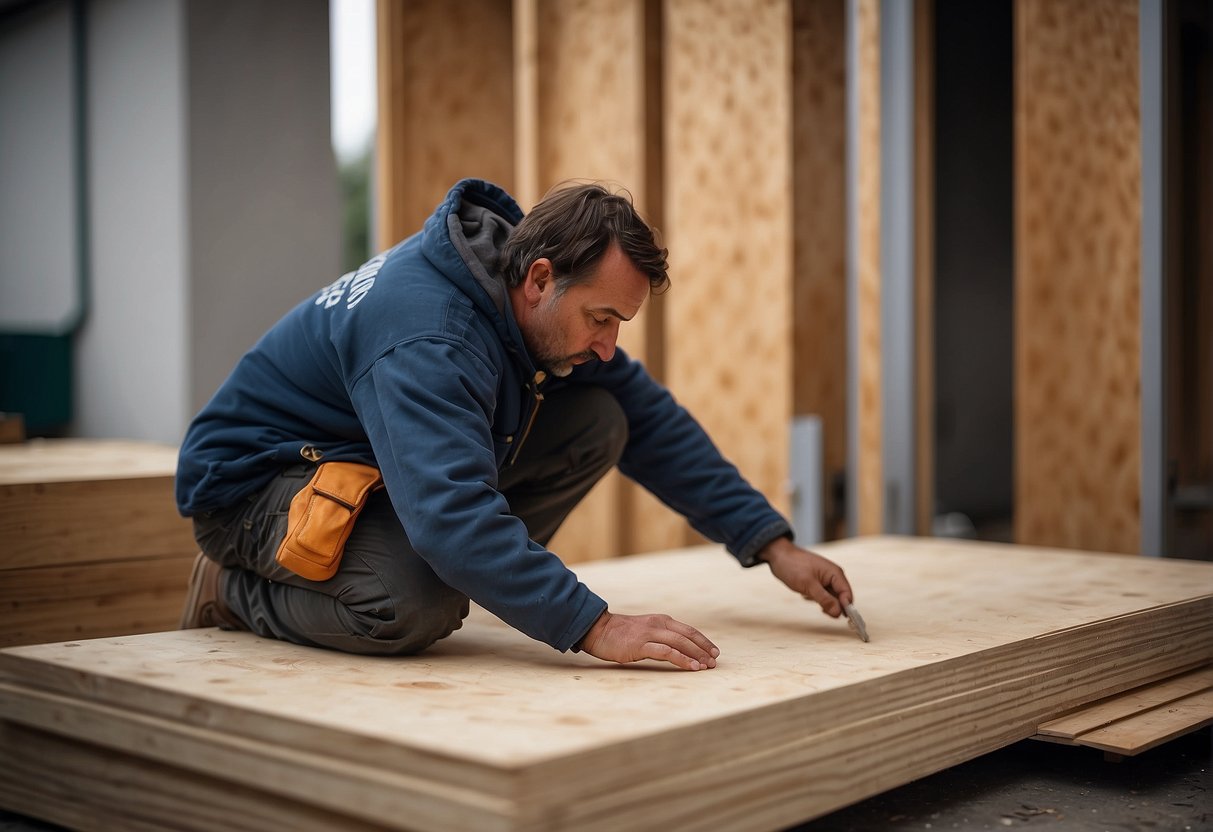
Before you start constructing the temporary plywood door, you need to prepare the door opening. This involves measuring the size of the opening and cutting the plywood sheets to fit. You will also need to drill holes in the plywood sheets for the handle and latch. Once you have prepared the door opening, you can start assembling the temporary plywood door.
Key Takeaways
- Plywood doors are a popular choice for temporary doors due to their durability and affordability.
- Before constructing a temporary plywood door, you need to prepare the door opening by measuring the size and cutting the plywood sheets to fit.
- Assembling and installing the temporary plywood door involves drilling holes for the handle and latch, positioning the plywood sheets, and securing them in place.
Understanding Plywood Doors
As a construction material, plywood is a versatile and widely-used option for various applications. One of the most common uses of plywood is for creating temporary doors. In this section, I will discuss the different types of plywood and the benefits of using it for temporary doors.
Types of Plywood
Plywood is made by bonding together thin layers of wood veneers using adhesives. The resulting material is strong and durable, making it ideal for construction purposes. There are different types of plywood available, each with its unique characteristics.
- Softwood Plywood: Made from softwood species like pine, spruce, and fir. It is lightweight and easy to work with, making it a popular choice for temporary doors.
- Hardwood Plywood: Made from hardwood species like oak, maple, and birch. It is more expensive than softwood plywood but is more durable and has a better finish.
- Exterior Plywood: This type of plywood is designed to withstand the elements and can be used for outdoor applications. It is made with waterproof adhesives and has a protective coating to prevent water damage.
- Interior Plywood: This type of plywood is used for indoor applications and is not designed to withstand moisture or weather exposure.
Benefits of Using Plywood
Plywood is a functional material that offers several benefits when used for temporary doors. Here are some of the benefits:
- Strength and Durability: Plywood is strong and durable, making it ideal for creating sturdy temporary doors that can withstand heavy use.
- Affordability: Plywood is an affordable material, making it a cost-effective option for temporary doors.
- Ease of Use: Plywood is easy to work with, making it a popular choice for DIY projects. It can be cut, drilled, and sanded to fit specific requirements.
- Versatility: Plywood can be used for various applications, including temporary doors, flooring, walls, and furniture.
In conclusion, plywood is a functional and versatile material that is ideal for creating temporary doors. Its strength, affordability, ease of use, and versatility make it a popular choice for construction projects.
Preparing the Door Opening
Before installing a temporary plywood door, it is important to properly prepare the door opening. This involves measuring the door opening and cutting the plywood to size.
Measuring the Door Opening
To measure the door opening, I first measure the height and width of the opening using a tape measure. It is important to measure both the height and width in multiple places to ensure accuracy. Once I have the measurements, I add an additional inch to both the height and width to allow for a proper fit.
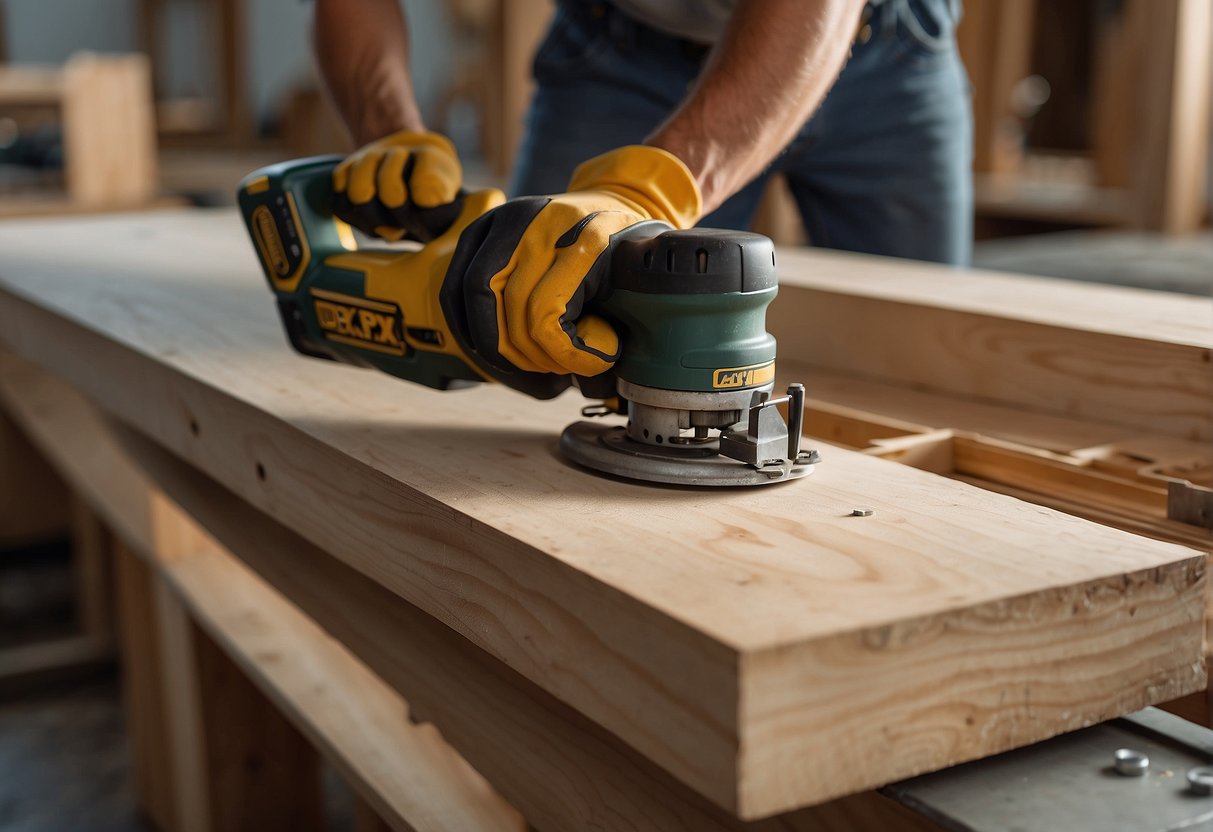
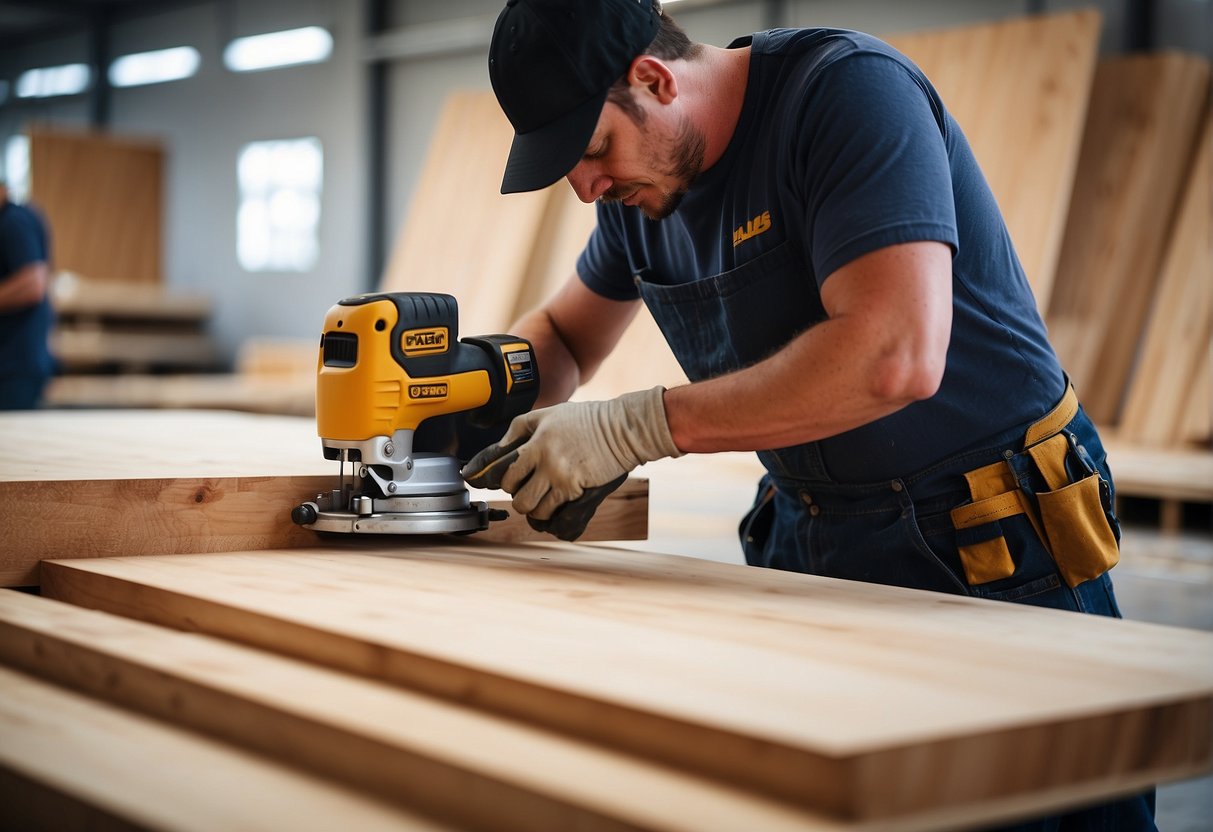
Cutting the Plywood to Size
After measuring the door opening, I use a circular saw or table saw to cut the plywood to size. I make sure to use a saw blade with fine teeth to ensure a smooth cut. Once the plywood is cut, I use sandpaper to smooth any rough edges.
By properly measuring and cutting the plywood, I ensure that the temporary door will fit properly and provide the necessary access control.
Assembling the Temporary Door
Once the plywood pieces have been cut to size, it’s time to assemble the temporary door. This process involves attaching hinges and securing the door frame. Here are the steps to follow:
Attaching Hinges
The first step is to attach hinges to the plywood pieces. Hinges are essential for attaching the door to the door frame, allowing it to swing open and closed. T hinges are the most common type of hinge used for temporary plywood doors.
To attach the hinges, place one hinge at the top and one at the bottom of the plywood piece that will be on the outside of the door frame. Use a drill to make pilot holes for the screws, then screw the hinges into place. Repeat this process for the other plywood piece that will be on the inside of the door frame.
Securing the Door Frame
Once the hinges are in place, it’s time to secure the door frame. This involves attaching the plywood pieces to the door frame using screws.
To do this, position one plywood piece on the outside of the door frame and the other on the inside. Make sure the hinges are lined up with the door frame. Use a drill to make pilot holes for the screws, then screw the plywood pieces into the door frame.
To ensure the temporary door is secure, it’s also a good idea to use wood glue and 2x4s to reinforce the door frame. Simply use a router to create a groove in the door frame for the 2x4s, then apply wood glue and insert the 2x4s. This will provide additional support for the temporary door.
Overall, assembling a temporary plywood door is a relatively simple process that can be completed with just a few tools and materials. By following these steps and using the right screws and hinges, you can create a sturdy and secure temporary door that will keep your construction site or renovation project safe and secure.
Installation Process
Mounting the Door
To install a temporary plywood door, I first measure the size of the door frame opening. Then, I cut two pieces of plywood to fit the size of the opening. I drill two matching holes through both pieces of plywood, one near the top of the plywood and the other near the bottom. I use clamps to hold the two pieces of plywood together and position them on the inside and outside of the door frame.
Next, I use rope to secure the plywood to the door frame. I tie the rope through the holes in the plywood and tightly wrap the rope around the door frame. This ensures that the plywood stays in place and does not move.
Ensuring Security
To ensure security, I make sure that the temporary plywood door is tightly secured to the door frame. I use clamps to hold the plywood in place and rope to secure it to the door frame. This prevents anyone from entering the space without permission.
I also make sure that the temporary plywood door is sturdy and can withstand any force or pressure. I use high-quality plywood to ensure that the door is strong and durable. Additionally, I make sure that the hinges are securely attached to the plywood and door frame.
Overall, installing a temporary plywood door is a simple and effective way to secure a space during home improvement or DIY projects. With the right tools and materials, anyone can install a temporary plywood door and ensure the security of their space.
Finishing Touches
Refinishing and Painting
Once the temporary plywood door is installed, it may need to be refinished or painted to match the surrounding area. A coat of paint can also make the door more durable and weather-resistant. To refinish or paint the door, follow these steps:
-
Sand the surface of the door with a fine-grit sandpaper to remove any scratches or imperfections. Be sure to sand in the direction of the wood grain.
-
Clean the surface of the door with a damp cloth to remove any dust or debris.
-
Apply a coat of wood conditioner to the surface of the door to help the paint or stain adhere better.
-
Apply a coat of paint or stain to the surface of the door, using a brush or roller. Be sure to follow the manufacturer’s instructions for application and drying times.
-
Once the first coat is dry, apply a second coat for added protection and durability.
Adding Trim and Hardware
To make the temporary plywood door more sturdy and secure, you can add trim and hardware. Trim can be added to the edges of the door to cover the exposed plywood and give it a finished look. Hardware such as hinges, handles, and locks can be added to make the door more functional and secure.
-
Measure and cut the trim to fit the edges of the door. Use a miter saw to cut the corners at a 45-degree angle for a neat and professional look.
-
Attach the trim to the edges of the door using wood glue and finishing nails. Be sure to countersink the nails and fill the holes with wood filler.
-
Install the hardware according to the manufacturer’s instructions. Hinges should be attached to the door and the door frame, while handles and locks should be attached to the face of the door.
By following these simple steps, you can make a temporary plywood door look and function like a sturdy front or exterior door. If you need more advice on how to make your door more secure or weather-resistant, consult with a professional contractor or hardware store.
Frequently Asked Questions
How can I construct a temporary plywood door for a construction site?
Constructing a temporary plywood door for a construction site is a simple process that requires basic carpentry skills. First, measure the opening where the door will be installed. Then, cut a piece of plywood to fit the measurements. Next, attach hinges to the plywood and hang it on the door frame. Finally, add a latch or lock to secure the door.
What materials are needed for a DIY temporary plywood door?
To construct a DIY temporary plywood door, you will need a sheet of plywood, hinges, a latch or lock, screws, and a saw. You may also need a drill and drill bits if you choose to drill holes for the hinges and latch.
Can a temporary plywood door be installed without drilling?
Yes, a temporary plywood door can be installed without drilling. One way to do this is to attach the plywood to the door frame using clamps or brackets. Another way is to use an adhesive to attach the plywood to the door frame.
What are the steps to create a temporary door frame for plywood installation?
To create a temporary door frame for plywood installation, first, measure the opening where the door will be installed. Then, cut two pieces of lumber to fit the height of the opening. Next, cut two more pieces of lumber to fit the width of the opening. Finally, attach the four pieces of lumber together to create a frame and install the plywood.
How can plywood be effectively used for a temporary shed door?
Plywood can be effectively used for a temporary shed door by following the same steps as constructing a temporary plywood door for a construction site. Measure the opening, cut the plywood to size, attach hinges, and add a latch or lock.
What are cost-effective solutions for a temporary hallway door during renovations?
A cost-effective solution for a temporary hallway door during renovations is to use a tension rod and a curtain. Simply install the tension rod in the doorway and hang a curtain from it. This provides a temporary barrier while allowing easy access to the area. Another option is to use a temporary accordion door, which can be easily installed and removed.

Hi, I’m Sal Muller of Tooltrip.com. My DIY experience led me to understand essential power tools for home projects. Tooltrip.com guides enthusiasts and professionals in choosing right tools for any job. I provide concise top tool reviews for easier, efficient DIY.
