
Removing an unwanted pet door from a wall can be a daunting task, but it is not impossible. Whether you are looking to get rid of the pet door to prevent unwanted visitors or simply because you no longer need it, there are a few things you need to keep in mind. In this article, I will guide you through the process of removing a pet door from a wall, including the tools and materials you will need, safety considerations, and finishing touches.
Assessing the situation is the first step in removing an unwanted pet door from a wall. You need to determine the type of wall you are dealing with, the size of the pet door, and the method of installation. This will help you choose the right tools and materials for the job. Once you have assessed the situation, you can move on to the next step, which is gathering the necessary materials and tools.
Materials and tools required for removing a pet door from a wall include heavy-duty gloves, safety glasses or goggles, a reciprocating saw, a putty knife, drywall patch, joint compound, sandpaper, paint, and a paintbrush. These tools and materials will help you remove the pet door, repair the opening, and add a finishing touch to the wall. In the next section, I will guide you through the process of removing the pet door.
Key Takeaways
- Assess the situation before removing the pet door to determine the type of wall, size of the pet door, and method of installation.
- Gather the necessary materials and tools, including heavy-duty gloves, safety glasses or goggles, a reciprocating saw, a putty knife, drywall patch, joint compound, sandpaper, paint, and a paintbrush.
- Follow the steps for removing the pet door, repairing the opening, and adding a finishing touch to the wall. Always prioritize safety and consider seeking professional help if needed.
Assessing the Situation
When removing an unwanted pet door from a wall, it’s important to assess the situation before starting the removal process. This will ensure that you have the right tools and materials to complete the job successfully.
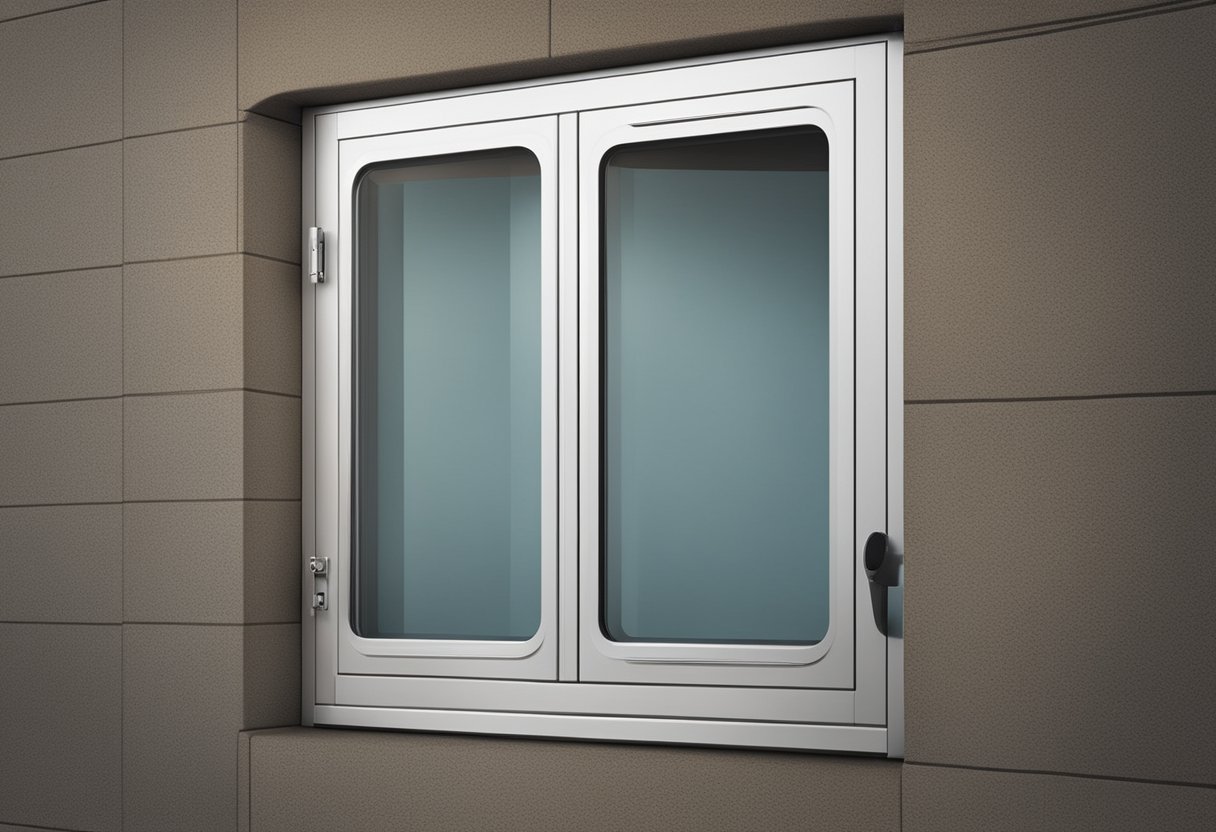
The first thing to consider is the size and type of door that needs to be removed. Some pet doors are designed to fit into existing doors, while others are installed directly into walls. It’s important to know the size and type of door you’re working with so you can plan accordingly.
Next, take a look at the existing wall. Is it drywall, plaster, or something else? Knowing the type of wall you’re working with will help you determine the best way to remove the pet door and repair the wall afterward.
Once you have a good understanding of the door and wall, you can start planning the removal process. This may involve cutting the door out of the wall, removing screws or bolts, or using a reciprocating saw to cut through the pet door and surrounding drywall. It’s important to use the right tools and safety gear to avoid injury during the removal process.
Overall, assessing the situation before removing an unwanted pet door is crucial to ensuring a successful removal and repair process. By taking the time to plan and prepare, you can avoid costly mistakes and ensure that the job is done right the first time.
Materials and Tools Required
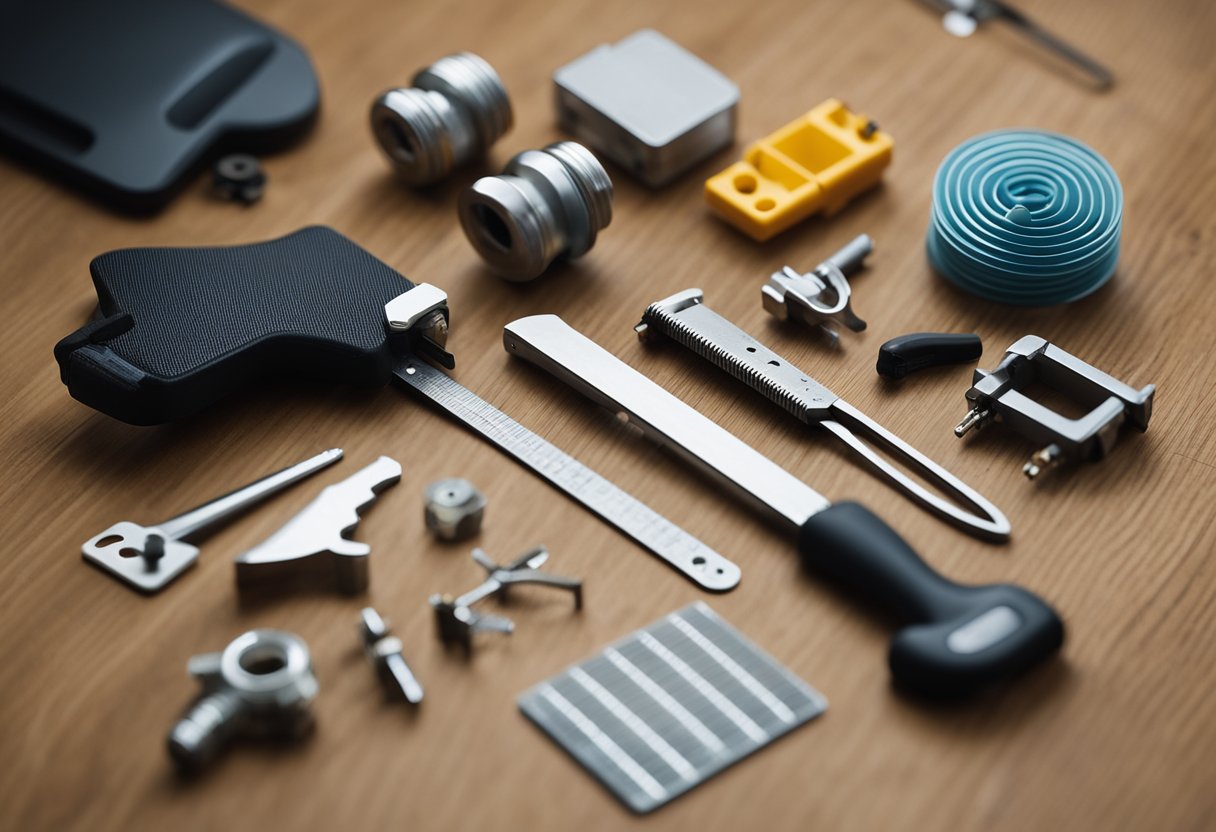
Removing an unwanted pet door from a wall requires specific tools and materials to ensure the job is done safely and efficiently. Here are the tools and materials that I recommend for the job:
Safety Gear
Before beginning the job, it is essential to wear the appropriate safety gear to protect yourself. I suggest using heavy-duty gloves to protect your hands from sharp edges and debris. Additionally, wear safety glasses or goggles to protect your eyes from dust and debris.
Tools
-
Reciprocating saw: A reciprocating saw is a useful tool for cutting through wood, metal, and other materials.
-
Drill: A drill is necessary for creating pilot holes and removing screws.
-
Screwdriver: A screwdriver is necessary for removing screws from the pet door frame.
-
Jigsaw: A jigsaw is useful for cutting through wood, plastic, and other materials.
-
Utility knife: A utility knife is necessary for cutting through caulk and sheathing.
-
Hammer: A hammer is necessary for removing nails and trim.
-
Sandpaper: Sandpaper is necessary for smoothing out rough surfaces.
Materials
-
Plywood: Plywood is necessary for covering the hole in the wall left by the pet door.
-
Drywall: Drywall is necessary for covering the hole in the wall left by the pet door.
-
Plastic wrap: Plastic wrap is useful for protecting the surrounding area from dust and debris.
-
Diamond plate: Diamond plate is necessary for covering the plywood used to cover the hole in the wall.
-
Lumber: Lumber is necessary for framing the hole in the wall left by the pet door.
-
Paint: Paint is necessary for painting the plywood, drywall, and diamond plate to match the surrounding area.
-
Caulk: Caulk is necessary for sealing gaps between the wall and the plywood or drywall.
By using these tools and materials, I am confident that you can remove an unwanted pet door from a wall safely and efficiently.
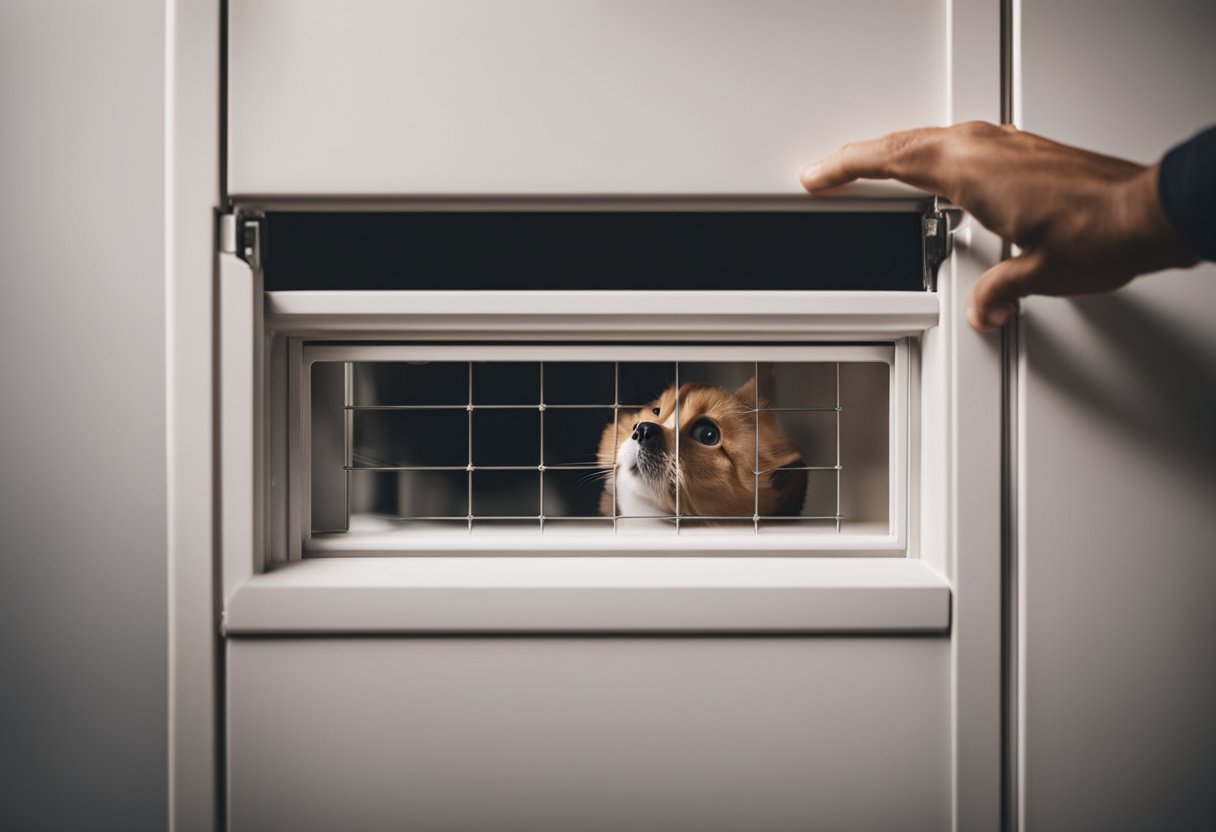
Removing the Pet Door
https://www.youtube.com/watch?v=UAmkErvweRc&embed=true
When removing a pet door from a wall, it’s important to take the necessary steps to ensure the process is secure and easy. Here’s how I remove a dog door from a wall:
-
Lock the Pet Door: Before starting, make sure to lock the pet door to prevent any pets from entering or exiting during the removal process. This will also help keep debris from entering your home.
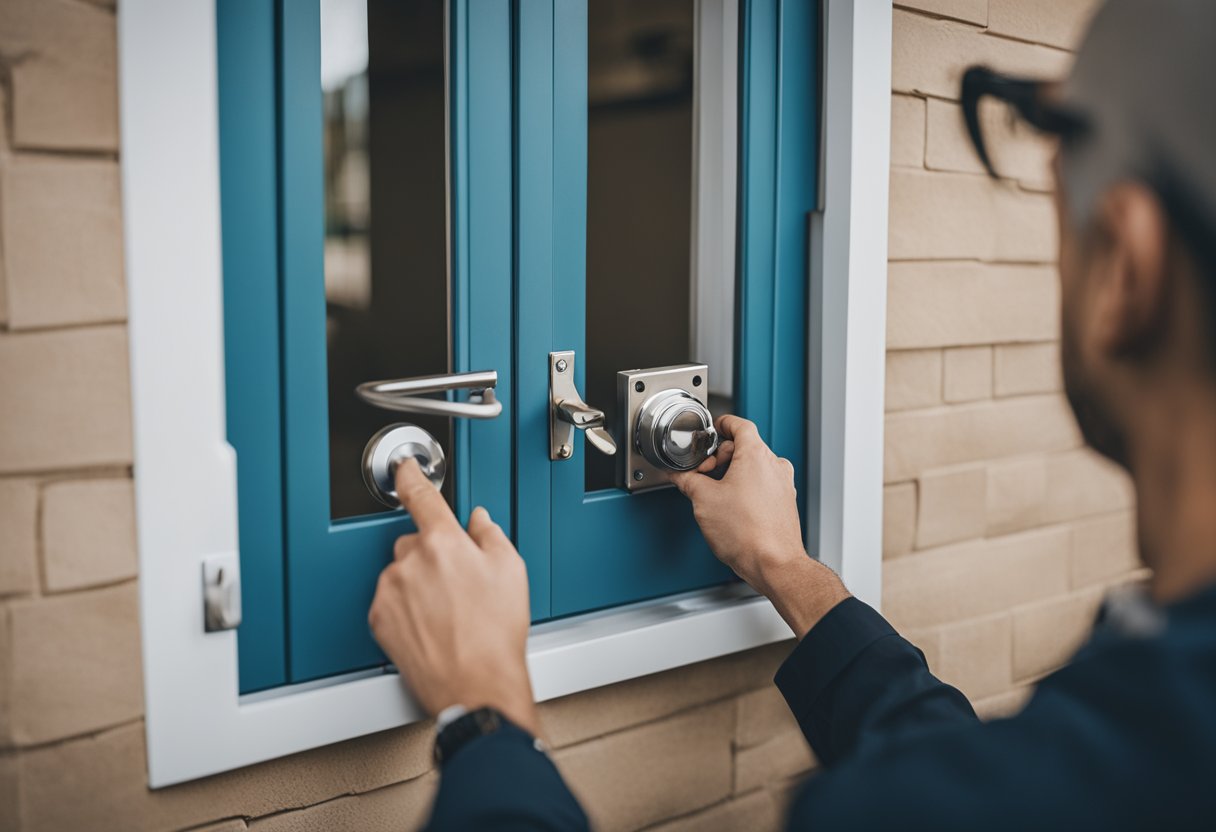
-
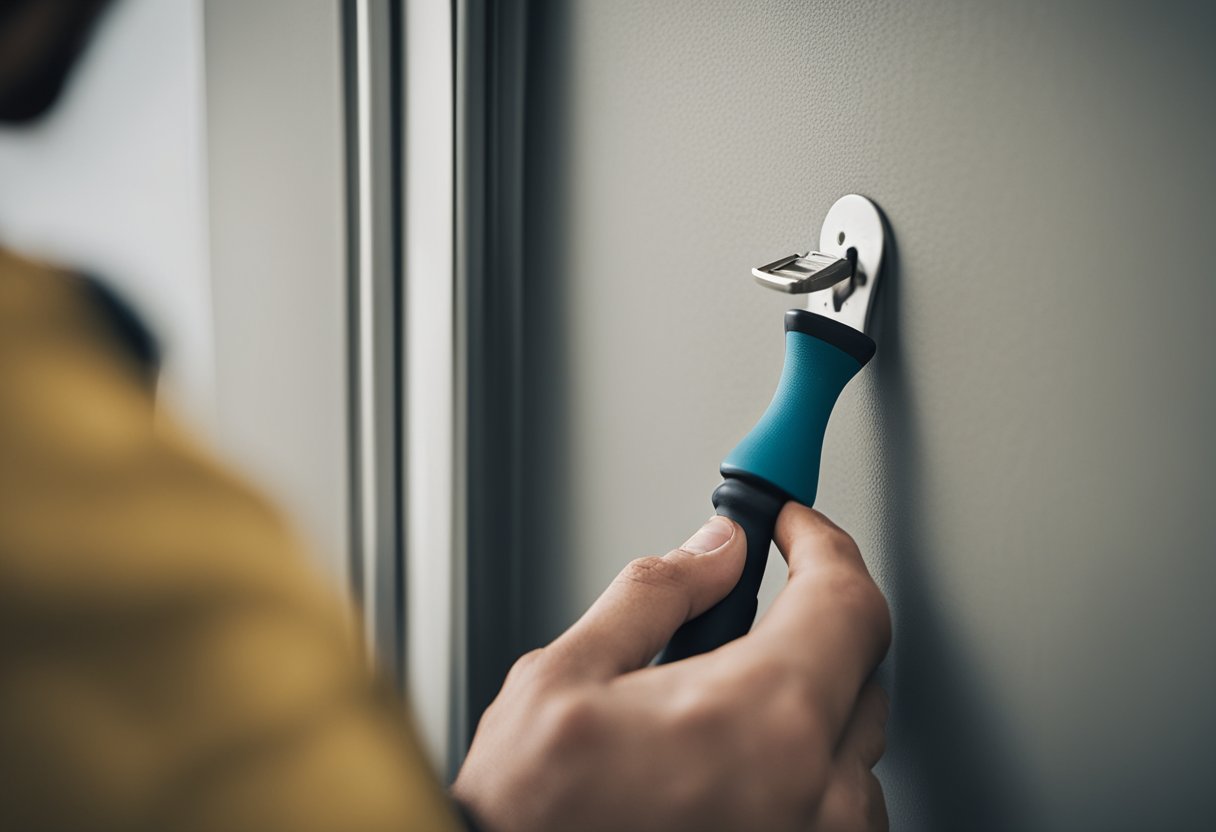
Remove the Trim: Use a utility knife or screwdriver to remove the trim around the pet door. This will expose the fasteners and allow you to remove the pet door from the wall.
-
Remove the Fasteners: Use a reciprocating saw, jigsaw, or hammer to remove the fasteners holding the pet door in place. Be careful not to damage the surrounding wall or structure.
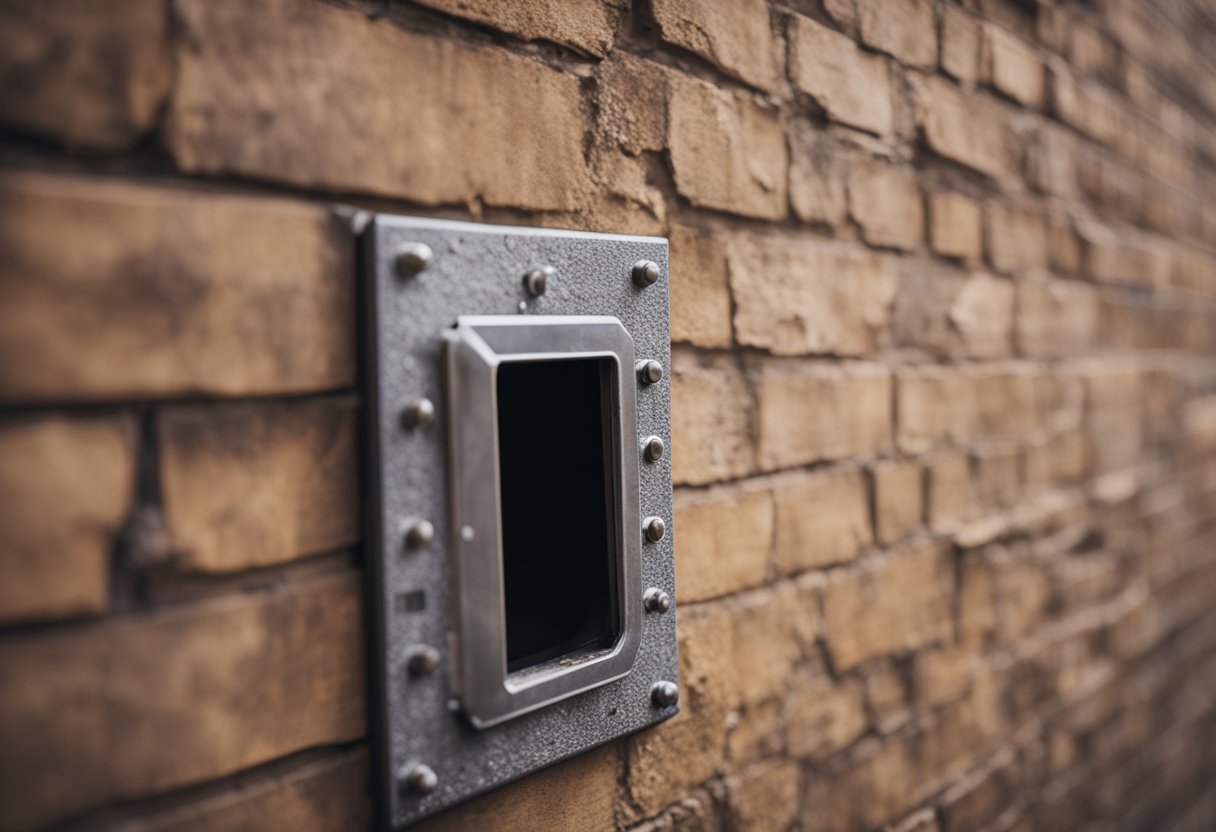
-
Block the Hole: Once the pet door is removed, use a piece of metal or other material to block the hole in the wall. This will prevent drafts and keep pests from entering your home.
By following these steps, you can easily remove an unwanted pet door from a wall. Just remember to take your time and be careful when working with power tools or sharp objects.
Repairing the Opening
https://www.youtube.com/watch?v=6apJthzsIlY&embed=true
Once the pet door has been removed, it’s time to repair the opening. The exact steps will depend on the type of material the opening is in. Here are some general guidelines to follow:
Wood or Drywall
If the opening is in a wooden or drywall surface, cut a piece of plywood to the size of the opening and secure it in place. Use screws to attach the plywood to the framing behind the surface. Then, cover the plywood with drywall or wood sheathing. Sand the edges smooth and paint or stain to match the surrounding surface.
Metal or Plastic
If the opening is in a metal or plastic surface, cut a piece of metal or plastic to the size of the opening and secure it in place. Use screws to attach the metal or plastic to the framing behind the surface. Then, seal the edges with caulk or a sealant designed for the material.
Block or Concrete
If the opening is in a block or concrete surface, fill the opening with concrete or masonry block. Smooth the surface with a trowel and allow it to dry completely. Then, sand the edges smooth and paint or stain to match the surrounding surface.
Trim and Finish
Once the opening is repaired, add any necessary trim or finish to match the surrounding surface. This may include baseboards, molding, or other decorative elements.
Insulation
If the pet door was in an exterior wall, it’s important to add insulation to the opening before sealing it. Use a spray foam insulation to fill any gaps around the framing and create a tight seal.
Lock and Secure
If the pet door was used as a secondary entrance, consider adding a lock or other security measure to the repaired opening. This will help ensure that the opening cannot be easily accessed by intruders.
Overall, repairing an unwanted pet door is a straightforward process that can be completed with basic DIY skills. With the right materials and techniques, it’s possible to create a seamless repair that blends in with the surrounding surface.
Finishing Touches
Now that the pet door has been removed from the wall and the hole has been patched up, it’s time to focus on the finishing touches to ensure a cohesive look. Here are some steps to follow:
Sanding
Before you start painting, it’s important to sand the patched area to ensure a smooth surface. Use a fine-grit sandpaper to sand the area gently until it’s even with the surrounding wall. Be sure to wipe away any dust with a clean cloth.
Prime
To ensure that the paint adheres properly to the patched area, it’s important to prime it first. Apply a coat of primer to the patched area and let it dry completely before proceeding to the next step.
Paint
Now it’s time to paint the patched area. Choose a paint color that matches the surrounding wall as closely as possible. Apply the paint in thin, even coats, and let each coat dry completely before applying the next one. Be sure to paint slightly beyond the patched area to ensure a seamless blend in.
Texture
If the surrounding wall has a textured finish, you may need to add texture to the patched area to ensure a cohesive look. You can use a texture spray or a texture roller to achieve the desired texture. Be sure to match the texture as closely as possible to the surrounding wall.
Final Touches
Once the paint has dried completely, take a step back and examine the patched area. If there are any imperfections or areas that need touch-ups, now is the time to address them. Stand back and ensure that the patched area blends in seamlessly with the surrounding wall for a cohesive look.
By following these steps, you can ensure that the patched area looks as good as new and that the pet door is no longer a visible eyesore in your home.
Safety Considerations
Removing an unwanted pet door from a wall requires careful planning, preparation, and execution. Safety should be a top priority, and several safety considerations should be taken into account.
First and foremost, it is essential to wear proper safety gear when removing a pet door from a wall. Heavy-duty gloves should be used to protect your hands from sharp edges and debris. Eye protection, such as safety glasses or goggles, should also be worn to protect your eyes from any flying debris.
It is also important to take into consideration the wear and tear that the wall may have undergone due to the pet door’s installation. Before removing the pet door, it is recommended to inspect the wall around the pet door for any signs of damage or deterioration. If any damage is found, it should be repaired before removing the pet door to prevent any further damage from occurring.
Additionally, it is important to follow proper removal procedures to ensure that the wall is not damaged during the removal process. This may include cutting through caulking, removing screws, or prying out pieces of the homemade opening. It is recommended to follow a step-by-step guide, such as the one provided by roomsdecors.com, to ensure that the removal process is done safely and correctly.
Lastly, it is important to note that removing a pet door from a wall may require the use of power tools, such as a reciprocating saw or jigsaw. If you are not familiar with using power tools, it is recommended to seek the assistance of a professional to ensure that the removal process is done safely.
By taking these safety considerations into account, you can ensure that the removal of your unwanted pet door from a wall is done safely and without any damage to the surrounding area.
Professional Help
If you are not confident in your ability to remove a pet door from a wall, it is best to seek professional help. A licensed contractor with experience in home improvement can safely and efficiently remove the pet door for you.
Before hiring a contractor, it is important to do your research and find someone who is reputable and has good reviews. You can ask for recommendations from friends or family members who have had similar work done, or you can search online for contractors in your area.
When you meet with the contractor, be sure to discuss your specific needs and ask any questions you may have. They should be able to provide you with a clear estimate of the cost and time required for the job.
If you prefer to do the work yourself but still want some guidance, there are books available that can provide step-by-step instructions for removing a pet door from a wall. However, it is important to note that these books may not cover all possible scenarios or account for any unique features of your home.
Ultimately, the decision to seek professional help or do the work yourself will depend on your level of experience and comfort with the task. Whatever you choose, be sure to prioritize safety and take the necessary precautions to avoid injury or damage to your home.
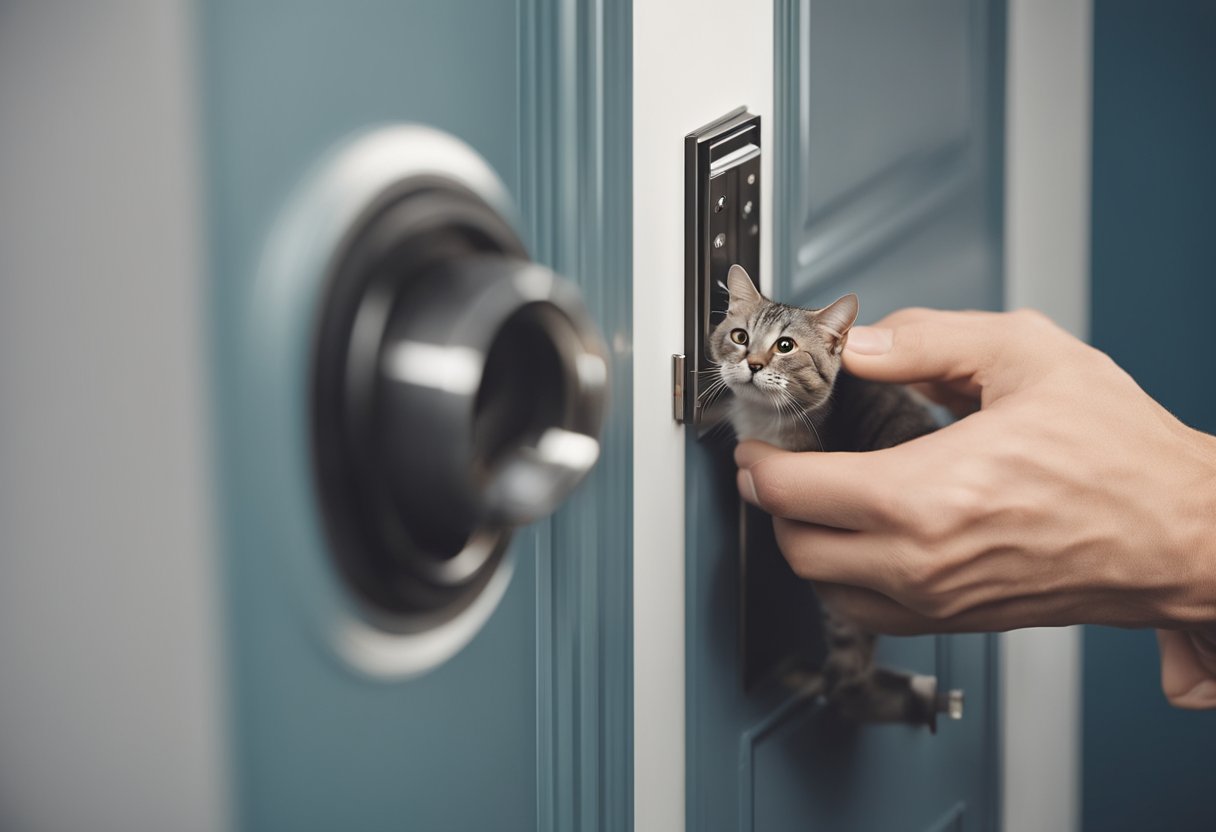
Preventing Unwanted Visitors
https://www.youtube.com/watch?v=6elQgUF1Vns&embed=true
When removing an unwanted pet door from a wall, it’s important to consider how to prevent any unwanted visitors from entering your home. This could include other animals or even human intruders. Here are some tips to help secure the area:
-
Lock the Door: If the pet door had a locking mechanism, make sure to lock it before removing the door. This will prevent any animals from entering while you work on removing the door.
-
Hide the Opening: Once the pet door is removed, you can cover the opening with a piece of wood or metal. This will prevent any animals or people from entering through the hole. Make sure to secure the cover with screws or bolts so that it cannot be easily removed.
-
Upgrade to a Secure Pet Door: If you still want to have a pet door, consider upgrading to a more secure option. Electronic or automatic pet doors that only open when sensing a specific collar key or RFID chip can improve security and prevent unwanted animals from entering. Some options can even be controlled remotely through a smartphone.
-
Install a Security System: If you’re concerned about human intruders, consider installing a security system with motion sensors and cameras. This will alert you if anyone tries to enter your home through the pet door or any other entrance.
By taking these steps, you can help ensure that your home remains secure even after removing an unwanted pet door from the wall.
Frequently Asked Questions
How can I remove a pet door from a wall?
Removing a pet door from a wall can be done by following a few simple steps. First, remove the screws or bolts that secure the pet door to the wall. Next, remove any caulking or adhesive that may be holding the pet door in place. Finally, patch the hole in the wall with a patching compound and paint over the patch to match the existing wall color. For more detailed instructions, check out this article on removing an unwanted pet door from a wall.
How do I cover up a dog door in a wall?
Covering up a dog door in a wall can be done by using a piece of plywood or drywall to cover the hole. Cut the piece of plywood or drywall to the size of the hole and secure it in place using screws or adhesive. Once the cover is in place, apply a patching compound and paint over the patch to match the existing wall color. For more detailed instructions, check out this forum post on removing a dog door and repairing the wall.
What is the best way to seal a pet door opening?
The best way to seal a pet door opening is by using a foam insulation sealant. This type of sealant is designed to expand and fill gaps, creating an airtight seal. Apply the foam insulation sealant around the edges of the pet door opening, making sure to fill any gaps or holes. Once the sealant has dried, trim away any excess foam and paint over the patch to match the existing wall color.
Is it possible to replace a doggie door with a wall?
Yes, it is possible to replace a doggie door with a wall. However, this is a more complicated process than simply removing a pet door from a wall. It involves cutting a hole in the wall, installing a new wall mount pet door, and patching the old pet door opening. For more detailed instructions, check out this video tutorial on removing a dog door and covering the opening.
How do I insulate a pet door in a wall?
Insulating a pet door in a wall can be done by using a foam insulation sealant. Apply the foam insulation sealant around the edges of the pet door opening, making sure to fill any gaps or holes. This will help to prevent drafts and keep your home more energy-efficient. For more detailed instructions, check out this FAQ section on pet door installation.
Can I block a pet door without damaging the wall?
Yes, it is possible to block a pet door without damaging the wall. This can be done by using a piece of plywood or drywall to cover the hole. Cut the piece of plywood or drywall to the size of the hole and secure it in place using screws or adhesive. Once the cover is in place, apply a patching compound and paint over the patch to match the existing wall color. This will help to hide the pet door and block it from use.

Hi, I’m Sal Muller of Tooltrip.com. My DIY experience led me to understand essential power tools for home projects. Tooltrip.com guides enthusiasts and professionals in choosing right tools for any job. I provide concise top tool reviews for easier, efficient DIY.
