
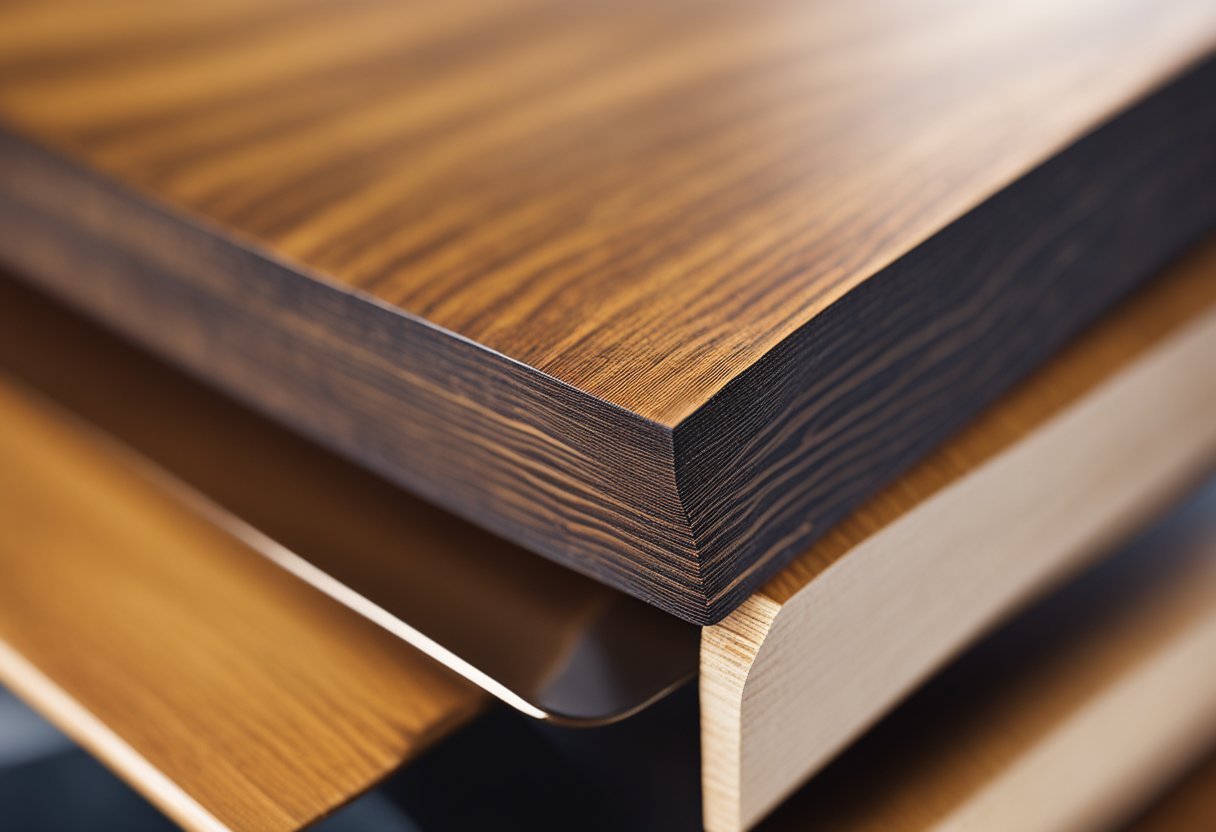
Sanding between coats of lacquer is an essential step in achieving a smooth, flawless finish on your woodworking projects. The process of sanding between coats allows for the removal of any imperfections, such as dust particles or small bumps, that may have formed during the previous coat. Sanding also creates a surface that is more receptive to subsequent coats of lacquer, resulting in a more even and consistent finish.
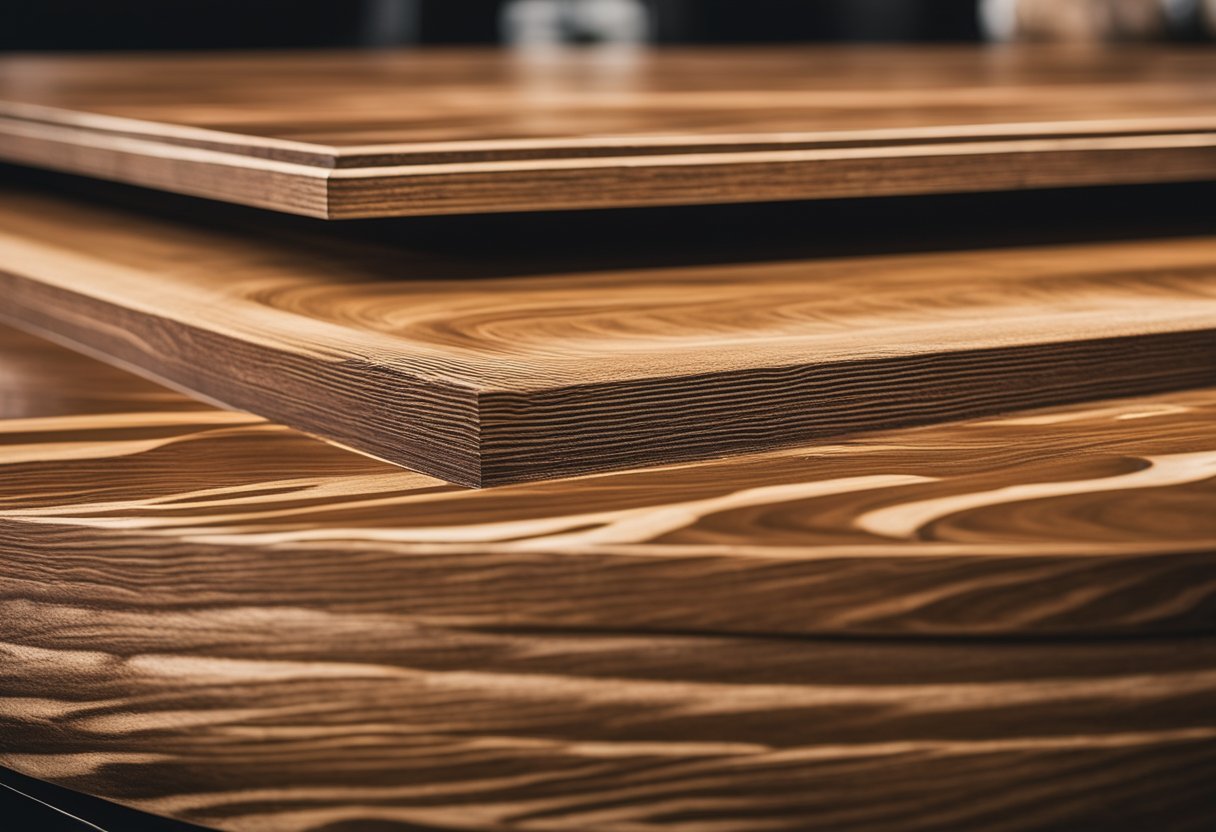
Before diving into the sanding process, it’s important to understand the properties of lacquer. Lacquer is a fast-drying, solvent-based finish that is commonly used in woodworking due to its durability and versatility. It can be applied using a spray gun or brush, and it dries to a hard, glossy finish. However, the fast-drying nature of lacquer means that it can be difficult to work with, and it requires careful attention to detail to achieve a perfect finish.
Key Takeaways
- Sanding between coats of lacquer is essential for achieving a smooth finish on woodworking projects.
- Lacquer is a fast-drying, solvent-based finish that requires careful attention to detail.
- Sanding creates a surface that is more receptive to subsequent coats of lacquer, resulting in a more even and consistent finish.
Understanding Lacquer
https://www.youtube.com/watch?v=oKwEp7C3R2s&embed=true
As a woodworker, I understand the importance of using the right finish to get the desired look and protection for my projects. One of the most popular finishes is lacquer. Lacquer is a clear or colored coating that dries quickly to form a hard, durable finish. It is commonly used on wood, metal, and plastic surfaces.
Lacquer is made up of a resin that is dissolved in a solvent. The solvent evaporates quickly, leaving behind a hard, glossy finish. The resin used in lacquer can vary, but it is usually made from nitrocellulose, which is a type of plastic. This resin is dissolved in a solvent such as lacquer thinner, which is a blend of solvents that can dissolve the resin and help it flow smoothly.
One of the benefits of using lacquer is that it can provide a high shine to your project. The gloss level can be adjusted by adding more or less lacquer thinner to the mix. Another benefit is that lacquer dries quickly, allowing for multiple coats to be applied in a short amount of time. This is important when you are working on a project with a deadline.
When using lacquer, it is important to note that it can be affected by lacquer stains. Lacquer stains are pigments that are added to the lacquer to change the color. These stains can affect the way the lacquer dries and can cause it to dry unevenly. It is important to test the lacquer and stain combination on a scrap piece of wood before applying it to your project.
In summary, lacquer is a popular finish that can provide a high shine and quick drying time. It is made up of a resin that is dissolved in a solvent, typically lacquer thinner. Lacquer stains can affect the way the lacquer dries and should be tested before applying to your project.
Preparing the Surface
https://www.youtube.com/watch?v=YD_bdOoRdK4&embed=true
Before sanding between coats of lacquer, it is important to prepare the surface properly. This will ensure that the lacquer adheres well to the wood and that the finish is smooth and flawless.
The first step in preparing the surface is to clean it thoroughly. Any dust, debris, or oil on the surface can prevent the lacquer from adhering properly. I usually start by vacuuming the surface to remove any loose dust or debris. Then, I wipe it down with a damp cloth to remove any remaining dust or debris. If the surface is particularly dirty or greasy, I use a mild soap solution to clean it. It is important to let the surface dry completely before sanding.
Once the surface is clean and dry, it is time to fill any wood grain. This is especially important if you are working with open-grained woods like oak or ash. The wood grain filler will fill in the pores of the wood, creating a smooth surface for the lacquer to adhere to. There are many types of wood grain fillers available, including oil-based and water-based fillers. I prefer to use water-based fillers because they dry faster and are easier to clean up.
In summary, preparing the surface is a crucial step in sanding between coats of lacquer. It involves cleaning the surface thoroughly, filling any wood grain, and allowing the surface to dry completely before sanding. By taking the time to prepare the surface properly, you can ensure that your lacquer finish is smooth, flawless, and long-lasting.
Applying the Initial Coat
When applying the initial coat of lacquer, it is important to ensure that the surface is clean, dry, and free of any dust or debris. I usually use a lint-free cloth to wipe down the surface and remove any dust or debris that may be present.
Once the surface is clean, I use a brush or a spray gun to apply a thin coat of lacquer. If using a spray gun, I recommend using an HVLP sprayer to ensure an even and consistent application. It is important to apply a thin coat to avoid drips and runs.
After applying the initial coat, it is important to allow sufficient drying time before applying subsequent coats. The drying time can vary depending on the temperature and humidity of the environment. I usually wait for at least 30 minutes before applying the next coat.
It is also important to note that lacquer dries quickly, so it is best to work in small sections to avoid the lacquer drying before it can be properly spread or leveled. If using a brush, I recommend using long, even strokes to ensure an even application.
In summary, when applying the initial coat of lacquer, it is important to ensure a clean and dust-free surface, use a thin coat to avoid drips and runs, allow sufficient drying time, and work in small sections to avoid the lacquer drying too quickly.
Sanding Between Coats
https://www.youtube.com/watch?v=r3ZmodCVi2U&embed=true
Sanding between coats of lacquer is an essential step in achieving a smooth and flawless finish. It helps to remove any imperfections, such as dust particles or raised grain, that may have occurred during the previous coat’s application.
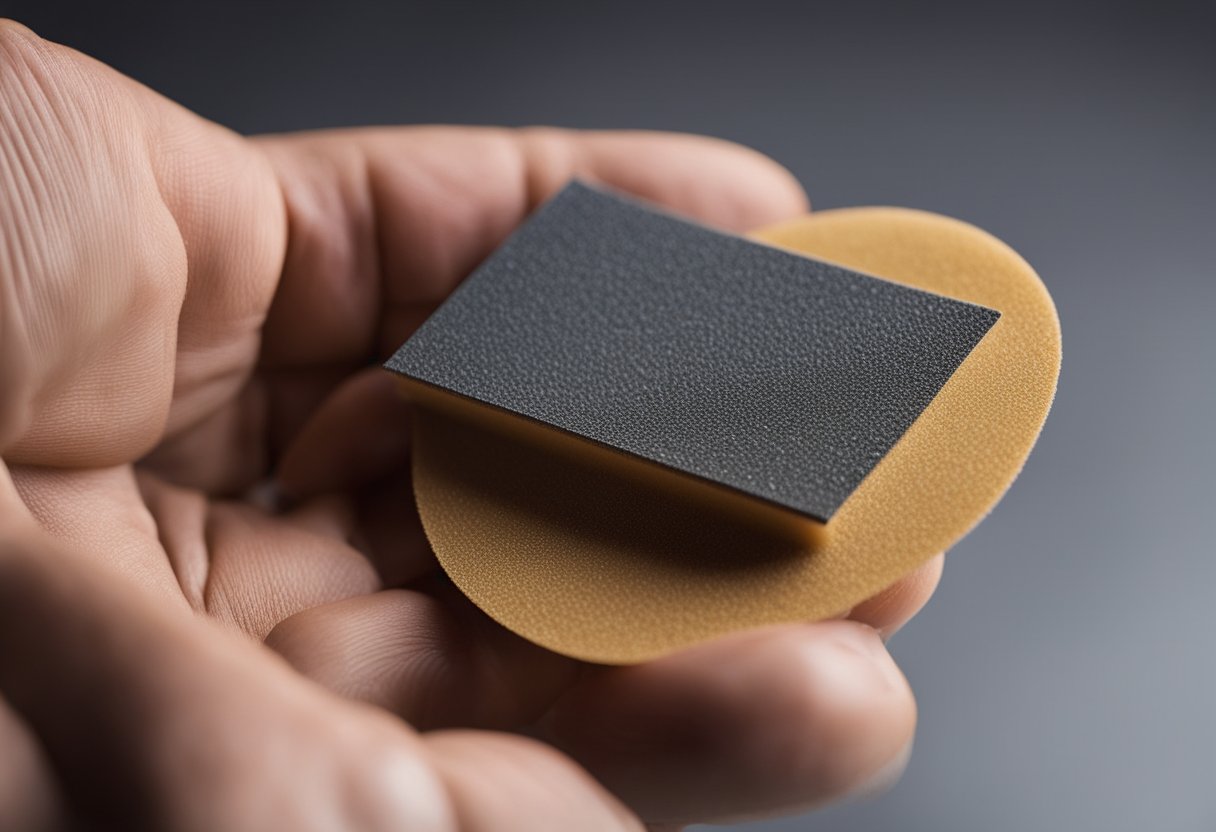
To sand between coats of lacquer, you will need to prepare the surface by cleaning it of any dust or debris. You can use a tack cloth or a soft-bristled brush to remove any dust particles that may have accumulated. Once the surface is clean, you can begin sanding using the appropriate grit sandpaper.
The type of sandpaper you use will depend on the previous coat’s grit and the desired finish. Typically, you will use a finer grit sandpaper for subsequent coats of lacquer. For example, if you used P320 sandpaper for the first coat, you may want to use P400 or P600 sandpaper for the subsequent coats.
When sanding between coats, it is essential to use a light touch and avoid applying too much pressure. Doing so can cause the sandpaper to scratch the surface, resulting in an uneven finish. Additionally, it is crucial to avoid using steel wool between coats, as it can leave behind tiny fibers that can become embedded in the lacquer.
After sanding, it is essential to remove any dust that may have accumulated. You can use a tack cloth or a soft-bristled brush to remove any dust particles. It is crucial to avoid using compressed air to blow off the dust, as it can cause the dust to become airborne and settle back onto the surface.
In conclusion, sanding between coats of lacquer is a crucial step in achieving a smooth and flawless finish. It helps to remove any imperfections that may have occurred during the previous coat’s application. By using the appropriate grit sandpaper and avoiding steel wool, you can achieve a beautiful finish that will last for years to come.
Applying Subsequent Coats
https://www.youtube.com/watch?v=Q0lEM_BOgmo&embed=true
Once the first coat of lacquer has dried completely, it’s time to apply subsequent coats. Keep in mind that multiple coats are necessary to achieve a smooth and even finish.
The drying time between coats will depend on the type of lacquer you are using, as well as the temperature and humidity in your workspace. In general, you should wait at least 30 minutes between coats. However, it’s always a good idea to consult the manufacturer’s instructions for specific drying times.
When applying subsequent coats, it’s important to apply a thin coat of lacquer. This will help prevent drips and ensure that the finish is even. If you are using a spray lacquer, hold the can approximately 8 to 10 inches away from the surface and apply the lacquer in a sweeping motion. If you are brushing on the lacquer, use long, even strokes and be sure to brush out any bubbles or streaks.
It’s also important to check for any areas that may be uneven or have drips. If you notice any imperfections, use a high-grit sandpaper (usually 320-400 grit) to sand down the affected area. Be sure to wipe away any dust or debris with a soft cloth before applying another coat.
With each subsequent coat, you’ll start to see the finish become smoother and more even. Remember to take your time and apply thin coats to achieve the best results.
Final Steps and Finishing
https://www.youtube.com/watch?v=ravdP5yG168&embed=true
Now that all the coats of lacquer have been applied, it’s time to do some final steps to achieve the desired finish. The following are some techniques that I use to achieve a perfect finish.
Sanding
Sanding between coats is essential for achieving a smooth and even finish. Typically, I use 320-grit sandpaper to lightly sand the surface between coats. This helps to remove any dust nibs or imperfections that may have formed during the application of the previous coat. However, it’s important to be gentle while sanding to avoid sanding through the lacquer.
Polish and Buffing
After sanding, I like to polish the surface using a high-quality polishing compound. This helps to remove any fine scratches that may have been left behind by the sandpaper, leaving a smooth and glossy surface. Once the surface has been polished, I buff it using a soft cloth to bring out the shine.
Satin Finish
If you prefer a satin finish, you can achieve this by using a less abrasive polishing compound. This will help to remove any fine scratches while leaving a more matte finish.
Shiny Finish
If you prefer a shiny finish, you can achieve this by using a more abrasive polishing compound. This will help to remove any deeper scratches while leaving a high-gloss finish.
Rub Out
If you notice any imperfections or blemishes in the finish after polishing, you can try “rubbing out” the surface using a rubbing compound. This involves using a more abrasive compound and rubbing the surface in a circular motion until the imperfections have been removed.
Durability
Finally, to ensure the durability of the finish, it’s important to let the lacquer dry completely before using the item. This can take anywhere from a few days to a week depending on the type of lacquer used. Additionally, it’s important to avoid exposing the item to extreme temperatures or moisture, as this can damage the finish over time.
By following these final steps, you can achieve a beautiful and durable finish on your lacquer-coated items.
Safety Precautions

When sanding between coats of lacquer, it is important to take certain safety precautions to protect yourself from the harmful effects of the fumes. Here are some safety tips to keep in mind:
- Wear a mask: Always wear a mask when sanding between coats of lacquer to avoid inhaling the fumes. A dust mask is not enough, as it will not filter out the harmful chemicals in the fumes. Instead, use a respirator mask that is specifically designed for use with lacquer.
- Use protective gear: Wearing gloves and other protective gear, such as safety glasses, can help protect your skin and eyes from the harmful effects of the fumes. Make sure to wear gloves that are chemical-resistant and that fit properly.
- Ensure proper ventilation: Proper ventilation is essential when working with lacquer. Make sure that the area you are working in is well-ventilated, and consider using a fan or other ventilation system to help remove the fumes from the air.
- Avoid open flames: Lacquer is highly flammable, so it is important to avoid open flames when working with it. Make sure to keep any sources of ignition, such as cigarettes or open flames, away from the area where you are working.
- Take breaks: Sanding between coats of lacquer can be tiring, so it is important to take breaks and get some fresh air every once in a while. This will help you avoid becoming fatigued and will make it easier to stay focused on the task at hand.
By following these safety precautions, you can help protect yourself from the harmful effects of the fumes and ensure that your sanding project is completed safely and successfully.
Troubleshooting Common Issues
As an experienced woodworker, I know that even with the most careful application, issues can arise when sanding between coats of lacquer. Imperfections such as scratches, drips, and adhesion problems can sometimes occur. However, there are several ways to troubleshoot these problems and achieve a flawless finish.
One of the most common issues that can occur when sanding between lacquer coats is scratches. To avoid this, I recommend sanding at a slight left-hand or right-hand angle from the grain, rather than directly perpendicular to the grain. This will help prevent deep scratches that are difficult to remove with a finer grit sandpaper. Additionally, make sure to use a fine grit sandpaper and apply light pressure when sanding.
Another issue that can occur is drips in the lacquer. If you notice drips, don’t panic! Simply wait until the lacquer has fully dried, then sand the drips down with a fine grit sandpaper. Be sure to sand gently and evenly to avoid creating more imperfections.
Adhesion problems can also occur when sanding between coats of lacquer. If you notice that the lacquer is not adhering properly, it may be due to a lacquer stain or stripper residue that was not completely removed before applying the new coat. To fix this issue, I recommend sanding down the affected area with a fine grit sandpaper, then wiping it clean with a tack cloth before applying a new coat of lacquer.
Overall, by following these troubleshooting tips and taking care during the sanding process, you can avoid imperfections, defects, and other common issues when sanding between coats of lacquer.
Additional Tips and Techniques
When it comes to sanding between coats of lacquer, there are a few additional tips and techniques that can help you achieve a flawless finish on your woodworking project. Here are some of my go-to techniques:
-
Use circular motions: When sanding between coats, it’s important to use circular motions rather than straight back-and-forth motions. This helps to avoid creating visible scratches in the finish.
-
Test a small area: Before sanding the entire surface, it’s a good idea to test a small, inconspicuous area first. This will give you a sense of how much pressure you need to apply and how long it will take to achieve the desired effect.
-
Use a natural bristle brush: When applying the lacquer, use a natural bristle brush rather than a synthetic one. This will help to avoid leaving brush marks in the finish.
-
Maintain a consistent distance: When spraying the lacquer, it’s important to maintain a consistent distance between the can and the surface. This will help to avoid creating uneven spots in the finish.
By following these tips and techniques, you can achieve a smooth, flawless finish on your woodworking projects.
Frequently Asked Questions
How many coats of lacquer should I apply?
The number of coats of lacquer that you should apply depends on the type of wood you are working with and the desired outcome. Generally, it is recommended to apply at least two to three coats of lacquer on wood to achieve the required protection and enhanced appearance. However, some woods may require more coats to achieve the desired result.
How long should I wait for lacquer to dry between coats?
The drying time for lacquer between coats varies depending on the type of lacquer and the environmental conditions. Typically, you should wait for the previous coat of lacquer to dry completely before applying the next coat. This can take anywhere from 30 minutes to a few hours, depending on the type of lacquer and the humidity and temperature of your workspace.
What grit sandpaper should I use between coats of lacquer?
The grit of sandpaper that you should use between coats of lacquer depends on the type of lacquer and the desired outcome. Generally, it is recommended to use a fine-grit sandpaper, such as 320-grit or 400-grit, between coats of lacquer. This will help to smooth out any imperfections and ensure a smooth, even finish.
How do I get a smooth finish after applying lacquer?
To get a smooth finish after applying lacquer, it is important to sand between coats and to use a high-quality brush or sprayer to apply the lacquer. You should also make sure that the surface is clean and free of any dust or debris before applying the lacquer. Additionally, it may be helpful to apply a final coat of lacquer using a foam brush or roller to help achieve a smooth, even finish.
Can I sand lacquer?
Yes, you can sand lacquer. In fact, sanding between coats of lacquer is an important step in achieving a smooth, even finish. However, it is important to use the correct type of sandpaper and to sand gently to avoid damaging the underlying layers of lacquer.
Is it necessary to sand between coats of lacquer?
Yes, it is generally necessary to sand between coats of lacquer to achieve a smooth, even finish. Sanding between coats helps to remove any imperfections and smooth out the surface of the wood. It also helps to ensure that subsequent coats of lacquer adhere properly to the previous layer.

Hi, I’m Sal Muller of Tooltrip.com. My DIY experience led me to understand essential power tools for home projects. Tooltrip.com guides enthusiasts and professionals in choosing right tools for any job. I provide concise top tool reviews for easier, efficient DIY.
