
Sharpening a spade bit is an essential part of any DIY enthusiast’s toolkit. A dull spade bit will not only make your drilling efforts more difficult but can also damage your drill and the material you are working on. In this article, I will share my knowledge on how to sharpen a spade bit, from recognizing when it’s dull to maintaining it after sharpening.
Understanding spade bits is key to sharpening them properly. Spade bits have two cutting edges and a central point. The cutting edges slice through the wood, while the central point keeps the bit on track. Over time, the cutting edges can become dull, and the central point can wear down. Sharpening the bit will restore the cutting edges and point, making it work like new again.
Key Takeaways
- Recognize when your spade bit is dull and needs sharpening.
- Proper preparation is key to sharpening your spade bit effectively.
- Use the right tools and methods to sharpen your spade bit and maintain it for optimal performance.
Understanding Spade Bits
https://www.youtube.com/watch?v=IfOphkRskNI&embed=true
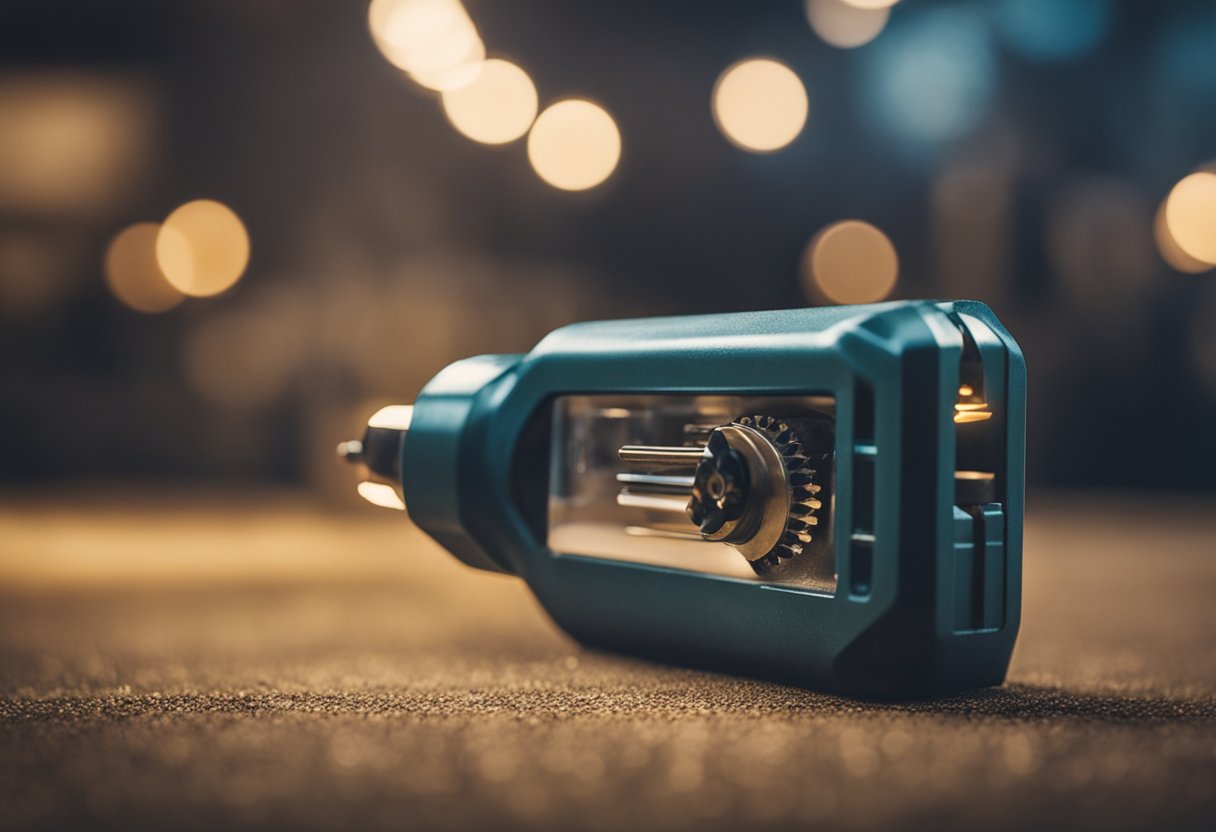
As a woodworker, I know how important it is to have sharp tools, especially when it comes to drill bits. One of the most commonly used drill bits is the spade bit, also known as a paddle bit. Spade bits are used for drilling large holes in wood, and they come in various sizes. Understanding the anatomy of a spade bit is crucial to sharpening it effectively.
A spade bit consists of a flat, paddle-shaped blade that is attached to a cylindrical shank. The blade has two cutting edges that are sharpened at an angle of approximately 25 degrees. The angle of the cutting edges is important because it affects the quality of the hole that the bit produces. The shank of the bit is designed to fit into a drill chuck and is usually hexagonal in shape to prevent slipping.
When it comes to sharpening a spade bit, it is essential to know which parts of the bit to sharpen and how to sharpen them correctly. The cutting edges of the blade are the most critical parts of the bit to sharpen. If these edges are not sharp, the bit will not cut cleanly and will produce a rough hole. It is also important to sharpen the inside edges of the blade, as these edges help to guide the bit into the wood.
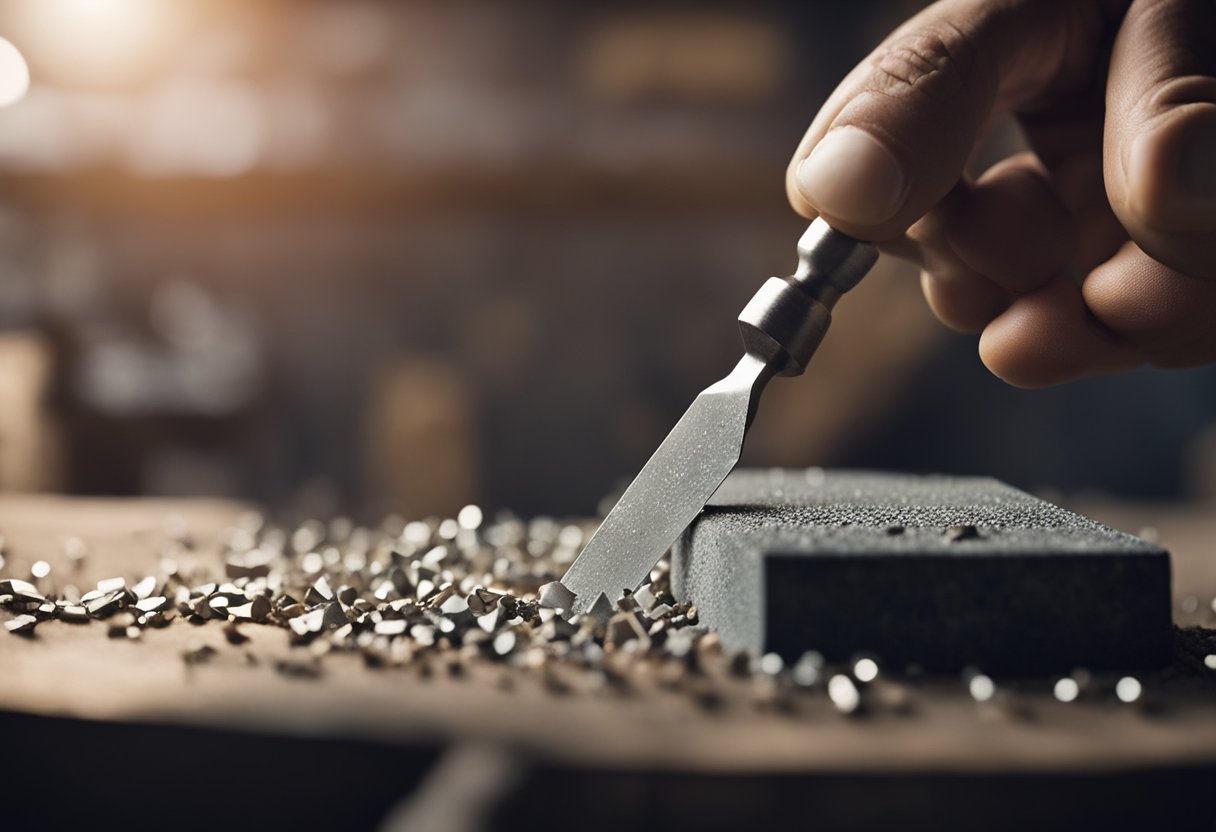
To sharpen the cutting edges of a spade bit, I use a file or a sharpening stone. I start by securing the bit in a vise and then using a flat file or sharpening stone to sharpen each cutting edge. It is essential to maintain the correct angle while sharpening the bit, which is approximately 25 degrees. I repeat the process until both edges are sharp and then move on to sharpening the inside edges of the blade.
In summary, spade bits are essential tools for drilling large holes in wood, and understanding their anatomy is crucial to sharpening them effectively. The cutting edges of the blade are the most critical parts of the bit to sharpen, and maintaining the correct angle is essential. By following these simple steps, you can keep your spade bits sharp and produce clean, precise holes in wood.
Recognizing a Dull Spade Bit
As someone who has used spade bits extensively, I can tell you that a dull spade bit is not only frustrating but can also be dangerous. A dull spade bit can cause tear-out, overheating, and even breakage. Therefore, it is important to recognize when a spade bit is dull and needs sharpening.
One of the most obvious signs of a dull spade bit is that it will struggle to cut through wood. You may notice that it takes longer to drill a hole or that the bit is not cutting as cleanly as it used to. Another sign of a dull spade bit is that it will produce a lot of heat and smoke. This is because the dull cutters are rubbing against the wood, causing friction and heat.
To check if your spade bit is dull, you can inspect the cutters. Dull cutters will have visible nicks, chips, or wear. You can also run your finger along the cutting edge to feel for any roughness or burrs. A sharp spade bit should have a smooth and even cutting edge.
In summary, recognizing a dull spade bit is crucial to ensure that you can work efficiently and safely. Signs of a dull spade bit include struggling to cut through wood, producing heat and smoke, and visible nicks or wear on the cutters. Checking the cutters for roughness or burrs can also help you determine if your spade bit needs sharpening.
Preparation for Sharpening
Before sharpening a spade bit, it is important to prepare the workspace and gather the necessary tools and equipment. Here are the steps I take to prepare for sharpening a spade bit:
-
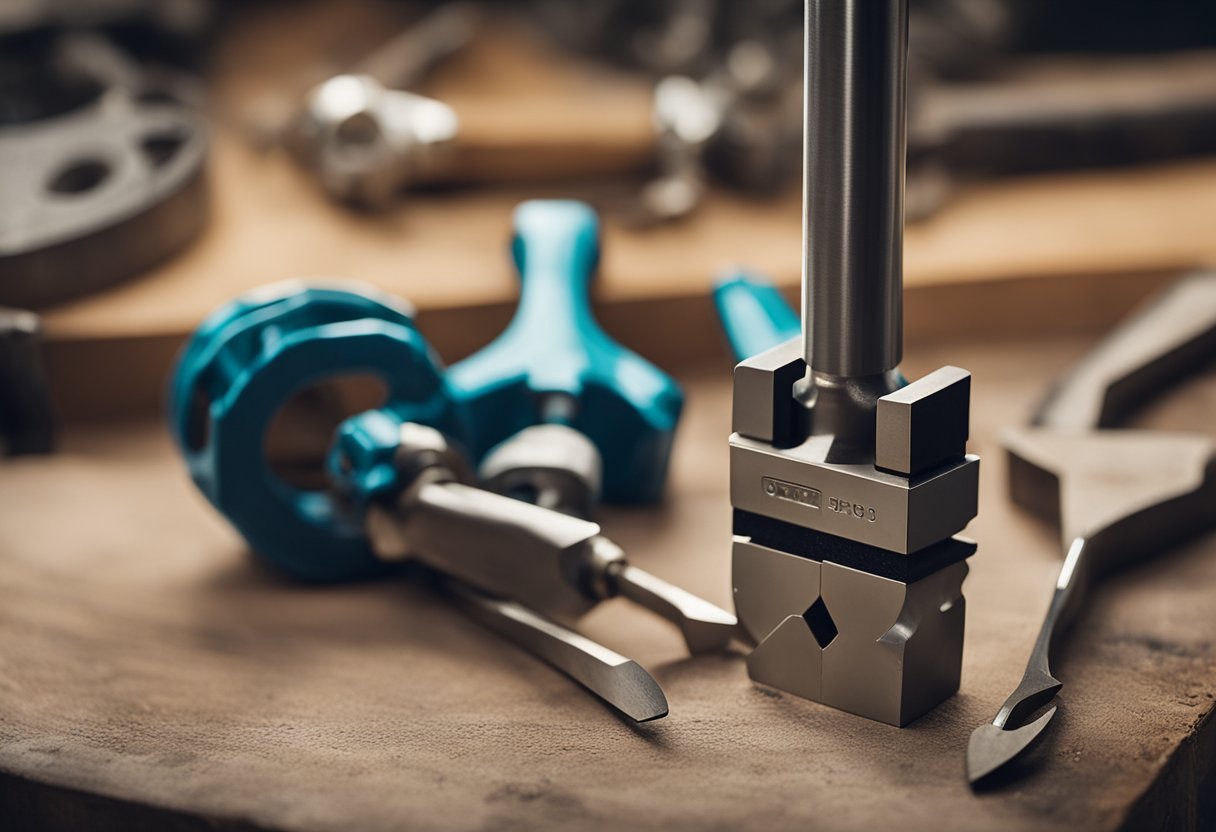
Secure the spade bit: A spade bit is held in place by a drill chuck, but it is important to make sure the bit is secure before sharpening. I usually use a bench vise to hold the bit steady while I sharpen it.
-
Put on PPE: Sharpening a spade bit can produce metal shavings and dust, so it is important to wear personal protective equipment (PPE) such as gloves and safety glasses. This will help protect your hands and eyes from injury.
-
Inspect the bit: Before sharpening the bit, I inspect it for any damage or wear. If the bit is damaged or worn, it may need to be replaced instead of sharpened.
-
Select the right grinding wheel: To sharpen a spade bit, a grinding wheel is needed. It is important to select the right grinding wheel for the job. For spade bits, a medium grit grinding wheel is typically used.
-
Set up the grinding wheel: The grinding wheel should be set up at the correct angle for sharpening the spade bit. This angle is usually around 25 degrees.
By following these steps, I can ensure that I am properly prepared to sharpen a spade bit.
Sharpening Tools and Methods
https://www.youtube.com/watch?v=Pb-t2RzGtfg&embed=true
When it comes to sharpening a spade bit, there are several tools and methods that can be used. Some of these tools include a file, a bench grinder, a drill bit sharpener, a belt sander, and a drill sharpening machine.
One of the most popular tools for sharpening a spade bit is a file. A flat file can be used to sharpen the cutting edges of the bit. It is important to use a file that is the same size as the cutting edge of the bit. This will ensure that the edge is sharpened evenly.
Another tool that can be used is a bench grinder. A bench grinder is a machine that is used to sharpen tools. It has a grinding wheel that can be used to sharpen the cutting edges of the spade bit. It is important to use the correct angle when grinding the bit. The angle should be the same as the original angle of the cutting edge.
A drill bit sharpener is another tool that can be used to sharpen a spade bit. This tool is designed specifically for sharpening drill bits. It has a tool rest that can be adjusted to the correct angle for sharpening the bit.
A belt sander can also be used to sharpen a spade bit. It has a sanding belt that can be used to sharpen the cutting edges of the bit. It is important to use the correct grit of sandpaper when sharpening the bit.
Finally, a drill sharpening machine can be used to sharpen a spade bit. This machine is designed specifically for sharpening drill bits. It has a tool rest that can be adjusted to the correct angle for sharpening the bit.
Overall, there are several tools and methods that can be used to sharpen a spade bit. Each tool has its own advantages and disadvantages, so it is important to choose the right tool for the job.
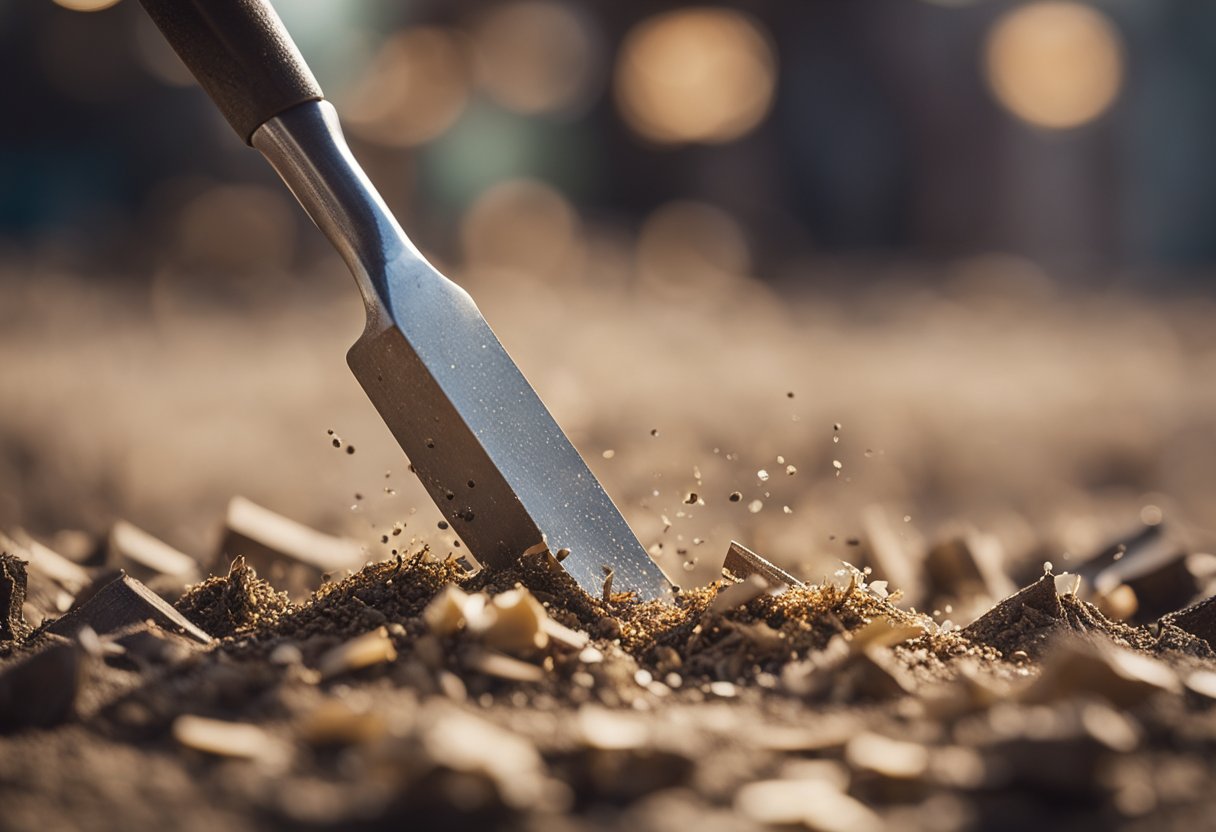
Sharpening Process
https://www.youtube.com/watch?v=ueDxGJbzu-c&embed=true
Sharpening a spade bit is a simple process that can be done with a few tools. In this section, I will guide you through the steps to sharpen your spade bit and get it working like new again.
Working on Cutting Edges
The first step in sharpening a spade bit is to work on the cutting edges. You will need a file to sharpen the edges. Hold the file at a bevel angle of about 20 degrees and file the cutting edges of the spade bit. Make sure to maintain the symmetry of the cutting edges as you file.
Refining the Spurs
After working on the cutting edges, the next step is to refine the spurs. The spurs are the pointed tips that help the spade bit to cut through the wood. To sharpen the spurs, hold the spade bit vertically and use a file to sharpen the spurs. Make sure to maintain the symmetry of the spurs as you file.
Perfecting the Center Point
The final step in sharpening a spade bit is to perfect the center point. The center point is the tip of the spade bit that helps it to stay centered as it drills through the wood. To sharpen the center point, use a file to sharpen the tip of the spade bit. Make sure to maintain the symmetry of the center point as you file.
In conclusion, sharpening a spade bit is a simple process that can be done with a few tools. By following the steps outlined in this section, you can get your spade bit working like new again. Remember to maintain the symmetry of the cutting edges, spurs, and center point as you file.
Post Sharpening Steps
https://www.youtube.com/watch?v=kUs6IJT5meo&embed=true
After sharpening your spade bit, it’s important to take a few post-sharpening steps to ensure that your bit is in good condition and ready for use.
Firstly, I like to use a scrap piece of wood to test the sharpness of the bit. This helps me ensure that the bit is cutting cleanly and that there are no rough holes or jagged edges. If the bit is still not sharp enough, I repeat the sharpening process until I am satisfied with the results.
Next, I use a wire brush to remove any debris or residue from the bit. This helps prevent corrosion and ensures that the bit is clean and ready for use in my workshop.
I also take care to balance the bit by ensuring that both sides are sharpened evenly. This helps to prevent the bit from wobbling or vibrating during use, which can cause damage to the tool or the workpiece.
Finally, I store my spade bit in a dry, clean place to prevent any corrosion or damage to the tool steel. I also take care to keep my chisels and other tools in good condition, as a well-maintained workshop is essential for producing high-quality work.
By following these post-sharpening steps, I can be confident that my spade bit is in good condition and ready for use whenever I need it.
Safety Measures
When sharpening a spade bit, safety should be the top priority. I always wear safety goggles to protect my eyes from flying debris. I also wear gloves to keep my hands safe from sharp edges.
It’s important to make sure the spade bit is securely clamped in place before starting to sharpen it. This prevents it from moving or slipping during the sharpening process.
When using power tools such as a bench grinder or drill, I make sure to follow the manufacturer’s instructions and use the appropriate safety gear. This includes wearing ear protection to prevent hearing damage and a dust mask to avoid inhaling any dust or debris.
It’s also important to keep the work area clean and organized. This reduces the risk of tripping or falling, and helps prevent accidents caused by clutter or debris.
By following these safety measures, I can ensure that I am sharpening my spade bit in a safe and responsible manner.
Maintaining Spade Bits
https://www.youtube.com/watch?v=UDPjQV7awQU&embed=true
As a woodworker, I find that spade bits are essential to my work. They are inexpensive and easily available at hardware stores. However, they can become dull quickly, especially if you are using them on hardwood. That’s why it’s important to maintain them regularly to ensure they perform at their best.
One way to maintain your spade bits is to modify them by adding tapered wooden plugs to the center point. This will help prevent the bit from wandering and make it easier to start the hole. You can also use a hacksaw to cut a groove in the center point, which will make it easier to keep the bit centered.
Another way to maintain your spade bits is to sharpen them regularly. You can do this by using a file or a sharpening stone. Make sure to sharpen the flats, which do the bulk of material removal, and the spurs, which score the wood. You can also use a drill press to sharpen your spade bits with precision.
When boring holes in close quarters, it’s important to use the right size spade bit. If the bit is too large, you risk damaging the surrounding wood. If it’s too small, you won’t get the desired hole size. Make sure to measure the diameter of the hole you need before selecting the appropriate spade bit.
It’s also important to note that there is a prejudice against spade bits in the woodworking community. Some woodworkers believe that hole saws are superior to spade bits. While hole saws may be better for some applications, spade bits are still a useful tool in the woodworker’s arsenal.
In conclusion, maintaining your spade bits is essential to ensure they perform at their best. Modifying them with tapered wooden plugs or a hacksaw groove can help keep them centered, while regular sharpening can keep them sharp. Make sure to use the appropriate size spade bit for the job and don’t be afraid to use spade bits in your woodworking projects.
Frequently Asked Questions
How can I sharpen a speedbor bit?
Sharpening a speedbor bit is a relatively simple process. The best way to sharpen a speedbor bit is to use a bench grinder. You can also use a sharpening stone or a file, but a bench grinder will give you the best results. Make sure to keep the bit cool during the sharpening process to prevent it from overheating and losing its temper.
Can a paddle bit be sharpened?
Yes, a paddle bit can be sharpened. The best way to sharpen a paddle bit is to use a file. You can also use a bench grinder or a sharpening stone, but a file is the easiest and most effective way to sharpen a paddle bit. Make sure to keep the bit cool during the sharpening process to prevent it from losing its temper.
What is the best way to sharpen a wood drill bit?
The best way to sharpen a wood drill bit is to use a bench grinder. You can also use a sharpening stone or a file, but a bench grinder will give you the best results. Make sure to keep the bit cool during the sharpening process to prevent it from overheating and losing its temper.
How do I sharpen Irwin speedbor bits?
Sharpening an Irwin speedbor bit is similar to sharpening any other speedbor bit. The best way to sharpen an Irwin speedbor bit is to use a bench grinder. You can also use a sharpening stone or a file, but a bench grinder will give you the best results. Make sure to keep the bit cool during the sharpening process to prevent it from overheating and losing its temper.
What is the process for sharpening a drill bit with a file?
Sharpening a drill bit with a file is a simple process. First, clamp the drill bit into a vise or hold it with pliers. Then, use a file to sharpen the cutting edge of the bit. Make sure to maintain the original angle of the cutting edge and remove any burrs or nicks. Finally, test the bit by drilling a piece of wood to ensure that it is sharp.
Is it worth sharpening drill bits?
Yes, it is worth sharpening drill bits. Sharpening your drill bits can save you money and time in the long run. A sharp drill bit will drill faster and more accurately than a dull one, and it will last longer. Sharpening your drill bits is also better for the environment, as it reduces the amount of waste that is generated by throwing away dull bits.

Hi, I’m Sal Muller of Tooltrip.com. My DIY experience led me to understand essential power tools for home projects. Tooltrip.com guides enthusiasts and professionals in choosing right tools for any job. I provide concise top tool reviews for easier, efficient DIY.
