
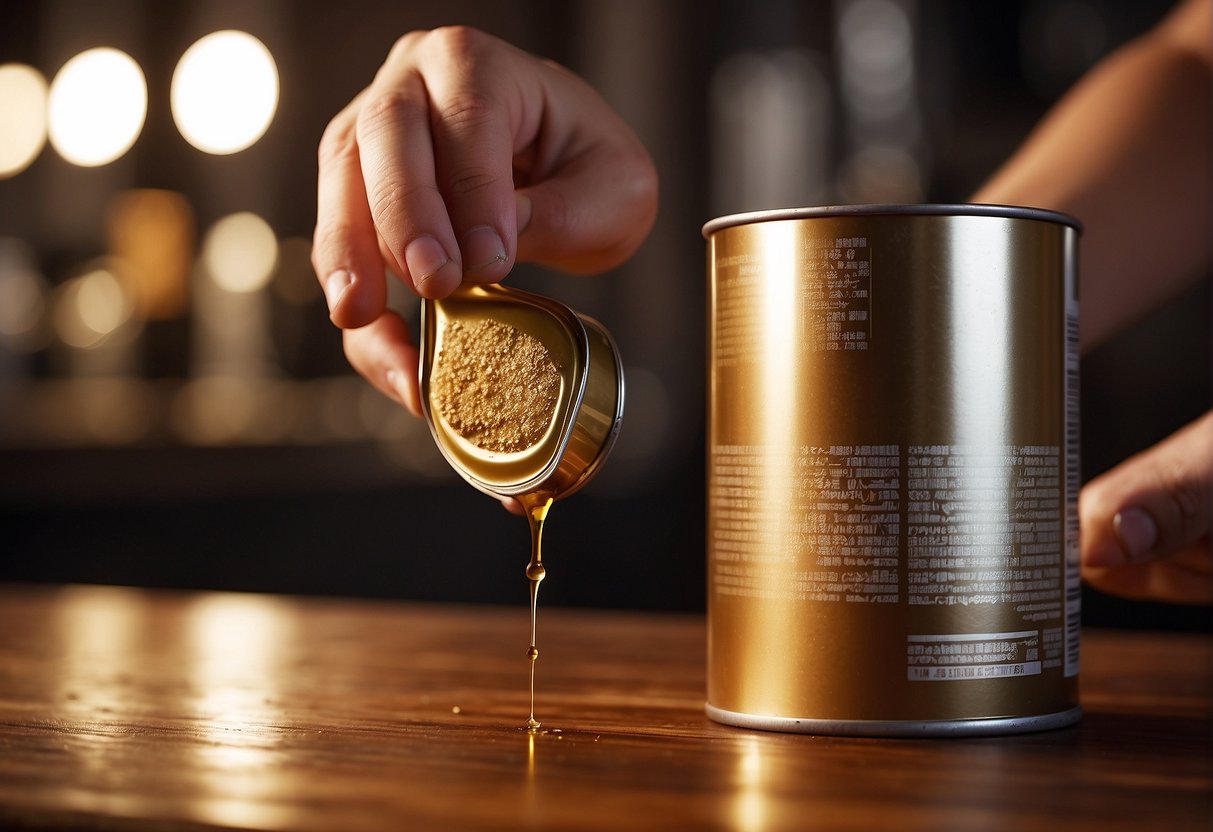
Lacquer over linseed oil is a popular finishing technique used by woodworkers to create a smooth, glossy finish. Linseed oil is a natural oil that penetrates into the wood to protect and nourish it, while lacquer is a synthetic finish that creates a hard, durable surface. When applied correctly, the combination of these two finishes can create a beautiful and long-lasting finish.
Understanding the properties of linseed oil and lacquer is essential to achieve a successful finish. Linseed oil is a drying oil that hardens over time, while lacquer dries through solvent evaporation. Applying lacquer over linseed oil requires proper preparation and application techniques to ensure good adhesion and a smooth finish. The drying and curing process is also critical to avoid any issues with the finish.
In this article, I will provide a comprehensive guide on how to apply lacquer over linseed oil, including preparation and application techniques, the drying and curing process, and finishing techniques. I will also answer some frequently asked questions about this finishing technique. By following these guidelines, you can achieve a beautiful and long-lasting finish on your woodworking projects.
Key Takeaways
- Understanding the properties of linseed oil and lacquer is essential for achieving a successful finish.
- Proper preparation and application techniques are critical to ensure good adhesion and a smooth finish.
- The drying and curing process is essential to avoid any issues with the finish.
Understanding Linseed Oil and Lacquer
Properties of Linseed Oil
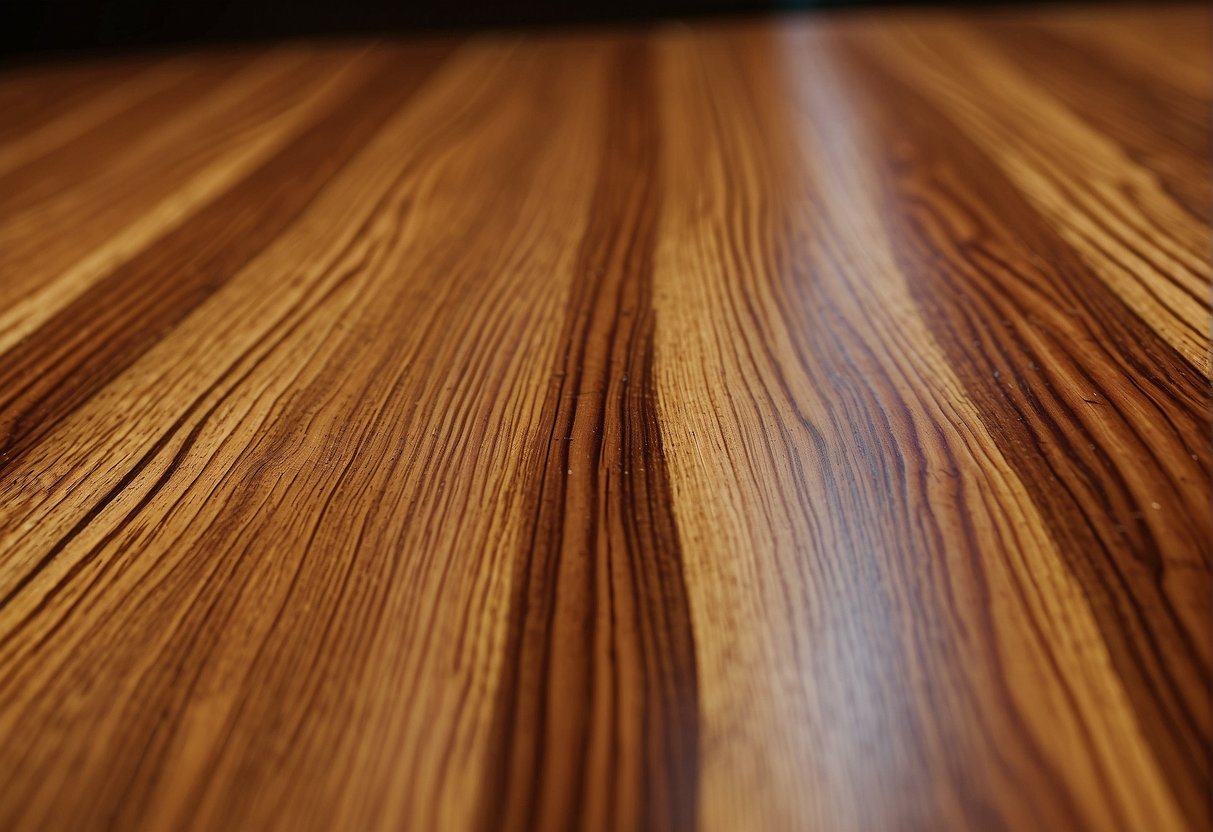
Linseed oil is a drying oil that is extracted from the seeds of the flax plant. It is commonly used as a wood finish because it penetrates deeply into the wood and hardens to form a protective film over time. Linseed oil is also known for its ability to enhance the natural beauty of wood by bringing out its grain patterns and colors.
When linseed oil is applied to wood, it undergoes a curing process known as polymerization. This process occurs when the oil reacts with oxygen in the air to form a hard, durable film. The curing process can take anywhere from a few days to several weeks, depending on the temperature and humidity of the environment.
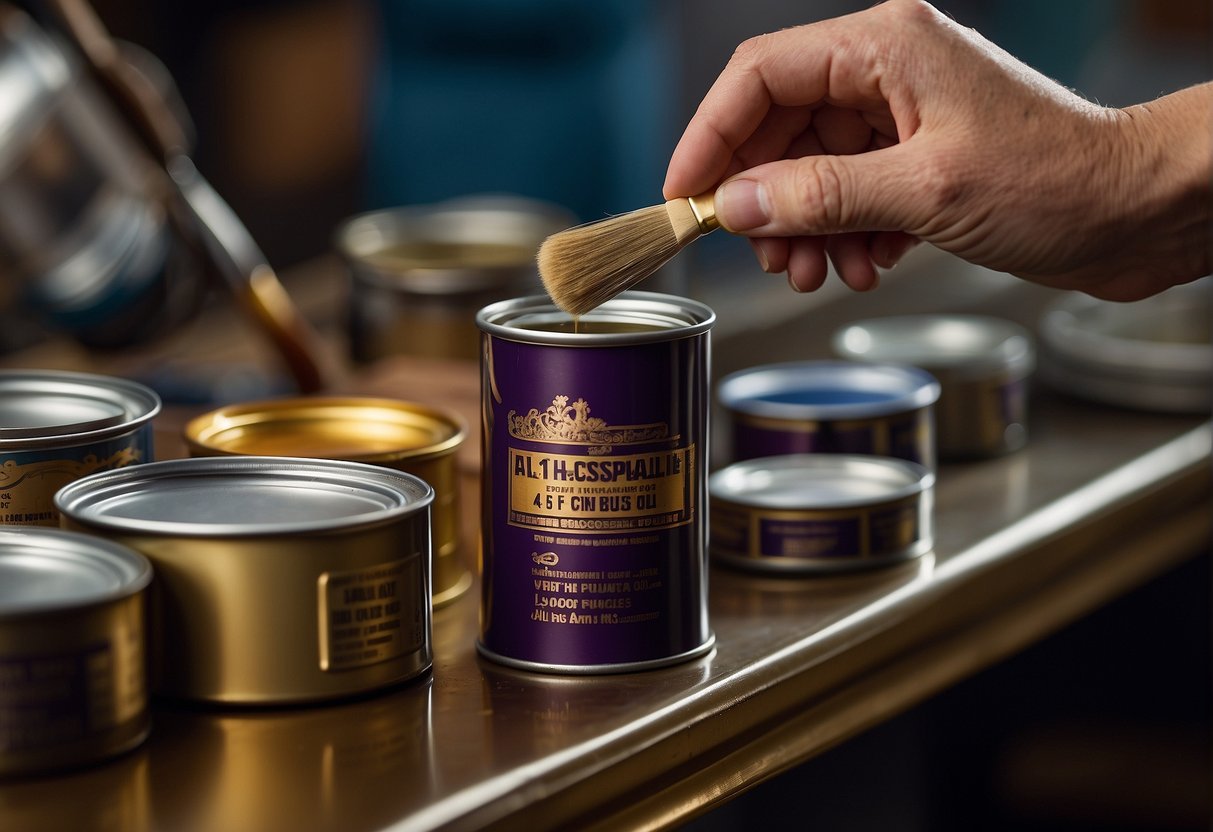
Lacquer Characteristics
Lacquer is a fast-drying, solvent-based finish that is commonly used on wood, metal, and other surfaces. It forms a hard, durable film that is resistant to scratches, dents, and other types of damage. Lacquer is also known for its ability to enhance the color and grain patterns of wood, making it a popular choice for furniture and other decorative items.
Lacquer cures through a process known as evaporation. When the solvent in the lacquer evaporates, it leaves behind a hard, durable film. The curing process can take anywhere from a few hours to several days, depending on the type of lacquer and the conditions in which it is applied.
When considering applying lacquer over linseed oil, it is important to keep in mind the properties of both finishes. While linseed oil is a slow-drying finish that cures through polymerization, lacquer is a fast-drying finish that cures through evaporation. If lacquer is applied too soon after linseed oil, the solvents in the lacquer may dissolve the linseed oil and prevent it from fully curing. Therefore, it is recommended to wait at least a week before applying lacquer over linseed oil to ensure that the linseed oil has fully cured.
Preparation and Application
Surface Preparation
Before applying lacquer over linseed oil, it is essential to prepare the surface properly. The surface should be clean, dry, and free from any dirt, dust, or grease. Sanding the surface with fine-grit sandpaper will help to remove any roughness and prepare it for the application of lacquer.
To ensure that the lacquer adheres well to the surface, it is recommended to apply a sanding sealer before applying the lacquer. The sanding sealer will help to fill any open pores in the wood and provide a smooth surface for the lacquer to stick to.
Application Techniques
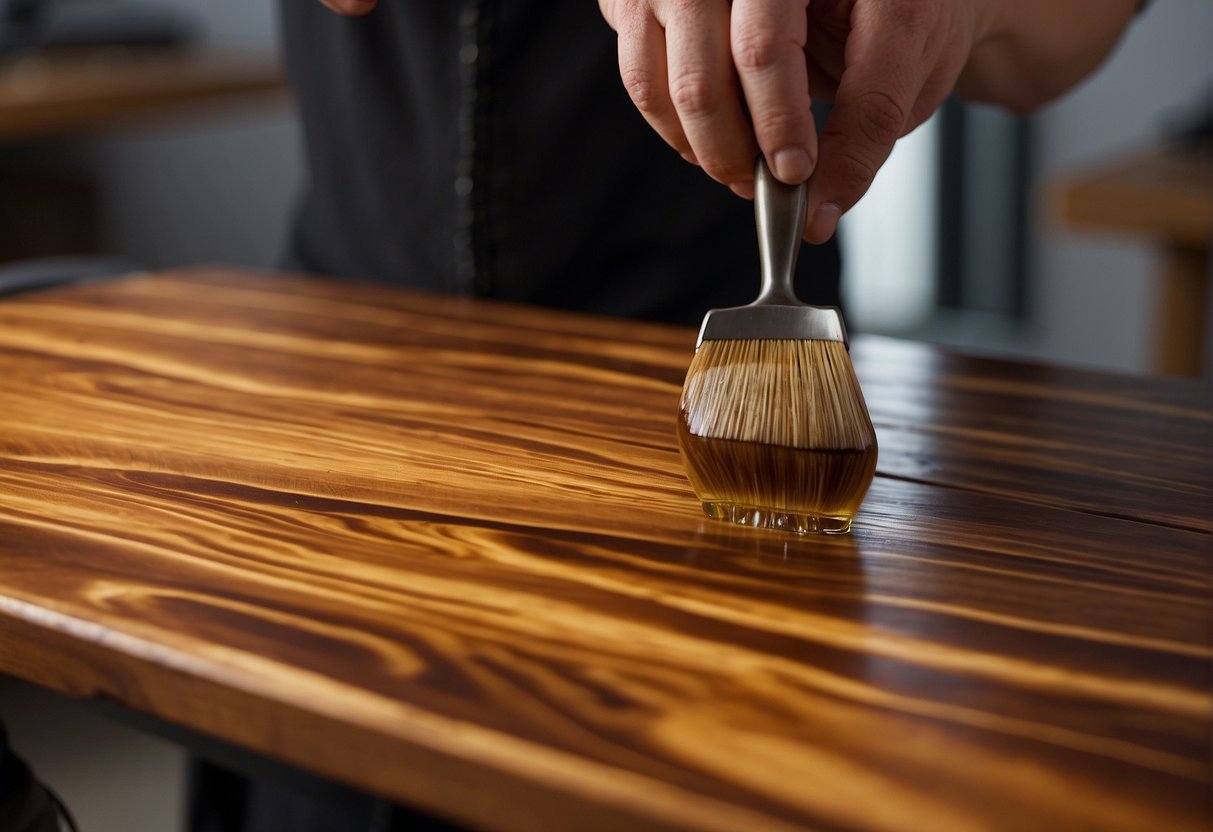
There are two common techniques for applying lacquer over linseed oil: brushing and spraying. Both techniques have their advantages and disadvantages, and the choice of technique will depend on the user’s preference and the project’s requirements.
When brushing, it is essential to use a high-quality brush that will not shed bristles or leave brush marks on the surface. The brush should be loaded with a small amount of lacquer and applied evenly in the direction of the grain. Multiple thin coats are better than one thick coat, and it is essential to allow each coat to dry completely before applying the next one.
Spraying is a faster and more efficient way of applying lacquer over linseed oil. It is essential to use a high-quality spray gun and ensure that the lacquer is mixed correctly. The spray gun should be held at a distance of 6 to 8 inches from the surface, and the lacquer should be applied in thin, even coats.
In conclusion, preparing the surface properly and applying the lacquer evenly is essential for a successful finish. Whether brushing or spraying, it is important to apply multiple thin coats and allow each coat to dry completely before applying the next one.
Drying and Curing Process
As a woodworker, I know that the drying and curing process of linseed oil is essential before applying any other finishes such as lacquer. The drying and curing process of linseed oil can be affected by several factors, including the type of oil, the temperature, humidity, and ventilation.
Factors Affecting Drying
The drying process of linseed oil is affected by the presence of oxygen in the air, which causes the oil to polymerize and form a hard film. However, the drying process can be slowed down by several factors, including the thickness of the oil layer, the type of oil used, and the humidity level. For instance, boiled linseed oil dries faster than raw linseed oil due to the presence of solvents.
Another factor that affects the drying process is temperature. Higher temperatures can accelerate the drying process, while lower temperatures can slow it down. Therefore, it is recommended to apply linseed oil in temperatures between 60°F and 80°F.
Curing Stages
Once the linseed oil is applied, it goes through several curing stages. The first stage is the surface drying stage, where the oil forms a skin on the surface. The second stage is the tacky stage, where the oil becomes sticky and can attract dust and dirt. The third stage is the hardening stage, where the oil forms a hard film.
It is important to note that the curing process of linseed oil can take several days to weeks, depending on the thickness of the oil layer and the weather conditions. During the curing process, it is important to provide proper ventilation to avoid the buildup of fumes. Mineral spirits can be used to clean up any excess oil, but it is important to avoid using too much as it can affect the drying and curing process.
In conclusion, the drying and curing process of linseed oil is crucial before applying any other finishes such as lacquer. The drying process can be affected by several factors, including the type of oil, temperature, humidity, and ventilation. The curing process goes through several stages, and it is important to provide proper ventilation and avoid using too much mineral spirits.
Finishing Techniques
When it comes to finishing woodwork, there are many techniques to choose from. However, when you are looking for a protective finish that also provides a beautiful sheen, lacquer over linseed oil is a great option.
Creating a Protective Finish
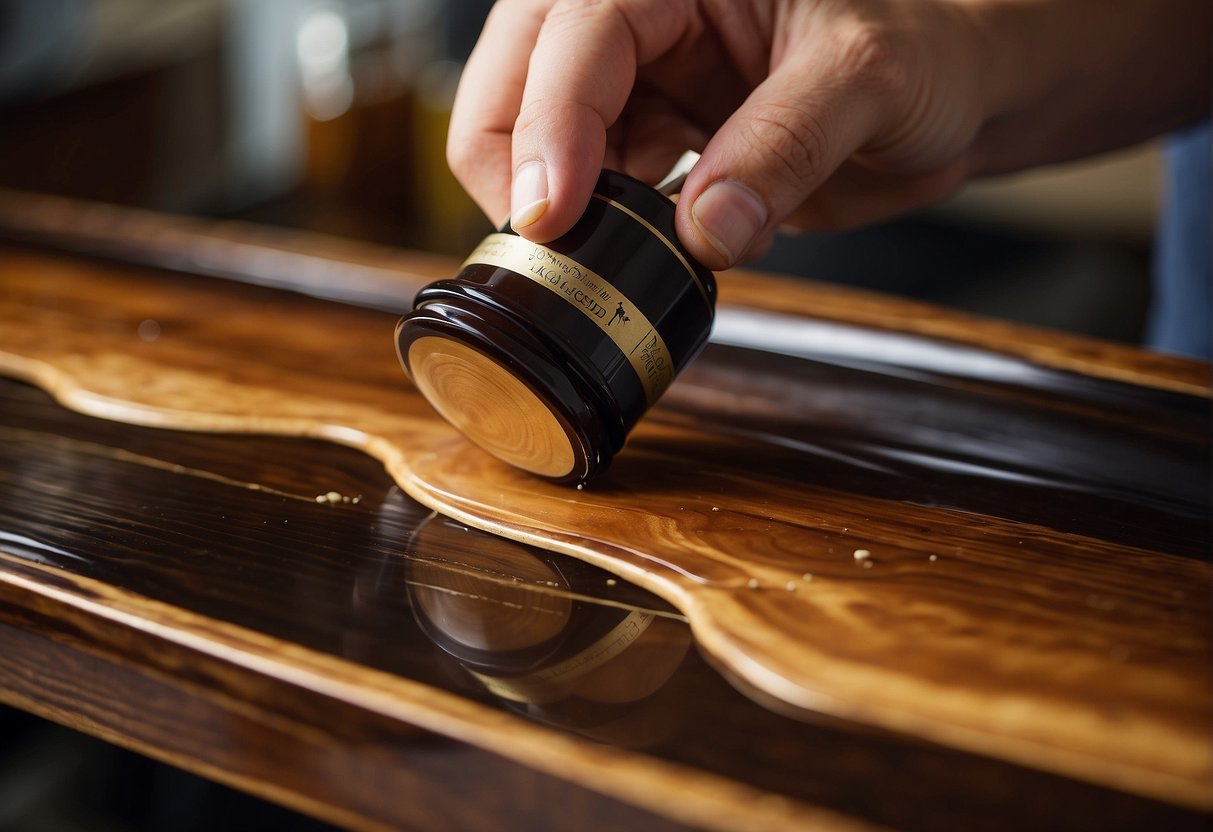
Lacquer is a top coat that can help protect wood from scratches, dents, and other types of damage. When applied over linseed oil, it can create a protective barrier that can help extend the life of your woodwork.
To create a protective finish, start by applying a coat of linseed oil to the wood. Let the oil dry completely before applying the first coat of lacquer. It is important to apply the lacquer in thin, even coats, allowing each coat to dry completely before applying the next. This will help ensure that the finish is smooth and even.
Achieving Desired Sheen
One of the benefits of using lacquer over linseed oil is that it can provide a beautiful sheen to the woodwork. However, the sheen level can vary depending on the type of lacquer you use and the number of coats you apply.
If you are looking for a high-gloss finish, you may want to consider using a piano finish lacquer. This type of lacquer is designed to provide a mirror-like finish that is perfect for high-end furniture and other decorative pieces.
If you prefer a more subtle sheen, you may want to use a satin or matte finish lacquer. These types of lacquers can provide a more natural look to the woodwork while still providing protection.
In conclusion, using lacquer over linseed oil can provide a protective finish that also enhances the natural beauty of woodwork. By following the right techniques and choosing the right type of lacquer, you can achieve the desired sheen and protection for your woodwork.
Maintenance and Repair
Regular Maintenance
To maintain the beauty and durability of lacquer over linseed oil finishes, regular maintenance is crucial. I recommend dusting the surface with a soft, lint-free cloth regularly. Avoid using abrasive cleaners or solvents as they can damage the finish. Instead, use a mild soap and water solution to clean the surface, and wipe it dry with a clean cloth.
If you notice any stains or spills on the surface, clean them immediately to prevent them from penetrating the finish. Use a damp cloth to wipe away the spill and dry the surface with a clean cloth. If the spill has penetrated the finish, it may require refinishing.
Repair and Refinishing
Despite regular maintenance, lacquer over linseed oil finishes may require repair or refinishing over time. If you notice any scratches or dents on the surface, you can repair them by filling them with a wood filler and sanding the surface smooth. Once the surface is smooth, you can apply a new coat of lacquer to restore the finish.
If the finish has become dull or damaged, it may require refinishing. Refinishing lacquer over linseed oil finishes involves stripping the old finish, sanding the surface, and applying a new coat of lacquer. It’s essential to follow the manufacturer’s instructions when refinishing lacquer over linseed oil finishes to ensure a long-lasting and durable finish.
In the kitchen, it’s essential to follow some rules to prevent damage to the finish. Avoid placing hot pans or dishes directly on the surface, as this can damage the finish. Instead, use trivets or pot holders to protect the surface. Raw wood can also be prone to damage, so it’s essential to protect it with a durable finish like lacquer over linseed oil.
Overall, with proper maintenance and repair, lacquer over linseed oil finishes can provide long-lasting protection and durability to your wood surfaces.
Frequently Asked Questions
How long should linseed oil cure before applying lacquer?
It is recommended to wait for at least five days or more for the boiled linseed oil (BLO) to cure before applying lacquer over it. This is because the curing process of BLO can take some time. Applying lacquer before the BLO is fully cured can result in issues such as bubbling, cracking, or peeling of the finish.
What are the best practices for applying lacquer over linseed oil-finished wood?
The best practice for applying lacquer over linseed oil-finished wood is to sand the surface of the wood with a fine-grit sandpaper until it is smooth. Then, clean the surface of the wood with a tack cloth to remove any dust or debris. Apply a thin coat of lacquer with a sprayer or brush, and allow it to dry completely. Lightly sand the surface with a fine-grit sandpaper, and then apply additional coats as needed.
Can you apply lacquer directly over freshly oiled wood?
It is not recommended to apply lacquer directly over freshly oiled wood. Freshly oiled wood can contain excess oil that has not yet been absorbed or dried, which can cause issues with the adhesion of the lacquer. It is recommended to wait for the boiled linseed oil to cure before applying lacquer.
What are the potential issues when using lacquer on top of linseed oil?
Potential issues when using lacquer on top of linseed oil include bubbling, cracking, or peeling of the finish. These issues can occur if the BLO is not fully cured before the lacquer is applied, or if the lacquer is not applied correctly. It is important to follow the best practices for applying lacquer over linseed oil-finished wood to avoid these issues.
Is there a difference in application between using lacquer over linseed oil versus tung or Danish oil?
The application process for lacquer over linseed oil is similar to that for tung or Danish oil. However, it is important to note that tung oil and Danish oil dry more slowly than BLO, so it may take longer for these finishes to cure before applying lacquer. It is recommended to wait for the oil to cure fully before applying lacquer.
How does the use of polyurethane compare to lacquer when finishing over linseed oil?
Polyurethane is a popular alternative to lacquer for finishing over linseed oil. Polyurethane is more durable and resistant to scratches and other types of damage than lacquer. However, polyurethane can be more difficult to apply than lacquer, and it can take longer to dry. It is important to follow the manufacturer’s instructions when using polyurethane.

Hi, I’m Sal Muller of Tooltrip.com. My DIY experience led me to understand essential power tools for home projects. Tooltrip.com guides enthusiasts and professionals in choosing right tools for any job. I provide concise top tool reviews for easier, efficient DIY.
