
As a homeowner, it’s important to keep an eye on the level of heating oil in your oil tank to avoid running out of fuel. One way to monitor the level of oil in your tank is by reading the oil tank gauge. However, there are different types of oil tank gauges, and it can be confusing to know whether to read the gauge from the top or the bottom.
Understanding oil tank gauges is crucial for homeowners who rely on heating oil to keep their homes warm during the winter months. In this article, I will explain how to read an oil tank gauge and provide tips for installation and maintenance. I will also discuss smart oil tank gauges and monitoring, heating oil delivery and usage, dealing with oil tank gauge failure, special considerations for oil tanks, estimating oil tank capacity, and alternatives to heating oil. By the end of this article, you will have a better understanding of how to read an oil tank gauge and keep your home warm and comfortable throughout the winter season.
Key Takeaways
- Knowing how to read an oil tank gauge is essential for homeowners who rely on heating oil to keep their homes warm during the winter months.
- There are different types of oil tank gauges, and it can be confusing to know whether to read the gauge from the top or the bottom.
- Smart oil tank gauges can provide more accurate readings and help homeowners monitor their oil usage more effectively.
Understanding Oil Tank Gauges
https://www.youtube.com/watch?v=llb2JHgckAk&embed=true
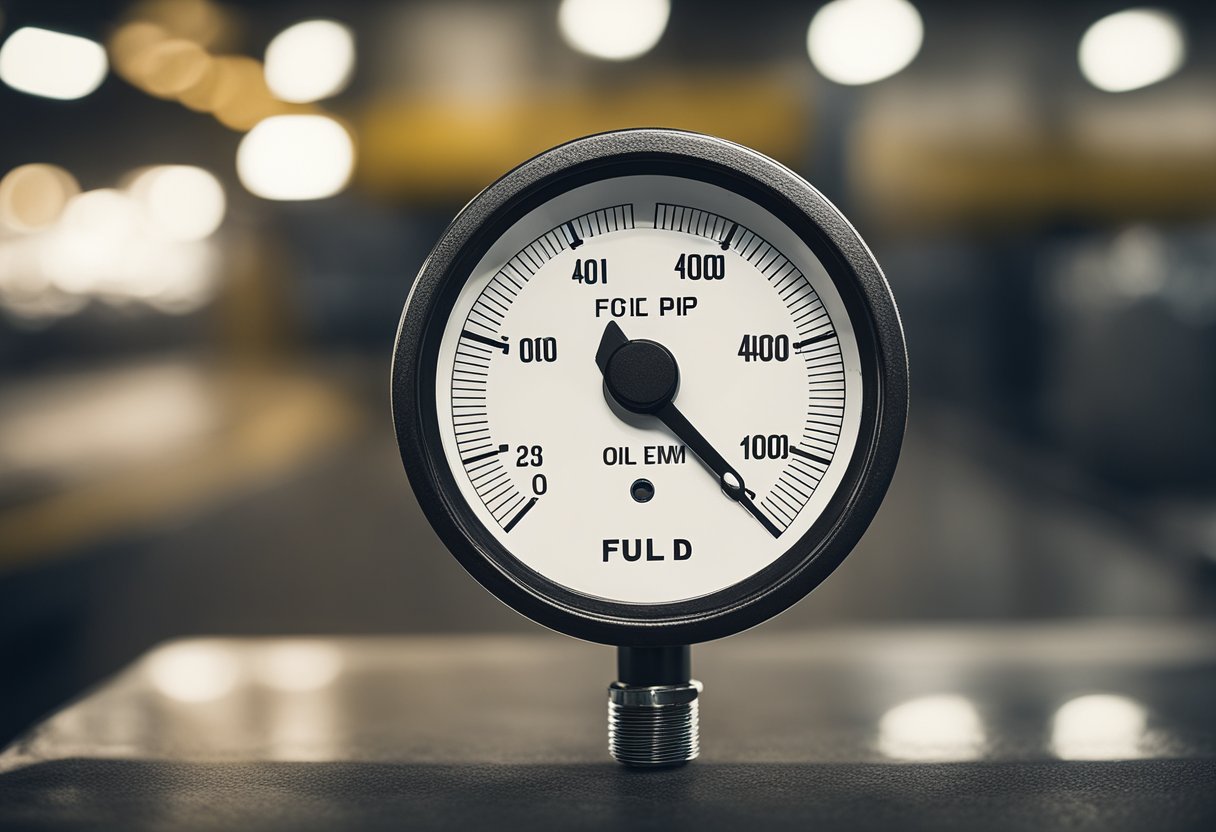
As a homeowner, it’s important to understand how to read your oil tank gauge to ensure that you never run out of heating oil. Oil tank gauges are used to measure the amount of oil in your heating oil tank. There are different types of oil tank gauges, but they all serve the same purpose.
One type of oil tank gauge is the float gauge, which is typically installed on top of the tank. The float-style gauge has a float on the end of an arm that moves up and down with the level of the oil in the tank. The float is connected to a visual indicator that shows the level of oil in the tank. This type of gauge is easy to read and provides an accurate measurement of the oil level.
Another type of oil tank gauge is the digital gauge, which is an electronic device that displays the oil level on a digital screen. This type of gauge is more expensive than the float gauge, but it provides a more accurate measurement of the oil level.
Oil tank gauges typically indicate Full, 3/4, 1/2, and 1/4. However, it’s important to note that these gauges are not very accurate when the tank is low. As a good rule of thumb, always order heating oil online at around 1/4 full. This gives you a few days for the oil to arrive before running out.
In conclusion, understanding your oil tank gauge is crucial for ensuring that you never run out of heating oil. There are different types of oil tank gauges, including float gauges and digital gauges, but they all serve the same purpose of measuring the amount of oil in your heating oil tank. Always order heating oil online at around 1/4 full to ensure that you have enough time for the oil to arrive before running out.
Reading an Oil Tank Gauge
https://www.youtube.com/watch?v=Ph5Z7n3Z1HU&embed=true
As a homeowner, it is important to know how to read an oil tank gauge to ensure that you never run out of oil. The oil tank gauge is usually located on the top or bottom of the oil tank and it displays the current oil level in the tank.
To read the oil tank gauge, you need to look for the tick marks on the gauge. These tick marks indicate the oil level in the tank. Typically, oil tank gauges have four tick marks: Full, 3/4, 1/2, and 1/4.
It is important to note that because the oil tank is rounded at the bottom, the gauges are not very accurate when the tank is low. As a good rule of thumb, always order heating oil online at around 1/4 full. This gives you a few days for the oil to arrive before running out.
If the oil tank gauge’s float is at the bottom of the gauge or not visible anymore, the oil tank is empty or close to empty. Do remember, though, that the oil gauge is telling you the level of fuel present in the tank.
In addition, some oil tank gauges have a red indicator that warns you when the oil level is getting low. This indicator usually comes on when the oil level is at about 1/8 of a tank.
Overall, reading an oil tank gauge is a simple process that can help you avoid running out of oil. By keeping an eye on the oil level and ordering oil when the tank is at 1/4 full, you can ensure that you always have enough oil to keep your home warm during the winter months.
Installation and Maintenance of Oil Tank Gauges
https://www.youtube.com/watch?v=UwkG9mp9CWU&embed=true
As someone who has installed and maintained oil tank gauges, I can tell you that they are an essential component of any oil heating system. Not only do they help you keep track of your oil levels, but they also help prevent costly repairs and maintenance issues.
When installing an oil tank gauge, it’s important to make sure that it is installed correctly and securely. This means that the gauge should be installed on the side of the tank, near the top, and that it should be level. If the gauge is not level, it may give inaccurate readings, which can lead to problems down the line.
Once the gauge is installed, it’s important to perform regular maintenance to ensure that it is working properly. This includes checking the gauge periodically to make sure that it is giving accurate readings. If the gauge is broken or not working properly, it may need to be repaired or replaced.
If you do need to repair or replace your oil tank gauge, it’s important to hire a professional to do the job. This is because working with oil tanks can be dangerous, and it’s important to make sure that the job is done correctly and safely. A professional will be able to diagnose the problem and make the necessary repairs or replacements.
In summary, installing and maintaining an oil tank gauge is an important part of owning an oil heating system. By making sure that the gauge is installed correctly, performing regular maintenance, and hiring a professional when necessary, you can help prevent costly repairs and maintenance issues down the line.
Smart Oil Tank Gauges and Monitoring
https://www.youtube.com/watch?v=NfjuROkFdUo&embed=true
As a homeowner, it is important to keep track of your heating oil levels to avoid running out of fuel. Traditional oil tank gauges can be inaccurate and difficult to read, which is where smart oil tank gauges come in.
Smart oil tank gauges use ultrasonic sensors to measure the oil level in your tank with high accuracy. They can be connected to a Wi-Fi network and monitored through a smartphone app, making it easy to keep track of your oil levels from anywhere.
One example of a smart oil gauge is the Smart Oil Gauge, which can provide readings within a few gallons of your tank level, except for the top 8 inches of the tank. The gauge is easy to install and can be set up in minutes.
Using a smart oil gauge can help you avoid the hassle and expense of running out of heating oil. By monitoring your oil levels through the app, you can receive alerts when it’s time to order more oil, ensuring that you always have enough fuel to keep your home warm.
Overall, smart oil tank gauges offer a convenient and accurate way to monitor your heating oil levels. With the ability to connect to Wi-Fi and use a smartphone app, they make it easy to keep track of your oil levels and avoid running out of fuel.
Heating Oil Delivery and Usage
https://www.youtube.com/watch?v=WcAG24nWyg8&embed=true
When it comes to heating oil delivery and usage, it is important to keep track of your oil tank gauge. This will help you to know when it is time to reorder oil and prevent a runout. Most oil tanks have a gauge that shows the level of oil in the tank, but some people are confused about how to read an oil tank float gauge.
To read the gauge, you need to look for a clear glass or plastic tube that is marked with numbers that resemble the gas gauge of your car: F, ¾, ½, ¼ indicators. A red marker or float indicates the amount of fuel left in your tank. Some people may wonder whether to use the top or bottom as the indicator. Reading the top of the float may provide a more precise measurement, but it is important to keep in mind that the gauge will go from 1/4 to empty quicker than it will go from 1/2 to 1/4 due to the rounded bottom of a fuel oil tank.
It is recommended to reorder oil when the gauge is reading 1/4 full to avoid a runout. If you are unsure of how much oil you need, you can use an online oil delivery calculator to estimate how much oil you need based on the size of your tank and the current level of oil in the tank.
When it comes to heating oil usage, it can vary depending on factors such as the size of your home, the outdoor temperature, and the efficiency of your heating system. It is important to keep track of your usage and reorder oil as necessary to ensure that you have enough to last through the winter months.
Overall, keeping track of your oil tank gauge and usage is essential for ensuring that you have enough heating oil to keep your home warm throughout the winter. By understanding how to read your oil tank gauge and when to reorder oil, you can avoid a runout and ensure that your home stays comfortable and warm.
Dealing with Oil Tank Gauge Failure
As an oil tank owner, it is important to monitor the oil level in your tank to avoid running out of fuel unexpectedly. The oil tank gauge is an essential tool for this purpose. However, oil tank gauges can fail, leaving you unsure of how much oil is left in your tank. In this section, I will discuss how to deal with oil tank gauge failure.
Testing and Inspection
If your oil tank gauge is not working, the first thing you should do is test it. You can do this by manually checking the oil level in your tank using a dipstick. If the oil level is low, then your gauge is likely accurate and needs to be replaced. If the oil level is high, then your gauge may be faulty and needs to be inspected.
When inspecting your oil tank gauge, look for signs of damage or wear and tear. Check the float, the arm, and the gauge face for any cracks, rust, or other damage. If you find any damage, then your gauge needs to be replaced.
Replacing the Gauge
Replacing an oil tank gauge is a simple process that can be done by a professional or a DIY enthusiast. You will need to purchase a new gauge that is compatible with your tank and install it according to the manufacturer’s instructions. Make sure to turn off the power to your heating system before installing the new gauge to avoid any electrical hazards.
Preventing Gauge Failure
To prevent oil tank gauge failure, it is important to perform regular maintenance on your tank and gauge. Check your gauge periodically for signs of wear and tear, and replace it if necessary. Also, make sure to keep your tank clean and free of debris, which can damage the gauge.
In conclusion, dealing with oil tank gauge failure involves testing and inspecting the gauge, replacing it if necessary, and taking steps to prevent future failures. By following these guidelines, you can ensure that your oil tank gauge is accurate and reliable, and avoid the inconvenience of running out of fuel unexpectedly.
Special Considerations for Oil Tanks
When it comes to reading an oil tank gauge, there are a few special considerations to keep in mind. Depending on the location of your oil tank, you may need to take extra precautions to ensure an accurate reading.
Above-Ground Oil Tanks
If your oil tank is located above ground, it’s important to make sure the gauge is properly installed and calibrated. The gauge should be located on top of the tank and should be easy to read. If the gauge is not properly calibrated, it may give an inaccurate reading, which could lead to overfilling or running out of oil.
Underground Oil Tanks
If your oil tank is located underground, it’s important to have the gauge inspected regularly to ensure it’s working properly. Because the gauge is located underground, it’s more difficult to access and may be more prone to damage or malfunction. Regular inspections can help prevent leaks or other issues.
Basement, Garage, or Outdoor Oil Tanks
If your oil tank is located in a basement, garage, or outdoors, it’s important to make sure the gauge is easily accessible and properly lit. If the gauge is difficult to read or located in a dark area, it may be more difficult to get an accurate reading. Additionally, if your oil tank is located outdoors, it’s important to make sure it’s properly protected from the elements to prevent damage or leaks.
Buried Oil Tanks
If your oil tank is buried, it’s important to make sure the gauge is properly installed and calibrated. Because the gauge is buried, it may be more difficult to access and may be more prone to damage or malfunction. Regular inspections can help prevent leaks or other issues.
Overall, reading an oil tank gauge requires careful attention to detail and an understanding of the unique considerations that come with different types of oil tanks. By taking the time to properly maintain and inspect your oil tank gauge, you can ensure an accurate reading and prevent issues down the line.
Estimating Oil Tank Capacity
As a homeowner, it is important to know how to estimate the capacity of your oil tank. This will help you avoid running out of fuel unexpectedly, and it will also help you plan your fuel deliveries more effectively. There are several methods that you can use to estimate your oil tank capacity, including using a yardstick, a dipstick, or a tank chart.
One of the most common methods for estimating oil tank capacity is to use a yardstick. To do this, you will need to know the size of your oil tank, which is usually measured in gallons. Once you know the size of your tank, you can use a yardstick to measure the depth of the oil in the tank. Simply insert the yardstick into the tank until it touches the bottom, and then read the measurement on the stick. You can then use a tank chart to convert this measurement into gallons.
Another method for estimating oil tank capacity is to use a dipstick. This is similar to using a yardstick, but instead of measuring the depth of the oil in the tank, you will be measuring the height of the oil in the tank. To do this, you will need to insert the dipstick into the tank until it touches the bottom, and then slowly pull it out. As you pull the dipstick out, you will be able to see how high the oil is in the tank. You can then use a tank chart to convert this measurement into gallons.
It is important to note that different oil tanks have different capacities, and the amount of fuel that you can store in your tank will depend on its size. For example, a 275-gallon oil tank will have a capacity of approximately 225 gallons, while a 330-gallon oil tank will have a capacity of approximately 275 gallons [1]. It is important to know the capacity of your oil tank so that you can order the correct amount of fuel and avoid overfilling the tank.
In summary, there are several methods that you can use to estimate the capacity of your oil tank, including using a yardstick, a dipstick, or a tank chart. It is important to know the size of your oil tank and its capacity so that you can order the correct amount of fuel and avoid running out unexpectedly.
Alternatives to Heating Oil
As someone who has experience with heating oil, I understand that it can be a costly and sometimes inconvenient way to heat your home. Fortunately, there are alternatives to heating oil that may be worth considering.
One alternative to heating oil is natural gas. Natural gas is often less expensive than heating oil and can be more convenient to use. It is also a cleaner-burning fuel than heating oil, which can be better for the environment. If you are interested in switching to natural gas, you will need to have a natural gas line installed in your home. This can be an expensive upfront cost, but the savings on your monthly heating bills may make it worth it in the long run.
Another alternative to heating oil is to take advantage of discounts and incentives. Many energy companies offer discounts to customers who sign up for automatic delivery or who purchase a certain amount of fuel at once. You may also be able to take advantage of government incentives for switching to a more energy-efficient heating system.
Finally, consider using a programmable thermostat to help reduce your heating costs. By setting your thermostat to automatically lower the temperature when you are not home or at night, you can save money on your heating bills without sacrificing comfort. Some thermostats can even be controlled remotely using a smartphone app, making it easy to adjust the temperature from anywhere.
In conclusion, there are several alternatives to heating oil that may be worth considering. Whether you choose to switch to natural gas, take advantage of discounts and incentives, or use a programmable thermostat, there are ways to reduce your heating costs and make your home more energy-efficient.
Frequently Asked Questions
What are the types of oil tank gauges available?
There are different types of oil tank gauges available, including float gauges, hydrostatic gauges, and electronic gauges. Float gauges are the most common type of gauge and use a float connected to a measuring tape to determine the amount of oil in the tank. Hydrostatic gauges use a tube filled with liquid to measure the pressure exerted by the oil in the tank. Electronic gauges use sensors to measure the amount of oil in the tank and display it on a digital screen.
How do I know if my oil tank gauge is not working?
If your oil tank gauge is not working, it may be due to a faulty gauge, a broken float, or a clogged measuring tape. You can check if your gauge is working by manually measuring the amount of oil in the tank using a dipstick. If the reading on the dipstick is different from the reading on the gauge, then the gauge may not be working properly.
What is the process to replace an oil tank gauge?
To replace an oil tank gauge, first, you need to turn off the power to the heating system. Then, you need to remove the old gauge from the tank and disconnect the wires. Next, you need to install the new gauge and connect the wires. Finally, you need to turn the power back on and test the new gauge to make sure it is working properly.
How can I tell how much heating oil is left in my tank?
To tell how much heating oil is left in your tank, you can use a dipstick or read the gauge on the tank. The gauge will usually show the amount of oil left in the tank as a percentage or in gallons. It is important to reorder oil when the gauge is reading 1/4 full to prevent a runout.
What are the steps to replace a 275 gallon oil tank gauge?
To replace a 275 gallon oil tank gauge, you need to follow the same steps as replacing any other oil tank gauge. First, turn off the power to the heating system. Then, remove the old gauge from the tank and disconnect the wires. Next, install the new gauge and connect the wires. Finally, turn the power back on and test the new gauge to make sure it is working properly.
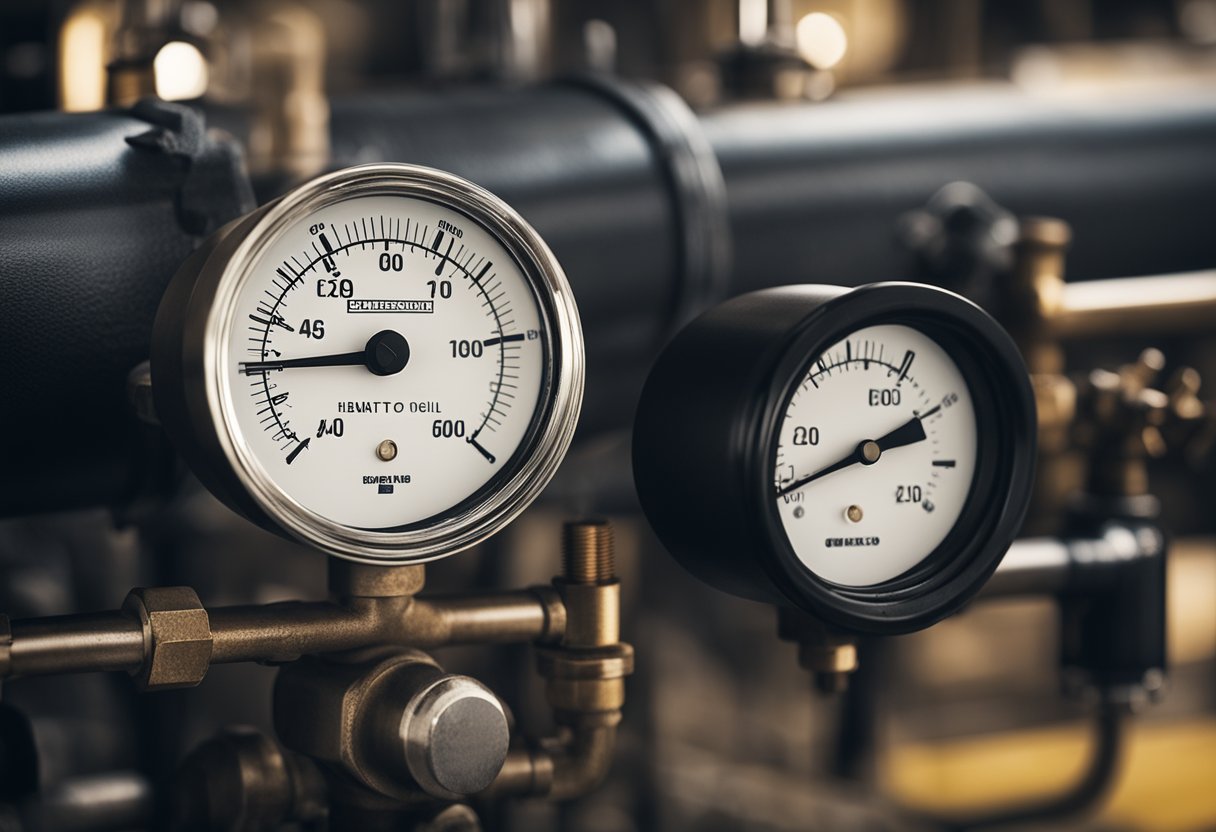
How do I read an oil boiler gauge?
To read an oil boiler gauge, you need to look at the gauge and read the measurement displayed. The gauge will usually show the pressure of the oil in the boiler in PSI (pounds per square inch). It is important to maintain the correct pressure in the oil boiler to ensure that it is working properly.

Hi, I’m Sal Muller of Tooltrip.com. My DIY experience led me to understand essential power tools for home projects. Tooltrip.com guides enthusiasts and professionals in choosing right tools for any job. I provide concise top tool reviews for easier, efficient DIY.
