
Toenailing is a technique used to fasten boards at an angle. This technique is commonly used in framing and carpentry, where the boards need to be secured at an angle to provide additional support. However, toenailing can be a challenging technique to execute, especially if you are using traditional methods. In this article, I will explain how to toenail with a framing nailer, which can make the process much easier and efficient.
Toenailing with a framing nailer involves using a tool that can drive nails into boards at a 90-degree angle. This tool can help you avoid the pain and swelling associated with traditional toenailing methods. However, using a framing nailer requires some knowledge and practice to ensure that you get the job done right. In this article, I will provide you with a step-by-step guide on how to toenail with a framing nailer, along with some tips and tricks to help you get the best results.
Key Takeaways
- Understanding the basics of toenailing and how a framing nailer can make the process easier
- Preparing your materials and tools before starting the toenailing process
- Executing the toenailing technique safely and efficiently while troubleshooting common issues
Understanding Toenailing
https://www.youtube.com/watch?v=BKDHLZkQknA&embed=true
As a carpenter, I know that toenailing is an essential technique in woodworking. It involves driving a nail at an angle through a standing stud into a baseboard to secure it. Toenailing is a useful technique when you need to attach two pieces of wood at a 45-degree angle.
Toenailing can be done with a hammer, but it can be difficult to keep the nail and the hammer steady at the same time. That’s why using a framing nailer is a better option. A framing nailer is a tool used to drive nails into boards at a 90-degree angle. However, with the right technique, it can also be used for toenailing.
The first step in toenailing with a framing nailer is to choose the right angle. The most common angle for toenailing is 45 degrees. This angle provides enough holding power without splitting the wood.
When selecting the nail size, it’s essential to choose the right one for the job. A 16d nail, or 3-1/2 inch, is the ideal size for toenailing a 2×4 or 2×6 board. It’s essential to make sure the nail is driven straight into the wood to avoid splitting.
Toenailing with a framing nailer may take some practice, but it’s an essential technique to master. By using the right angle and nail size, you can achieve a strong and secure connection between two pieces of wood.
Tools and Materials
https://www.youtube.com/watch?v=EsAhURtu-4k&embed=true
To toenail with a framing nailer, you will need the following tools and materials:
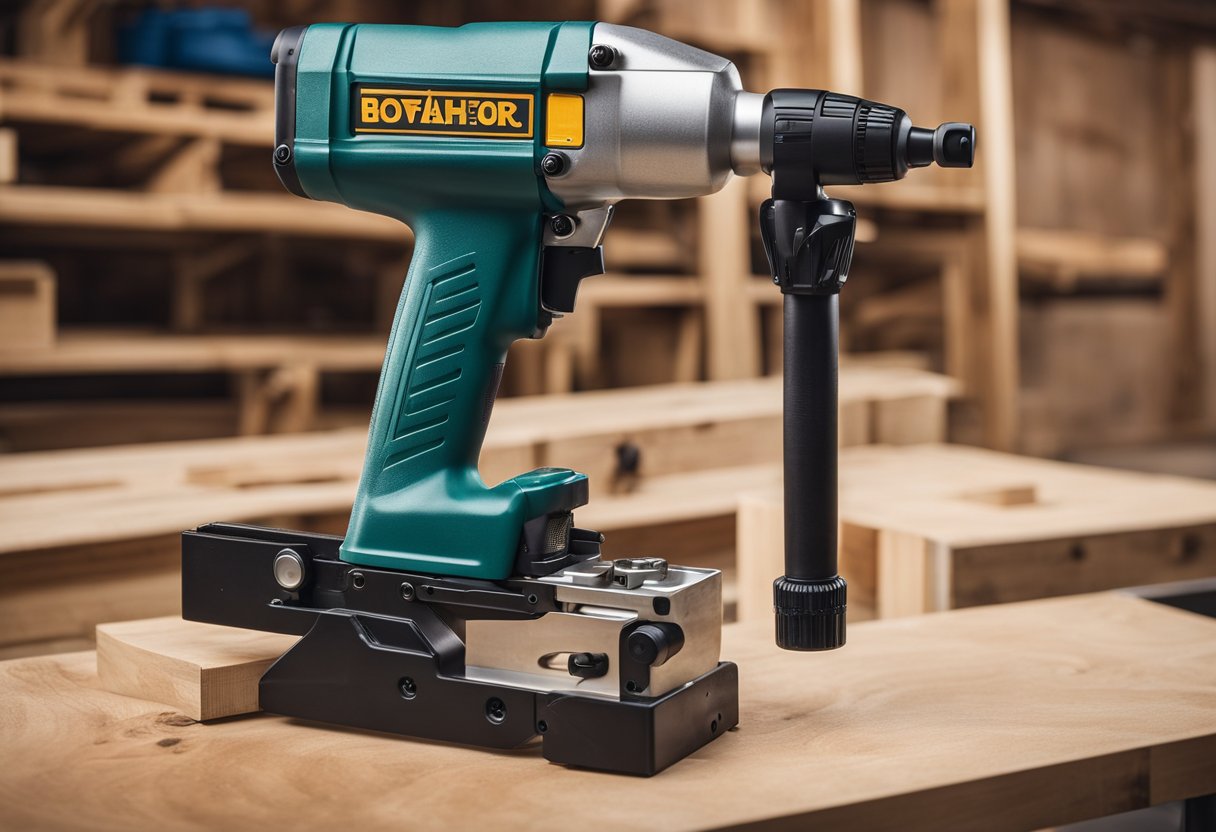
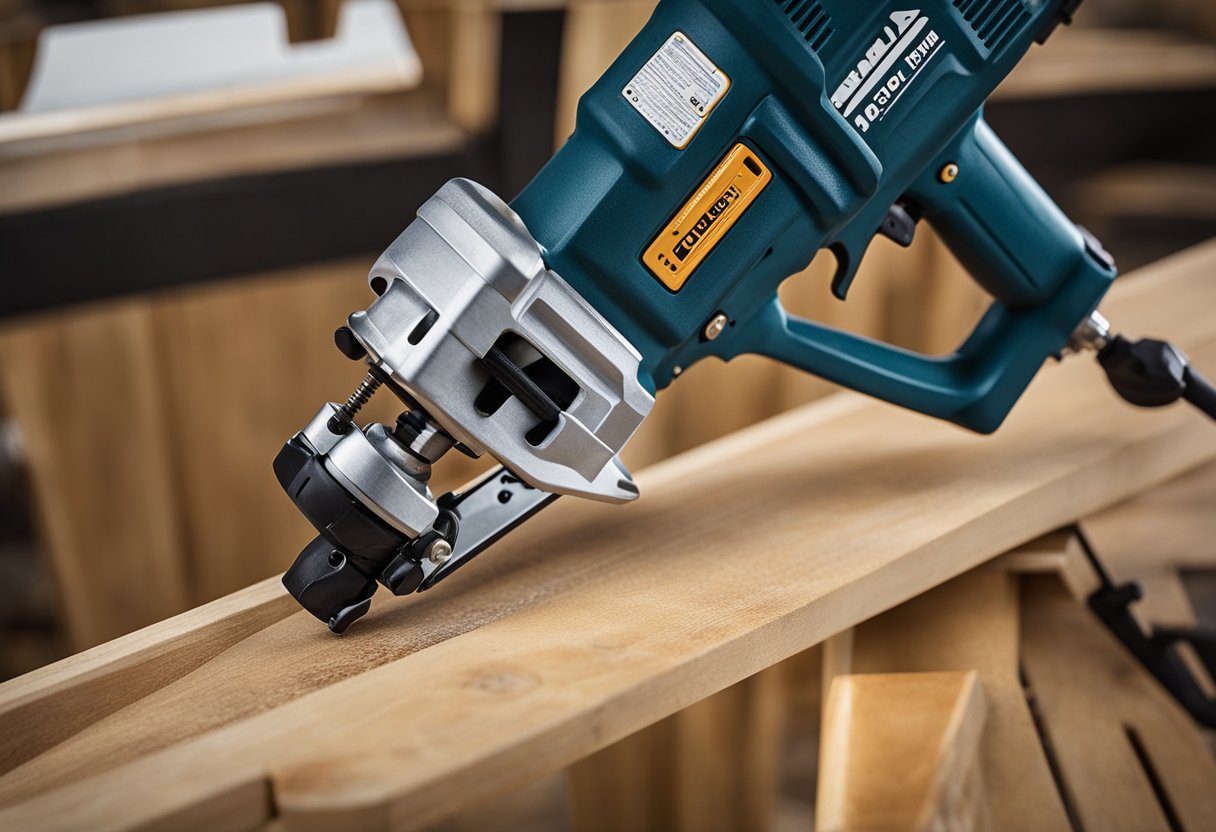
- Framing Nailer: A framing nailer is a tool that drives nails into wood at a 90-degree angle. There are three types of framing nailers: pneumatic, cordless, and electric. Pneumatic framing nailers require an air compressor and a hose, while cordless framing nailers use a battery.
- Nails: The size and number of nails you need will depend on the thickness of the wood you are nailing. For 2×4 lumber, use 3-inch nails. For 2×6 lumber, use 3.5-inch nails. You will need at least two nails per joint.
- Hammer: A hammer can be used to toenail, but it can be difficult to get the nail in at the right angle.
- Oil: If you are using a pneumatic framing nailer, you will need oil to lubricate the tool.
- Lumber: You will need the lumber you are nailing together. Make sure it is straight and free of knots.
When using a framing nailer, it is important to follow the manufacturer’s instructions. Make sure to wear safety glasses and ear protection. Keep your fingers away from the trigger until you are ready to nail.
Safety Measures
https://www.youtube.com/watch?v=I0gVn8aVK30&embed=true
When working with a framing nailer, safety should always be a top priority. As a professional carpenter, I take various safety measures to minimize the risk of injury. Here are some of the safety precautions that I take:
Wear Protective Gear
Before using a framing nailer, it is important to wear appropriate protective gear. This includes safety glasses or goggles to protect your eyes from flying debris. Additionally, gloves can protect your hands from accidental nail gun shots.
Be Cautious
It is important to be cautious when using a framing nailer. Always keep your fingers away from the trigger when not in use, and never point the tool at anyone, even if it is not loaded. Additionally, make sure that the tool is disconnected from the air supply when not in use.
Follow Safety Precautions
In addition to wearing protective gear and being cautious, it is important to follow safety precautions when using a framing nailer. Always read the manufacturer’s instructions and follow them carefully. Additionally, make sure that the tool is properly maintained and inspected before each use.
Overall, using a framing nailer can be a safe and efficient way to complete your carpentry projects. By taking the necessary safety measures and precautions, you can minimize the risk of injury and ensure that your work is completed safely and efficiently.
Preparation Process
https://www.youtube.com/watch?v=rzfAdOwWoGs&embed=true
Before starting with the toenailing process using a framing nailer, it is essential to make sure that all the tools and materials are in good condition and ready to use. Here are some steps that I follow to prepare for the toenailing process:
1. Select the Right Nailer and Nail Size
First, I ensure that I have the right nailer for the job and that it is in good condition. I typically use a heavy-duty coil nailer that can handle toenailing through framing lumber, floor joists, and wood pieces. I also make sure to use the right size nails for the job, which is usually 16d nails for toenailing.
2. Check the Air Pressure
I check the air pressure of my nailer to ensure it is at the right level for the job. This is important to ensure that the nails are driven into the wood with enough force for stability.
3. Prepare the Wood Pieces
Before starting the toenailing process, I make sure that the wood pieces are in good condition and free from any defects or damage. It’s also important to ensure that the wood pieces are straight and aligned properly.
4. Set up the Work Area
I set up the work area by laying out the wood pieces and marking the layout line where the toenailing will take place. I also make sure to have a spacer on hand to ensure precision and stability during the toenailing process.
5. Adjust the Nailer Depth
I adjust the depth-changing wheel on my nailer to ensure that the nails are driven into the wood at the right depth. This is important to ensure that the nails are not driven too deep or too shallow, which can affect the stability of the joint.
By following these steps, I am able to prepare for the toenailing process using a framing nailer with confidence and precision.
Executing the Toenailing Technique
https://www.youtube.com/watch?v=S7kWPpOqU5E&embed=true
Toenailing with a framing nailer can be a time-saving and efficient technique for carpenters and builders. Here are some steps to execute the toenailing technique with a framing nailer:
-
Choose the right nail size: The size of nails used for toenailing should be based on the thickness of the wood being used. For example, 2x4s require 8d nails, while 2x6s require 10d nails.
-
Adjust the angle: The angle at which the nail is driven is essential for a strong joint. Toenail at a 45-degree angle through the side of the board and into the end of the other board.
-
Hold the framing nailer properly: Hold the handle of the framing nailer with both hands, and keep your fingers away from the trigger.
-
Position the nail gun: Position the nail gun so that the magazine is flush with the wood surface.
-
Shoot the nail: Pull the trigger to shoot the nail. The nail should penetrate through the first board and into the second board.
-
Repeat: Repeat the process for all the toenails needed to secure the joint.
It is essential to follow safety precautions when using a framing nailer. Wear protective gear such as safety goggles and gloves, and ensure that the framing nailer is in good condition. Follow the manufacturer’s instructions for setup and use.
There are different types of framing nailers available, such as pneumatic, battery-powered, and cordless. Choose the one that suits your needs and preferences. The magazine capacity, bump or sequential trigger mode, and air pressure are some of the factors to consider when selecting a framing nail gun.
Toenailing with a framing nailer can provide a strong joint that meets building codes and provides stability. It is a technique that requires precision and skill, and it can be used for various woodworking projects, such as house frames and picture frames.
Troubleshooting Common Issues
When using a framing nailer, there are a few common issues that can arise. Here are some troubleshooting tips to help you overcome these problems:
Nail Jams
One of the most common issues with a framing nailer is nail jams. Nail jams can occur if the nails are not aligned properly or if there is dirt and debris in the magazine. To fix this problem, you should clear the magazine by opening it and removing any jammed nails. This will help to prevent future jams.
Depth Settings
Another common cause of framing nailer issues is incorrect depth settings. If your nails are not sinking properly, make sure to check the depth-of-drive settings on the framing gun. It is also important to run the nailer at the maximum pressure (120 PSI) to see if the issue has resolved itself.
Air Leaks
Air leaks are another common problem that can occur with framing nailers. Faulty or damaged seals and o-rings are often the cause of air leaks. Check your tool to see if any of the seals or o-rings are damaged. Lack of oil can also cause o-rings to be damaged, so make sure to oil your nailer regularly. Generally speaking, nailers need 2-3 drops of oil a day.
Trigger Mode
Framing nailers come with two different trigger modes: sequential and bump. If you are having issues with your nailer, it may be due to the trigger mode. In sequential mode, the trigger must be released and re-pulled for each nail, while in bump mode, the trigger can be held down and the nailer will fire continuously. If you are having issues with your nailer, try switching to the other trigger mode to see if it helps.
Safety Precautions
When using a framing nailer, it is important to take the necessary safety precautions. Always wear safety glasses and gloves when using a nail gun, and make sure to follow the manufacturer’s instructions carefully. It is also important to be aware of your surroundings and to never point the nail gun at anyone.
By troubleshooting these common issues, you can ensure that your framing nailer is in good condition and that you are able to use it safely and effectively.
Maintaining Your Framing Nailer
As a builder, I know that keeping your tools in good condition is crucial for getting the job done right. A framing nailer is no exception. Here are some tips on how to maintain your framing nailer for optimal performance and longevity.
Regular Cleaning
One of the most important things you can do to keep your framing nailer in good condition is to clean it regularly. After each use, wipe down the nailer with a clean cloth to remove any dust or debris. You should also clean the magazine and nosepiece with a soft-bristled brush to remove any dirt or sawdust that may have accumulated.
Lubrication
Another important aspect of maintaining your framing nailer is lubrication. You should regularly oil your nailer to ensure that it operates smoothly. Most pneumatic framing nailers require oil, and it’s important to follow the manufacturer’s instructions for the type and frequency of oiling.
Air Compressor and Hose
If you’re using a pneumatic framing nailer, it’s important to maintain your air compressor and hose as well. Make sure that your air compressor is in good condition and that the hose is not kinked or damaged. Check the air pressure regularly to ensure that it’s at the correct level for your nailer.
Battery Maintenance
If you’re using a cordless framing nailer, you’ll need to maintain the battery to ensure optimal performance. Follow the manufacturer’s instructions for charging and storing the battery. You should also check the battery regularly for signs of wear or damage.
Protective Gear
Finally, it’s important to wear the proper protective gear when using a framing nailer. This includes safety goggles to protect your eyes from flying debris, as well as ear protection if you’re using a pneumatic nailer.
By following these tips, you can keep your framing nailer in good condition and ensure that it performs optimally for years to come.
Frequently Asked Questions
What is the best angle for toenailing with a framing nailer?
The best angle for toenailing with a framing nailer is 45 degrees. This angle ensures that the nail is driven through the board and into the stud at an angle that will provide maximum holding power.
How do you properly toenail a stud using a framing nailer?
To properly toenail a stud using a framing nailer, you should first position the nailer at a 45-degree angle to the board. Next, place the tip of the nailer against the board where you want to drive the nail. Finally, pull the trigger to drive the nail through the board and into the stud.
What are the alternatives to toenailing?
There are a few alternatives to toenailing, including using metal brackets, screws, or adhesive. However, toenailing is still a popular choice for many carpenters because it is quick and easy to do with a framing nailer.
What type of nails should be used for framing?
The type of nails that should be used for framing depends on the size of the boards being used. For 2×4 boards, 16d nails are typically used. For larger boards, such as 2×6 or 2×8, longer nails may be necessary.
How many nails should be used for framing?
The number of nails that should be used for framing depends on the size of the boards being used. For 2×4 boards, two nails should be used for each end of the board. For larger boards, such as 2×6 or 2×8, three nails may be necessary for each end of the board.
What is the technique for toenailing?
The technique for toenailing involves driving a nail at a 45-degree angle through a board and into a stud. This technique is used to attach the board to the stud without having to nail through the face of the board. Toenailing can be done quickly and easily with a framing nailer, which makes it a popular choice for many carpenters.

Hi, I’m Sal Muller of Tooltrip.com. My DIY experience led me to understand essential power tools for home projects. Tooltrip.com guides enthusiasts and professionals in choosing right tools for any job. I provide concise top tool reviews for easier, efficient DIY.
