
Removing painted over screws can be a daunting task, but it is an essential skill for any DIY enthusiast or professional. Painted over screws can be found in many places, from old furniture to walls and ceilings. They can be challenging to remove, but with the right tools, techniques, and a little bit of patience, you can get the job done.
Understanding the Challenge of Painted Over Screws is the first step in successfully removing them. Paint can make screws difficult to grip, and it can also clog up the screw head, making it hard to insert a screwdriver. The paint can also make the screw head brittle, which can cause it to break off during removal. In this article, I will explain how to remove painted over screws and provide you with some tips and tricks to make the process easier.
Key Takeaways
- Removing painted over screws can be challenging, but with the right tools and techniques, it is possible.
- Before attempting to remove painted over screws, it is essential to understand the challenges they present.
- By following the steps outlined in this article, you can successfully remove painted over screws and complete your DIY projects with ease.
Understanding the Challenge of Painted Over Screws
As a handyman, I have come across many old hardware pieces that have been painted over, including screws. Removing painted-over screws can be a daunting task, but it is not impossible. The key is to understand the challenge and have the right tools and techniques at hand.
Painted screws can be a challenge for several reasons. First, the paint can fill in the screw head, making it difficult to grip with a screwdriver. Second, the paint can cause the screw to stick to the surrounding material, making it hard to turn. Third, the paint can make the screw head brittle, causing it to strip or break when attempting to remove it.
To overcome these challenges, it is important to have the right tools and techniques. Here are some tips to help you remove painted-over screws:
-
Use a screwdriver with a good grip. A screwdriver with a comfortable handle and a good grip can help you turn the screw even if it is covered in paint. You may also want to consider using a screwdriver with a magnetic tip to prevent the screw from falling off.
-
Apply heat to soften the paint. Heat can help soften the paint and make it easier to remove. You can use a heat gun or a hairdryer to apply heat directly to the screw head.
-
Use a paint stripper. A paint stripper can help dissolve the paint and make it easier to remove. Be sure to follow the manufacturer’s instructions carefully and wear protective gear.
-
Use a screw extractor. If the screw is stripped or broken, a screw extractor can help you remove it. A screw extractor is a tool that is designed to grip the screw and turn it out.
By understanding the challenges of painted-over screws and using the right tools and techniques, you can successfully remove them and complete your project.
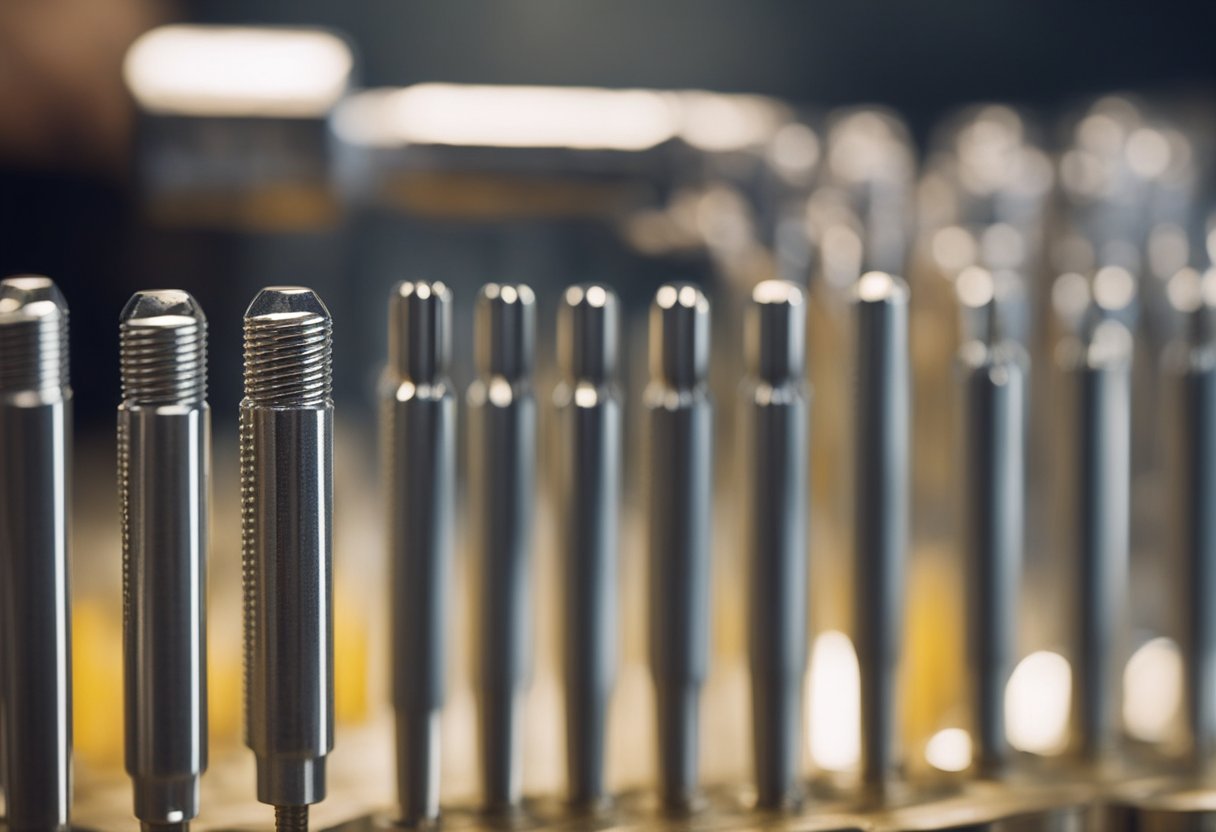
Required Tools and Materials
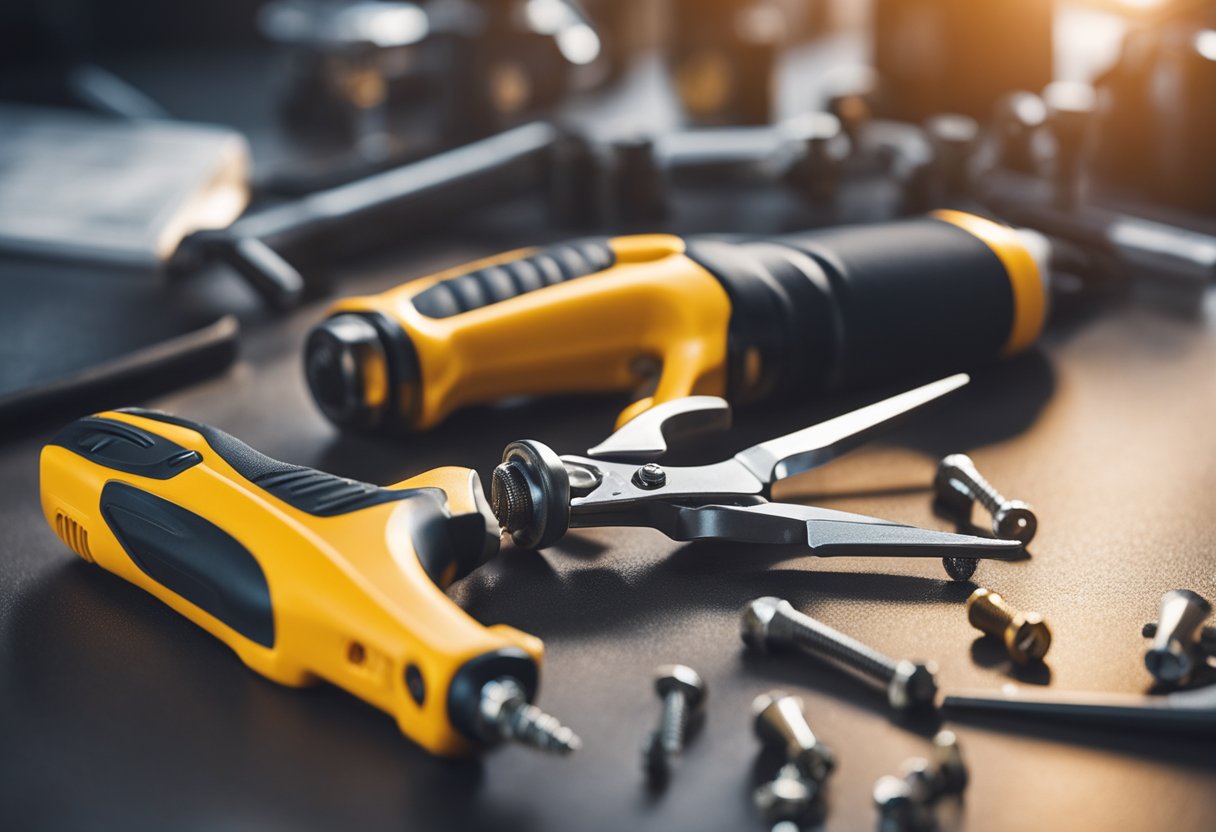
Removing painted over screws can be a challenging task, but with the right tools and materials, it can be done effectively and efficiently. Here is a list of tools and materials that I recommend having on hand:
Screwdriver Set
A screwdriver set is essential when it comes to removing painted over screws. Different screwheads require different types of screwdrivers, so having a set with a variety of sizes and types is crucial. I recommend having both flathead and Phillips head screwdrivers in various sizes.
Hammer
A hammer can be used to tap the screwdriver into the screw head to provide better grip and leverage. It can also be used to tap the screwdriver to break the paint seal around the screw head.
Pliers
Pliers can be used to grip the screw head and provide additional leverage when turning the screwdriver. They can also be used to hold the screw while turning it with the screwdriver.
Utility Knife
A utility knife can be used to score the paint around the screw head, making it easier to remove the paint and get a better grip on the screw head.
Lubricant
A lubricant such as WD-40 can be used to loosen the screw and make it easier to turn. It can also help to protect against rust and corrosion.
Nail
A nail can be used to create a small hole in the paint around the screw head, making it easier to remove the paint and get a better grip on the screw head.
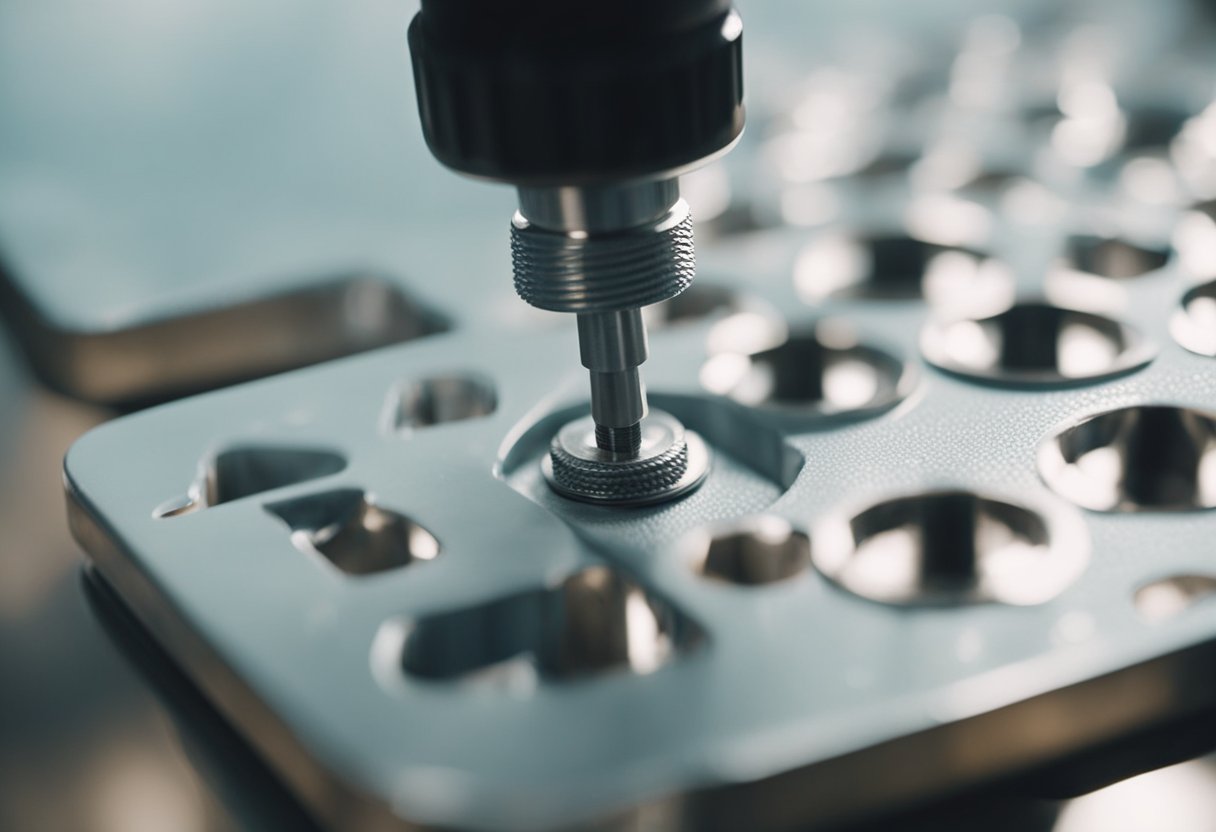
Screw Extractor
A screw extractor can be used to remove stripped or damaged screws. It works by drilling into the screw head and then turning it counterclockwise to remove the screw.
Safety Goggles
Safety goggles should be worn to protect your eyes from flying debris and paint chips. It is important to always wear eye protection when working with tools.
Having these tools and materials on hand will make the task of removing painted over screws much easier and more efficient.
Initial Steps to Remove Paint

When you have painted over screws, removing the paint can be the first step to making the screws easier to remove. Here are some initial steps you can take to remove the paint:
1. Examine the Paint
Before you start removing the paint, examine it to determine its condition. If the paint is flaking off or if there is any rust, you’ll need to remove as much as possible before proceeding. If the paint is in good condition, you can skip this step.
2. Soften the Paint
Softening the paint can make it easier to remove. You can use a paint stripper or paint thinner to soften the paint. Be sure to follow the instructions on the product you choose to use, as different products may have different application methods.
3. Use a Heat Gun
A heat gun is another option for softening the paint. Hold the heat gun a few inches away from the painted area and move it back and forth until the paint softens. Be careful not to overheat the area, as this can damage the material underneath the paint.
4. DIY Methods
If you don’t have access to paint stripper, paint thinner, or a heat gun, there are some DIY methods you can try. One method is to soak the painted area in hot water for several hours, then use a scraper to remove the paint. Another method is to use a mixture of baking soda and water to create a paste, apply it to the painted area, and let it sit for several hours before scraping off the paint.
By following these initial steps, you can make removing painted over screws a much easier process.
Techniques for Loosening the Screws
Removing painted over screws can be a daunting task, but with the right techniques, it can be a breeze. Here are some methods that I have found to be effective in loosening stubborn screws:
1. Brute Force
Sometimes brute force is the only option. If the screw is not too tight, you can try using a screwdriver with a larger handle for more leverage. If the screw is really stuck, try using a hammer to tap the screwdriver gently to loosen the screw. Be careful not to damage the surrounding area.
2. WD-40
WD-40 is a popular lubricant that can help loosen rusted or stuck screws. Simply spray the WD-40 onto the screw and let it sit for a few minutes. Then, try turning the screw with a screwdriver or wrench. If the screw is still stuck, repeat the process a few more times until it loosens.
3. Impact Driver
An impact driver is a tool that delivers a high-torque rotational force to loosen screws. This tool is especially useful for stubborn screws that won’t budge with a regular screwdriver. Simply attach the appropriate bit to the impact driver and apply pressure to the screw. The rotational force should help loosen the screw.
4. Wrench or Vise Grips
If the screw head is stripped, a wrench or vise grips can be used to grip the screw and turn it. Simply clamp the wrench or vise grips onto the screw and turn it counterclockwise. Be careful not to damage the surrounding area.
By using these techniques, you should be able to remove painted over screws with ease. Remember to be patient and take your time, as rushing the process can lead to damage or injury.
Dealing with Stripped or Damaged Screws
Removing painted over screws can be a challenge, especially if the screw is stripped or damaged. If you find yourself in this situation, don’t worry. There are several methods you can use to remove the screw.
Screw Extractor
One of the most effective ways to remove a stripped or damaged screw is to use a screw extractor. A screw extractor is a special tool designed to grip the screw and turn it out. To use a screw extractor, you will need a drill and a set of screw extractors.
First, drill a small hole in the center of the screw head. Then, insert the screw extractor into the hole and turn it counterclockwise. The screw extractor will grip the screw and turn it out.
Rubber Band
If the screw is not too badly stripped, you can try using a rubber band to remove it. Simply place the rubber band over the screw head and press down firmly with a screwdriver. The rubber band will grip the screw and allow you to turn it out.
Pliers
If the screw is slightly raised above the surface, you can use a pair of pliers to grip the screw and turn it out. Simply grip the screw with the pliers and turn it counterclockwise.
Hammer and Screwdriver
If the screw is not too badly damaged, you can try tapping the screwdriver with a hammer to loosen the screw. Place the screwdriver into the screw head and tap it gently with a hammer. This will help to loosen the screw and allow you to turn it out.
Drill
If all else fails, you can try drilling out the screw. First, use a drill bit slightly smaller than the screw head to drill a hole in the center of the screw. Then, use a larger drill bit to drill out the screw. Be careful not to drill too deep and damage the surrounding material.
By using one of these methods, you should be able to remove the stripped or damaged screw and complete your project.
Final Steps and Clean Up
Now that the painted over screws have been removed, it’s time to clean up the area. First, I recommend inspecting the surface where the screws were located to ensure that there are no remaining paint chips or residue. If there are, use a clean cloth or brush to remove them.
Next, if you used a paint stripper or paint thinner to remove the paint, it’s important to follow the manufacturer’s instructions for proper disposal. These chemicals can be hazardous to the environment if not disposed of correctly.
If you used a drill to remove the screws, you may have created small holes in the surface. Fill in these holes with wood filler or putty and sand them down to a smooth finish. This will ensure that the surface is level and ready for any repairs or touch-ups.
Finally, if you plan on painting or staining the surface, make sure to prime it first. This will help the paint or stain adhere properly and ensure a smooth finish.
In conclusion, removing painted over screws can be a time-consuming and tedious task, but with the right tools and techniques, it can be done efficiently and effectively. By following the steps outlined in this guide, you can remove painted over screws with confidence and ensure a clean and professional-looking finish.
Tips and Tricks for Easier Removal
When dealing with painted-over screws, it can be frustrating to remove them without damaging the surrounding area. Here are some tips and tricks that I have found to be helpful in removing painted-over screws.
Soften the Paint
Before attempting to remove a painted-over screw, try softening the paint first. This can be done with a heat gun or by using a paint stripper. Softening the paint will make it easier to remove, and it will also reduce the risk of damaging the surrounding area.
Use the Right Screwdriver
Using the right screwdriver is essential when removing painted-over screws. If the screwdriver does not fit properly, it can strip the head of the screw, making it even more difficult to remove. Make sure to use a screwdriver that fits snugly into the screw head.
Apply Lubricant
If the painted-over screw is stuck or difficult to remove, applying a lubricant can help. WD-40 is a popular choice, but there are also other lubricants that can be used. Apply the lubricant to the screw and let it sit for a few minutes before attempting to remove the screw.
Use Pliers or a Wrench
If the screwdriver is not working, pliers or a wrench can be used to remove the painted-over screw. Grip the screw head with the pliers or wrench and turn it counterclockwise to loosen the screw.
Try a Screw Extractor
If all else fails, a screw extractor can be used to remove the painted-over screw. A screw extractor is a tool that is designed to remove stripped or damaged screws. It works by gripping the screw and turning it counterclockwise.
Removing painted-over screws can be a challenge, but with the right tools and techniques, it can be done. Remember to take your time and be patient, and don’t be afraid to try different methods until you find one that works for you.
Frequently Asked Questions
How to remove screws that have been painted over?
Removing screws that have been painted over can be a challenging task, but it is not impossible. One of the easiest ways to remove painted over screws is to use a drill to create a small pilot hole in the center of the screw head. Then, use a screwdriver to remove the screw. If the screw is still stuck, try using a pair of pliers to grip the screw and turn it counterclockwise.
What is the best way to remove painted over screws?
The best way to remove painted over screws depends on the condition of the screw and the type of paint that was used. One method is to use a heat gun to soften the paint and then use a screwdriver to remove the screw. Another option is to use a chemical paint stripper to dissolve the paint and then remove the screw with a screwdriver.
How can I remove screws with stripped heads that have been painted over?
Removing screws with stripped heads that have been painted over can be difficult, but it is not impossible. One method is to use a rubber band to grip the screw head and then turn it counterclockwise with a screwdriver. Another option is to use a screw extractor to remove the screw.
How to remove paint from screws and bolts?
To remove paint from screws and bolts, you can use a wire brush or sandpaper to scrape off the paint. Another option is to soak the screws and bolts in a solution of warm water and dish soap for several hours. After soaking, scrub the screws and bolts with a wire brush or sandpaper to remove any remaining paint.
How to remove old screws without stripping the paint?
To remove old screws without stripping the paint, use a screwdriver with a sharp blade and apply even pressure as you turn the screw counterclockwise. If the screw is still stuck, try using a pair of pliers to grip the screw and turn it counterclockwise.
What is the best method to remove painted over hinges and screws?
The best method to remove painted over hinges and screws is to use a heat gun to soften the paint and then use a screwdriver to remove the screw. Alternatively, you can use a chemical paint stripper to dissolve the paint and then remove the screw with a screwdriver.

Hi, I’m Sal Muller of Tooltrip.com. My DIY experience led me to understand essential power tools for home projects. Tooltrip.com guides enthusiasts and professionals in choosing right tools for any job. I provide concise top tool reviews for easier, efficient DIY.
