
Making planar resin flatbacks is a fun and creative activity that allows you to create unique and personalized accessories. Planar resin flatbacks are small, flat objects made by pouring resin into a mold, allowing it to harden, and then attaching a flat object, such as a sticker or a piece of paper, to the back. These flatbacks can be used to decorate phone cases, jewelry, hair accessories, and more.
To make planar resin flatbacks, you will need a few basic materials, such as resin, a mold, and a flatback object. There are different types of resin available, each with its own properties and uses. It’s important to choose the right type of resin for your project and to follow the manufacturer’s instructions carefully. You will also need to take safety measures when working with resin, such as wearing gloves and protective eyewear.
In this article, I will guide you through the process of making planar resin flatbacks, from understanding resin and its types, to pouring and curing the resin, to finishing and decorating the flatbacks. I will also provide tips and safety measures to ensure a successful and enjoyable crafting experience. By the end of this article, you will be able to create your own unique planar resin flatbacks and explore more uses for this versatile crafting material.
Key Takeaways
- Understanding the different types of resin and their properties is crucial for a successful planar resin flatbacks project.
- Safety measures such as wearing gloves and protective eyewear are important when working with resin.
- Adding creativity to your flatbacks can make them unique and personalized.
Understanding Resin and Its Types
https://www.youtube.com/watch?v=DfBKuVMR9Dw&embed=true
As someone who is interested in making planar resin flatbacks, it is important to have a basic understanding of what resin is and its types. Resin is a synthetic material that is typically used in crafts, jewelry making, and other creative projects. It is a versatile material that can be used to create a range of different effects, including a glossy finish, a 3D effect, and more.
There are several types of resin that you can use to make planar resin flatbacks. Two of the most common types are epoxy resin and polyester resin. Epoxy resin is a two-part resin that is typically mixed together just before use. It is a popular choice for crafting because it is easy to use and dries quickly. Polyester resin, on the other hand, is a one-part resin that is typically cured with a hardener. It is often used in industrial applications because it is strong and durable.
Another type of resin that you may want to consider using is urethane resin. This type of resin is typically used in casting and molding applications because it is very flexible and can be used to create complex shapes. It is also resistant to water and chemicals, which makes it a good choice for outdoor projects.
When choosing a resin for your planar resin flatbacks, it is important to consider the properties of each type and how they will affect the final product. For example, epoxy resin is often used for jewelry making because it is clear and can be used to create a high-gloss finish. Polyester resin, on the other hand, is often used for larger projects because it is more affordable and can be used to create a thick, durable coating.
In conclusion, understanding the different types of resin and their properties is key to making high-quality planar resin flatbacks. By choosing the right type of resin for your project, you can create a beautiful and durable finished product that will last for years to come.
Materials Needed for Planar Resin Flatbacks
https://www.youtube.com/watch?v=hsR6-qik0ZI&embed=true
Making planar resin flatbacks is a fun and creative craft activity that requires a few essential materials. In this section, I will list the necessary supplies you will need to make your own planar resin flatbacks.
Resin
Resin is the primary material required for making planar resin flatbacks. It is a clear, viscous liquid that hardens when mixed with a hardener. You can purchase resin from any craft store or online. Make sure to choose a resin that is suitable for your project and follow the manufacturer’s instructions carefully.
Hardener
Hardener is a chemical that is mixed with resin to initiate the hardening process. It is usually sold in a separate container and should be mixed with resin in the correct proportions. Make sure to wear gloves and follow the manufacturer’s instructions when handling hardener.
Mixing Cups and Stirring Sticks
Mixing cups and stirring sticks are essential tools for mixing resin and hardener. You will need to use a clean and dry mixing cup to measure the correct amount of resin and hardener. Stirring sticks are used to mix the two components thoroughly.
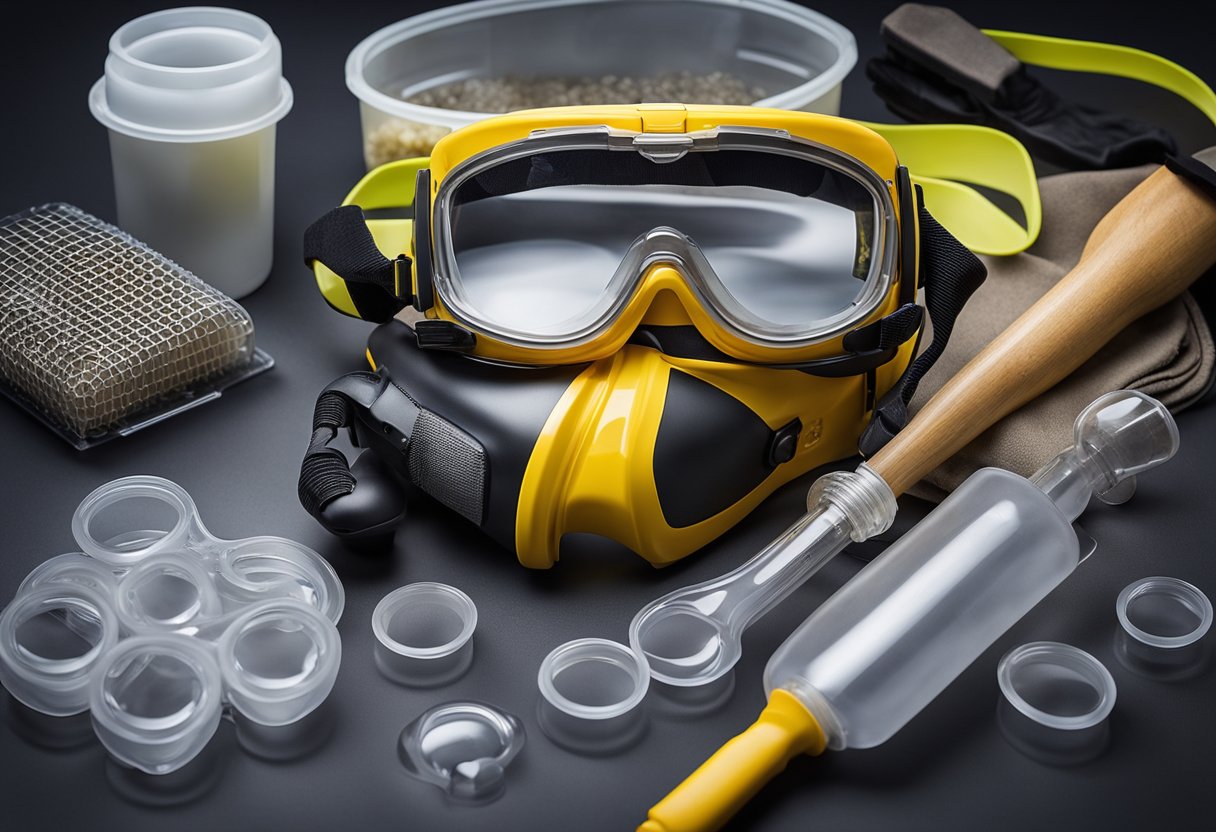
Gloves
Gloves are necessary to protect your hands from the chemical components of resin and hardener. You should wear gloves when handling these materials to avoid skin irritation or allergic reactions.
Heat Gun
A heat gun is an essential tool for removing bubbles from the resin mixture. It is used to blow hot air over the surface of the resin, which causes the bubbles to rise to the surface and pop.
Sandpaper
Sandpaper is used to smooth the surface of the planar resin flatbacks after they have cured. You will need both fine-grit sandpaper and regular sandpaper to achieve a smooth finish.
Silicone Molds or Plastic Molds
Silicone molds or plastic molds are used to shape the resin mixture into the desired shape. You can purchase molds in various shapes and sizes, or you can make your own molds using silicone putty or plastic sheets.
In conclusion, these are the essential materials you will need to make planar resin flatbacks. Make sure to follow the manufacturer’s instructions carefully and wear protective gear when handling chemical components. With the right tools and some creativity, you can create beautiful and unique planar resin flatbacks.
Essential Steps in Mixing Resin
https://www.youtube.com/watch?v=5MV48JLZq1A&embed=true
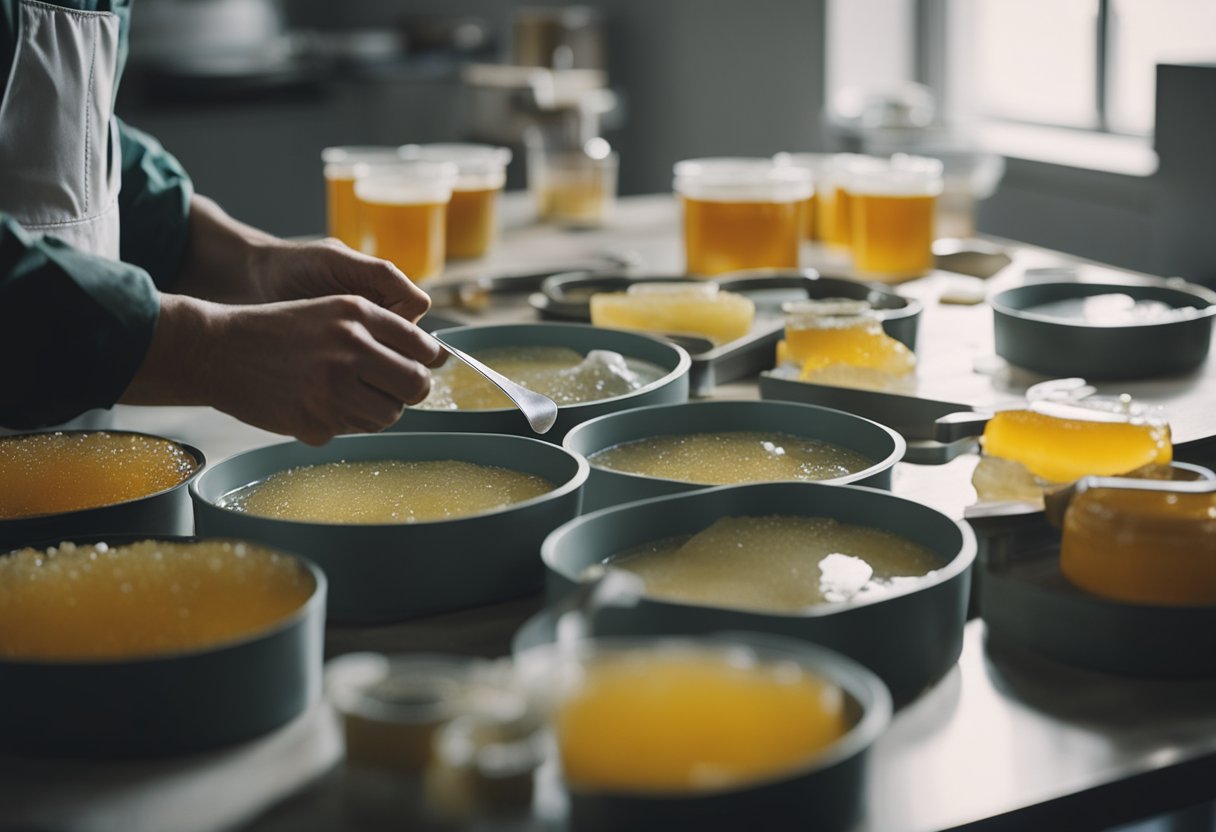
Mixing resin is an essential part of creating planar resin flatbacks. It involves combining two parts of the resin, the resin and the hardener, in the correct ratio to create a chemical reaction that hardens the mixture. Here are some essential steps to follow when mixing resin:
-
Measure the Resin and Hardener: The first step is to measure out the correct amount of resin and hardener. It is important to follow the manufacturer’s instructions for the correct ratio of resin to hardener. Most resins require a 1:1 ratio, but some may require a different ratio.
-
Mix the Resin and Hardener: Once you have measured out the resin and hardener, mix them together thoroughly. Use a mixing stick or spatula to stir the mixture together until it is completely blended. Be sure to scrape the sides and bottom of the mixing container to ensure that all of the resin and hardener are mixed together.
-
Avoid Bubbles: Bubbles can form in the resin mixture during mixing. To avoid bubbles, mix the resin and hardener slowly and gently. You can also use a heat gun or torch to remove any bubbles that do form in the mixture.
-
Pour the Resin: Once the mixture is thoroughly mixed, pour it into your flatback mold. Use a spoon or spatula to spread the mixture evenly in the mold. Be sure to fill the mold completely, but avoid overfilling it.
-
Let it Cure: After pouring the resin into the mold, let it cure for the recommended amount of time. This can vary depending on the type of resin you are using. Be sure to follow the manufacturer’s instructions for curing time.
Mixing resin can be a tricky process, but by following these essential steps, you can create beautiful planar resin flatbacks with ease. Remember to measure the resin and hardener carefully, mix them thoroughly, avoid bubbles, pour the resin carefully, and let it cure completely.
Adding Creativity to Your Flatbacks
https://www.youtube.com/watch?v=SgSbWI5MtKw&embed=true
Now that you have learned how to make planar resin flatbacks, it’s time to add your own creative touch to them. There are many ways to make your flatbacks unique and eye-catching. Here are some ideas to get you started:
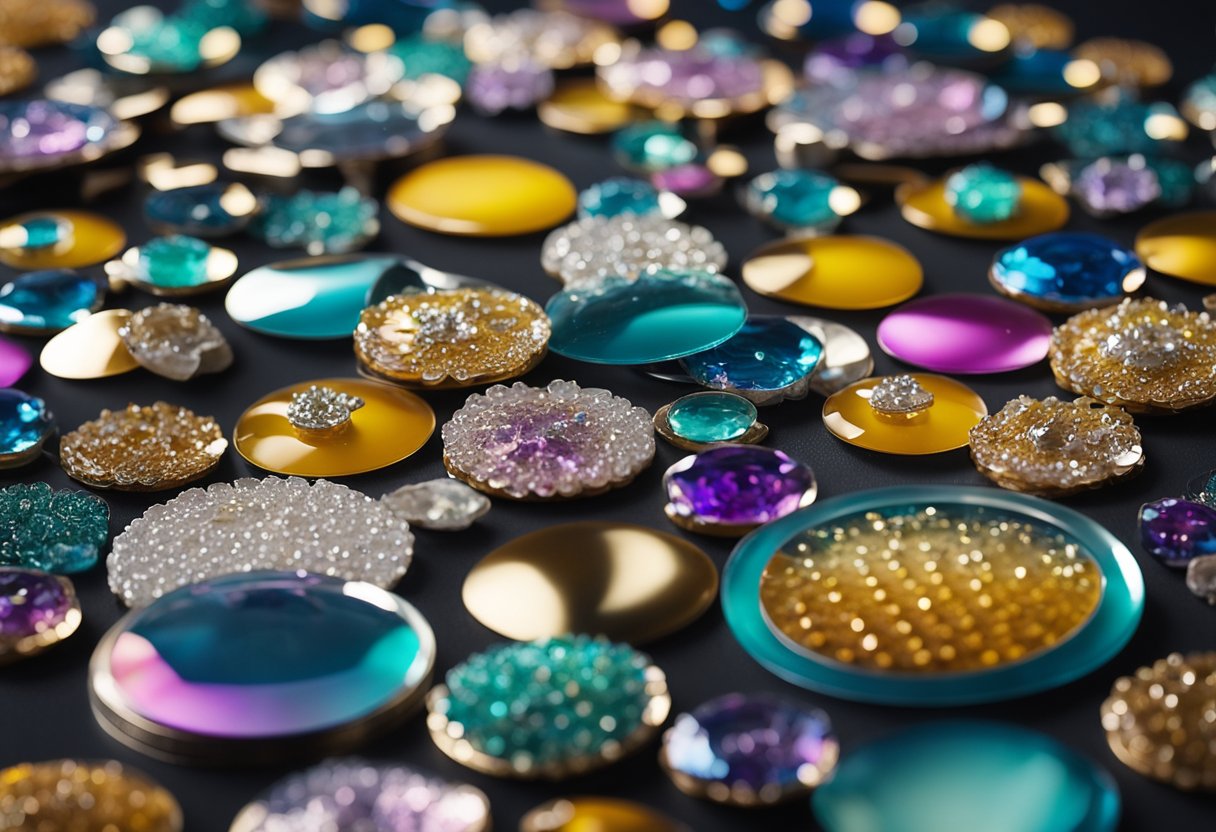
Glitter
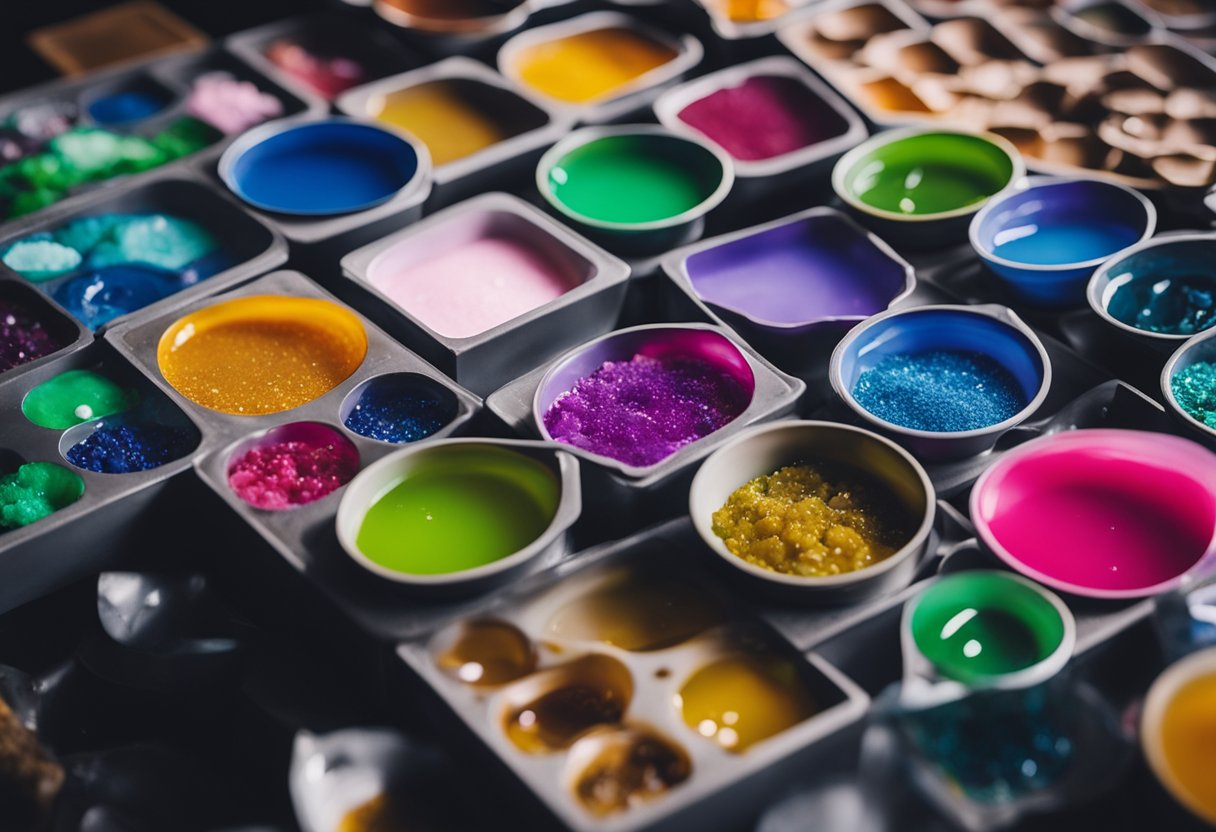
Adding glitter to your flatbacks is an easy way to make them sparkle and shine. You can mix glitter into your resin before pouring it into the mold, or you can sprinkle it on top of the resin after it has been poured. Just be careful not to add too much glitter, as it can overpower the design of your flatback.
Acrylic Paint
Using acrylic paint is another way to add color and texture to your flatbacks. You can paint directly onto the resin after it has cured, or you can paint onto a piece of paper and then glue it onto the flatback. Experiment with different colors and designs to see what works best for your project.
Sequins
Sequins are a fun and easy way to add some bling to your flatbacks. You can glue them onto the flatback after the resin has cured, or you can embed them into the resin before it cures. Just be sure to use a small amount of sequins, as too many can make the flatback look cluttered.
Color
Finally, don’t be afraid to play around with different colors when making your flatbacks. You can mix different colors of resin together to create a marbled effect, or you can use different shades of the same color to create a gradient. The possibilities are endless, so have fun and experiment.
In conclusion, adding creativity to your flatbacks is a great way to make them stand out and reflect your personal style. Whether you choose to add glitter, paint, sequins, or color, remember to keep it simple and tasteful. With a little bit of imagination and experimentation, you can create beautiful and unique flatbacks that you will be proud to show off.
Pouring and Curing the Resin
https://www.youtube.com/watch?v=nWpbo7z_k5s&embed=true
Once you have mixed the resin and added your desired embellishments, it is time to pour the mixture into the mold. Place the mold on a level surface and slowly pour the resin mixture into each cavity of the mold. Be sure to fill each cavity to the top, but not overflowing. If there are any air bubbles, use a toothpick or a heat gun to remove them.
After pouring the resin, it is time to cure it. The curing time will depend on the type of resin you are using. Generally, it takes 24 to 48 hours for the resin to fully cure, but you should check the manufacturer’s instructions for specific curing times. It is important to note that the curing time can be affected by factors such as temperature and humidity.
During the curing process, it is important to keep the resin in a dust-free and level environment. If the resin is not level, it may not cure properly and can result in uneven or distorted flatbacks. Also, avoid touching or moving the mold during the curing process as it can cause the resin to shift and result in an uneven surface.
Once the resin has fully cured, gently remove the flatbacks from the mold. If the flatbacks are difficult to remove, try placing the mold in the freezer for a few minutes to loosen the resin. Be sure to handle the flatbacks with care as they may still be fragile until fully cured.
In summary, pouring and curing the resin is a crucial step in making planar resin flatbacks. Take your time to pour the resin evenly and cure it in a dust-free and level environment. Remember to follow the manufacturer’s instructions for specific curing times and handle the flatbacks with care once they are fully cured.
Finishing and Decorating the Flatbacks
Once the resin has cured, it’s time to finish and decorate the flatbacks. The first step is to remove any excess resin that may have spilled over the edges of the flatback. To do this, I use sandpaper with a fine grit. I gently sand the edges until they are smooth and even.
Next, I decide on a design for the flatback. I can either paint the flatback or add accents to it. If I choose to paint the flatback, I use acrylic paint. I apply the paint in thin layers, allowing each layer to dry before applying the next. This ensures that the paint does not become too thick and cause the flatback to warp or bend.
If I choose to add accents to the flatback, I use adhesive backing. I can cut the adhesive backing into any shape that I desire. Once I have cut out the desired shape, I peel off the backing and stick it onto the flatback. The adhesive backing is easy to work with and allows me to create intricate designs.
Finally, I add any other accents that I desire. I can add rhinestones, beads, or other small objects to the flatback. I use a clear glue to attach these accents. I apply the glue to the back of the object and then carefully place it onto the flatback.
With these simple steps, I can create beautiful and unique planar resin flatbacks.
Safety Measures and Tips
As someone who has worked with resin before, I know how important it is to take safety measures seriously. Resin can be harmful if not handled correctly, so it’s important to take the necessary precautions. Here are some tips to help you stay safe while making planar resin flatbacks:
-
Wear protective gear: Always wear gloves, an apron, and safety glasses when working with resin. This will protect your skin and eyes from any potential harm.
-
Work in a well-ventilated area: Resin can produce fumes that can be harmful if inhaled. Make sure to work in a well-ventilated area with plenty of fresh air to avoid any respiratory issues.
-
Use easy to use resin: It’s important to choose a resin that is easy to use, especially if you’re new to working with it. Look for a resin that has a simple mixing ratio and a longer working time, so you have enough time to work with it before it sets.
-
Mix the resin correctly: Follow the instructions carefully when mixing the resin. Make sure to measure the components accurately and mix them thoroughly to avoid any issues with the final product.
-
Avoid skin contact: Resin can cause skin irritation or allergic reactions. If you accidentally get resin on your skin, wash it off immediately with soap and water.
By following these safety measures and tips, you can ensure that your experience with making planar resin flatbacks is both safe and enjoyable.
Exploring More Uses of Resin Flatbacks
As I mentioned earlier, resin flatbacks are versatile and can be used in a variety of ways. Here are some more ideas on how you can use them:
Jewelry Making
Resin flatbacks are perfect for making jewelry. You can use them to create unique and beautiful pendants, earrings, bracelets, and even rings. You can also mix and match different flatbacks to create a stunning piece of jewelry that’s sure to turn heads.
Home Decor
Resin flatbacks can also be used to add a touch of elegance to your home decor. You can use them to decorate picture frames, vases, and even furniture. You can also create your own unique coasters, trinket dishes, and other decorative items.
Scrapbooking
Resin flatbacks can be used to add dimension and interest to your scrapbook pages. You can use them to highlight a special photo or to add a pop of color to your layout. You can also mix and match different flatbacks to create a unique and personalized design.
Other Crafts
Resin flatbacks can also be used in a variety of other crafts. You can use them to decorate phone cases, keychains, and even clothing. You can also use them to create your own unique magnets, bookmarks, and other small items.
Overall, resin flatbacks are a versatile and fun crafting material that can be used in a variety of ways. Whether you’re making jewelry, decorating your home, or creating a unique scrapbook page, resin flatbacks are sure to add a touch of elegance and creativity to your project.
Frequently Asked Questions
What are some popular designs for planar resin flatbacks?
Planar resin flatbacks come in a variety of shapes and designs, making them versatile for any project. Some popular designs include animals, food, flowers, and cartoon characters. You can also create custom designs by using a silicone mold or by hand-painting the resin.
What materials are needed to make planar resin flatbacks?
To make planar resin flatbacks, you will need clear epoxy resin, a silicone mold, flatback embellishments, a mixing bowl, a stirring stick, and a spoon. You can also add glitter or other embellishments to the resin mixture to create a unique look.
How long does it take to make planar resin flatbacks?
The time it takes to make planar resin flatbacks depends on the size of the mold and the type of resin used. Typically, it takes about 24 hours for the resin to fully cure and harden. However, some resins may cure faster or slower, so be sure to check the manufacturer’s instructions.
What are some tips for achieving a smooth surface on planar resin flatbacks?
To achieve a smooth surface on planar resin flatbacks, it’s important to mix the resin and hardener thoroughly and slowly. You can also use a heat gun or torch to remove any air bubbles that may form during the mixing process. Additionally, you can sand the surface of the flatbacks with a fine-grit sandpaper to remove any imperfections.
How can you add glitter or other embellishments to planar resin flatbacks?
To add glitter or other embellishments to planar resin flatbacks, simply mix them into the resin mixture before pouring it into the mold. You can also sprinkle glitter on top of the resin after pouring it into the mold. Be sure to mix the glitter thoroughly to ensure an even distribution.
What are some common mistakes to avoid when making planar resin flatbacks?
Some common mistakes to avoid when making planar resin flatbacks include not measuring the resin and hardener correctly, not mixing the resin and hardener thoroughly, and not allowing enough time for the resin to cure. It’s also important to work in a well-ventilated area and to wear gloves and eye protection when handling the resin.

Hi, I’m Sal Muller of Tooltrip.com. My DIY experience led me to understand essential power tools for home projects. Tooltrip.com guides enthusiasts and professionals in choosing right tools for any job. I provide concise top tool reviews for easier, efficient DIY.
