
Making a dresser taller is a great way to add more storage space and visual interest to your room. It is also a practical solution if you have a dresser that is too low for your needs. In this article, I will guide you through the process of making a dresser taller, step by step.

Understanding the height of your dresser is the first step in making it taller. Once you know how much taller you want it to be, you can gather the necessary materials and tools, and begin the preparation process. Adding height to your dresser involves removing the legs and attaching new ones, or using risers or furniture leg extenders. Securing and stabilizing the dresser is an important step to ensure it is safe and sturdy. Finally, finishing the dresser can involve painting, staining, or adding new hardware. In the following sections, I will provide more detailed information on each step of the process.
Key Takeaways
- Understanding the height of your dresser is the first step in making it taller.
- Adding height to your dresser involves removing the legs and attaching new ones, or using risers or furniture leg extenders.
- Securing and stabilizing the dresser is an important step to ensure it is safe and sturdy.
Understanding Dresser Height

As someone who has struggled with short dressers in the past, I understand the frustration of not having enough storage space. Dresser height is an important factor to consider when purchasing or modifying a dresser. A short dresser can be inconvenient and uncomfortable to use, especially if you have to bend down to reach the drawers.
The height of a dresser is usually measured from the floor to the top of the dresser. Most dressers have a height of around 36 inches, which is considered standard. However, some dressers may be shorter or taller depending on their design and purpose.
If you find that your dresser is too short for your needs, there are several ways to make it taller. One option is to add risers or furniture leg extenders to the bottom of the dresser. These can be purchased at most hardware or home improvement stores and are easy to install.
Another option is to build a custom base or platform for the dresser. This can be done using wood planks or other materials and can be customized to fit the height and style of your dresser.
It’s important to keep in mind that raising the height of your dresser may also affect the chest level of the drawers. If the dresser is too tall, the top drawers may be difficult to reach. On the other hand, if the dresser is too short, the bottom drawers may be too low to comfortably access.
Overall, understanding dresser height is crucial when it comes to creating a functional and comfortable storage space. By taking the time to assess your needs and consider your options, you can create a dresser that is both practical and aesthetically pleasing.
Materials and Tools Required
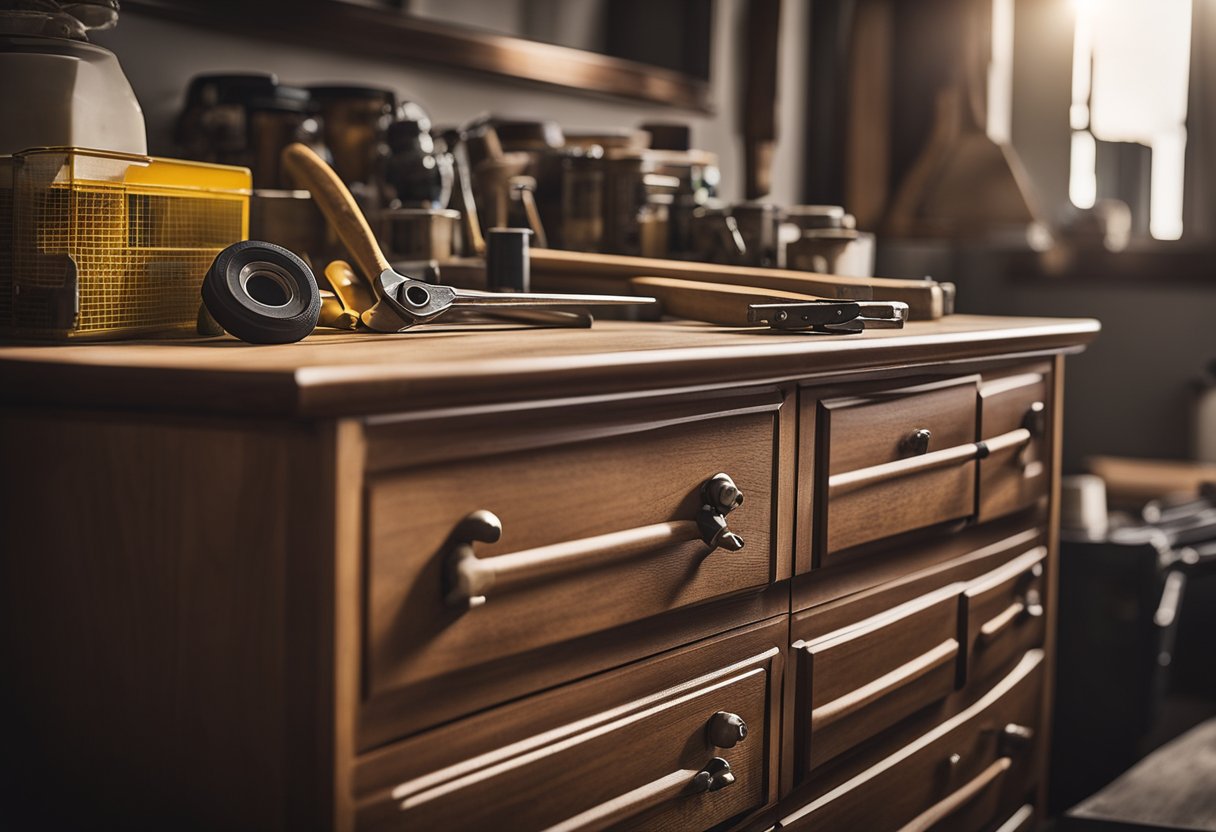
Basic Tools
To make a dresser taller, I’ll need to have a few basic tools on hand. These include a drill, measuring tape, screwdriver, saw, sandpaper, and a level. A drill is necessary for making holes in the wood, and a screwdriver is needed to tighten the screws. A saw is necessary to cut the wood to the desired size, and sandpaper is essential for sanding down any rough edges. A level is necessary to ensure that the dresser is even and balanced.
Materials
The materials required for making a dresser taller include screws, wood glue, wood filler, plywood, finishing nails, and wooden blocks or legs. If the dresser is already painted or stained, it’s important to ensure that the materials used match the existing color. Wooden blocks or legs can be attached to the bottom of the dresser to add height, and plywood can be used to create additional shelves or compartments. Finishing nails can be used to attach the plywood, and wood filler can be used to fill in any gaps or uneven surfaces. Mounting plates can also be used to attach the wooden blocks or legs to the dresser.
In addition to these basic materials, optional materials such as knobs and paint or stain can be used to customize the dresser’s appearance. A circular saw or miter saw can be used to cut the wood to the desired size, and pocket hole screws or other fasteners can be used to attach the wood to the dresser frame. With these materials and tools, I can easily make a dresser taller and add more storage space to my room.
Preparation Process

Before starting the process of making a dresser taller, it is important to gather all the necessary tools and materials. Here is a list of items that you will need:
- Measuring tape
- Saw
- Wood planks
- Screws
- Drill
- Level
Once you have gathered all the necessary tools and materials, you can begin the preparation process. The first step is to remove the drawers from the dresser. You can do this by pulling them out of the frame. Keep them in a safe place where they won’t get damaged.
Next, remove the handles from the drawer fronts. You can do this by unscrewing them with a screwdriver. Keep the handles in a safe place where they won’t get lost.
After that, measure the height of the dresser and determine how much taller it needs to be. This will help you determine the length of the wood planks that you will need to attach to the bottom of the dresser frame.
Once you have determined the length of the wood planks, use a saw to cut them to size. Make sure that they are the same length as the dresser legs.
Before attaching the wood planks to the bottom of the dresser frame, sand them down to remove any rough edges. This will help ensure a smooth finish.
Once the wood planks are sanded, you can attach them to the bottom of the dresser frame using screws and a drill. Make sure that the wood planks are level and securely attached to the frame.
Finally, you can paint or stain the wood planks to match the color of the dresser. Once the paint or stain is dry, you can reattach the handles to the drawer fronts and slide the drawers back into the frame.
With these steps, you can easily make a dresser taller and give it a fresh, new look.
Adding Height to Your Dresser
If you have a dresser that is too short for your liking, there are a few ways to add height to it. In this section, I will cover two methods: using furniture legs and using risers.
Using Furniture Legs
One way to add height to a dresser is to replace the current legs with longer ones. To do this, you will need to remove the existing legs and measure their length. Then, purchase new legs that are the desired height and attach them to the dresser using screws or mounting plates.
When selecting new legs, make sure they are sturdy enough to support the weight of the dresser and its contents. You can find furniture legs in various styles and materials, such as wood, metal, or plastic.
Using Risers
Another option for adding height to a dresser is to use risers. Risers are blocks that can be placed under the legs or feet of furniture to raise them off the ground. They come in various sizes and materials, such as plastic or wood.
To use risers, simply place them under the legs or feet of the dresser. Make sure they are centered and stable before placing any items on the dresser. If you need more height, you can stack multiple risers on top of each other.
It is important to note that using risers may affect the stability of the dresser. Make sure to choose risers that are strong enough to support the weight of the dresser and its contents. Additionally, if the dresser is against a wall, make sure it is securely anchored to prevent tipping.
In summary, adding height to a dresser can be achieved by using furniture legs or risers. Both methods have their advantages and disadvantages, so choose the one that works best for your needs and preferences.
Securing and Stabilizing the Dresser
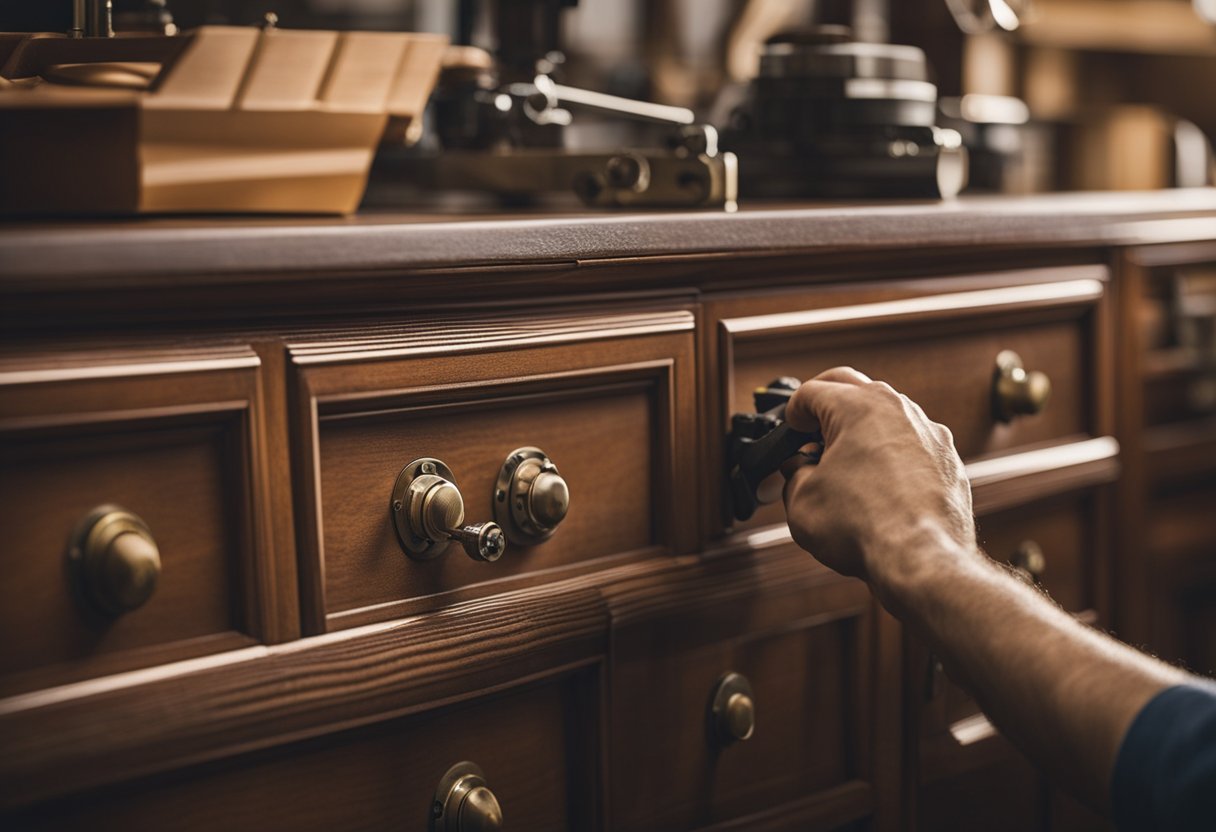
Now that we have added height to our dresser, it is essential to secure and stabilize it to ensure it is safe and sturdy. A wobbling dresser can be dangerous and cause damage to the furniture and the items on top of it.
To secure the dresser, I recommend using screws and a drill to attach the wood planks to the bottom of the dresser frame. This will ensure that the additional height is firmly attached to the dresser, creating a stable and sturdy base.
Another way to secure the dresser is by using glue. Adding glue to the joints will increase the structural integrity of the dresser and prevent wobbling. Make sure to use sturdy materials and additional support to keep the dresser stable.
It is also important to consider the weight of the items that will be placed on top of the dresser. A dresser that is too tall and too heavy can be dangerous and difficult to move. Therefore, it is essential to choose the right height and weight for your dresser.
In summary, securing and stabilizing the dresser is essential to ensure that it is safe and sturdy. Using screws, glue, and sturdy materials will increase the structural integrity of the dresser and prevent wobbling. Additionally, it is important to consider the weight of the items that will be placed on top of the dresser to prevent it from becoming too heavy and difficult to move.
Finishing the Dresser
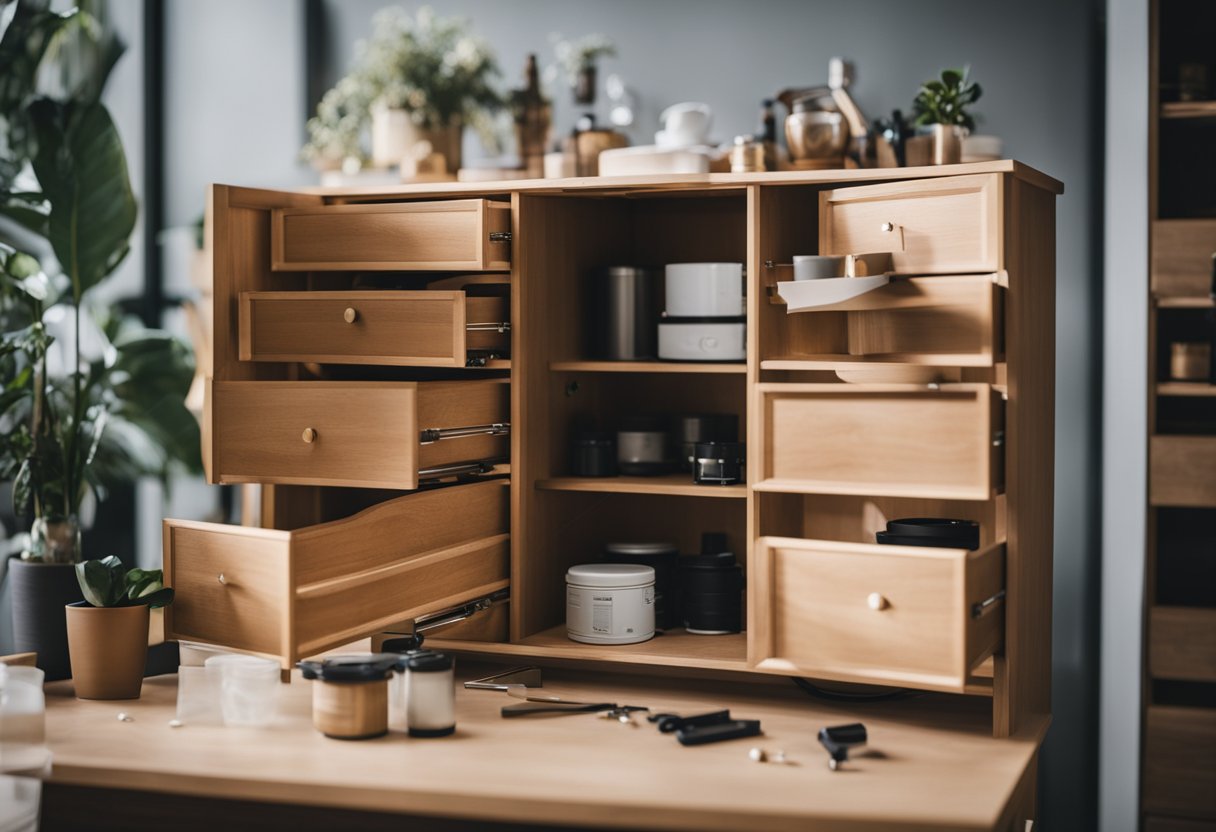
Now that you have successfully made your dresser taller, it’s time to give it a finishing touch. You can either paint, stain, or seal the dresser to match your room’s style.
If you want to paint the dresser, make sure to sand it first to create a smooth surface. You can use a primer to help the paint adhere better and prevent any bleeding through. Apply the paint in thin coats, allowing each coat to dry completely before applying the next one. You can also add a clear coat of sealant to protect the paint from scratches and wear.
On the other hand, if you prefer to stain the dresser, choose a stain color that complements the room’s style. You can use a pre-stain conditioner to help the wood absorb the stain evenly. Apply the stain in thin coats, wiping off any excess with a clean cloth. Allow the stain to dry completely before adding a clear coat of sealant.
If you want to keep the natural wood look of the dresser, you can apply a clear coat of sealant to protect the wood from scratches and wear. You can choose between a glossy or matte finish, depending on your preference.
A dresser makeover can completely transform the look of your room. With a little bit of woodworking knowledge, you can make your dresser taller and give it a new finish to match your style.
Considerations and Tips

When it comes to making a dresser taller, there are some important considerations and tips to keep in mind. First and foremost, you want to ensure that the dresser remains stable and secure after the modification. Instability can lead to accidents and damage to your belongings, so it is crucial to take the necessary steps to prevent this.
One way to increase stability is by adding a base or platform to the bottom of the dresser. This can also provide additional storage space underneath the dresser. Keep in mind that this may also affect the accessibility of the drawers, so it’s important to consider this before making any modifications.
Another consideration is the cost of the materials needed for the modification. Depending on the method you choose, it may require purchasing additional materials such as wood planks, screws, or furniture leg extenders. DIY methods may be more cost-effective, but they may also require more time and effort.
Placement is also an important factor to consider. Make sure that the modified dresser will fit in the desired location and that it will not be too tall for the room. Additionally, if the dresser is an antique or made of oak, it may require special care and attention during the modification process.
Flexibility is another consideration to keep in mind. If you plan on moving the dresser frequently, you may want to consider a modification that is easily reversible or removable.
In terms of storage space and accessibility, it’s important to ensure that the modification does not hinder the functionality of the dresser. Consider the height of the shelves and drawers and how they will be affected by the modification.
Overall, with careful consideration and planning, making a dresser taller can be a successful DIY project that provides additional storage space and enhances the look of your room.
Frequently Asked Questions

Can you add legs to a dresser?
Yes, you can add legs to a dresser to make it taller. This is a simple and easy way to increase the height of your dresser without having to build a new base or platform. You can find furniture leg extenders or risers at your local hardware store or online. Simply attach them to the bottom of your dresser legs and you’re good to go.
Is there a way to make a dresser taller?
Yes, there are several ways to make a dresser taller. One way is to add legs to the bottom of the dresser, as mentioned above. Another way is to build a custom base or platform for the dresser. You can also attach furniture casters or wheels to the bottom of the dresser to raise it off the ground.
How do you raise the height of a dresser?
To raise the height of a dresser, you can add legs, build a custom base or platform, or attach furniture casters or wheels. It’s important to assess the current height of your dresser and determine how much taller you need it to be before deciding which method to use.
How do you raise a piece of furniture?
To raise a piece of furniture, you can use furniture leg extenders or risers, build a custom base or platform, or attach furniture casters or wheels. It’s important to choose the right method for your specific piece of furniture and to make sure that it is stable and secure.
Build new base for dresser
Building a new base for a dresser is a more involved process than simply adding legs or attaching casters. However, it can be a great option if you want to customize the height and style of your dresser. You will need to measure the dimensions of your dresser and build a base that fits securely underneath it.
Adding mid century legs to dresser
Adding mid century legs to a dresser is a popular way to update the look of an old piece of furniture. You can find mid century legs online or at your local hardware store. Simply remove the old legs and attach the new ones using screws. Make sure to choose legs that are the right height for your dresser and that match the style and color of the rest of your furniture.
Overall, there are several ways to make a dresser taller, and the method you choose will depend on your specific needs and preferences.

Hi, I’m Sal Muller of Tooltrip.com. My DIY experience led me to understand essential power tools for home projects. Tooltrip.com guides enthusiasts and professionals in choosing right tools for any job. I provide concise top tool reviews for easier, efficient DIY.
