
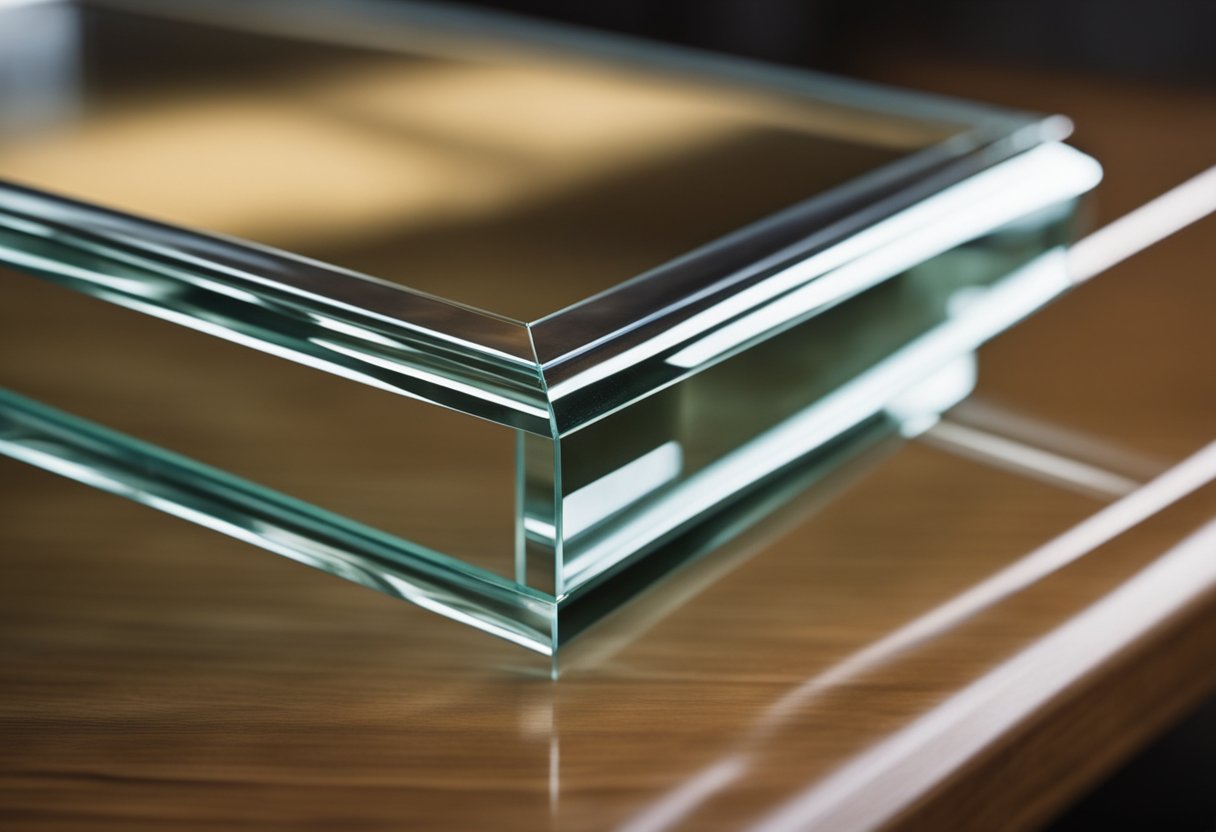
Framing glass with wood is a beautiful way to display art, photographs, or even as a window. The process can seem daunting, but with the right tools and materials, it can be a straightforward and enjoyable project.
To start, it’s essential to understand the basics of framing and the necessary tools and supplies. You’ll need wood, glass, a saw, a drill, screws, and construction adhesive. Once you have the materials, you can begin preparing the wood frame by measuring and cutting it to size. Then, you’ll need to cut and prepare the glass to fit inside the frame.
Attaching the glass to the wood frame is the most critical part of the process. You can use construction adhesive to secure the glass to the frame, making sure it’s secure before drilling holes for hardware. Finally, you’ll need to secure and finish the frame and ensure its longevity with proper maintenance. With these steps in mind, you can create a beautiful and long-lasting frame for your art or photographs.
Key Takeaways
- Framing glass with wood is a beautiful way to display art or photographs.
- Essential tools and supplies include wood, glass, a saw, a drill, screws, and construction adhesive.
- To ensure longevity, secure and finish the frame and maintain it properly.
Understanding the Basics of Framing
When it comes to framing glass with wood, there are some basic principles that you should keep in mind. Framing is the process of creating a structure that will hold the glass securely in place. This can be done for a variety of reasons, such as creating a picture frame, an artwork display, or even a mirror.
Choosing the Right Wood
The first step in framing glass with wood is choosing the right type of wood. It is important to use a strong and durable wood that can withstand the weight of the glass. Some of the most commonly used woods for framing include oak, cherry, and maple. These woods are strong and can be easily stained or painted to match any decor.
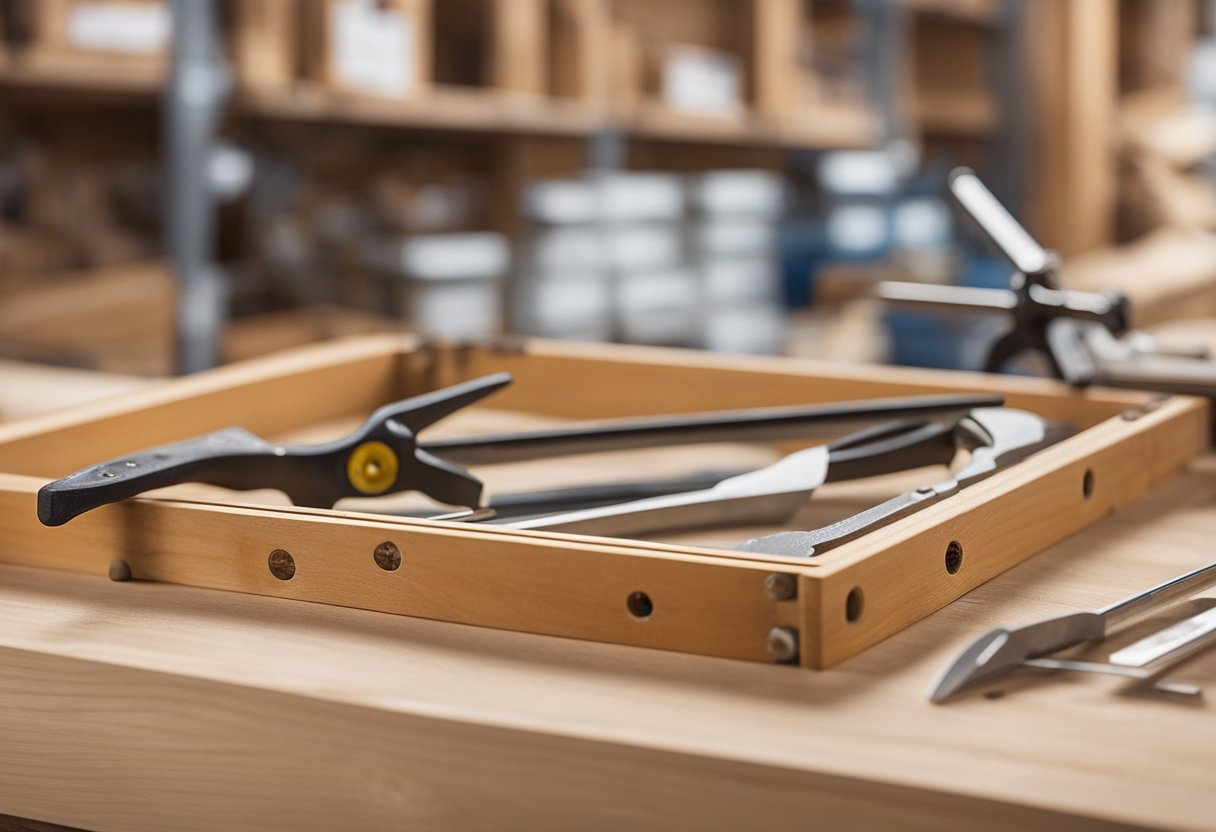
Measuring and Cutting
Once you have chosen the right wood, the next step is to measure and cut it to the appropriate size. It is important to measure the glass accurately to ensure that the wood frame will fit snugly around it. You can use a saw or a miter saw to cut the wood to the appropriate size.
Assembling the Frame
After cutting the wood to the appropriate size, the next step is to assemble the frame. This can be done using a variety of methods, such as nails, screws, or glue. It is important to ensure that the frame is sturdy and secure, as this will prevent the glass from slipping or falling out of the frame.
Finishing Touches
Once the frame is assembled, the final step is to add any finishing touches. This can include sanding the edges of the wood to create a smooth finish, staining or painting the wood to match your decor, or adding any embellishments or decorations to the frame.
By following these basic principles, you can create a beautiful and secure frame for your glass, whether it is for a picture frame, artwork display, or mirror.
Essential Tools and Supplies
When it comes to framing glass with wood, having the right tools and supplies is essential. Here are some of the items you’ll need:
Tools
- Cordless drill: A cordless drill is a must-have tool for any woodworking project, including framing glass with wood. It will make it easier to drill holes and attach screws.
- Hammer: A hammer is useful for nailing pieces of wood together.
- Measuring tape: You’ll need a measuring tape to ensure that your pieces of wood are cut to the correct size.
- Utility knife: A utility knife is handy for cutting cardboard or trimming excess wood.
- Screwdriver: A screwdriver is necessary for attaching screws to your frame.
- Clamp: A clamp is useful for holding pieces of wood together while the glue dries.
Supplies
- Wood: You’ll need pieces of wood to create the frame. Pine is a popular choice due to its affordability and availability.
- Paint or stain: If you want to add color to your frame, you’ll need paint or stain.
- Polyurethane: Polyurethane is a clear finish that can be applied to wood to protect it from scratches and other damage.
- Wood glue: Wood glue is necessary for attaching the pieces of wood together.
- Glass: You’ll need a piece of glass to fit inside your frame.
- Backing: Backing is a material that goes behind the glass to protect it and keep it in place.
- Glazier points: Glazier points are small metal pieces that hold the glass in place.
- Mirror clips: If you’re framing a mirror, you’ll need mirror clips to hold it in place.
- Silicone caulk: Silicone caulk can be used to seal any gaps or cracks in the frame.
- Hardware: You’ll need screws, nails, or other mechanical fasteners to attach the pieces of wood together.
- Glass cleaner: Glass cleaner is useful for cleaning the glass before putting it in the frame.
By having these tools and supplies on hand, you’ll be well-equipped to frame glass with wood.
Preparing the Wood Frame
As I begin to frame glass with wood, the first step is to prepare the wood frame. I like to use pine or plywood frame as they are affordable and easy to work with. Here are the steps I follow to prepare the wood frame:
Sanding the Wood
Before I start working on the wood frame, I sand the wood to remove any rough edges or splinters. Sanding the wood also helps the stain or paint to adhere better to the wood. I use a sandpaper with a grit between 120 and 220, depending on the roughness of the wood.
Staining or Painting the Wood
Once the wood is sanded, I apply a coat of stain or paint to the wood. Staining the wood enhances the natural grain and color of the wood, while painting the wood gives it a finished and polished look. I prefer to use a brush to apply the stain or paint, but a spray gun can also be used for a more even coat.
Cutting the Wood to Size
After the stain or paint has dried, I cut the wood to the size needed for the glass frame. I measure the size of the glass and add an extra 1/4 inch to each side to allow for the glass to fit comfortably inside the frame.
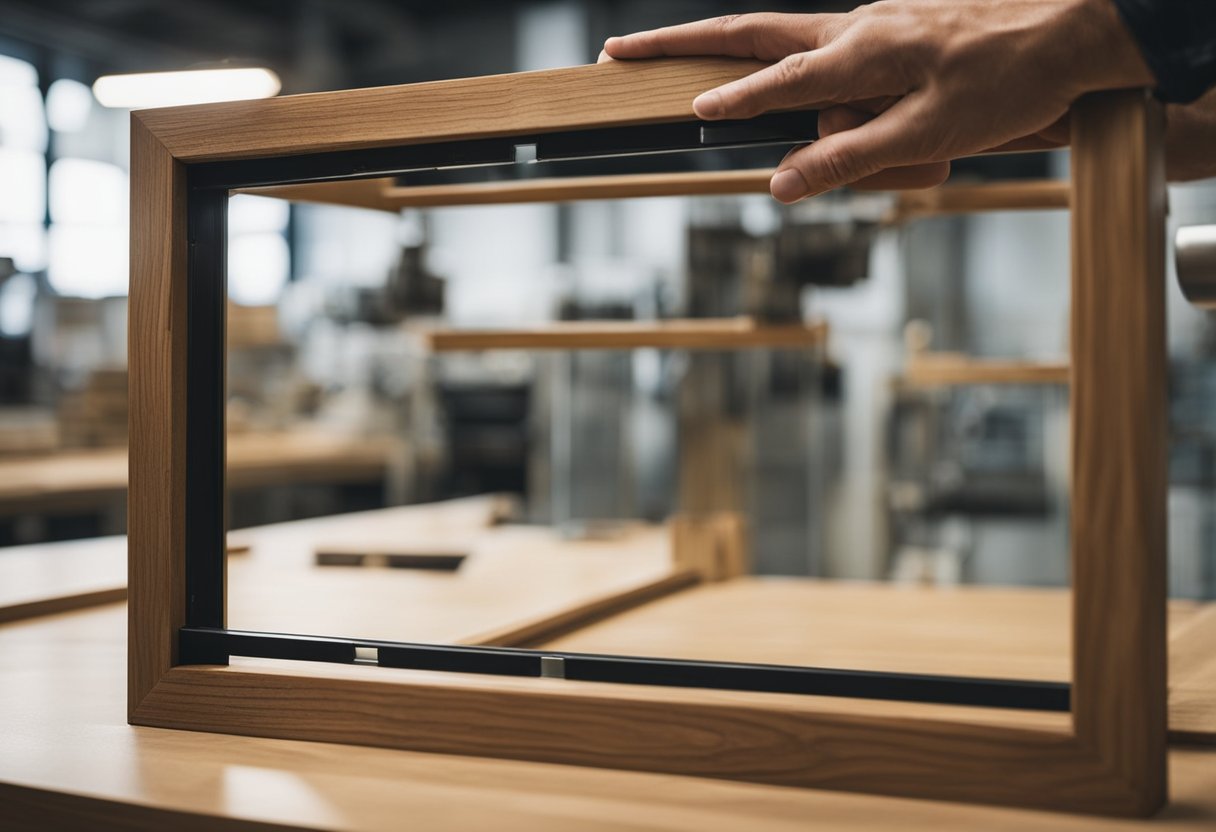
Assembling the Wood Frame
Finally, I assemble the wood frame by joining the pieces together using wood glue and clamps. I make sure that the corners are square and the frame is level before leaving it to dry overnight.
By following these steps, I can prepare the wood frame for framing glass with ease.
Cutting and Preparing the Glass
When framing glass with wood, it is important to cut and prepare the glass properly to ensure a perfect fit. Here are the steps I follow to cut and prepare the glass:
-
Measure the glass: Measure the length and width of the glass carefully, and then mark the measurements on the glass using a permanent marker. Make sure to add an extra 1/8 inch to the measurements to allow for the thickness of the glass cutter.
-
Score the glass: Use a glass cutter to score the glass along the marked lines. Hold the glass cutter at a 90-degree angle to the glass and apply firm pressure as you move it along the line. Make sure to score the glass only once. Scoring the glass multiple times can cause it to break unevenly.
-
Break the glass: Once you have scored the glass, hold it firmly on both sides of the score line and apply gentle pressure to break it along the line. If the glass does not break cleanly, use the glass cutter to score the line again and try breaking it again.
-
Clean the glass: After you have cut the glass to size, use a glass cleaner to clean it thoroughly. Make sure to remove all dirt, dust, and fingerprints from the glass before inserting it into the wood frame.
By following these steps, you can cut and prepare the glass for framing with wood like a pro. Remember to take your time and be careful when handling the glass to avoid injury.
Attaching Glass to Wood
When framing glass with wood, it is important to securely attach the glass to the wood to prevent it from falling out or breaking. There are several methods for attaching glass to wood, including using adhesives, mechanical fasteners, or a combination of both.
Adhesives
Adhesives such as wood glue, epoxy, hot glue, super glue, and silicone caulk can be used to attach glass to wood. Wood glue is a popular choice because it dries clear and creates a strong bond between the glass and wood. Epoxy is also a strong adhesive that can be used on a variety of surfaces. Hot glue is a convenient choice because it dries quickly and can be easily removed if necessary. Super glue is another option, but it may not be strong enough for larger pieces of glass. Silicone caulk can be used to seal the edges of the glass to prevent moisture from getting in.
Mechanical Fasteners
Mechanical fasteners such as nails, screws, clips, and glazier points can also be used to attach glass to wood. Nails and screws are commonly used to attach the wood frame to the wall, but they can also be used to secure the glass to the frame. Clips can be used to hold the glass in place while the adhesive dries. Glazier points are small metal triangles that can be pushed into the wood frame to hold the glass in place.
Combination of Adhesives and Mechanical Fasteners
A combination of adhesives and mechanical fasteners can be used for added security. For example, wood glue can be used to attach the glass to the wood frame, and then screws or clips can be used to hold the glass in place while the glue dries. Double-sided tape can also be used to temporarily hold the glass in place while the adhesive dries.
Overall, the best method for attaching glass to wood will depend on the size and weight of the glass, as well as the type of wood and the desired aesthetic. It is important to choose a method that will securely attach the glass to the wood and prevent it from falling out or breaking.
Securing and Finishing the Frame
Once the four pieces of wood are cut to size, it’s time to secure them together and attach the glass. The following methods can be used to secure the frame and finish it off:
1. Screws or Nails
Screws or nails can be used to secure the frame together. Pre-drilling the holes can help prevent the wood from splitting. It’s important to make sure the screws or nails are not too long, as they can go through the wood and damage the glass.
2. Clamp and Wood Glue
Using a clamp and wood glue can help ensure a strong bond between the pieces of wood. Apply the glue to the joints, clamp the pieces together, and let it dry according to the manufacturer’s instructions.
3. Construction Adhesive
Construction adhesive can also be used to attach the pieces of wood together. Apply a small amount of adhesive to the joints and clamp the pieces together until it dries.
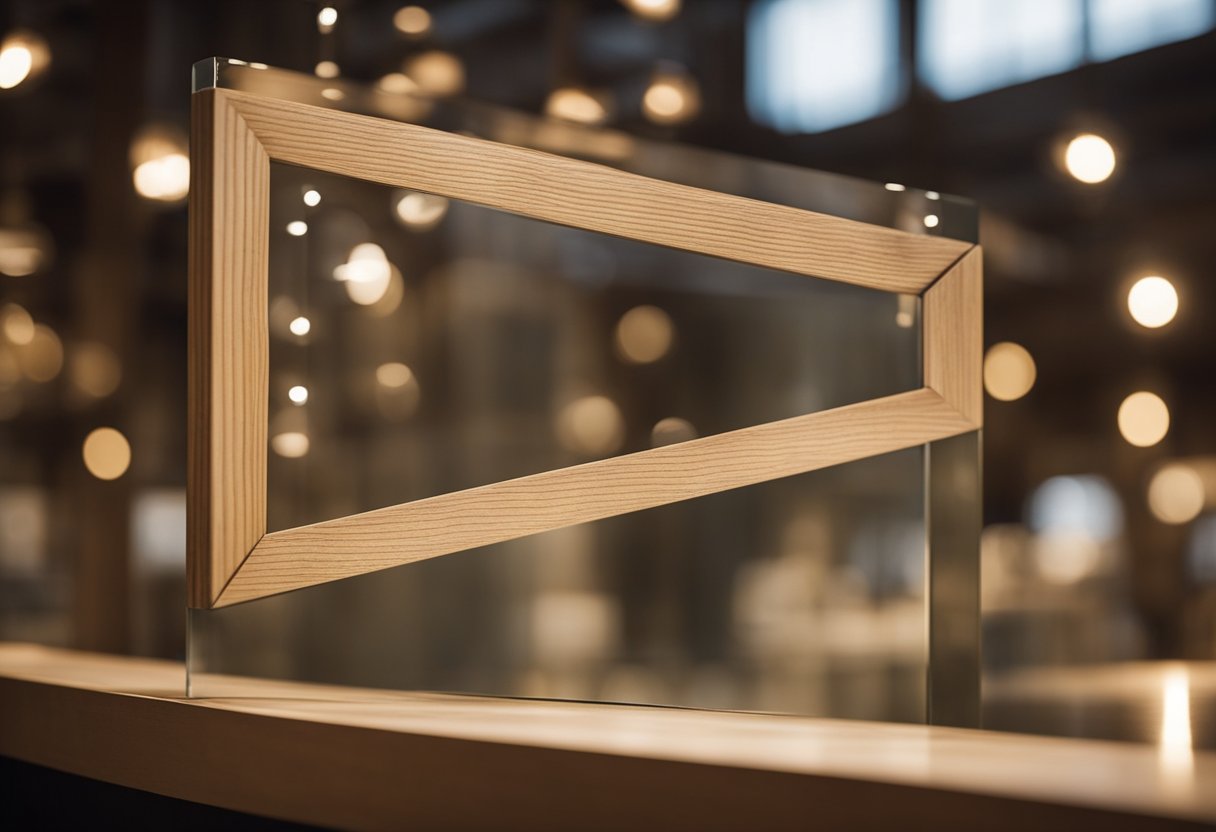
4. Trim and Rabbet
Adding trim to the frame can help cover up any imperfections and give it a more finished look. A rabbet can also be cut into the wood to hold the glass in place.
5. Wall Anchors and Hangers
If the frame is going to be hung on a wall, wall anchors and hangers can be used to secure it in place. Make sure the hangers are flush with the back of the frame to ensure it hangs evenly.
Overall, there are many ways to secure and finish a wood frame for glass. It’s important to choose the method that works best for your project and to take the necessary precautions to prevent damage to the glass.
Maintenance and Longevity of the Frame
As a wood and glass frame owner, proper maintenance is essential to ensure the longevity of your frame. Here are some tips to help you keep your frame in top condition.
Dusting and Cleaning
Dust buildup is a common problem for wood frames. To keep your frame looking its best, dust it regularly with a dry cloth or a soft-bristled brush. Avoid using water or harsh chemicals as they can damage the wood surface.
When cleaning the glass, use a glass cleaner that is safe for use on acrylic or clear plastic. Avoid using abrasive materials or paper towels, which can scratch the surface.
Weight and Durability
When framing glass with wood, it is important to consider the weight of the glass and the durability of the frame. Use a suitable wood type that is strong enough to support the weight of the glass.
Polyurethane is an excellent choice for finishing the wood frame as it provides extra protection against scratches and dings. It is also easy to use and dries quickly.
Oil and Protection
Wood frames are prone to drying out and cracking over time. To prevent this from happening, apply a coat of oil to the frame every few months. This will help to keep the wood moisturized and prevent it from drying out.
To protect the glass from scratches and other damage, consider using a clear plastic or acrylic sheet over the glass. This will provide an extra layer of protection and help to extend the life of your frame.
Safety
When handling glass, it is important to take safety precautions to avoid injury. Always wear gloves and safety glasses when handling glass. If you are unsure about how to handle glass safely, seek professional help.
By following these tips, you can help to ensure the longevity of your wood and glass frame. Proper maintenance and care will help to keep your frame looking its best for years to come.
Frequently Asked Questions
What are the best types of wood to use for framing glass?
When it comes to framing glass with wood, there are a variety of wood types that can be used. Some of the most popular options include oak, maple, cherry, and walnut. These woods are all durable and have a natural beauty that can complement the glass. It is important to choose a wood that is strong enough to support the weight of the glass and that will not warp or crack over time.
What tools do I need to frame glass with wood?
To frame glass with wood, you will need a few basic tools including a saw, a drill, screws, and sandpaper. Depending on the design of your frame, you may also need a router, a miter saw, or a biscuit joiner. It is important to have the right tools on hand to ensure that your frame is strong, stable, and secure.
What is the best way to attach glass to a wooden frame?
There are several methods that can be used to attach glass to a wooden frame, including glazing points, silicone adhesive, and epoxy. Glazing points are small metal clips that are inserted into the wood to hold the glass in place. Silicone adhesive is a strong, flexible adhesive that can be used to bond the glass to the wood. Epoxy is a two-part adhesive that creates a strong, permanent bond between the glass and the wood.
Can I use glue to attach glass to a wood frame?
While it is possible to use glue to attach glass to a wood frame, it is not recommended. Glue may not provide a strong enough bond to hold the glass securely in place, and it may also damage the glass or the wood. It is best to use a specialized adhesive that is designed for use with glass and wood.
How do I ensure my wood frame is the right size for the glass?
To ensure that your wood frame is the right size for the glass, you will need to measure the glass carefully and then cut the wood to fit. It is important to leave a small gap between the glass and the wood to allow for expansion and contraction. You can also use spacers or shims to ensure that the glass is held securely in place.
What are some tips for finishing and staining a wood frame for glass?
When finishing and staining a wood frame for glass, it is important to choose a stain or finish that complements the wood and the glass. It is also important to sand the wood carefully to ensure a smooth, even surface. You may want to apply a sealer or a topcoat to protect the wood and the glass from damage. Finally, be sure to follow the manufacturer’s instructions carefully to ensure that your finish or stain is applied correctly.

Hi, I’m Sal Muller of Tooltrip.com. My DIY experience led me to understand essential power tools for home projects. Tooltrip.com guides enthusiasts and professionals in choosing right tools for any job. I provide concise top tool reviews for easier, efficient DIY.
