
Changing the blade on a Skil saw can seem like a daunting task, but with the right tools and knowledge, it’s a straightforward process that can be completed in a matter of minutes. Whether you’re a seasoned DIYer or a beginner, knowing how to change the blade on your Skil saw is an essential skill that will save you time and money in the long run. In this article, I will guide you through the step-by-step process of changing the blade on a Skil saw, from identifying when to change the blade to choosing the right blade for your project.
Before we dive into the nitty-gritty of changing the blade on a Skil saw, it’s important to understand the basic anatomy of your saw. A Skil saw, also known as a circular saw, is a power tool that uses a circular blade to cut through various materials, such as wood, metal, and plastic. The blade is attached to a motor that spins it at high speeds, allowing it to cut through the material with ease. Understanding how your saw works will help you identify when it’s time to change the blade and ensure that you do so safely.
Key Takeaways on How to Change the Blade on a Skil Saw
- Changing the blade on a Skil saw is an essential skill for DIYers of all levels.
- Before changing the blade, it’s important to understand the basic anatomy of your saw and follow safety measures.
- The step-by-step process of changing the blade includes identifying when to change the blade, choosing the right blade for your project, and performing post-replacement checks and tips.
Understanding Your Skil Saw
As a power tool, the Skil saw is a brand of circular saws that is designed to make cutting through wood and other materials quick and easy. The Skilsaw circular saw is a powerful device that can be used for a variety of cutting tasks, including ripping, cross-cutting, and beveling.
One of the most important features of the Skil saw is its power source. This device is typically powered by electricity, which means that it must be plugged into an electrical outlet in order to work. This power source is what allows the Skil saw to generate the power needed to cut through wood and other materials quickly and efficiently.
In addition to its power source, the Skil saw also features a number of other important components. For example, the blade of the saw is one of its most important features, as it is responsible for actually cutting through the material being worked on. The blade of the Skil saw is typically made of high-quality steel or other durable materials, and is designed to be long-lasting and effective.
Another important component of the Skil saw is its cutting system. This system is designed to help guide the blade of the saw through the material being cut, ensuring that the cuts are straight and accurate. The cutting system of the Skil saw is typically made up of a number of different components, including a guide rail and a blade guard.
Overall, the Skil saw is a powerful and versatile power tool that can be used for a variety of cutting tasks. Whether you are a professional woodworker or a DIY enthusiast, this device is sure to be a valuable addition to your workshop.
Safety Measures Before Changing the Blade
As a professional handyman, I always prioritize safety when it comes to any power tool. Changing the blade on a Skil saw is no exception. Before starting the process, I make sure to take the following safety measures:
-
Wear Gloves: I always wear gloves to protect my hands from any sharp edges or debris that may fall during the blade changing process. It is crucial to have a good grip on the saw, and gloves provide a better grip and reduce the risk of slipping.
-
Wear Safety Goggles: Safety goggles are essential to protect your eyes from any flying debris or dust that may come off the saw during the blade changing process.
-
Use Safety Tools: I always use safety tools such as a blade wrench or arbor wrench provided with the Skil saw to ensure the blade is secure and tightened correctly. Using the right tools provided with the saw reduces the risk of accidents and ensures the blade is attached securely.
-
Check the Safety Guard: Before changing the blade, I always check the safety guard to ensure it is in good condition and functioning correctly. The safety guard is a crucial safety feature that prevents the blade from coming into contact with your skin or clothing.
-
Turn off the Saw: Before changing the blade, I always turn off the saw and unplug it from the power source to prevent any accidental start-ups.
By following these safety measures, I ensure that I am taking the necessary precautions to avoid any accidents or injuries during the blade changing process.
Identifying When to Change the Blade
As a DIY enthusiast, I know that it is important to keep your tools in good condition to achieve great results. One of the most important tools in your arsenal is the Skil saw. However, a dull blade can affect the performance of your saw, and if left unchecked, can cause permanent damage to your saw. Therefore, it is important to know when to change the blade.
The first step in identifying when to change the blade is to check for any burn marks on the wood surface. Burn marks are an indication that the blade is dull and needs to be replaced. A dull blade will cause friction, which results in heat that burns the wood.
Another way to identify when to change the blade is to check the quality of the cuts. If the cuts become rough, it may indicate that the blades require replacement. A dull blade will not cut through the wood cleanly, and will leave behind jagged edges.
It is also important to inspect the blade itself. If the blade is old and worn out, it may be time for a replacement. A dull blade will have visible signs of wear and tear, such as chips and dents. On the other hand, a sharp blade will have clean and smooth teeth.
In summary, identifying when to change the blade is crucial to ensure the performance of your Skil saw. Checking for burn marks, inspecting the quality of the cuts, and inspecting the blade itself are all important steps to take. By replacing a dull blade with a sharp one, you can achieve better results and prolong the life of your saw.
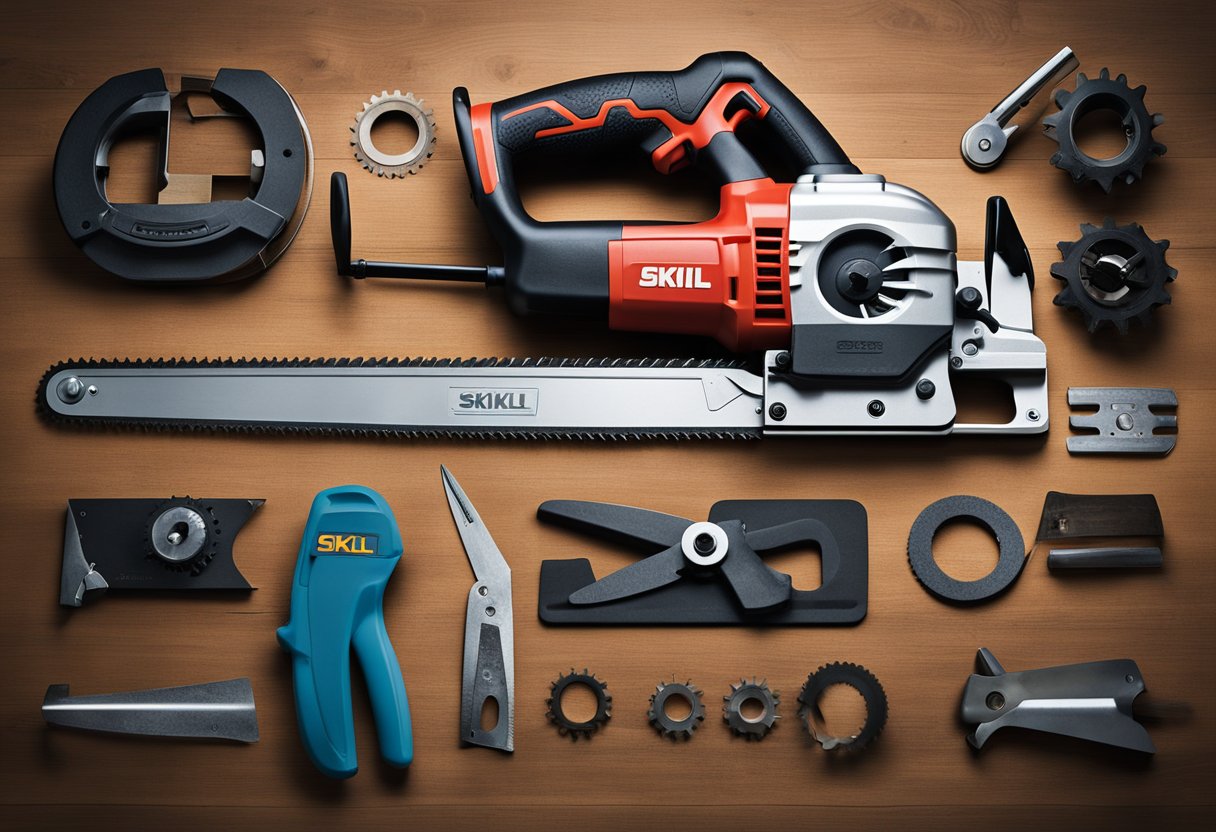
Tools Required for Changing the Blade
When it comes to changing the blade on a Skil saw, you’ll need a few tools to get the job done. Here’s a list of the tools you’ll need:
- Blade wrench
- Hex wrench
- Screwdriver
- Safety tools
The blade wrench is a tool that is specifically designed to fit the blade nut on your Skil saw. It’s important to use the correct size wrench to avoid damaging the nut or the blade. The hex wrench is also known as an Allen wrench and is used to remove the screws that hold the blade guard in place.
A screwdriver is needed to remove the screws that hold the blade in place. It’s important to use the correct size screwdriver to avoid damaging the screw heads. Safety tools such as safety goggles and gloves are also important to protect your eyes and hands from flying debris.
It’s important to have all of these tools on hand before you start changing the blade on your Skil saw. This will ensure that you have everything you need to complete the job safely and efficiently.
Step by Step Process to Change the Blade
Changing the blade on a Skil saw is a straightforward process that can be completed in a few simple steps. Before starting, ensure that the saw is unplugged or the battery is removed to avoid any accidents.
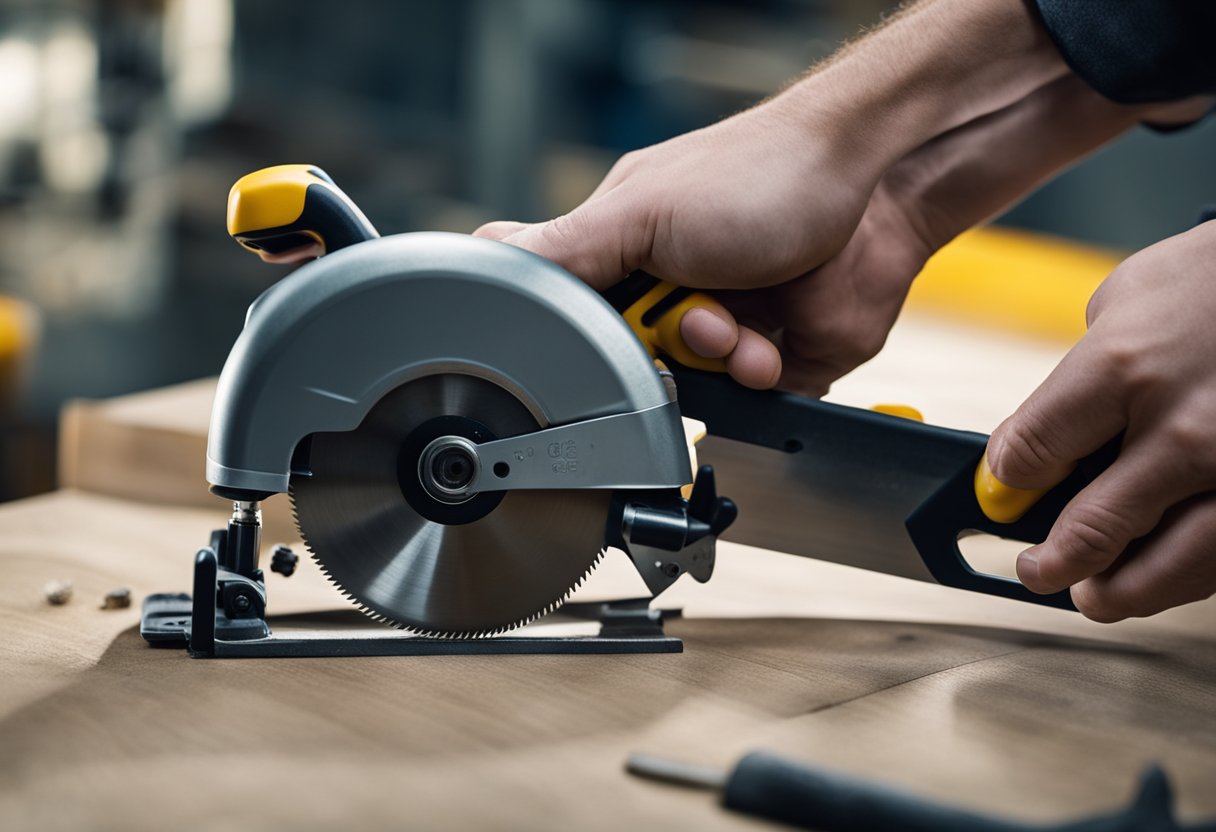
Step 1: Remove the Old Blade
The first step is to remove the old blade. Locate the blade lock button on the saw and press it to lock the blade in place. Next, use a wrench to loosen the arbor nut by turning it counterclockwise. If the saw has a retaining bolt, remove it as well. Once the nut or bolt is loose, remove the blade by pulling it out of the slot.
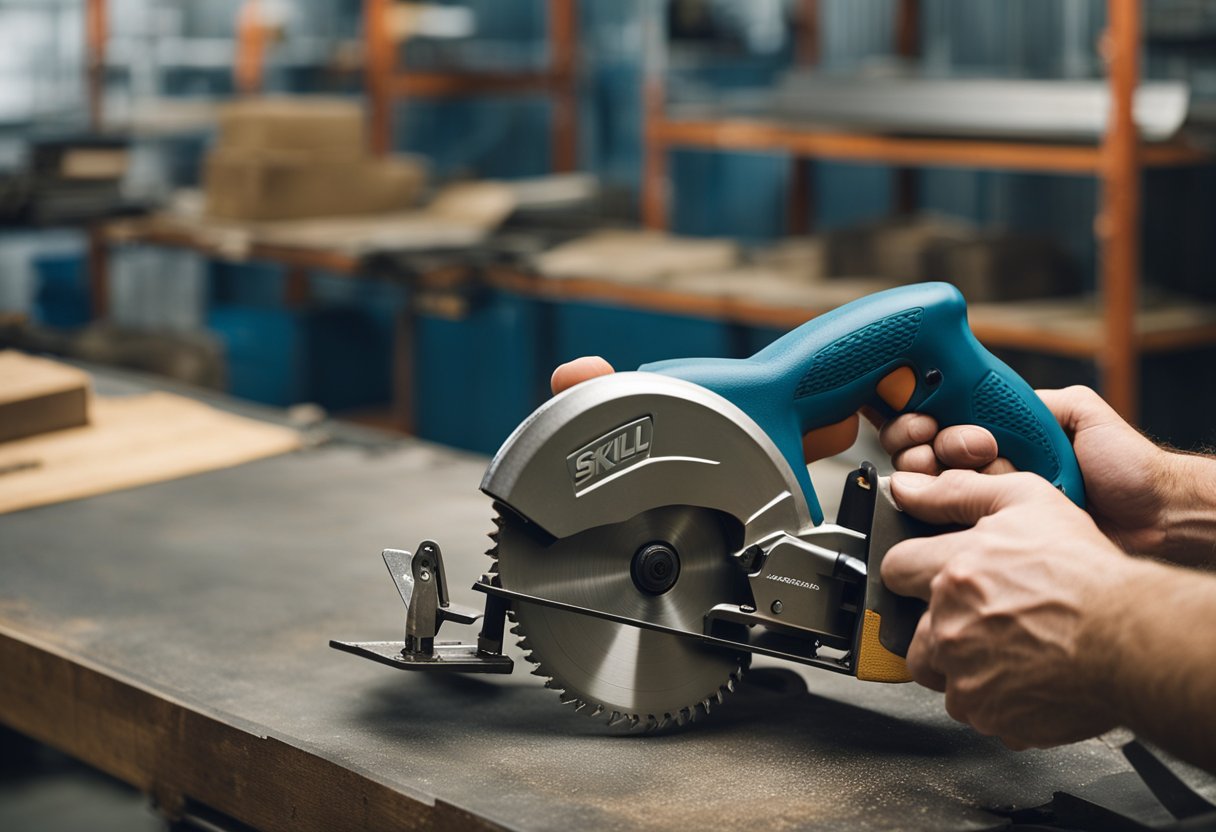
Step 2: Install the New Blade
Once the old blade is removed, it’s time to install the new one. Ensure that the new blade is compatible with your saw and that it’s the correct size and type. Insert the blade into the slot, making sure that the teeth are facing the right direction. Tighten the arbor nut or bolt by turning it clockwise, using a wrench to ensure it’s secure.
Step 3: Test the Blade
After installing the new blade, test it by turning on the saw and letting it run for a few seconds. Check the blade for any wobbling or unusual vibrations. If everything looks and sounds good, you’re ready to start using your saw again.
In summary, changing the blade on a Skil saw is a simple process that can be completed in just a few steps. Remember to always unplug the saw or remove the battery before starting, and ensure that the new blade is compatible with your saw. By following these steps, you can safely and easily change the blade on your Skil saw.
Choosing the Right Blade for Your Project
When it comes to choosing the right blade for your Skil saw, there are a few things to consider. The type of blade you choose will depend on the material you are cutting and the type of cut you want to make.
First, consider the material you will be cutting. If you are cutting wood, you will want to choose a blade designed for wood. If you are cutting metal or plastic, you will need a blade designed for those materials.
Second, consider the size of the blade. Blades come in different sizes, and the size you choose will depend on the size of the material you are cutting. A larger blade is better suited for cutting thicker materials, while a smaller blade is better for thinner materials.
Third, consider the type of cut you want to make. If you are making a rip-cut, you will want to choose a rip-cut blade. If you are making a cross-cut or a miter cut, you will want to choose a cross-cut or miter blade.
Finally, consider the number of teeth on the blade. Blades with more teeth are better suited for making smooth cuts, while blades with fewer teeth are better suited for making rough cuts.
In summary, when choosing the right blade for your Skil saw, consider the material you will be cutting, the size of the blade, the type of cut you want to make, and the number of teeth on the blade. By taking these factors into consideration, you can ensure that you choose the right blade for your project and get the best results possible.
Post Blade Replacement Checks and Tips
After changing the blade on your Skil saw, it’s important to perform a few checks and take note of some tips to ensure optimal performance and safety.
Firstly, make sure to clean the saw blade guard and the area around the blade. This will prevent any debris from interfering with the blade’s rotation and causing damage to the saw or injury to the operator.
Next, check the wear on the gear teeth that drive the blade. If they are worn, it’s important to replace them to ensure smooth and efficient operation of the saw.
When inserting the new blade, make sure to follow the arrow on the blade to ensure it’s inserted in the correct direction of rotation. This will ensure that the blade is cutting efficiently and safely.
After inserting the blade, it’s important to perform some test cuts and practice cuts to ensure that the blade is cutting straight and efficiently. This will also give you a chance to adjust the saw’s settings if necessary.
Lastly, always make sure to keep the blade guard in place while operating the saw. This will prevent any debris from flying towards the operator and causing injury.
By following these simple tips and performing these checks, you can ensure that your Skil saw is operating at peak performance and that you are operating it safely.
Troubleshooting Common Blade Changing Issues
As someone who has changed the blade on a Skil saw many times, I have encountered several common issues that can arise during the blade changing process. Here are some troubleshooting tips to help you overcome these problems:
Issue: Blade Replacement Needed
If you notice that the cuts you are making with your Skil saw are becoming rough or if you see burn marks on the wood surface, it may be time to replace your blade. Damaged blades can cause permanent damage to your saw if used for an extended period.
Issue: Incorrect Blade
Using the incorrect blade for your saw can cause a variety of problems, including poor cutting performance and potential safety hazards. Be sure to consult your user manual to ensure you are using the correct blade for your saw and the material you are cutting.
Issue: Blade Not Tightened Properly
If your blade is not tightened properly, it can cause vibrations during use, which can lead to poor cutting performance and potential safety hazards. Be sure to tighten the blade securely according to the manufacturer’s instructions.
Issue: Incorrect RPM
Using a blade with an incorrect revolutions per minute (RPM) rating can cause damage to your saw and result in poor cutting performance. Always use a blade with the correct RPM rating for your saw.
Issue: Lifespan of Blade
Blades have a limited lifespan and will eventually become dull and less effective. If you are experiencing poor cutting performance, it may be time to replace your blade. Be sure to consult your user manual for guidance on the lifespan of your blade and when it should be replaced.
By following these troubleshooting tips, you can ensure that you are changing your Skil saw blade correctly and avoiding common issues that can arise during the process.
Frequently Asked Questions

What is the proper way to change the blade on a Skilsaw 5250?
To change the blade on a Skilsaw 5250, first unplug the saw from the power source. Then, locate the blade lock button and press it down to lock the blade in place. Use a wrench to loosen the bolt holding the blade in place and remove the blade. Install the new blade and tighten the bolt securely. Release the blade lock button and plug in the saw to test the new blade.
Where can I find the manual for a Skilsaw 5275 to change the blade?
You can find the manual for a Skilsaw 5275 on the Skilsaw website or by contacting their customer service team. The manual will provide detailed instructions on how to change the blade on your saw.
Can I change the blade direction on my Skilsaw circular saw?
No, you cannot change the blade direction on a Skilsaw circular saw. The blade is designed to rotate in a specific direction and changing the direction could result in damage to the saw or injury to the user.
How do I change the blade on my Skilsaw 5480?
To change the blade on a Skilsaw 5480, first unplug the saw from the power source. Then, locate the blade lock button and press it down to lock the blade in place. Use a wrench to loosen the bolt holding the blade in place and remove the blade. Install the new blade and tighten the bolt securely. Release the blade lock button and plug in the saw to test the new blade.
What is the process for changing the blade on a miter saw?
To change the blade on a miter saw, first unplug the saw from the power source. Then, use a wrench to loosen the bolt holding the blade in place and remove the blade. Install the new blade and tighten the bolt securely. Plug in the saw to test the new blade.
Is there a specific way to put a blade in a Skil saw?
Yes, there is a specific way to put a blade in a Skil saw. Make sure the blade is facing the correct direction and that it is securely fastened in place. Always refer to the user manual for specific instructions on how to change the blade on your Skil saw.

Hi, I’m Sal Muller of Tooltrip.com. My DIY experience led me to understand essential power tools for home projects. Tooltrip.com guides enthusiasts and professionals in choosing right tools for any job. I provide concise top tool reviews for easier, efficient DIY.
