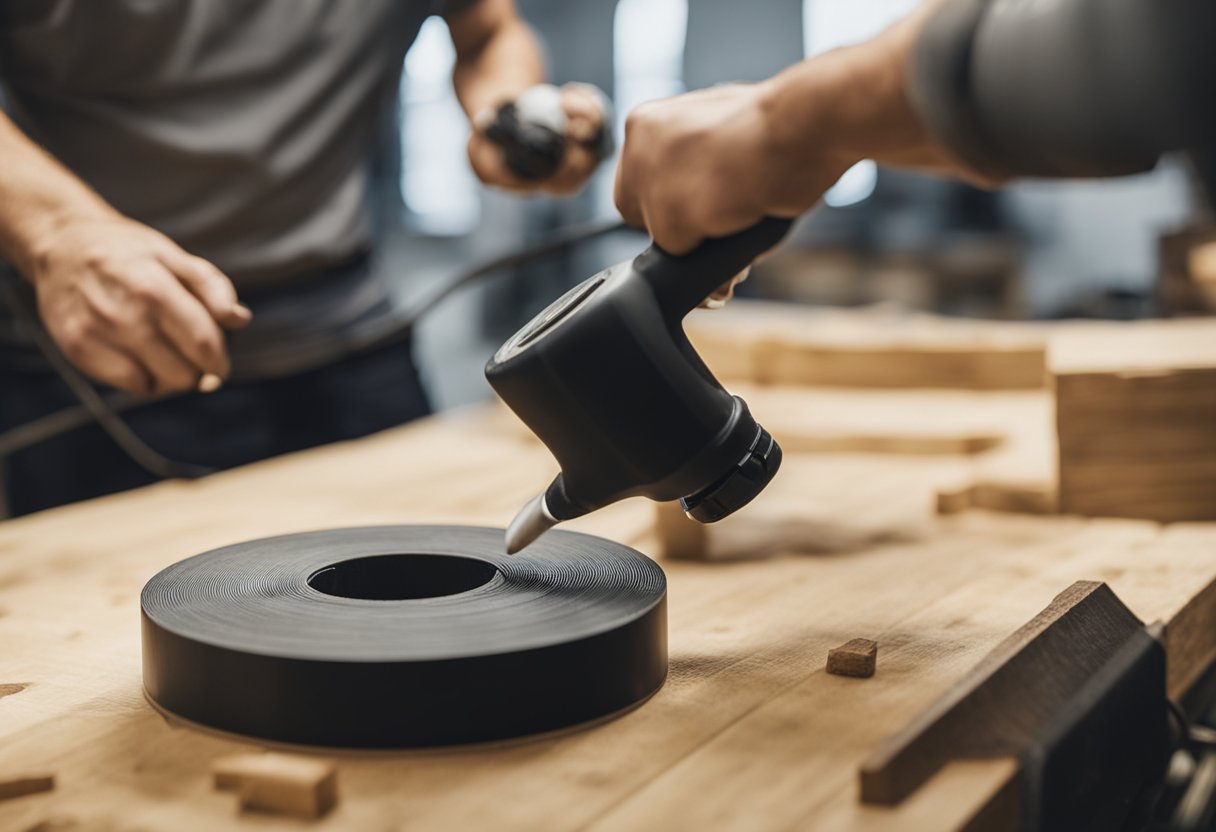
As a DIY enthusiast, I have always found it challenging to glue rubber to wood. It’s a common problem that many people face, and it can be frustrating when you can’t find a solution that works. However, with the right knowledge, tools, and techniques, it’s possible to bond rubber to wood effectively.
Understanding adhesives is crucial when it comes to gluing rubber to wood. There are various types of adhesives available in the market, and each has its unique properties. Some adhesives work better with certain types of rubber and wood, while others may not be suitable. It’s essential to choose the right adhesive that will provide a strong and durable bond between the two materials.
Key Takeaways
- Understanding the properties of adhesives is crucial for bonding rubber to wood.
- Proper preparation of surfaces is essential for effective bonding.
- Choosing the right adhesive and using the correct application process will result in a strong and durable bond.
Understanding Adhesives
https://www.youtube.com/watch?v=WyM9JtRZuvc&embed=true
As someone who has worked with wood and rubber, I understand the importance of using the right adhesive to bond these materials together. There are various types of adhesives available in the market, each with its unique properties and strengths. In this section, I will discuss some of the most common adhesives used for bonding rubber to wood.
Cyanoacrylate Glue
Also known as super glue, cyanoacrylate glue is a popular adhesive for bonding rubber to wood. It is a fast-drying adhesive that creates a strong bond between the two surfaces. However, it is essential to note that cyanoacrylate glue works best on small surfaces and may not be suitable for larger projects.
Contact Cement
Contact cement is a popular adhesive for bonding rubber to wood. It is a strong adhesive that creates a permanent bond between the two surfaces. Contact cement works by applying the adhesive to both surfaces and allowing it to dry before bonding the two surfaces together. It is essential to ensure that the surfaces are clean and dry before applying contact cement.
Polyurethane Glue
Polyurethane glue is a flexible adhesive that is resistant to impacts. It is ideal for applications that require some give, such as bonding rubber to wood. Polyurethane glue works by reacting with moisture in the air and creating a strong bond between the two surfaces. It is essential to note that polyurethane glue takes longer to dry than other adhesives.
Epoxy
Epoxy is a two-part adhesive that creates a strong bond between rubber and wood. It is ideal for bonding large surfaces and can be sanded and painted once it has cured. Epoxy works by mixing two parts of the adhesive together and applying it to the surfaces to be bonded.
Rubber Cement
Rubber cement is a popular adhesive for bonding rubber to wood. It is a flexible adhesive that creates a temporary bond between the two surfaces. Rubber cement works by applying the adhesive to one surface and allowing it to dry before bonding the two surfaces together. It is essential to note that rubber cement is not suitable for applications that require a permanent bond.
Gorilla Glue
Gorilla Glue is a popular adhesive for bonding rubber to wood. It is a versatile adhesive that creates a strong bond between the two surfaces. Gorilla Glue works by expanding as it dries, creating a tight bond between the two surfaces. It is essential to note that Gorilla Glue can be challenging to remove once it has dried.
Urethane-Based Adhesive
Urethane-based adhesive is a strong adhesive that creates a permanent bond between rubber and wood. It is ideal for applications that require a strong and durable bond. Urethane-based adhesive works by applying the adhesive to both surfaces and allowing it to dry before bonding the two surfaces together.
In conclusion, selecting the right adhesive for bonding rubber to wood is critical to achieving a strong and durable bond. When selecting an adhesive, it is essential to consider the properties of the adhesive, the size of the surfaces to be bonded, and the strength of the bond required.
Preparation Before Gluing
Before embarking on the bonding process, proper preparation is essential for a strong and long-lasting bond between rubber and wood. Here are some steps to follow:
Surface Preparation
The first step is to prepare the surfaces to be bonded. Proper surface preparation ensures that the surfaces are free from dirt, grease, and moisture, creating a strong and long-lasting bond. To prepare the surface, I usually start by cleaning the surfaces with a solvent such as acetone or rubbing alcohol. This helps to remove debris, oil, grease, tar, and other loose contaminants from the surface.
Sanding
After cleaning the surface, I proceed to sand the wood surface lightly. Sanding helps to remove any roughness or splinters on the surface, which can prevent the glue from adhering properly. It also helps to create a rough surface that the glue can grip onto.
Compatibility
It is important to ensure that the glue you use is compatible with both the rubber and wood surfaces. Using the wrong glue can result in a weak bond or even failure. Always check the label of the glue to make sure that it is suitable for rubber and wood bonding.
Abrasion
The next step is abrasion, which is done to remove plasticizers and other materials from the surface of the rubber. Abrasion can be done using sandpaper or a wire brush. This helps to create a rough surface that the glue can grip onto.
Chemical Treatment
For some rubber surfaces, chemical treatment may be necessary before gluing. Chemical treatment involves using a primer or adhesive promoter to prepare the surface for bonding. Always check the label of the primer or adhesive promoter to make sure that it is suitable for rubber and wood bonding.
In summary, preparation is crucial for a strong and long-lasting bond between rubber and wood. Proper surface preparation, sanding, compatibility, abrasion, and chemical treatment are all important steps to follow before gluing.
Application Process
https://www.youtube.com/watch?v=MAi5TfMQPVM&embed=true
When it comes to gluing rubber to wood, the application process is critical to ensure a strong and lasting bond. Here are the steps I follow for a successful adhesive application:
-
Prepare the surfaces: Before applying the adhesive, ensure that both the rubber and wood surfaces are clean, dry, and free from dirt, grease, and moisture. This can be achieved by using rubbing alcohol for rubber and sandpaper for wood. Proper surface preparation is crucial for a strong and long-lasting bond.
-
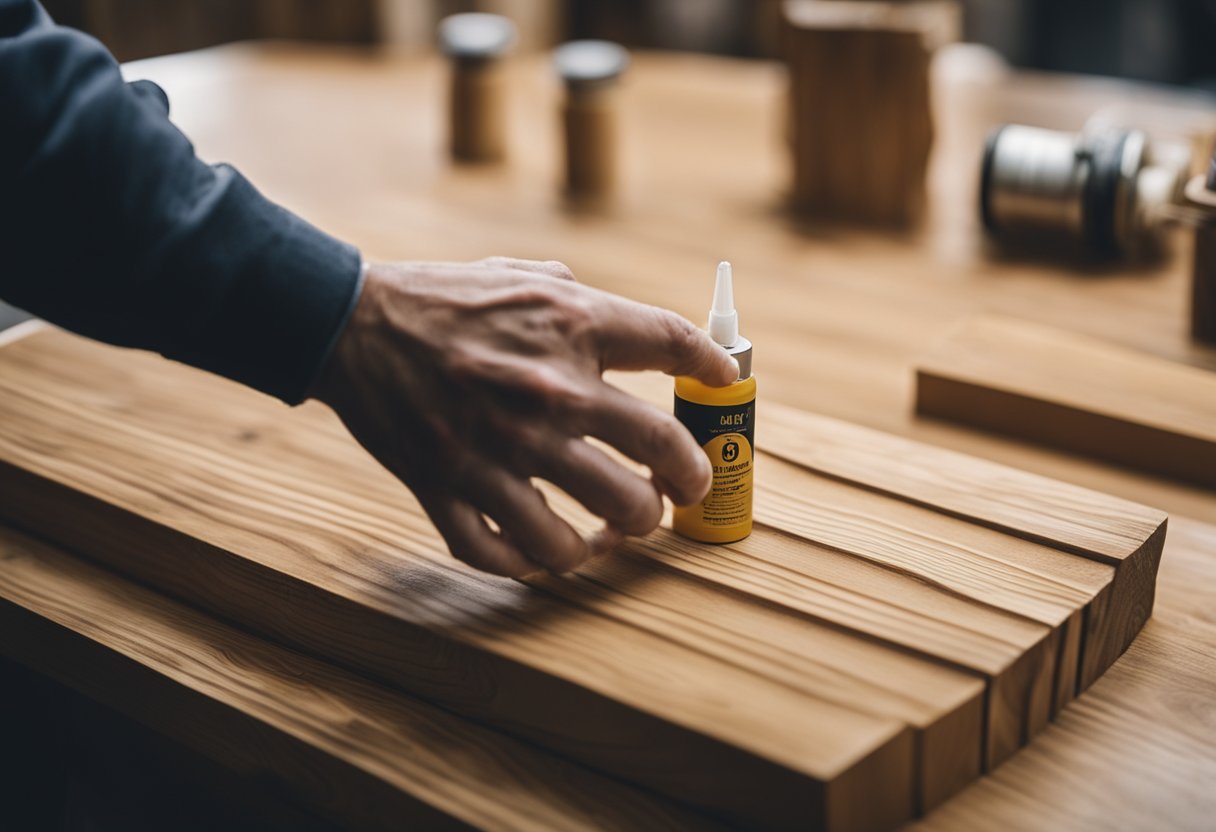
Apply the adhesive: There are different types of adhesives that can be used to glue rubber to wood, such as epoxy, cyanoacrylate, and polyurethane. Follow the manufacturer’s instructions for the specific adhesive you are using. Apply a thin, even layer of adhesive to one surface using a brush or roller. If using a two-part adhesive like epoxy, mix the components according to the manufacturer’s instructions before applying.
-
Align the surfaces: Carefully align the rubber and wood surfaces, making sure they are level and in the correct position. Use tape to hold the surfaces in place if necessary.
-
Apply pressure: Apply pressure to the surfaces to ensure a strong bond. This can be achieved by using a clamp or simply pressing the surfaces together with your hands. Be patient and allow the adhesive to dry completely before releasing the pressure.
-
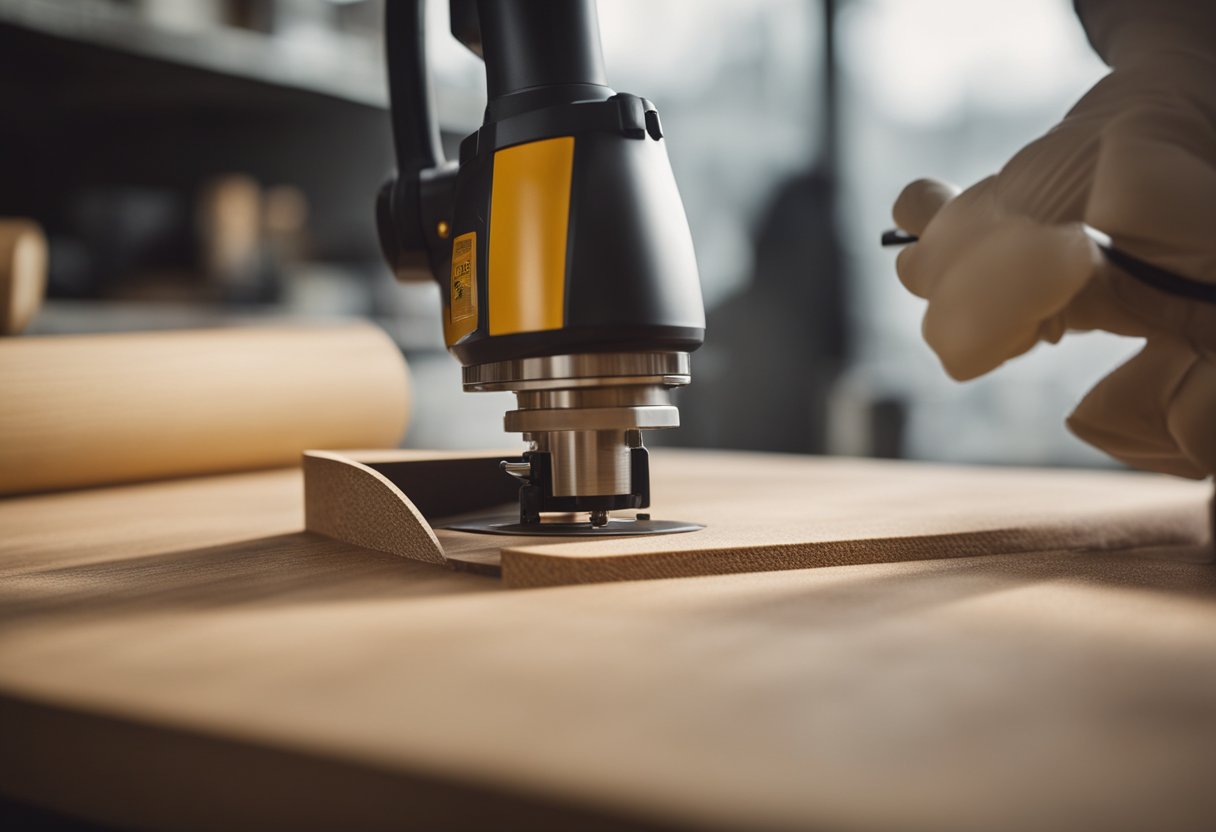
Use heat (optional): In some cases, using a heat gun can help to activate the adhesive and improve the bond. However, this should be done with caution and only if recommended by the adhesive manufacturer.
By following these steps and using patience and precision, you can successfully glue rubber to wood. Remember to always follow the manufacturer’s instructions for the adhesive you are using and take the necessary safety precautions.
Types of Rubber and Wood
https://www.youtube.com/watch?v=1K6QRhRHAFE&embed=true
When it comes to gluing rubber to wood, it is important to consider the type of rubber and wood being used. Not all rubbers and woods are created equal, and some may require specific types of adhesives to achieve a strong and lasting bond.
Types of Rubber
Rubber comes in many different forms, each with its own unique properties and characteristics. Some common types of rubber include:
-
Neoprene rubber: This type of rubber is known for its resistance to oil, heat, and weathering, making it a popular choice for industrial and automotive applications.
-
Synthetic rubber: Synthetic rubber is made from petroleum-based materials and is often used in the production of tires, gaskets, and seals.
-
Foam rubber: Foam rubber is a lightweight and flexible material that is commonly used in cushions, mattresses, and other soft furnishings.
-
Rubber sheets: Rubber sheets are thin, flexible sheets of rubber that can be cut to size and used for a variety of applications.
-
Rubber mats: Rubber mats are thick, heavy-duty mats that are often used in commercial and industrial settings to provide traction and prevent slips and falls.
Types of Wood
Like rubber, there are many different types of wood, each with its own unique properties and characteristics. Some common types of wood include:
-
Softwood: Softwood, such as pine and cedar, is lightweight and easy to work with, making it a popular choice for construction projects.
-
Hardwood: Hardwood, such as oak and maple, is denser and more durable than softwood, making it a popular choice for furniture and flooring.
-
Plywood: Plywood is a type of engineered wood that is made by gluing together thin layers of wood veneer. It is strong, lightweight, and resistant to warping and cracking.
When choosing an adhesive for gluing rubber to wood, it is important to consider the type of rubber and wood being used, as well as the specific application. Some adhesives may work better for certain types of rubber or wood, so it is important to do your research and choose an adhesive that is appropriate for your project.
Bonding and Curing
https://www.youtube.com/watch?v=cCTCYFP5Ais&embed=true
Now that we have prepared the surfaces and applied the adhesive, it’s time to bond the rubber to the wood. To achieve a successful bond, we need to use clamps to hold the bonded object in place while the adhesive cures.
Clamping is essential to ensure that the rubber and wood are held together tightly while the adhesive sets. It’s important to use enough clamps to distribute pressure evenly across the entire surface area of the bonded object. The number of clamps required will depend on the size and shape of the object being bonded.
Curing time is also an important factor to consider when bonding rubber to wood. The curing time required will depend on the type of adhesive used. It’s important to follow the manufacturer’s instructions for curing time to ensure a successful bond.
Once the adhesive has cured, it’s time to remove the clamps and inspect the bond. A flexible bond is essential when bonding rubber to wood, as the bond will need to withstand movement and flexing.
It’s also important to ensure that the bond is waterproof, especially if the bonded object will be exposed to moisture. Some adhesives are designed to be waterproof, while others may require additional steps to make the bond waterproof.
In summary, bonding rubber to wood requires proper surface preparation, the use of the right adhesive, clamping to hold the bonded object in place while the adhesive cures, and ensuring a flexible and waterproof bond. By following these steps, you can achieve a successful bond between rubber and wood.
Post Application Procedures
https://www.youtube.com/watch?v=8_DMs_rcqTc&embed=true
Once you have glued the rubber to the wood, there are a few post-application procedures that you should follow to ensure a long-lasting bond.
Sealing
Sealing is an important step in the post-application process. It helps to protect the bond from moisture and other environmental factors that can weaken the bond over time. You can use a sealant like silicone caulk to seal the edges of the bond. Apply the sealant in a thin and even layer and allow it to dry completely before using the bonded item.
Hardener
If you used a two-part adhesive, you may need to apply a hardener to the bond. A hardener is a chemical that reacts with the adhesive to make it stronger and more durable. Follow the manufacturer’s instructions for the specific adhesive you used to determine if a hardener is necessary and how to apply it.
Air Bubbles
Air bubbles can weaken the bond between the rubber and wood. If you notice any air bubbles in the bond, you should remove them as soon as possible. Use a pin or needle to puncture the bubble and press the rubber down to remove the air. Be careful not to puncture the rubber or damage the bond.
Activators
Some adhesives require an activator to work properly. An activator is a chemical that helps to speed up the curing process of the adhesive. If you used an adhesive that requires an activator, be sure to follow the manufacturer’s instructions carefully. Apply the activator to the adhesive as directed and allow it to dry completely before using the bonded item.
By following these post-application procedures, you can ensure that the bond between the rubber and wood is strong and long-lasting. Remember to always follow the manufacturer’s instructions for the specific adhesive you used and take care when handling the bonded item.
Troubleshooting and Maintenance
As with any project, there may be times when things don’t go as planned. Here are some troubleshooting tips for gluing rubber to wood:
- If you accidentally get glue on the wrong area, use a solvent like denatured alcohol to remove it. Apply the solvent to a cloth and rub the affected area until the glue comes off. Be sure to test the solvent on a small, inconspicuous area first to make sure it doesn’t damage the wood or rubber.
- If you need to remove the rubber from the wood, use a degreaser to break down the glue. Apply the degreaser to a cloth and rub the affected area until the rubber comes off. Again, test the degreaser on a small, inconspicuous area first to make sure it doesn’t damage the wood or rubber.
- If you find that the rubber is not adhering to the wood as well as you’d like, try cleaning the surfaces again with rubbing alcohol or a mild detergent. Make sure both surfaces are completely dry before applying the glue.
- If you’re having trouble with the glue drying too quickly, try using a slower-drying glue. Some glues dry in just a few seconds, while others may take several hours to dry completely.
- If you’re having trouble with the glue not adhering properly, try using a rubber to wood glue specifically designed for this purpose. These glues are formulated to provide a strong bond between rubber and wood.
Remember to always follow the manufacturer’s instructions when using any type of glue. If you’re unsure about how to use a particular type of glue, consult the manufacturer’s website or contact their customer service department for assistance.
DIY Projects and Uses
As a DIY enthusiast, I have found that gluing rubber to wood can open up a world of possibilities for creative projects. From making custom grips for tools to creating non-slip surfaces for furniture, the combination of rubber and wood can create durable and functional pieces that are both practical and aesthetically pleasing.
When it comes to choosing the best adhesive for your DIY project, there are a few options to consider. Weldwood and Liquid Nails are both popular choices for bonding rubber to wood. However, it’s important to note that not all adhesives are created equal, and some may work better than others depending on the specific materials being used.
Before applying any adhesive, it’s essential to properly prepare the surfaces by cleaning them thoroughly and applying a primer if necessary. This will help ensure a strong bond and prevent the adhesive from breaking down over time.
When gluing rubber foam to wood, it’s important to use an adhesive that is specifically designed for foam materials. Some adhesives may eat away at the foam, causing it to break down and lose its shape.
For neoprene rubber, a contact adhesive is often the best choice. This type of adhesive creates a strong, permanent bond that can withstand exposure to water and other elements.
Whether you’re creating a custom piece of furniture or repairing a tool handle, gluing rubber to wood can be an effective way to create durable and functional pieces that will stand the test of time. With the right adhesive and proper preparation, the possibilities are endless.
Frequently Asked Questions
Can PVA glue be used to attach rubber to wood?
PVA glue is not the best option for gluing rubber to wood. While PVA glue can work well on porous surfaces like wood, it is not effective on non-porous materials like rubber. The bond between rubber and PVA glue will not be strong, and the rubber will eventually come loose.
What is the best adhesive for gluing rubber to wood?
The best adhesive for gluing rubber to wood depends on the specific application. Epoxy adhesive, cyanoacrylate adhesive (super glue), and polyurethane-based adhesive are all effective options. When choosing an adhesive, consider the type of rubber and wood being used, the conditions the bond will be exposed to, and the strength required for the application.
How do you glue rubber mats to plywood?
To glue rubber mats to plywood, first clean both surfaces thoroughly. Apply a layer of adhesive to one surface and press the rubber mat onto the plywood. Use a roller to ensure the bond is even and there are no air bubbles. Allow the adhesive to dry completely before using the mat.
Does Gorilla Wood Glue work on rubber and wood?
Gorilla Wood Glue is not recommended for gluing rubber to wood. While it is effective on wood, it is not designed to bond non-porous materials like rubber. Using Gorilla Wood Glue on rubber and wood may result in a weak bond that eventually fails.
Can cyanoacrylate adhesive be used to bond rubber to wood?
Yes, cyanoacrylate adhesive (super glue) can be used to bond rubber to wood. However, it is important to choose a super glue that is specifically designed for rubber to ensure a strong bond. Loctite super glue ultra-gel is a good option for bonding rubber to wood.
Is silicone adhesive effective for attaching rubber to wood?
Silicone adhesive is not the best option for attaching rubber to wood. While it can work well on some surfaces, it is not designed to bond non-porous materials like rubber. Silicone adhesive may also break down over time when exposed to heat and moisture. It is best to use an adhesive specifically designed for bonding rubber to wood.

Hi, I’m Sal Muller of Tooltrip.com. My DIY experience led me to understand essential power tools for home projects. Tooltrip.com guides enthusiasts and professionals in choosing right tools for any job. I provide concise top tool reviews for easier, efficient DIY.

