
Attaching trim to a wall is an essential step in any home renovation or construction project. Trim serves both an aesthetic and functional purpose by covering gaps and rough edges, while also adding a decorative element to a room. While it may seem like a small detail, properly installed trim can make a big difference in the overall look and feel of a space. In this article, I will provide a step-by-step guide on how to attach trim to a wall, including the necessary tools and techniques required to achieve a professional finish.
Before diving into the installation process, it’s important to understand the purpose of trim and the different types of trim available. Trim can be made from a variety of materials including wood, MDF, PVC, and plaster. It is typically used to cover gaps between walls, ceilings, and floors, as well as to add decorative elements such as crown molding, chair rails, and baseboards. Understanding the different types of trim and their purpose will help you choose the right type of trim for your project and ensure a successful installation.
Key Takeaways
- Proper measurement and cutting techniques are crucial for a successful trim installation.
- Preparation of the wall and trim before installation is essential for achieving a professional finish.
- Safety considerations should be taken into account when working with power tools and sharp objects.
Understanding Trim and Its Purpose
https://www.youtube.com/watch?v=mRLzzrfe8PQ&embed=true
As a professional carpenter, I know how important it is to understand trim and its purpose. Trim work is the finishing touch that gives a room character and style. Trim includes baseboards, crown molding, and other interior trim that covers the joints between walls and ceilings, floors, and doors and windows. The primary purpose of trim is to cover gaps and rough edges, but it also adds visual appeal to a room.
Trim work can be made from a variety of materials, including wood, MDF, PVC, and polyurethane. Each material has its own advantages and disadvantages, so it’s important to choose the right material for the job. Wood is the most popular material for trim work because it’s durable and easy to work with. However, it can be expensive and requires regular maintenance. PVC and polyurethane are affordable and low-maintenance, but they’re not as durable as wood.
One of the most common types of trim is baseboards. Baseboards are installed at the bottom of walls and cover the joint between the wall and floor. They protect the wall from scuffs and scratches and add a finished look to the room. Baseboards come in a variety of styles and sizes, so it’s easy to find one that matches the style of your room.
Another type of trim is wall trim. Wall trim is installed around doors, windows, and other openings in the wall. It covers gaps and rough edges and adds visual appeal to the room. Wall trim comes in a variety of styles, including chair rail, picture rail, and wainscoting.
In summary, trim work is an essential part of any room. It covers gaps and rough edges and adds visual appeal to the room. Baseboards and wall trim are two of the most common types of trim. When choosing trim, it’s important to consider the material, style, and size to ensure it matches the style of your room.
Materials and Tools Required
To attach trim to a wall, you will need a few essential materials and tools. Here is a list of the items you will need:
Materials
- Trim boards
- Wood filler
- Caulk
- Construction adhesive
- Latex caulk
Tools
- Miter saw
- Nail guns
- Compressor
- Level
- Tape measure
- Sandpaper
- Utility knife
- Gloves
- Wood glue
- Nails
A miter saw is essential for making accurate cuts that result in tightly mitered corners. Nail guns and a compressor will make the installation process quicker and more efficient. A level is necessary to ensure that the trim is straight and even. A tape measure is needed to measure the length of the trim boards accurately. Sandpaper is required to smooth out any rough edges or imperfections in the wood.
To attach the trim boards to the wall, you will need construction adhesive, wood glue, and nails. Use construction adhesive to attach the trim boards to the wall, and wood glue to attach any joints or corners. Nails are used to secure the trim boards to the wall and hold them in place while the adhesive dries.
Once the trim is installed, use caulk and latex caulk to fill any gaps between the trim and the wall. Wood filler can be used to fill any nail holes or imperfections in the wood. With the right tools and materials, attaching trim to a wall can be a straightforward and rewarding DIY project.
Proper Measurement and Cutting Techniques
https://www.youtube.com/watch?v=QhJKY-DnuD0&embed=true
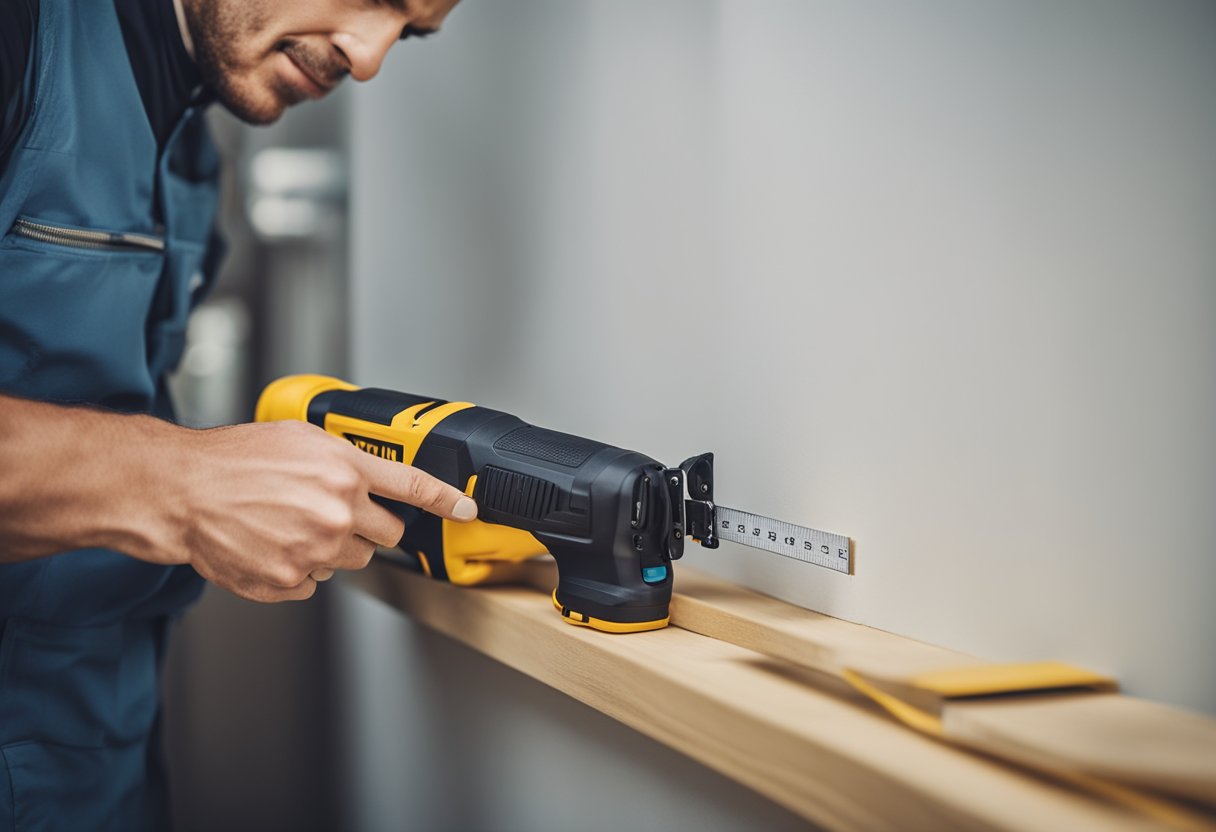
As a professional carpenter, I know the importance of accurate measurements when it comes to attaching trim to walls. One of the most common mistakes I see people make is not measuring correctly. It’s important to measure twice and cut once to avoid any mistakes or miscalculations.
When measuring, I always use a reliable guide, such as a tape measure or a framing square. These tools help me ensure that my measurements are precise and consistent. If you’re not sure how to use these tools, there are plenty of online resources available that can guide you through the process.
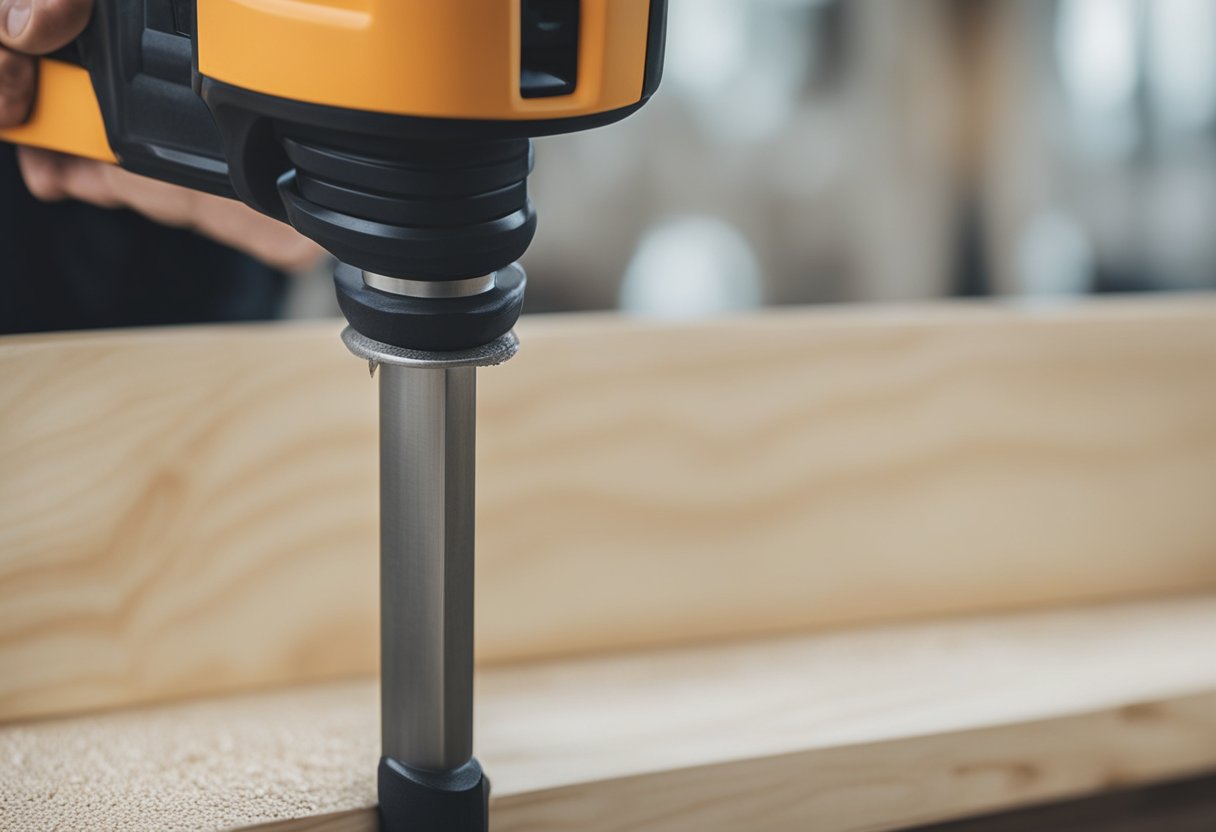
Another important aspect of attaching trim to walls is cutting the pieces to the correct length and angle. Miter joints are commonly used when installing trim, and they require precise cutting techniques. A compound miter saw is a great tool to use for making these cuts, as it allows you to adjust the angle of the blade to match the angle of the trim.
It’s important to note that different types of saws will cut different widths, or kerfs. A power miter saw or circular saw will typically cut a line (or kerf) about 1/8 inch wide. A hand backsaw will probably have a narrower kerf. This is important to keep in mind when measuring and cutting your trim pieces.
In summary, proper measurement and cutting techniques are essential when attaching trim to walls. By using reliable guides and cutting tools, and taking the time to measure accurately, you can avoid mistakes and ensure that your trim fits perfectly.
Preparation of the Wall and Trim
https://www.youtube.com/watch?v=zua7iON4itc&embed=true
Before attaching the trim to the wall, it’s essential to prepare both the wall and the trim. Proper preparation will ensure that the trim adheres well to the wall and stays in place for a long time.
Wall Preparation
The first step in preparing the wall is to ensure that it is clean and free from dust and debris. I usually clean the wall using a damp cloth or sponge to remove any dirt or grime. If the wall has any rough spots or bumps, I use sandpaper to smooth them out.
Once the wall is clean and smooth, I prime it with a good quality primer. Priming the wall ensures that the paint or adhesive sticks to the wall and provides a smooth surface for the trim to adhere to. I let the primer dry completely before painting the wall.
Trim Preparation
Before attaching the trim to the wall, it’s essential to ensure that the surfaces of the trim are clean and free from any dust or debris. I usually wipe the trim with a damp cloth or sponge to remove any dirt or grime.
If the trim has any rough spots or bumps, I use sandpaper to smooth them out. I also make sure that the trim is free from any plaster or ceramic that may have stuck to it during the manufacturing process.
Wall and Trim Compatibility
It’s essential to ensure that the wall and trim are compatible. For example, if you’re attaching trim to a concrete or brick wall, you’ll need to use a different adhesive than if you were attaching trim to a drywall or cork surface.
In conclusion, proper preparation of the wall and trim is essential before attaching trim to the wall. By following the steps outlined above, you’ll ensure that the trim adheres well to the wall and stays in place for a long time.
Installing the Trim
https://www.youtube.com/watch?v=Nv3dWnUnDNQ&embed=true
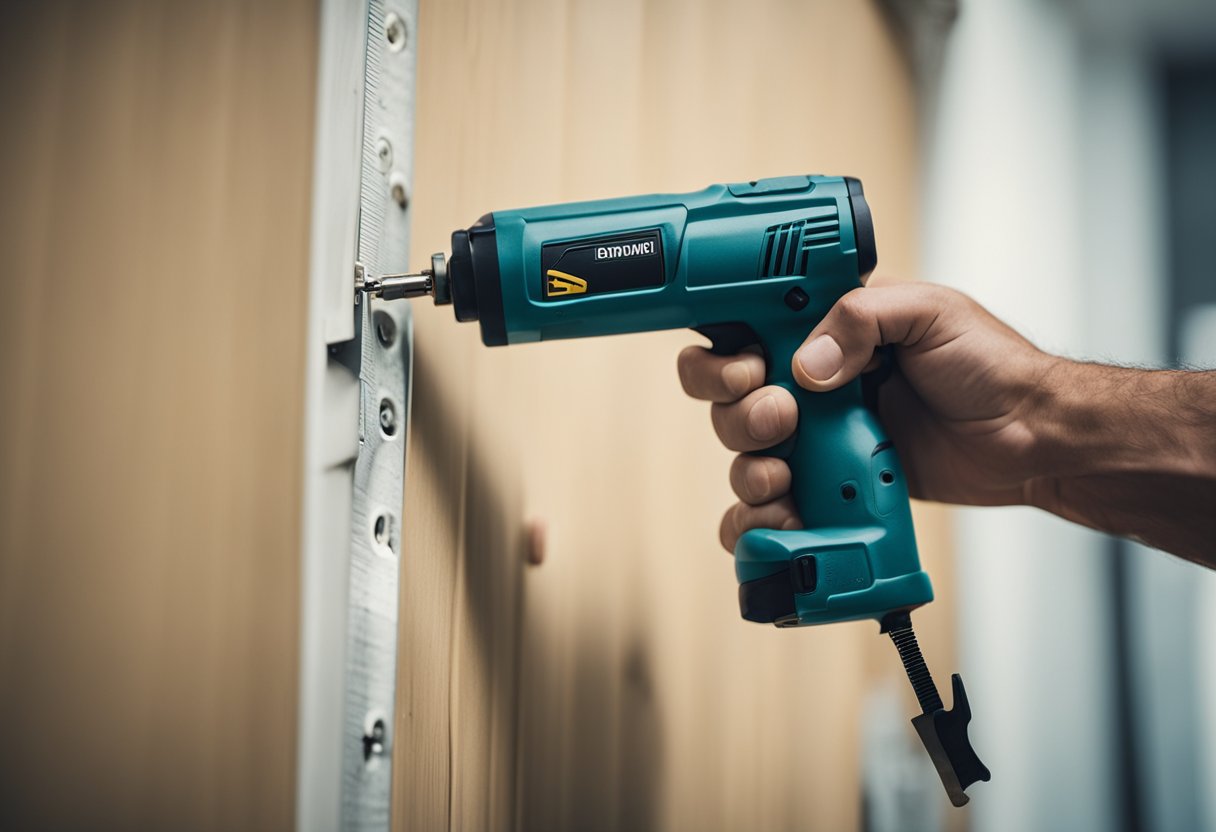
Now that we have prepared the wall and measured and cut the trim, it’s time to attach the trim to the wall. There are several ways to install trim, including using glue, nails, or a combination of both. I prefer to use a power nailer, as it is fast and efficient, but if you don’t have one, you can use a hammer and nails.
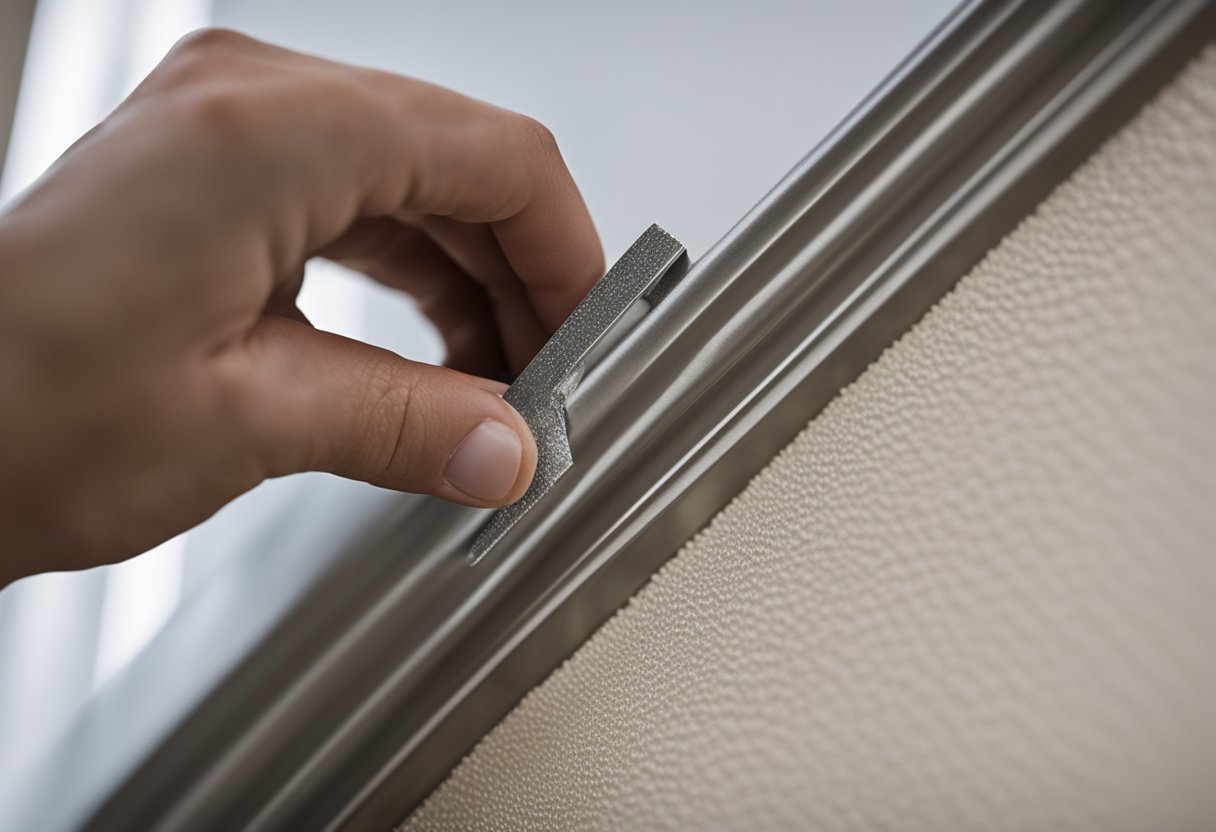
First, locate the studs in the wall using a stud finder. You want to nail the trim directly into the studs to ensure a secure attachment. Once you have located the studs, use a caulk tube to apply a small bead of sealant to the back of the trim. This will help prevent any gaps between the wall and the trim.
Next, position the trim against the wall and use a level to ensure it is straight. If you are installing inside corners or outside corners, make sure to cut the trim at the appropriate angle to ensure a tight fit.
If using a power nailer, hold the nailer at a slight angle and nail the trim to the studs. Make sure to space the nails evenly and avoid over-nailing, as this can cause the trim to split. If using a hammer and nails, hold the nail at a slight angle and nail the trim to the studs.
Once all the trim is attached, use a caulk gun to apply a small bead of caulk along the top and bottom edges of the trim. This will help seal any gaps between the trim and the wall.
In conclusion, attaching trim to the wall is a simple process that can be done using glue, nails, or a combination of both. Make sure to locate the studs in the wall, use a level to ensure the trim is straight, and apply sealant and caulk to prevent any gaps. With a little patience and attention to detail, your trim installation will look professional and polished.
Finishing Touches and Clean Up
https://www.youtube.com/watch?v=Z3–pCZB_Bc&embed=true
Now that the trim is attached to the wall, it’s time to do some finishing touches and clean up. Here are some tips to make your trim look perfect:
1. Fill in Nail Holes with Wood Filler
After attaching the trim to the wall, you may notice some nail holes. To make the trim look seamless, fill in the nail holes with wood filler. Choose a wood filler that matches the color of your trim and apply it with a putty knife. Wait for the filler to dry, then sand it down until it’s smooth.
2. Caulk the Gaps
If there are any gaps between the trim and the wall, use caulk to fill them in. Choose a paintable caulk that matches the color of your trim. Apply a thin bead of caulk along the gap, then use your finger or a caulk smoothing tool to smooth it out. Wait for the caulk to dry, then paint over it with the same color as the trim.
3. Sand the Trim
Even if you bought pre-sanded trim, it’s a good idea to give it a light sanding after attaching it to the wall. This will help smooth out any rough spots or imperfections. Use a fine-grit sandpaper and sand in the direction of the grain.
4. Clean Up the Dust
Sanding the trim will create a lot of dust. To avoid having dust settle on your freshly painted walls, use a vacuum cleaner or a damp cloth to clean up the dust. Be sure to clean up any dust that may have settled on the floor as well.
5. Paint the Trim
If you haven’t already painted the trim, now is the time to do it. Before painting, make sure the trim is clean and free of dust. Use a paintbrush or a roller to apply a coat of paint to the trim. Wait for the paint to dry, then apply a second coat if necessary.
By following these tips, you can ensure that your trim looks perfect and seamless. Don’t rush the finishing touches and clean up, as they can make a big difference in the final look of your trim.
Special Cases and Advanced Techniques
When it comes to attaching trim to walls, there are some special cases and advanced techniques that require additional attention. In this section, I will cover some of these situations and provide tips on how to handle them.
Chair Rail
Chair rail is a type of trim that is installed horizontally on the wall to protect it from the backs of chairs. It can also be used as a decorative element to add visual interest to a room. When installing chair rail, it is important to make sure that it is level and that the joints are tight. Use a level and a straight edge to guide your cuts, and make sure to use a coping saw to cut the ends of the rail to fit snugly against the adjacent pieces.
Ceilings
When installing trim on a ceiling, it is important to make sure that it is level and that the joints are tight. Use a level and a straight edge to guide your cuts, and make sure to use a coping saw to cut the ends of the trim to fit snugly against the adjacent pieces. If you are installing crown molding, make sure to use a compound miter saw to make the angled cuts.
Bathroom
When installing trim in a bathroom, it is important to use materials that are resistant to moisture and humidity. PVC and composite materials are good options for bathroom trim. Make sure to use a waterproof adhesive and sealant to prevent water from getting behind the trim.
Modern
If you are going for a modern look, consider using simple, clean lines for your trim. Avoid ornate or elaborate designs, and opt for a minimalist approach. Use materials like metal or glass to add a sleek, contemporary feel.
Entry
When installing trim in an entryway, consider using a layered approach. Use a baseboard, chair rail, and crown molding to create a cohesive look. Make sure to choose materials that are durable and can withstand heavy traffic.
Height
When installing trim, consider the height of the room. If the room has high ceilings, consider using taller baseboards and crown molding to create a sense of grandeur. If the room has low ceilings, use smaller trim to avoid overwhelming the space.
Hallway
When installing trim in a hallway, consider using a vertical approach. Install tall wainscoting or beadboard to create a sense of height and add visual interest. Use a chair rail to break up the space and add a decorative element.
Living Room
When installing trim in a living room, consider using a wide baseboard and crown molding to create a sense of elegance. Use decorative trim around windows and doors to add visual interest. Consider using a layered approach with a chair rail and wainscoting to create a classic look.
Plywood
When installing trim on plywood, make sure to use a nail gun to attach the trim to the wall. Use finishing nails to attach the trim to the plywood, and make sure to fill any nail holes with wood filler before painting.
Kitchen
When installing trim in a kitchen, consider using materials that are durable and easy to clean. PVC and composite materials are good options for kitchen trim. Use a waterproof adhesive and sealant to prevent water from getting behind the trim.
Carpentry
When installing trim, it is important to use the correct tools and techniques. Use a compound miter saw to make angled cuts, and use a coping saw to cut the ends of the trim to fit snugly against the adjacent pieces. Use a nail gun to attach the trim to the wall, and make sure to fill any nail holes with wood filler before painting.
Floors
When installing trim on floors, make sure to use a nail gun to attach the trim to the wall. Use finishing nails to attach the trim to the floor, and make sure to fill any nail holes with wood filler before painting.
Windows and Doors
When installing trim around windows and doors, make sure to use a level and a straight edge to guide your cuts. Use a compound miter saw to make angled cuts, and use a coping saw to cut the ends of the trim to fit snugly against the adjacent pieces. Make sure to use a waterproof adhesive and sealant to prevent water from getting behind the trim.
Wide
When installing wide trim, make sure to use a compound miter saw to make angled cuts. Use a nail gun to attach the trim to the wall, and make sure to fill any nail holes with wood filler before painting. Consider using a layered approach with a chair rail and wainscoting to create a classic look.
Safety Considerations

As with any DIY project, safety should always be a top priority when attaching trim to a wall. Here are some safety considerations to keep in mind:
Protect Your Hands
When working with tools, it’s important to protect your hands with gloves. Gloves can prevent cuts and scrapes, and also provide added grip and control when handling materials. I recommend wearing gloves made of durable material that can withstand sharp edges and rough surfaces.
Protect Your Eyes
When cutting and nailing trim, wood chips and dust can fly into your eyes, causing injury or irritation. To protect your eyes, wear safety goggles or glasses that are designed to shield your eyes from debris. Make sure the goggles or glasses fit snugly and are comfortable to wear.
Be Careful with Hoses and Cords
When using power tools, be mindful of hoses and cords. Loose hoses and cords can pose a tripping hazard, which can lead to serious injury. Keep hoses and cords neatly coiled and secured to prevent them from getting tangled or caught on something.
Use Caution When Climbing Ladders
When installing trim on high walls or ceilings, you may need to use a ladder. Always make sure the ladder is stable and secure before climbing it. Use caution when working on the ladder, and never overreach or stand on the top rungs.
By following these safety considerations, you can minimize the risk of injury and ensure a successful trim installation project.
When to Call a Professional
Attaching trim to walls is a relatively simple DIY project that most homeowners can tackle with the right tools and a bit of patience. However, there are some situations where it may be best to call in a professional.
If you’re unsure about your ability to make precise cuts or install trim securely, it’s best to hire a professional. A professional installer has the experience and expertise to ensure that your trim is installed correctly and looks great. They also have access to specialized tools and equipment that can make the job easier and faster.
Another reason to call a professional is if you’re working with expensive or delicate materials. If you’re installing custom trim or working with rare or expensive woods, it’s important to get the installation right the first time. A professional installer can help you avoid costly mistakes and ensure that your trim looks beautiful and lasts for years to come.
Finally, if you’re short on time or simply don’t want to deal with the hassle of installing trim yourself, a professional installer can take care of the job quickly and efficiently. They can work around your schedule and make sure that your trim is installed correctly and on time.
Overall, while installing trim is a DIY project that many homeowners can tackle, there are times when it’s best to call in a professional. If you’re unsure about your ability to install trim yourself, or if you’re working with expensive or delicate materials, it’s best to hire a professional installer.
Frequently Asked Questions
What are some types of wood trim that can be used to attach to a wall?
There are various types of wood trim that can be used to attach to a wall, such as baseboards, crown molding, chair rails, and picture rails. Each type of trim has its unique design and purpose. For instance, baseboards are used to cover the joint between the floor and the wall, while crown molding is used to add a decorative touch to the top of the wall.
How can I install trim around a door?
Installing trim around a door is a straightforward process. First, measure the length of the top and sides of the door frame to determine the length of the trim pieces needed. Then, cut the trim pieces to size using a saw and miter box. After that, apply a bead of adhesive to the back of the trim pieces and press them firmly against the door frame. Finally, nail the trim pieces into place using finishing nails.
What are some ideas for wall moulding?
Wall molding, also known as wainscoting, can add depth and texture to a room. Some ideas for wall molding include raised panel wainscoting, beadboard wainscoting, and picture frame molding. Raised panel wainscoting is a classic style that features raised rectangular panels on the lower half of the wall, while beadboard wainscoting is a more casual style that features narrow vertical planks. Picture frame molding is a modern style that features rectangular frames on the wall.
Can trim be attached to a wall without using nails?
Yes, trim can be attached to a wall without using nails. There are various adhesive options available, such as liquid nails, construction adhesive, and double-sided tape. However, it is important to note that adhesive alone may not be enough to hold the trim in place permanently. It is recommended to use adhesive in combination with nails or screws for added support.
What adhesive can be used to stick trim to a wall?
The type of adhesive that can be used to stick trim to a wall depends on the material of the trim and the wall. For wood trim, liquid nails or construction adhesive can be used. For plastic or foam trim, a silicone-based adhesive may be more appropriate. It is important to read the manufacturer’s instructions and ensure that the adhesive is compatible with both the trim and the wall.
Is it necessary to nail trim into studs when attaching it to a wall?
While it is not always necessary to nail trim into studs when attaching it to a wall, it is recommended for added support. Nailing into studs ensures that the trim is securely anchored to the wall and reduces the risk of the trim coming loose over time. If studs are not available, alternative methods such as using wall anchors or adhesive can be used.

Hi, I’m Sal Muller of Tooltrip.com. My DIY experience led me to understand essential power tools for home projects. Tooltrip.com guides enthusiasts and professionals in choosing right tools for any job. I provide concise top tool reviews for easier, efficient DIY.
