
Greasing wheel bearings is an essential maintenance task for any vehicle owner. Properly lubricated bearings ensure smooth and safe operation of the wheels and prevent premature wear and tear. However, the task of greasing wheel bearings can be daunting, especially if you have to remove the seals or disassemble the wheel hub. In this article, I will show you how to grease wheel bearings without removing the seals or disassembling the wheel hub.
Understanding Wheel Bearings
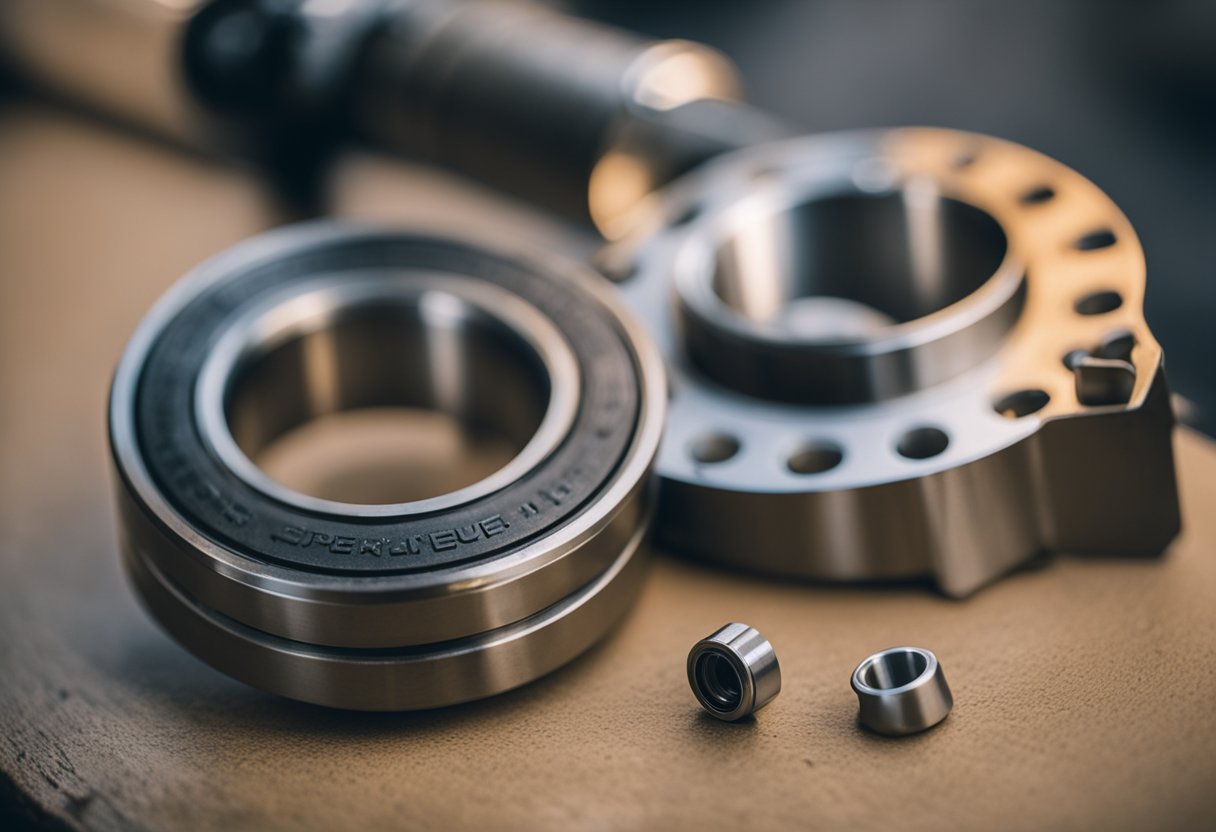
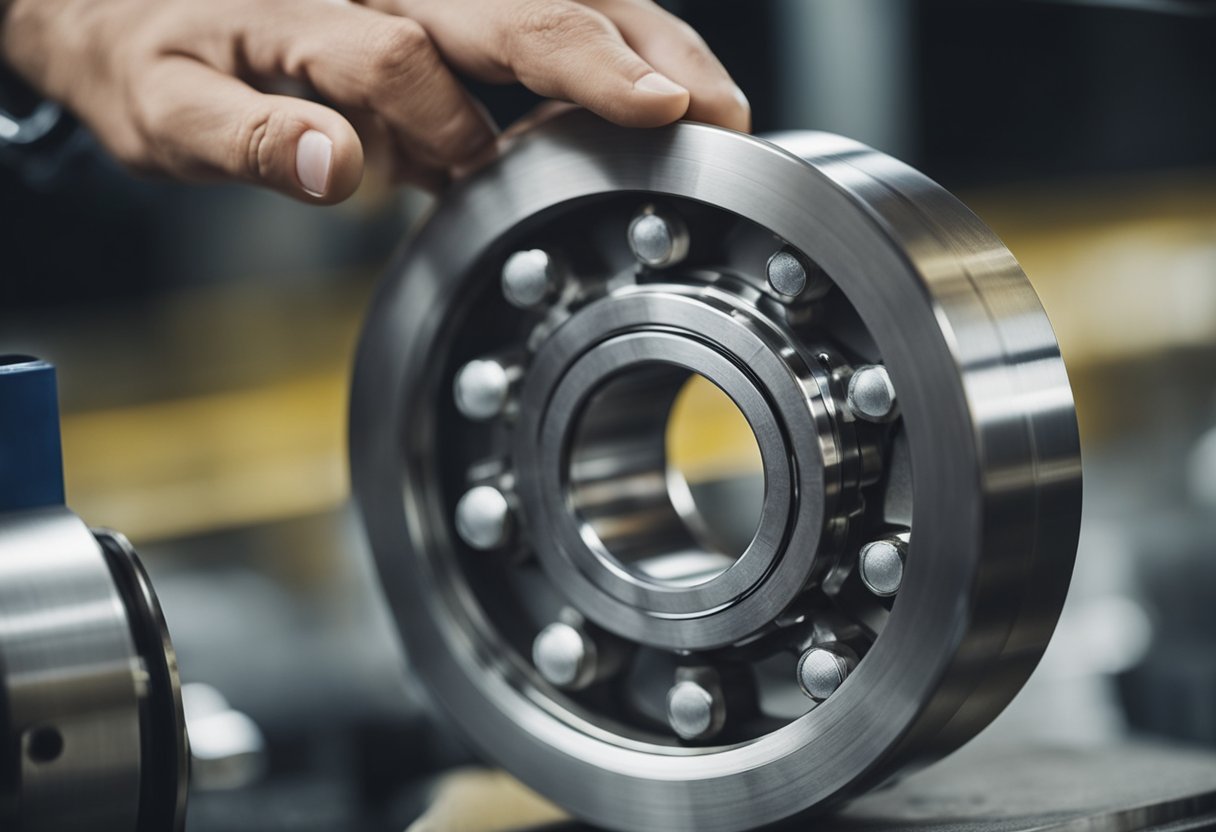
Before we dive into the details of how to grease wheel bearings without removing the seals, let’s first understand what wheel bearings are and how they work. Wheel bearings are small metal balls or rollers that are housed in a metal ring called a race. They allow the wheel to rotate smoothly on the axle, reducing friction and wear. Wheel bearings are usually sealed to keep dirt and moisture out and grease in. Over time, the grease can dry out or get contaminated, leading to metal-to-metal contact and damage to the bearings. This is where greasing comes in.
Key Takeaways
- Greasing wheel bearings is essential for smooth and safe operation of the wheels.
- Wheel bearings are small metal balls or rollers that are housed in a metal ring called a race.
- You can grease wheel bearings without removing the seals or disassembling the wheel hub.
Understanding Wheel Bearings
As an automotive enthusiast, I know how important it is to keep your car’s wheel bearings in good condition. Wheel bearings are essential components of your car’s suspension system, and they play a vital role in ensuring that your vehicle runs smoothly.
Wheel bearings are a type of rolling-element bearing that allows your car’s wheels to rotate with minimal friction. They consist of an inner and outer race, a set of rolling elements (balls or rollers), and a cage that holds the rolling elements in place.
There are several types of wheel bearings, including tapered roller bearings, ball bearings, and double-row ball bearings. Tapered roller bearings are commonly used in automotive applications, while ball bearings are more often used in trailer and front wheel bearings.
One of the most important things to know about wheel bearings is that they require lubrication to function properly. Without proper lubrication, wheel bearings can become damaged and fail, which can lead to serious safety issues while driving.
When it comes to lubricating wheel bearings, it’s important to use the right type of grease. Automotive wheel bearing grease is specifically designed for use in wheel bearings, and it’s formulated to withstand high temperatures and resist water washout.
In summary, wheel bearings are essential components of your car’s suspension system, and they require proper lubrication to function correctly. By using the right type of grease and performing regular maintenance, you can help ensure that your car’s wheel bearings last as long as possible.
Tools Required for the Task
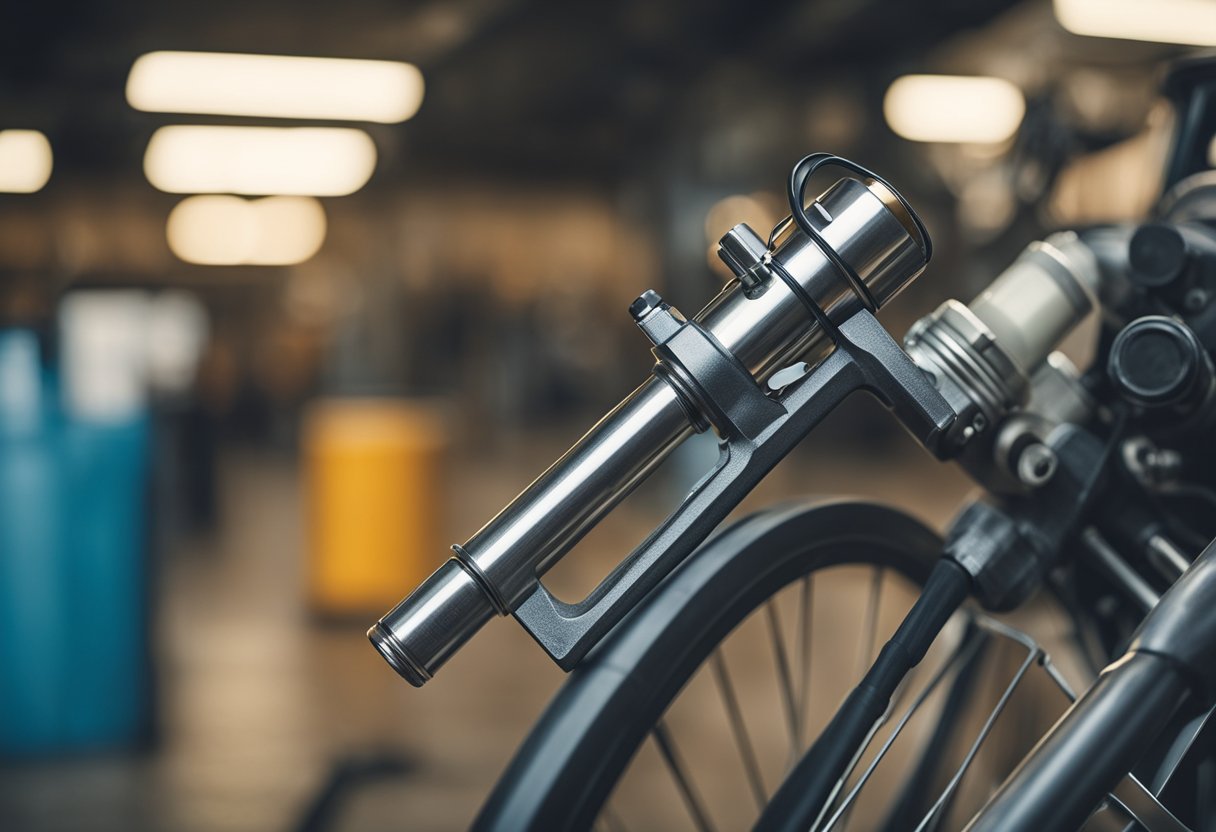
When it comes to repacking grease wheel bearings without removing them, there are a few tools that you will need to have on hand. Here are the essential tools that I recommend for this task:
1. Jack and Jack Stands
To start, you will need a jack and jack stands to lift your vehicle off the ground. A floor jack is ideal for this task, but a scissor jack that comes with your vehicle can also work. You will also need a pair of jack stands to support the weight of the vehicle while you work on the wheels.
2. Lug Wrench
A lug wrench is necessary for removing the lug nuts that hold the wheel in place. You can use the lug wrench that came with your vehicle or purchase one separately.
3. Gloves
Wearing gloves is important to protect your hands from grease and grime that may be on the wheel bearings. Disposable gloves are a good option, but any type of gloves that fit well and allow you to work with precision will do.
4. Pliers
Pliers are useful for removing the cotter pin that holds the castle nut in place. You will also need pliers to remove the grease cap from the wheel hub.
5. Screwdriver
A screwdriver is necessary for removing the cotter pin that holds the castle nut in place. You will also need a screwdriver to pry off the grease cap from the wheel hub.
6. Packing Tool
A packing tool is necessary for repacking the grease into the wheel bearings. This tool allows you to push the grease into the bearings evenly and thoroughly.
7. Socket Set
A socket set is necessary for removing the castle nut that holds the wheel bearing in place. You will also need a socket set to remove the bolts that hold the brake caliper in place.
8. Torque Wrench
A torque wrench is necessary for tightening the castle nut to the correct torque specification. This ensures that the nut is tightened to the correct level and prevents the wheel bearing from being too loose or too tight.
9. Hammer
A hammer is useful for tapping the castle nut loose and for tapping the wheel hub back onto the spindle.
10. Service Manual
A service manual is a great resource to have on hand for this task. It provides detailed instructions on how to repack grease wheel bearings without removing them and also includes torque specifications and other important information.
Having these tools on hand will make the task of repacking grease wheel bearings without removing them much easier and more efficient.
Preparation and Safety Measures
Before beginning to grease wheel bearings without removing them, it is important to take the necessary preparation and safety measures. Neglecting these measures may lead to serious injuries or accidents.
Firstly, I always make sure to park the vehicle on a flat and level surface. This helps to prevent the vehicle from rolling or tipping over while working on it. I also engage the parking brake and chock the wheels that are not being worked on.
Next, I use a jack to lift the vehicle off the ground. It is important to use a sturdy jack that is rated to lift the weight of the vehicle. I also use jack stands to support the weight of the vehicle once it is lifted. This helps to prevent the vehicle from falling and causing serious injuries.
I always wear gloves when working on the wheels to protect my hands from grease, dirt, and other contaminants. It is also important to wear eye protection to prevent any debris from getting into the eyes.
Before beginning the greasing process, I always inspect the wheel bearings for any signs of wear or damage. If any issues are found, it is best to replace the bearings before proceeding with the greasing.
Finally, routine maintenance is key to ensuring that the wheel bearings are in good condition. Regularly greasing the wheel bearings without removing them can help to prevent premature wear and extend the life of the bearings.
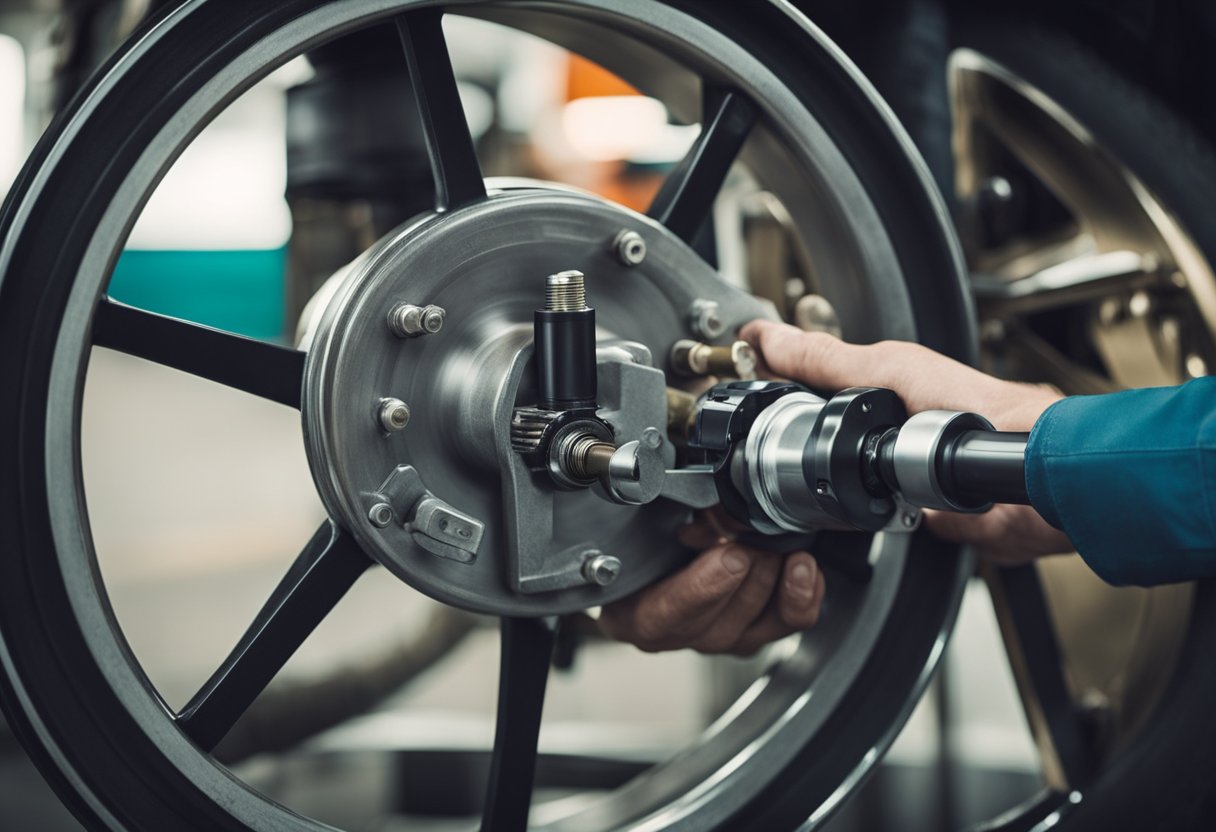
Disassembling the Wheel Hub
To begin disassembling the wheel hub, I first need to raise the vehicle and remove the wheel. Then, I need to remove the cotter pin and the dust cap from the axle. The cotter pin is a small, bent piece of metal that holds the castle nut in place. I remove the cotter pin by straightening it out and pulling it out of the castle nut. The dust cap is a metal cover that protects the wheel bearings from dirt and debris. I remove the dust cap by prying it off with a screwdriver.
Next, I need to remove the castle nut and the washer from the spindle. The castle nut is a large nut that secures the wheel hub assembly to the spindle. I remove the castle nut by turning it counterclockwise with a socket wrench. The washer is a flat metal disc that sits between the castle nut and the outer bearing. I remove the washer by pulling it off the spindle.
Once the castle nut and washer are removed, I can pull the entire wheel hub assembly off the spindle. I need to be careful not to damage the brake caliper or any other components while doing this. The wheel hub assembly will come off easily if the bearings are properly greased and maintained.
After the wheel hub assembly is removed, I can inspect the bearings for signs of wear or damage. If the bearings are in good condition, I can proceed with cleaning and greasing them. If the bearings are worn or damaged, I will need to replace them before reassembling the wheel hub.
In summary, disassembling the wheel hub involves removing the wheel, cotter pin, dust cap, castle nut, washer, and wheel hub assembly. It is important to be careful and avoid damaging any components while doing this. Once the wheel hub assembly is removed, I can inspect and clean the bearings before regreasing them.
Cleaning and Inspecting the Bearings
When it comes to maintaining your vehicle, one of the most important things you can do is clean and inspect the wheel bearings. Doing so will help prevent bearing failure and extend the life of your vehicle’s wheels. In this section, I will go over the steps you need to take to properly clean and inspect your wheel bearings without removing them.
The first step in cleaning and inspecting your wheel bearings is to remove the wheel. Once the wheel is off, you can begin to clean the bearings. Start by wiping away any excess dirt and grime from the outside of the bearings. Next, use a brake cleaner to remove the old grease. Be sure to use a cleaner that is safe for your bearings and follow the manufacturer’s instructions.
After the old grease has been removed, inspect the bearings for any signs of damage. Look for scratches, dents, or other signs of wear. If you find any damage, it is important to replace the bearings before putting your vehicle back on the road.
Once you have inspected the bearings, it is time to clean them thoroughly. Use a clean rag and some brake cleaner to remove any debris that may be inside the bearings. Be sure to clean all of the nooks and crannies to ensure that the bearings are completely free of debris.
One important thing to keep in mind when cleaning and inspecting your wheel bearings is to look for any indicators of potential problems. For example, if you notice that the bearings are getting hot to the touch, this could be a sign that they are not properly lubricated. Similarly, if you notice any unusual sounds or vibrations coming from your wheels, this could be a sign of a problem with the bearings.
In conclusion, cleaning and inspecting your wheel bearings is an important part of vehicle maintenance. By taking the time to properly clean and inspect your bearings, you can help prevent bearing failure and extend the life of your vehicle’s wheels.
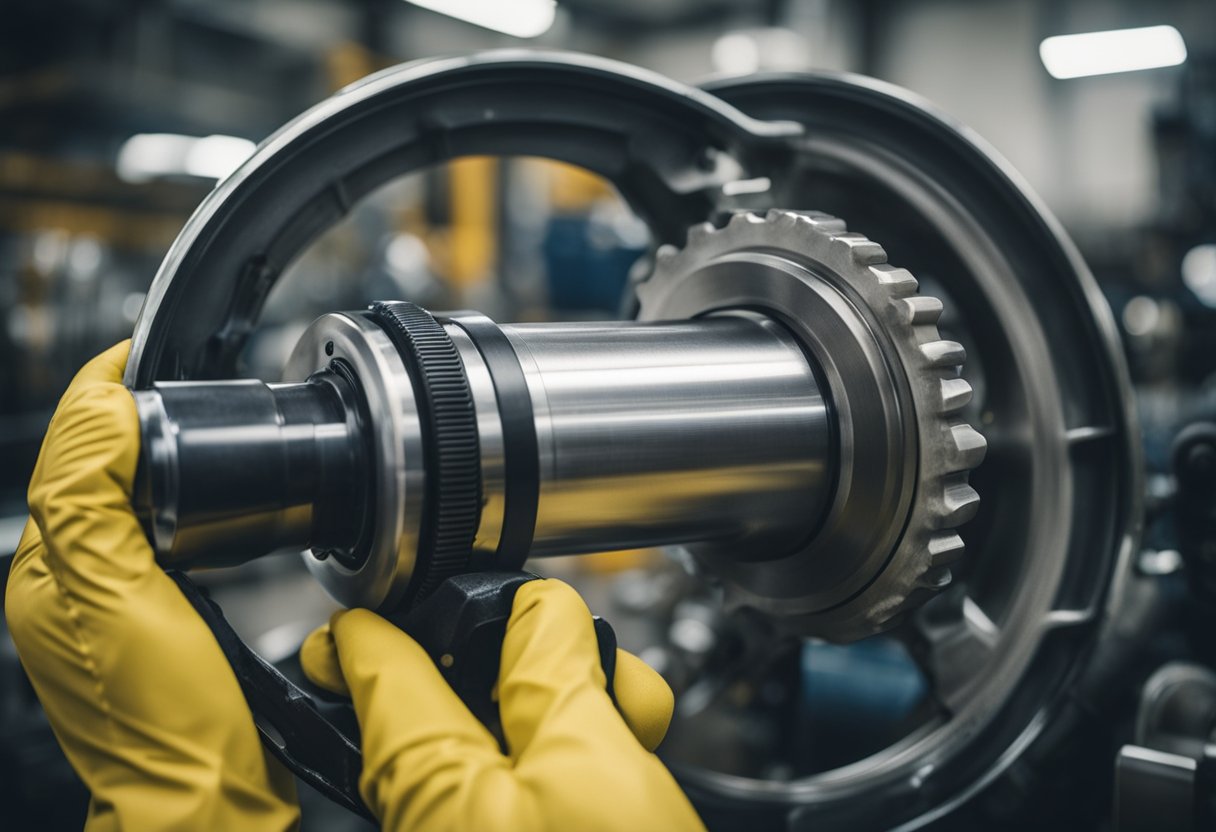
Repacking and Reassembling the Bearings
Once the old grease has been removed from the bearings, it’s time to repack them with fresh grease. I like to use high-quality, waterproof bearing grease for this job. It’s important to use the right type of grease for your specific application, so be sure to consult your owner’s manual or a trusted mechanic for guidance.
To pack the bearings, I start by placing a dollop of grease in the palm of my hand. Then, I take the outer wheel bearing and roll it in the grease until it’s completely covered. Next, I use my fingers to work the grease into the bearing, making sure that it’s distributed evenly throughout. I repeat this process with the inner wheel bearing.
Once the bearings are packed with grease, it’s time to reassemble the hub. I start by carefully placing the inner wheel bearing into the hub, followed by the seal. I use a seal driver to gently tap the seal into place, making sure that it’s seated properly.
Next, I carefully place the hub onto the spindle, making sure that the outer wheel bearing is properly seated. I then install the washer and castle nut, and tighten the nut to the manufacturer’s specifications. Finally, I install the cotter pin to secure the nut in place.
With the bearings repacked and the hub reassembled, it’s time to test the wheel for proper operation. I spin the wheel by hand, listening for any unusual noises or feeling for any play in the hub. If everything feels and sounds good, I’m ready to move on to the next wheel.
Remember, proper maintenance of your wheel bearings is essential for safe and reliable operation of your vehicle. By repacking your bearings with fresh grease on a regular basis, you can help prevent premature wear and failure of your bearings, and keep your vehicle rolling smoothly down the road.
Final Checks and Maintenance Tips
After cleaning and repacking your wheel bearings, there are a few final checks and maintenance tips to keep in mind to ensure your bearings stay in good condition.
First, check for any signs of wear or play in the bearings. If you feel any looseness or wobbling when you spin the wheel, it may be a sign that the bearings need further attention. Additionally, inspect the race or races for any signs of damage or wear. If you notice any pitting or grooves in the race, it may be time to replace the entire bearing assembly.
Next, make sure to properly lubricate the bearings. Use a high-quality wheel bearing grease to ensure proper lubrication and prevent overheating. Be sure to fill the hub with enough grease to cover the bearings completely, but not so much that it will cause the grease to leak out of the dust cover.
Another important aspect of bearing maintenance is to regularly check the tire wear. Uneven tire wear can be a sign of a problem with the bearings or other components of the wheel assembly. If you notice any unusual wear patterns, it may be time to inspect the bearings more closely.
Finally, check the hubs and spindles for any signs of damage or wear. Make sure the castle nut is properly tightened to the manufacturer’s specifications, and replace any damaged or missing dust covers.
By following these final checks and maintenance tips, you can help ensure that your wheel bearings stay in good condition and provide reliable performance for years to come.
Common Mistakes and How to Avoid Them
When it comes to greasing wheel bearings without removing them, there are a few common mistakes that people make. Here are some of the most important ones to avoid:
Over-greasing
One of the most common mistakes people make when greasing wheel bearings is over-greasing. This can cause the bearings to overheat and fail prematurely. To avoid over-greasing, use a high-quality marine or automotive grease, and apply it sparingly. A small amount of grease is all that’s needed to lubricate the bearings.
Not Cleaning the Bearings
Another common mistake people make is not cleaning the bearings before greasing them. Dirt and debris can get trapped in the grease, causing friction and wear on the bearings. To avoid this, clean the bearings thoroughly with a paper towel or shop rag before applying the grease.
Using the Wrong Replacement Parts
Using the wrong replacement parts can also cause problems when greasing wheel bearings. Make sure you use the correct bearing races, washers, and sockets for your vehicle. If you’re not sure which parts to use, consult your vehicle’s owner’s manual or a trusted mechanic.
Not Using a Jackstand
Finally, not using a jackstand can be a dangerous mistake when greasing wheel bearings. Always use a jackstand to support the vehicle while you work on it. This will ensure that the vehicle is stable and won’t fall off the jack while you’re working on it.
By avoiding these common mistakes, you can ensure that your wheel bearings are properly lubricated and will last for a long time. If you’re not comfortable working on your own vehicle, consider taking it to a trusted mechanic or purchasing a bearing packing tool from Amazon.
Frequently Asked Questions
What is the best grease for RV wheel bearings?
The best grease for RV wheel bearings is a high-temperature synthetic grease. This type of grease is specifically designed to withstand the high temperatures generated by the bearings. The synthetic base oil in the grease has a higher viscosity index than mineral oil, which means it maintains its lubricating properties at high temperatures. Some popular brands of high-temperature synthetic grease include Mobil 1 Synthetic Grease, Valvoline SynPower Synthetic Grease, and Royal Purple Max-Tuff Synthetic Ultra Performance Grease.
How often should you grease wheel bearings on a car?
The frequency of greasing wheel bearings on a car depends on the manufacturer’s recommendations. Typically, it is recommended to grease wheel bearings every 30,000 to 50,000 miles or every two to three years. However, it is important to check the owner’s manual for the specific recommendations for your vehicle. Over-greasing can cause damage to the bearings, so be careful not to overdo it.
Can over greasing cause bearing failure?
Yes, over-greasing can cause bearing failure. When too much grease is packed into the bearing, it can create excessive pressure, which can cause the bearing to fail. Over-greasing can also lead to overheating, which can cause the grease to break down and lose its lubricating properties. It is important to follow the manufacturer’s recommendations for greasing frequency and amount.
How do you lubricate a sealed bearing?
Sealed bearings are designed to be maintenance-free and do not require lubrication. If a sealed bearing is making noise or has failed, it should be replaced rather than lubricated. Attempting to lubricate a sealed bearing can cause damage to the seal and compromise the integrity of the bearing.
Is it better to oil or grease wheel bearings?
Grease is generally better than oil for wheel bearings because it provides better lubrication and stays in place longer. Grease is thicker than oil, which means it can better protect the bearings from contaminants and prevent metal-to-metal contact. Oil can also leak out of the bearing more easily than grease, which can lead to inadequate lubrication.
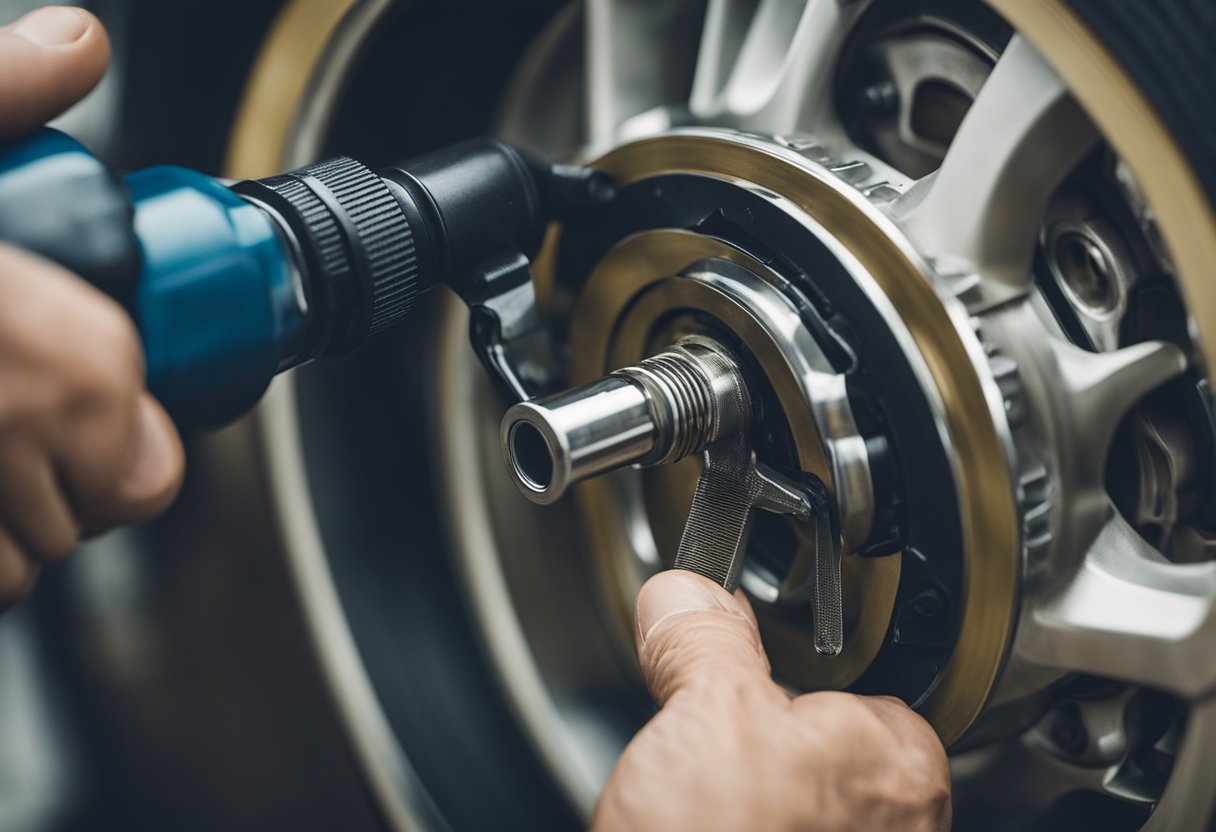
How to grease EZ Lube trailer bearings?
To grease EZ Lube trailer bearings, first, remove the rubber plug from the grease cap. Attach a grease gun to the zerk fitting on the spindle and pump grease into the bearing until fresh grease is visible at the outer edge of the bearing. Rotate the wheel while pumping the grease to ensure that it is evenly distributed. Once the bearing is greased, replace the rubber plug and grease cap. It is important not to over-grease the bearing, as this can cause damage.

Hi, I’m Sal Muller of Tooltrip.com. My DIY experience led me to understand essential power tools for home projects. Tooltrip.com guides enthusiasts and professionals in choosing right tools for any job. I provide concise top tool reviews for easier, efficient DIY.
