
Removing a grease gun from a fitting can be a challenging task, especially when it gets stuck. Grease guns are essential tools used to lubricate machinery and equipment. They help to ensure that the moving parts of the machines are well lubricated to prevent wear and tear. However, when it comes to removing the grease gun from the fitting, it can be a daunting task, especially if you are not familiar with the process.
Understanding how grease guns work is essential before attempting to remove them from fittings. Grease guns are designed to pump grease into fittings to lubricate machinery. They come in different types and sizes, including manual and electric grease guns. Each grease gun has specific instructions on how to use and maintain it. Therefore, it is crucial to read and understand the manufacturer’s instructions before using the grease gun.
Key Takeaways
- Proper preparation before removing a grease gun from a fitting is essential to avoid damage to the machinery and the grease gun.
- Following a step-by-step guide is crucial in removing a grease gun from a fitting successfully.
- Maintenance and care of grease guns are important to ensure their longevity and proper functioning.
Understanding Grease Guns
As a mechanic, I know how important it is to have a good grease gun. A grease gun is a tool that is used to lubricate moving parts in machinery. It is a simple device that holds grease and uses pressure to force it through a small opening onto the part that needs lubrication. A manual grease gun is the most common type of grease gun. It is operated by hand, and it is easy to use.
Grease guns come in different types, and each type is designed for a specific type of grease. The most common types of grease are lithium-based, calcium-based, and aluminum-based. Lithium-based grease is the most common type of grease used in manual grease guns. It is a general-purpose grease that is suitable for most applications. Calcium-based grease is used in high-temperature applications, such as oven bearings. Aluminum-based grease is used in applications where there is a risk of corrosion.
Manual grease guns are the most common type of grease gun. They are easy to use and require no electricity or air pressure. They are designed to be used with one hand, leaving the other hand free to hold the part that needs lubrication. Manual grease guns are available in different sizes and styles. The most common style is the lever-style grease gun. It is easy to use and provides good control over the amount of grease that is dispensed.
In conclusion, understanding grease guns is crucial for any mechanic. There are different types of grease guns, and each type is designed for a specific type of grease. Manual grease guns are the most common type of grease gun, and they are easy to use. Knowing the type of grease and the type of grease gun to use will ensure that your machinery is properly lubricated and working efficiently.
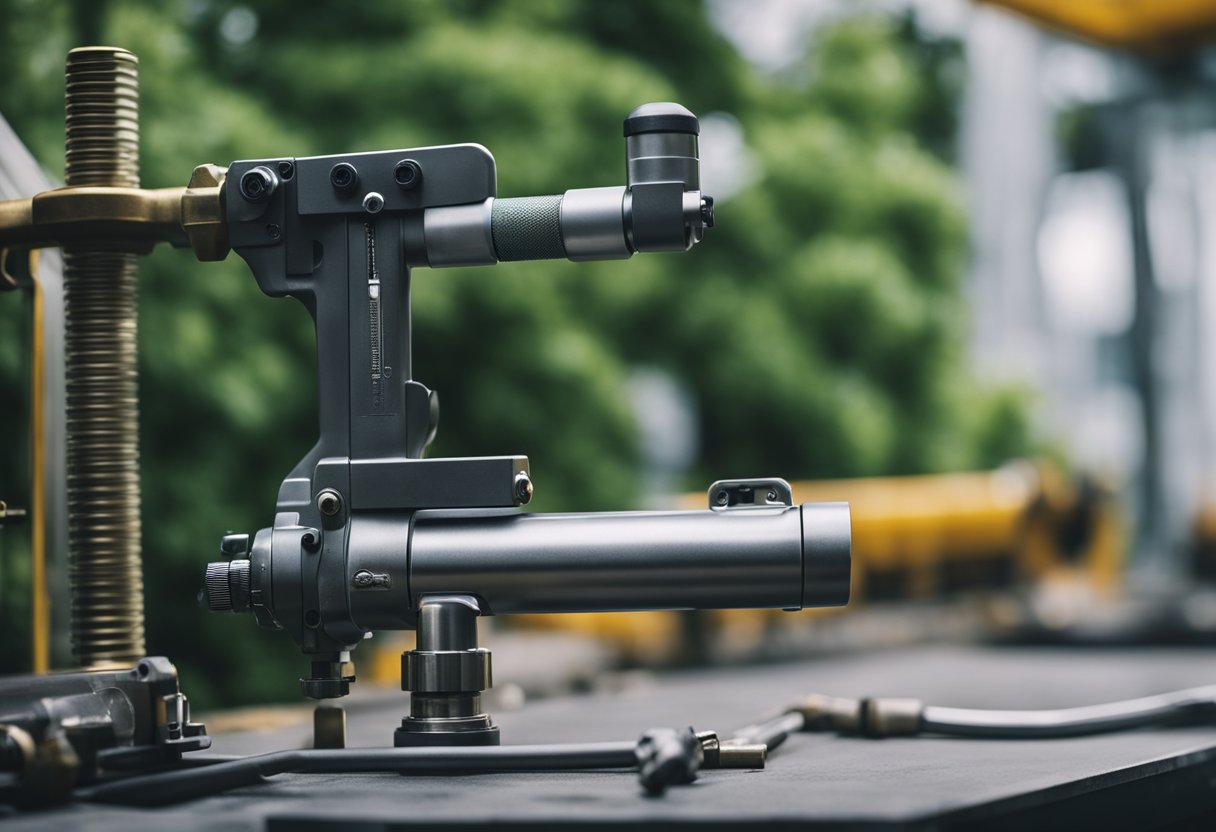
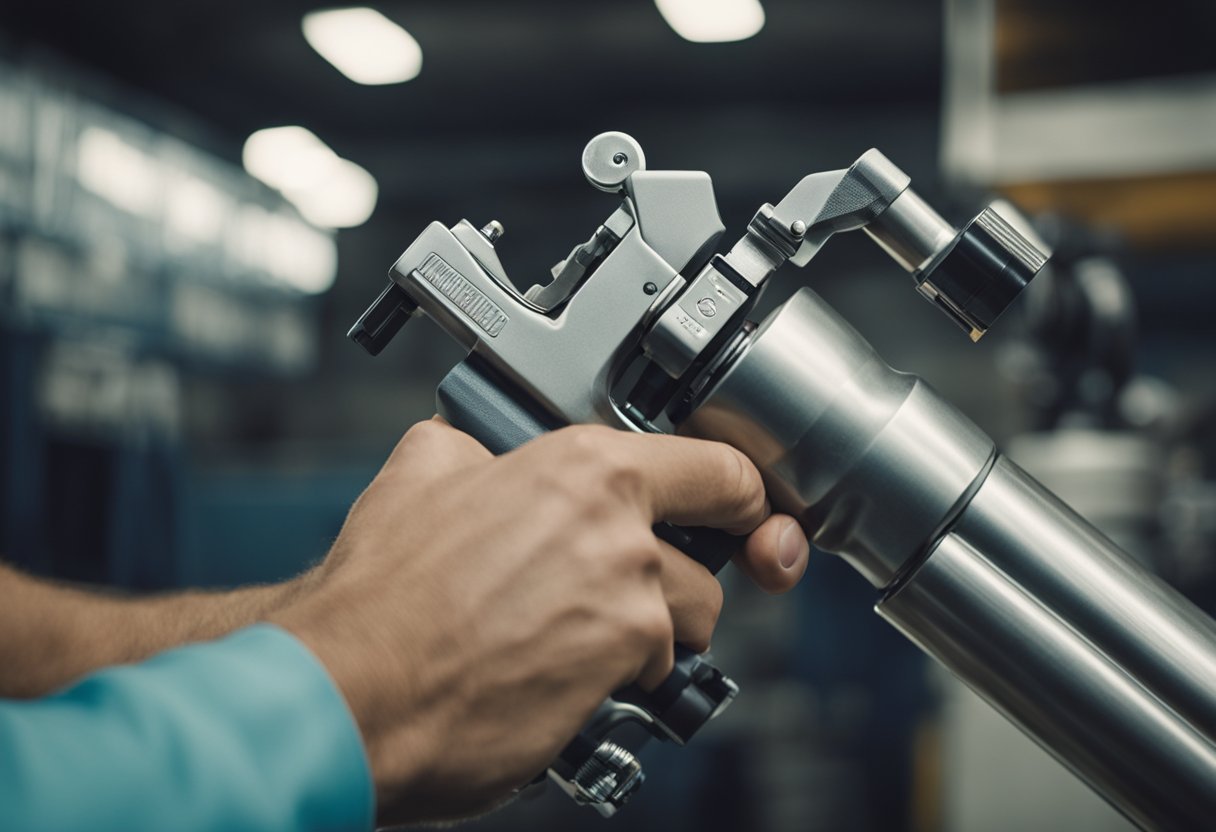
Identifying the Parts of a Grease Gun
As someone who works with grease guns, it’s important to know the different parts of the tool. This knowledge can help you better understand how the tool works, how to maintain it, and how to troubleshoot problems when they arise. Here are the key parts of a grease gun:
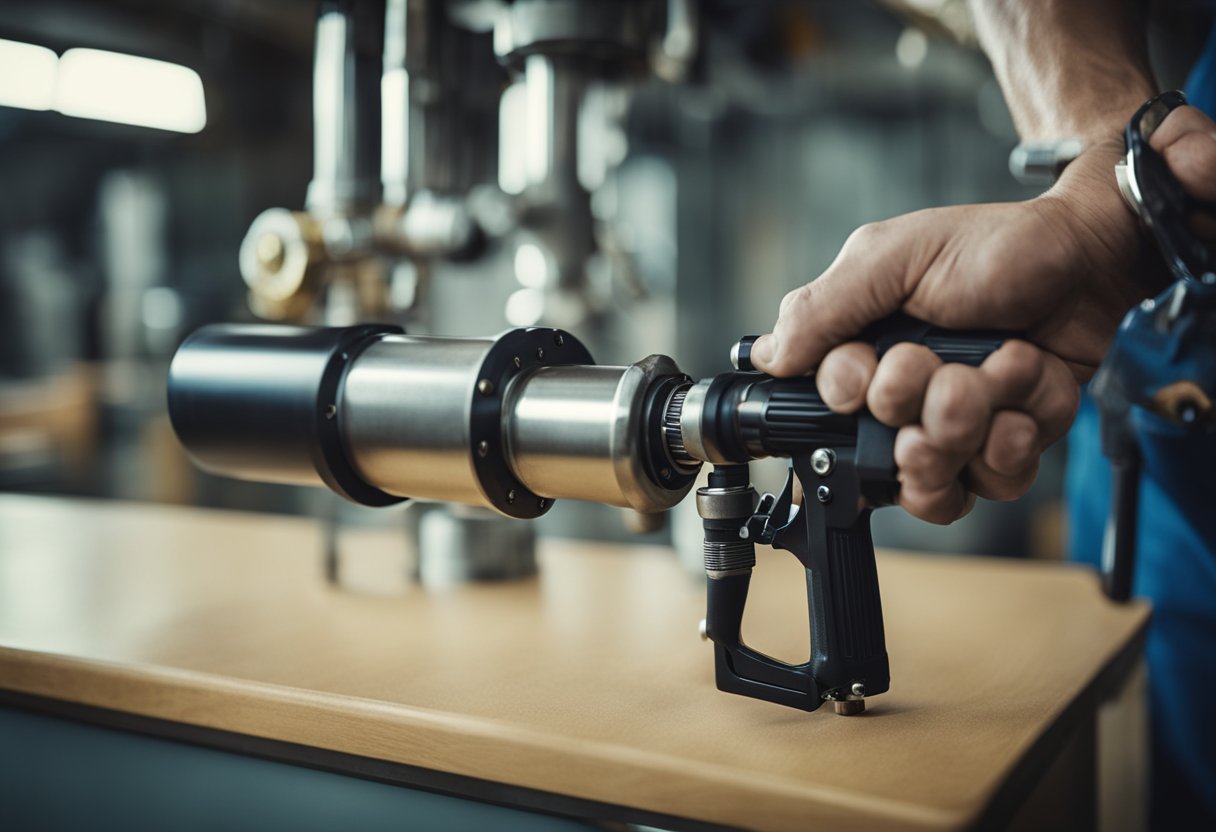
Pump
The pump is the part of the grease gun that creates pressure to move the grease through the nozzle and onto the fitting. It’s important to keep the pump lubricated and clean to ensure proper function.
Nozzle
The nozzle is the part of the grease gun that attaches to the fitting. It’s important to choose the right size nozzle for the fitting to ensure a proper seal and prevent leaks.
Flexible Hose
Some grease guns come with a flexible hose that attaches to the nozzle. This allows for easier access to fittings that are difficult to reach. Make sure the hose is free from kinks or cracks to ensure proper grease flow.
Plunger
The plunger is the part of the grease gun that moves the grease through the pump and into the nozzle. Make sure the plunger is clean and free from debris to ensure proper function.
Fittings
Fittings are the parts of the machine that the grease gun attaches to. They come in different shapes and sizes, so it’s important to choose the right fitting for the job.
Zerk Fitting
A zerk fitting is a type of fitting that has a small nipple on the end. The nozzle of the grease gun attaches to this nipple to deliver grease. It’s important to choose the right size nozzle for the zerk fitting to ensure a proper seal.
O-ring
The o-ring is a small rubber ring that provides a seal between the nozzle and the fitting. Make sure the o-ring is clean and free from debris to ensure a proper seal and prevent leaks.
Seal
The seal is another part of the grease gun that helps prevent leaks. It’s important to keep the seal clean and free from debris to ensure proper function.
By understanding the different parts of a grease gun, you’ll be better equipped to use, maintain, and troubleshoot the tool.
Preparation Before Removing Grease Gun from Fitting
Before attempting to remove a grease gun from a fitting, it is important to take certain precautions to ensure that the process is safe and effective. Here are some preparation steps that I recommend:
Clean the Fitting
Before removing the grease gun, it is important to ensure that the fitting is clean. This can be done using a rag or a piece of cloth. Wipe the fitting thoroughly to remove any dirt, debris, or old grease. This will make it easier to remove the grease gun and prevent any damage to the fitting.
Check the Fit
It is important to ensure that the grease gun is properly fitted onto the fitting before attempting to remove it. If the grease gun is not properly fitted, it can be difficult to remove and may cause damage to the fitting. Check the fit of the grease gun by turning it clockwise and counterclockwise. If it turns easily, it is properly fitted.
Prepare the Equipment
Before removing the grease gun, it is important to have the necessary equipment on hand. This includes a rag or a piece of cloth, pliers (optional), and any other tools that may be required. This will ensure that the process is smooth and efficient.
Safety First
It is important to ensure that safety precautions are taken before attempting to remove the grease gun. This includes wearing protective gloves and eyewear to prevent any injuries. In addition, it is important to ensure that the grease gun is not under pressure before attempting to remove it. This can be done by unscrewing the cap from the grease gun, which will release any pressure that has built up inside the gun.
By following these preparation steps, you can ensure that the process of removing a grease gun from a fitting is safe, effective, and efficient.
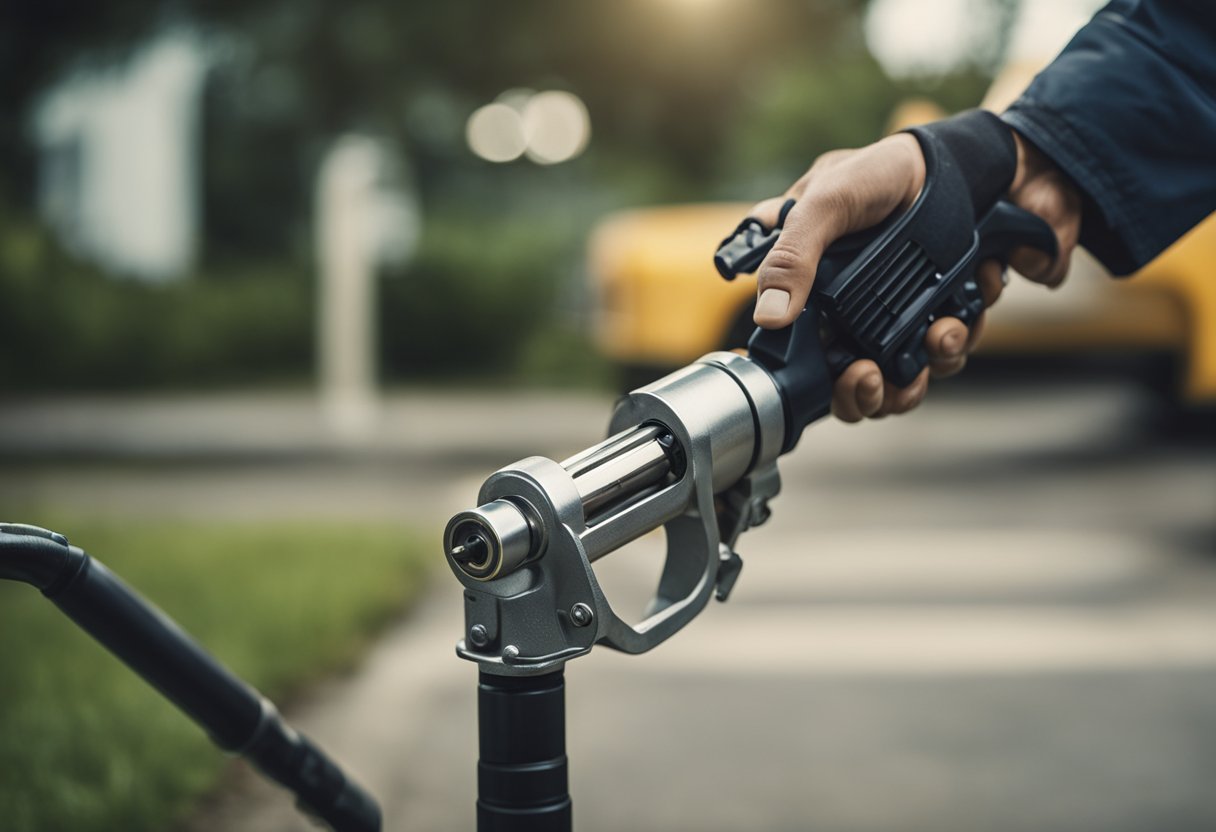
Step-by-Step Guide to Remove Grease Gun from Fitting
Removing a grease gun from a fitting can be a frustrating task, especially when it’s stuck. However, with the right tools and techniques, it can be done quickly and easily. In this guide, I will walk you through the step-by-step process of removing a grease gun from a fitting.
Step 1: Release the Pressure
Before attempting to remove the grease gun from the fitting, it’s essential to release any pressure that may have built up inside the gun. To do this, unscrew the cap from the grease gun. This will release any pressure that’s built up inside the gun and make it easier to remove.
Step 2: Rotate the Grease Gun
Once you have released the pressure, rotate the grease gun back and forth while gently pulling it away from the fitting. This will help to loosen the gun and make it easier to remove.
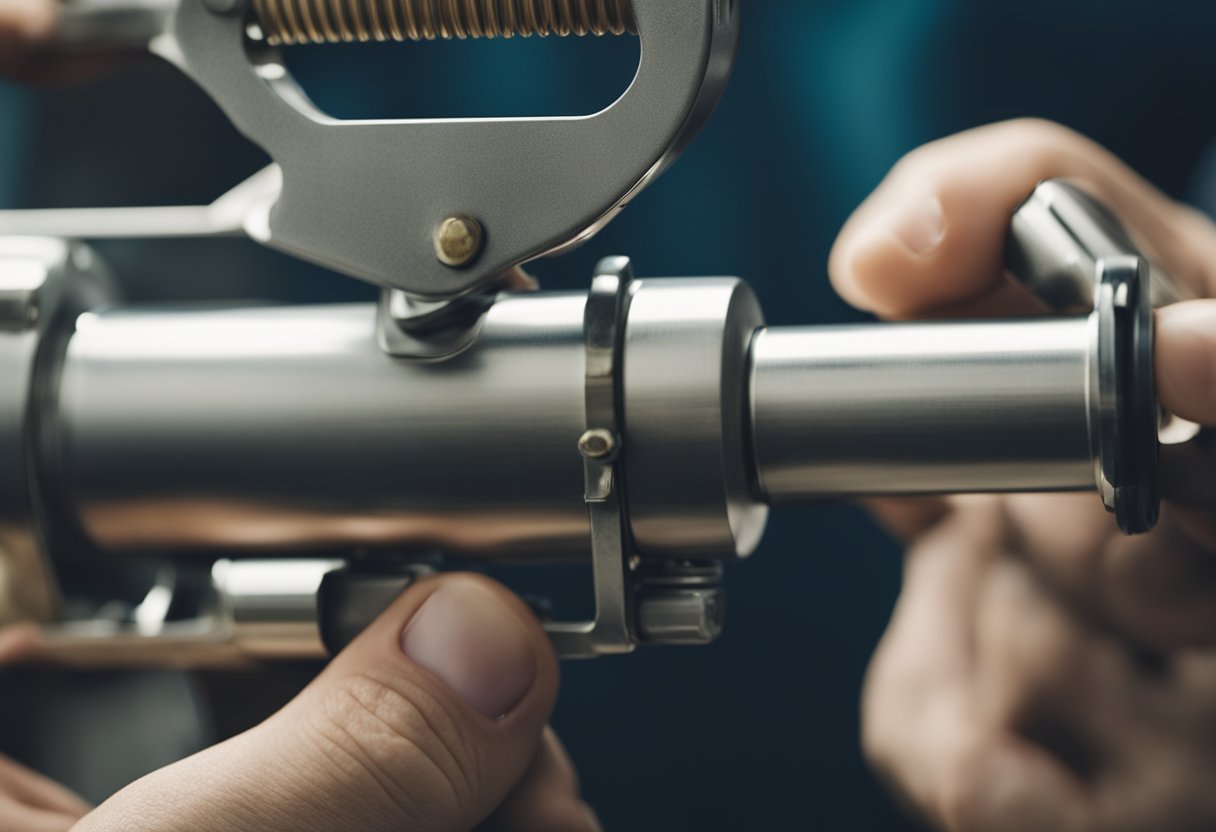
Step 3: Use Pliers or a Wrench
If the grease gun is still stuck after rotating it, you may need to use pliers or a wrench to grip the fitting and help remove the gun. Be sure to use a soft-jawed pliers or wrench to avoid damaging the fitting.
Step 4: Pull the Grease Gun Away from the Fitting
With the pliers or wrench in place, gently pull the grease gun away from the fitting. Be careful not to use too much force, as this can damage the fitting.
By following these simple steps, you can easily remove a grease gun from a fitting, even when it’s stuck. Remember to release the pressure, rotate the gun, use pliers or a wrench if necessary, and pull the gun away from the fitting gently. With a little patience and the right tools, you can get the job done quickly and easily.
Dealing with Common Issues
When working with grease guns, it is not uncommon to encounter some issues that can make it difficult to remove the grease gun from the fitting. Here are some common issues that you may face and how to deal with them.
Pressure Build-Up
One of the most common issues that can make it difficult to remove the grease gun from the fitting is pressure build-up. This happens when too much grease is pumped into the fitting, creating a pressure that makes it difficult to remove the grease gun.
To deal with this issue, you need to relieve the pressure by loosening the coupler body on the gun tip. This will help to release the pressure and make it easier to remove the grease gun from the fitting.
Clogged Fitting
Another issue that can make it difficult to remove the grease gun from the fitting is a clogged fitting. This can happen when the fitting is dirty or clogged with old grease.
To deal with this issue, you need to clean the fitting before attempting to remove the grease gun. You can use a small wire brush or a toothbrush to clean the fitting and remove any debris that may be clogging it. Once the fitting is clean, you should be able to remove the grease gun without any issues.
Over-Greasing
Over-greasing is another issue that can make it difficult to remove the grease gun from the fitting. This happens when too much grease is pumped into the fitting, causing it to overflow and create a mess.
To deal with this issue, you need to be careful not to over-grease the fitting. You should only pump enough grease to lubricate the fitting and not create an excess. If you do accidentally over-grease the fitting, you can use a clean rag to wipe away the excess grease before attempting to remove the grease gun.
By following these tips, you should be able to deal with common issues that can make it difficult to remove the grease gun from the fitting. Remember to always be careful when working with grease guns and to follow proper safety procedures to avoid injury.
Maintenance and Care of Grease Guns
As a professional mechanic, I know how important it is to properly maintain and care for your tools. Grease guns are no exception. Regular maintenance and cleaning of your grease gun will help to ensure that it operates smoothly and efficiently, and will prevent costly repairs or replacements down the line.
One of the most important maintenance tasks for your grease gun is to keep it clean. After every use, wipe down the exterior of the gun with a clean, dry cloth to remove any excess grease or dirt. If the gun is particularly dirty, you may need to use a solution of warm water and mild detergent to clean it thoroughly. Be sure to dry the gun completely before storing it.
In addition to regular cleaning, it is important to inspect your grease gun periodically for signs of wear or damage. Check the nozzle, fittings, and other components for cracks, leaks, or other signs of wear. If you notice any damage, replace the affected parts immediately to prevent further damage to the gun or to your equipment.
Another important aspect of maintaining your grease gun is to use the right type of grease. Using the wrong type of grease can cause damage to your equipment and can also damage the gun itself. Always consult the manufacturer’s instructions or the recommendations of your equipment manufacturer to ensure that you are using the correct type of grease.
Finally, it is important to use a high-quality solvent or solution to clean your grease gun. Using a low-quality solvent can leave behind residue or other contaminants that can cause damage to your equipment. I recommend using a solvent that is specifically designed for cleaning grease guns, and following the manufacturer’s instructions carefully.
By following these simple maintenance and care tips, you can help to ensure that your grease gun operates smoothly and efficiently, and that it provides you with years of reliable service.
Impact of Proper Usage on Machinery Performance
As a professional in the field of machinery maintenance, I can attest to the fact that proper usage of grease guns is crucial to the optimal performance of machinery. When a grease gun is not used correctly, it can cause damage to the machinery, which can be costly to repair.
One of the most common mistakes made when using a grease gun is over-greasing. Over-greasing can cause damage to the seals of the machinery, which can lead to leaks and other problems. It is important to follow the manufacturer’s recommendations regarding the amount of grease to be used.
Another problem that can occur when using a grease gun is not removing the old grease before applying new grease. This can cause the old and new grease to mix, which can lead to contamination and damage to the machinery.
Using a grease gun that is not properly cleaned and maintained can also cause damage to the machinery. Grease guns should be cleaned after each use and stored in a clean, dry place. Regular maintenance of the grease gun is also important to ensure that it is functioning properly.
In conclusion, the impact of proper usage of grease guns on machinery performance cannot be overstated. By following the manufacturer’s recommendations, removing old grease, and properly cleaning and maintaining the grease gun, you can ensure that your machinery is functioning optimally, preventing costly repairs and downtime.
Manufacturer’s Instructions and Recommendations
When it comes to removing a grease gun from a fitting, it is always best to follow the manufacturer’s instructions and recommendations. Most manufacturers provide detailed instructions on how to use their grease guns, including how to remove them from fittings.
One important thing to keep in mind is that over-tightening the grease gun can cause damage to the fitting and make it difficult to remove. It is recommended to use the appropriate amount of force to tighten the grease gun onto the fitting, as specified by the manufacturer.
Another important aspect to consider is the type of lubricant being used. Different types of lubricants can have different effects on the seals and fittings. It is important to use the lubricant recommended by the manufacturer to ensure proper lubrication and prevent damage to the seals and fittings.
In addition, it is important to regularly inspect and maintain the grease gun and its components, such as the seals and fittings. Regular maintenance and repair can help prevent issues such as stuck grease guns and damaged fittings.
Overall, following the manufacturer’s instructions and recommendations is key to properly using and maintaining a grease gun. By using the appropriate amount of force, using the recommended lubricant, and regularly maintaining and repairing the grease gun and its components, you can ensure that your grease gun operates smoothly and efficiently.
Frequently Asked Questions
How to remove a stuck grease fitting without damaging it?
Removing a stuck grease fitting without damaging it can be a tricky task. One of the best ways to do this is to apply heat to the fitting using a heat gun or propane torch. This will help to loosen the fitting and make it easier to remove. Another option is to use a penetrating oil, such as WD-40, to help loosen the fitting. Apply the oil and let it sit for a few minutes before attempting to remove the fitting. It is important to be patient and gentle when removing a stuck grease fitting to avoid damaging it.
What is the best way to remove a grease gun from a fitting?
The best way to remove a grease gun from a fitting is to first release the pressure in the grease gun by turning the release valve counterclockwise. Then, gently wiggle the grease gun back and forth while pulling it away from the fitting. If the grease gun is still stuck, try applying a small amount of penetrating oil to the fitting to help loosen it. It is important to be patient and gentle when removing a grease gun from a fitting to avoid damaging either the grease gun or the fitting.
Are there any tricks to removing a grease gun stuck on a bearing buddy?
When a grease gun is stuck on a bearing buddy, it can be difficult to remove. One trick is to use a pair of pliers to grip the bearing buddy and twist it back and forth while gently pulling the grease gun away from the fitting. Another option is to use a heat gun or propane torch to apply heat to the bearing buddy, which can help to loosen the grease gun. It is important to be patient and gentle when removing a grease gun stuck on a bearing buddy to avoid damaging either the grease gun or the bearing buddy.
What are some tips for removing a grease gun coupler?
Removing a grease gun coupler can be a challenge, especially if it is stuck. One tip is to use a pair of pliers to grip the coupler and twist it back and forth while gently pulling it away from the fitting. Another option is to use a penetrating oil, such as WD-40, to help loosen the coupler. Apply the oil and let it sit for a few minutes before attempting to remove the coupler. It is important to be patient and gentle when removing a grease gun coupler to avoid damaging either the coupler or the fitting.
Is there a special tool for removing grease fittings?
Yes, there are special tools available for removing grease fittings. One common tool is a grease fitting removal tool, which is designed to grip the fitting and twist it out of the hole. Another option is a needle-nose pliers, which can be used to grip the fitting and twist it out of the hole. It is important to use the right tool for the job to avoid damaging the fitting or the surrounding area.
How do you safely remove a grease drive-in fitting?
To safely remove a grease drive-in fitting, use a small punch or drift to drive the fitting out of the hole. Place the punch or drift against the side of the fitting and tap it gently with a hammer. Be careful not to hit the surrounding area or the fitting itself too hard, as this can cause damage. Once the fitting is out, clean the hole thoroughly before installing a new fitting.

Hi, I’m Sal Muller of Tooltrip.com. My DIY experience led me to understand essential power tools for home projects. Tooltrip.com guides enthusiasts and professionals in choosing right tools for any job. I provide concise top tool reviews for easier, efficient DIY.
