
If you own a Makita 18V battery and it won’t charge, you’re not alone. This is a common issue that many Makita power tool users encounter. The good news is that there are several reasons why your Makita battery may not be charging, and many of these reasons can be easily identified and resolved.

Identifying the issue with your Makita battery is the first step in getting it back up and running. There are several common reasons why a Makita battery won’t charge, including a malfunctioning outlet, dirty terminals, a faulted battery or charger, overheating, overcooling, or a completely dead battery. Understanding the structure of your Makita battery and how it works with your charger can also help you diagnose the issue and determine the best course of action.
Key Takeaways on Makita 18V Battery Not Charging
- Identifying the issue with your Makita battery is the first step in getting it back up and running.
- Understanding the structure of your Makita battery and how it works with your charger can help you diagnose the issue.
- Testing the battery and charger, repairing the battery, or replacing the battery are all potential solutions to a Makita battery that won’t charge.
Identifying the Issue
As a Makita 18V battery user, I understand how frustrating it can be when your battery won’t charge. However, before we can troubleshoot the issue, we need to identify it first.
The first thing to check is the charging lights on the battery charger. If the battery indicator light is flashing green, it means that the battery is ready to charge. If the solid green light illuminates, it indicates that the battery is charging well, but the charging status is below 80%. On the other hand, if the light is flashing red, it means that the battery is not charging.
Another thing to consider is the age of the battery. Over time, batteries lose their ability to hold a charge, and they need to be replaced. If your battery is more than two years old, it may be time to replace it.
It’s also essential to consider the condition of the charging port on your battery. If the charging port is damaged or dirty, it may prevent the battery from charging correctly. Make sure that the charging port is clean and free of debris before attempting to charge the battery.
In conclusion, identifying the issue is the first step in troubleshooting a Makita 18V battery that won’t charge. Check the charging lights on the battery charger, the age of the battery, and the condition of the charging port. If you’re still having trouble, there may be an issue with the battery itself that requires professional assistance.
Understanding Makita Battery Structure
As someone who has used Makita tools for years, I have had my fair share of experience with Makita batteries. Understanding the structure of the battery is important when troubleshooting charging issues.
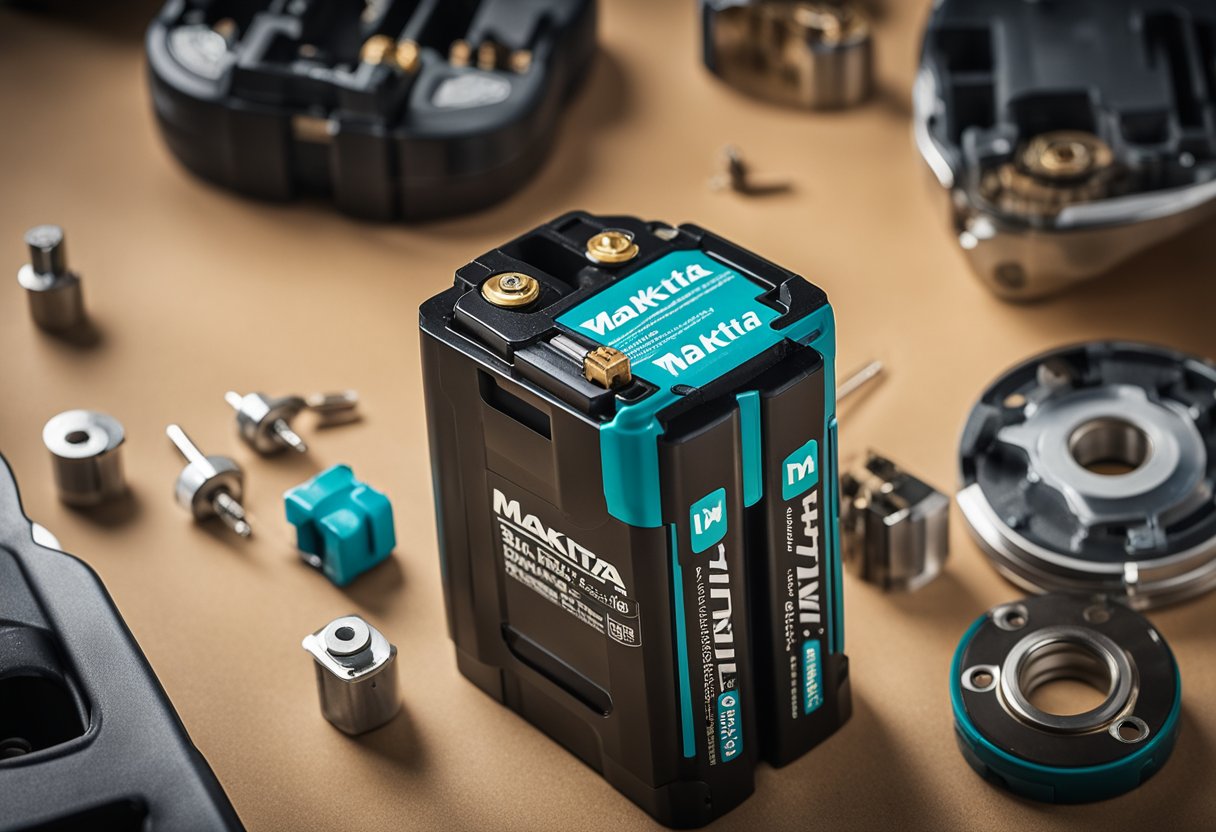
Makita batteries are typically lithium-ion batteries, which are made up of multiple battery cells. These cells are organized into cell pairs, which are then combined to create a battery cartridge.
Inside the battery cartridge, there is a circuit board, also known as a control board or PCB. This board contains a battery management chip that regulates the charging and discharging of the battery.
The battery management chip communicates with the charger to ensure that the battery is charged correctly. If there is an issue with the chip or the circuit board, the battery may not charge properly.
It is important to note that not all charging issues are related to the battery itself. The charger may also be the culprit. However, understanding the structure of the battery can help narrow down the potential issues.
In summary, Makita batteries are made up of lithium-ion battery cells organized into cell pairs, which are then combined to create a battery cartridge. Inside the cartridge, there is a circuit board with a battery management chip that regulates the charging and discharging of the battery.
Common Reasons Why Makita Battery Won’t Charge
As a professional power tool user, I have encountered several issues with my Makita 18V battery not charging. In my experience, there are several common reasons why this may happen.
Discharged or Drained Battery
One of the most common reasons why a Makita battery won’t charge is that it is completely discharged or drained. This can happen if the battery has not been used in a while or if it has been used extensively without being recharged. In this case, the battery will need to be recharged for a longer period of time to bring it back to life.
Damaged or Damaged Cells
Another reason why Makita batteries may not charge is if they have been damaged. This can happen if the battery has been dropped or exposed to extreme heat or cold. In some cases, the battery may have damaged cells, which can prevent it from charging properly. If this is the case, the battery will need to be replaced.
Low Voltage
If the voltage of the battery is too low, it may not charge properly. This can happen if the battery has been left unused for a long period of time or if it has been over-discharged. In this case, the battery may need to be jump-started with a different charger like an RC hobby battery charger.
Overcharging
Overcharging can also cause issues with Makita batteries. If the battery is left on the charger for too long, it may become overcharged, which can damage the cells and prevent it from charging properly. It is important to follow the manufacturer’s instructions when charging Makita batteries to avoid overcharging.
Memory Effect
Lastly, the memory effect can also cause issues with Makita batteries. This occurs when the battery is not fully discharged before being recharged, which can cause it to “remember” the shorter charge cycle and reduce its overall capacity. To avoid this, it is important to fully discharge the battery before recharging it.
In summary, there are several common reasons why a Makita 18V battery may not charge, including a discharged or drained battery, damaged cells, low voltage, overcharging, and memory effect. By understanding these issues, you can take steps to prevent them and ensure that your Makita batteries are always ready to go when you need them.
Testing the Battery and Charger
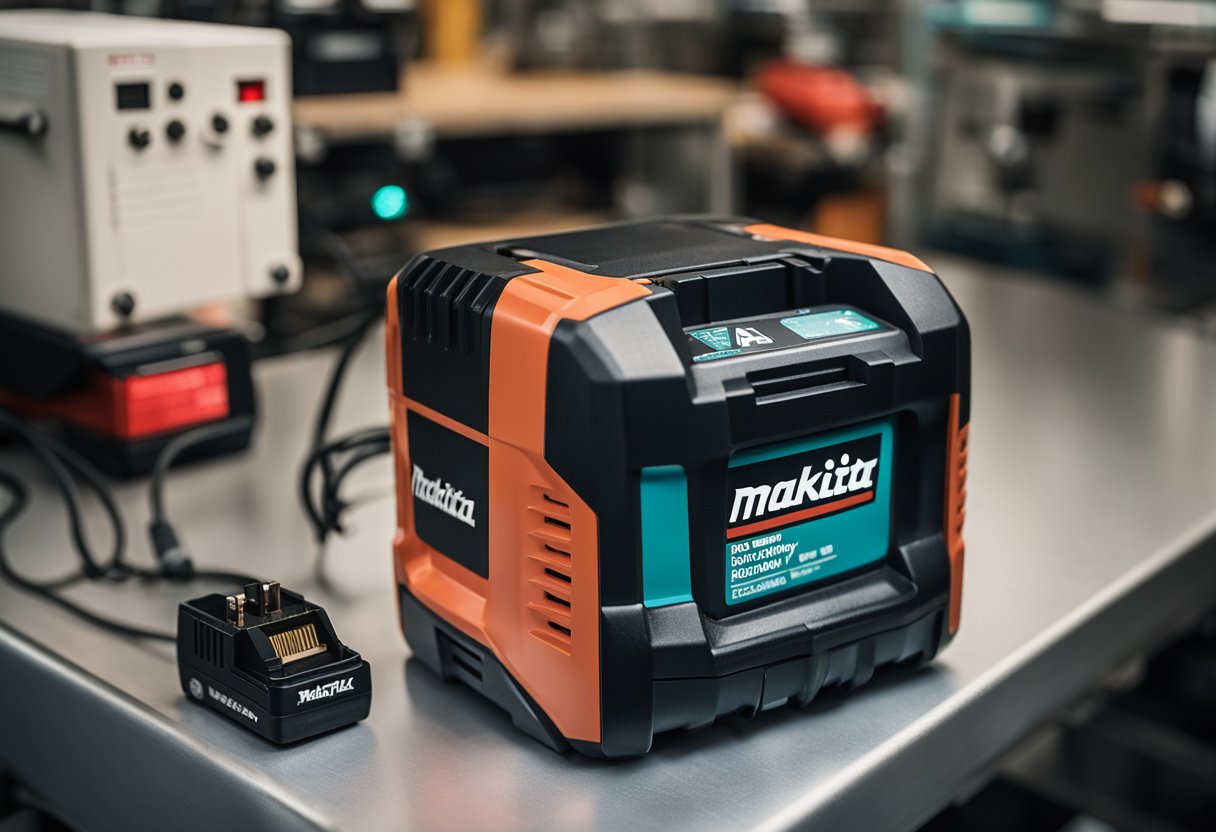
As someone who has had experience with Makita 18V batteries not charging, I can tell you that the first step to troubleshooting this issue is to test both the battery and the charger.
To test the battery, you can use a multimeter to check its voltage. A fully charged battery should have a voltage reading between 18V and 20V, while a discharged battery will have a voltage reading of less than 18V. If your battery’s voltage reading is within this range, then the problem may lie with the charger.
To test the charger, you can use a multimeter to check the voltage output. Make sure that the charger is plugged in and turned on, and then place the multimeter probes on the charger’s output terminals. If the voltage reading is within the charger’s output range, then the charger is working properly.
It’s important to note that even if the battery and charger are both functioning properly, the battery may still not charge if it is damaged or has reached the end of its lifespan. In this case, you may need to replace the battery.
Regularly testing the battery and charger can help you identify any issues early on and prevent further damage to your tools. It’s also important to maintain the battery’s health by charging it before it becomes fully depleted and storing it in a cool, dry place when not in use.
By following these steps, you can confidently troubleshoot any issues with your Makita 18V battery not charging and keep your tools running smoothly.
Repairing the Battery
If your Makita 18V battery is not charging, you may be able to repair it yourself. Before attempting to repair the battery, it is important to note that there are risks involved, including the risk of injury or damage to the battery. If you are not comfortable working with batteries, it is best to seek professional help.
To begin repairing the battery, you will need to dismantle it. This will involve removing the screws that hold the battery case together. Once the case is open, you will need to locate the battery cells. These cells are connected in series, and if one cell is bad, the entire battery will not charge.
If you have experience with soldering, you may be able to replace the bad cell yourself. This will involve removing the old cell and soldering a new one in its place. It is important to use a soldering iron with the appropriate temperature setting to avoid damaging the battery.
Another common issue with Makita 18V batteries is a faulty release button. This button is responsible for releasing the battery from the tool, and if it is not working properly, the battery may not charge. To repair this issue, you will need to replace the release button.
It is also important to check the nickel contacts on the battery. These contacts can become corroded over time, which can prevent the battery from charging. If the contacts are corroded, you can clean them with a small amount of vinegar and a cotton swab.
If you are unable to repair the battery yourself, you may need to purchase a replacement battery. Makita offers replacement batteries for their 18V line of tools, and there are also third-party options available.
In summary, repairing a Makita 18V battery involves dismantling the battery, identifying the issue, and making the necessary repairs. This may involve soldering, replacing the release button, or cleaning the nickel contacts. If you are uncomfortable working with batteries, it is best to seek professional help.
Replacing the Battery
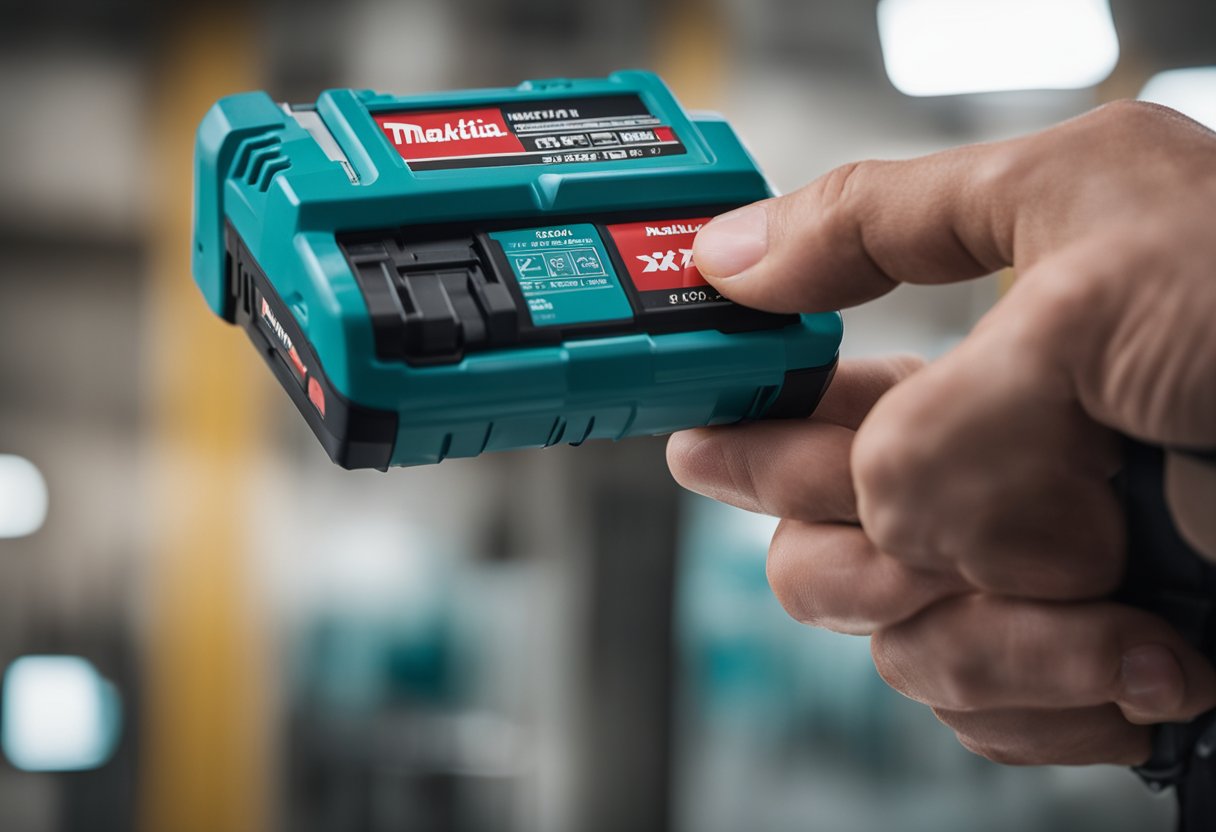
If you have tried all the troubleshooting steps and your Makita 18V battery still won’t charge, it may be time to replace the battery. Before you replace the battery, check if it is still under warranty. If it is, you may be able to get a replacement battery for free or at a discounted price.
If the battery is not under warranty, you can purchase a replacement battery from Makita or from a third-party seller. When purchasing a replacement battery, make sure it is compatible with your Makita 18V tool.
Replacing the battery is a straightforward process. First, remove the old battery from the tool. Next, insert the new battery into the tool. Make sure the battery is securely in place before using the tool.
It is important to dispose of the old battery properly. Makita offers a battery recycling program where you can drop off your old battery at a Makita service center or authorized dealer. Alternatively, you can check with your local recycling center to see if they accept lithium-ion batteries.
In summary, if your Makita 18V battery won’t charge, and you have exhausted all troubleshooting steps, it may be time to replace the battery. Check if the battery is under warranty before purchasing a replacement. When replacing the battery, make sure it is compatible with your Makita 18V tool and dispose of the old battery properly.
Preventing Future Issues
As a responsible owner of Makita 18V batteries, it is essential to take good care of them to ensure that they last long and do not encounter any charging issues. Here are some tips that I follow to prevent future problems with my batteries:
1. Temperature Control
Extreme temperatures can have a significant impact on the performance and lifespan of your batteries. Therefore, it is crucial to store them in a cool, dry place, away from direct sunlight and heat sources. Also, avoid charging the batteries in a hot environment, as it can damage the cells and lead to overcharging.
2. Proper Care and Maintenance
Regular maintenance is necessary to keep your batteries in top condition. Clean the terminals with a dry cloth to remove any dirt or debris that may have accumulated. Also, check the battery’s charge status regularly to ensure that it is not overcharged or undercharged.
3. Avoid Overcharging
Overcharging is one of the most common causes of battery failure. Therefore, it is crucial to monitor the charging process carefully and remove the battery from the charger once it is fully charged. Avoid leaving the battery in the charger for an extended period, as it can lead to overcharging and damage the cells.
4. Lithium-ion Battery Life
Lithium-ion batteries have a limited lifespan, and their capacity decreases over time. Therefore, it is essential to replace them periodically to ensure that they perform optimally. Also, avoid using damaged or worn-out batteries, as they can cause charging issues and pose a safety hazard.
By following these simple tips, you can prevent future issues with your Makita 18V batteries and ensure that they last long and perform optimally.
Conclusion
In conclusion, troubleshooting a Makita 18V battery that won’t charge can be a frustrating experience, but with the right approach, it can be resolved quickly and easily. As I have discussed in this article, there are several reasons why a Makita 18V battery may not be charging, including a faulty charger, a defective battery, or a compatibility issue between the battery and the charger.
To troubleshoot the issue, I recommend starting by checking the charger connection to ensure that it is plugged in and turned on. If the charger is working correctly, you can then move on to testing the battery using a multimeter to determine if it is receiving a charge. If the battery is not receiving a charge, you may need to replace it.
It is also important to ensure that you are using the correct charger for your Makita 18V battery. Using an incorrect charger can result in the battery not charging or even becoming damaged. Additionally, it is essential to use genuine Makita batteries and chargers to avoid compatibility issues and ensure optimal performance.
In summary, when troubleshooting a Makita 18V battery that won’t charge, it is crucial to approach the problem systematically and methodically. By following the steps outlined in this article and using genuine Makita batteries and chargers, you can quickly and easily resolve the issue and get back to using your Makita power tools with confidence.
Frequently Asked Questions
How do you fix a lithium battery that won’t charge?
If your Makita lithium-ion battery won’t charge, there are a few things you can try to fix it. First, make sure the battery is compatible with the charger you’re using. If it is, try cleaning the battery contacts with a soft cloth. If that doesn’t work, try resetting the battery by removing it from the charger and then reinserting it. If none of these steps work, the battery may need to be replaced.
What do the red lights mean on a Makita battery?
When you insert a Makita battery into the charger, a solid red light means that the battery is charging. A flashing red light indicates that there is a problem with the battery, such as a short circuit or high temperature. If you see a flashing red light, stop using the battery immediately and take it to a Makita service center.
Is it bad to leave Makita batteries on the charger?
It is not recommended to leave Makita batteries on the charger for an extended period of time, as this can reduce the battery’s overall lifespan. Once the battery is fully charged, it’s best to remove it from the charger and store it in a cool, dry place.
Why is my Makita battery blinking red and green light?
If your Makita battery is blinking red and green, it may be indicating a problem with the battery or the charger. Try resetting the battery by removing it from the charger and then reinserting it. If the problem persists, the battery may need to be replaced.
How to troubleshoot Makita DC10WB charger not charging?
If your Makita DC10WB charger is not charging, there are a few things you can try to troubleshoot the problem. First, make sure the battery is compatible with the charger you’re using. If it is, try cleaning the battery contacts with a soft cloth. If that doesn’t work, try resetting the charger by unplugging it and then plugging it back in. If none of these steps work, the charger may need to be replaced.
Can a Makita BL1830 battery be replaced with a BL1815 battery?
No, a Makita BL1830 battery cannot be replaced with a BL1815 battery, as they are not compatible with each other. The BL1830 battery has a higher capacity and voltage than the BL1815 battery, and requires a different charger.

Hi, I’m Sal Muller of Tooltrip.com. My DIY experience led me to understand essential power tools for home projects. Tooltrip.com guides enthusiasts and professionals in choosing right tools for any job. I provide concise top tool reviews for easier, efficient DIY.
