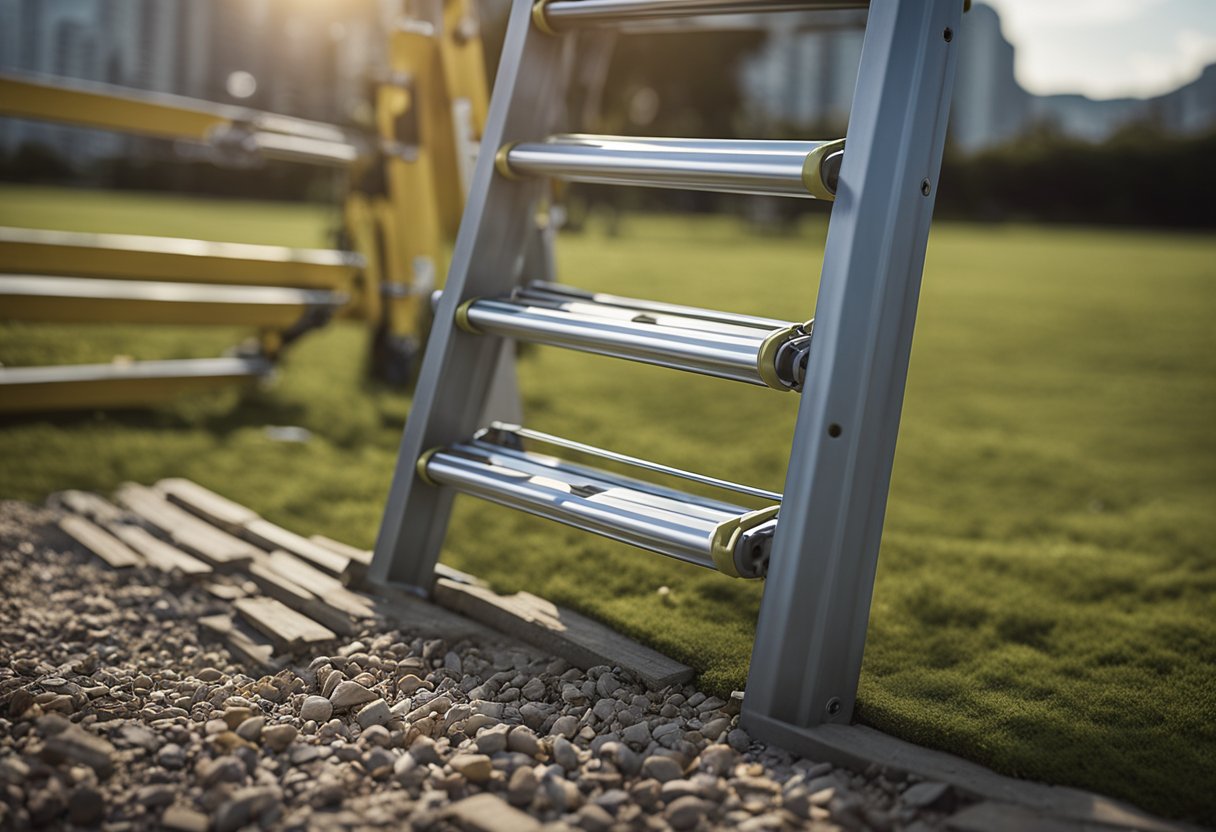
Putting an extension ladder back together can be a daunting task, especially if you don’t have much experience with ladders. However, with the right tools and a little bit of patience, reassembling an extension ladder can be a straightforward process. In this article, I will guide you through the steps to put an extension ladder back together.
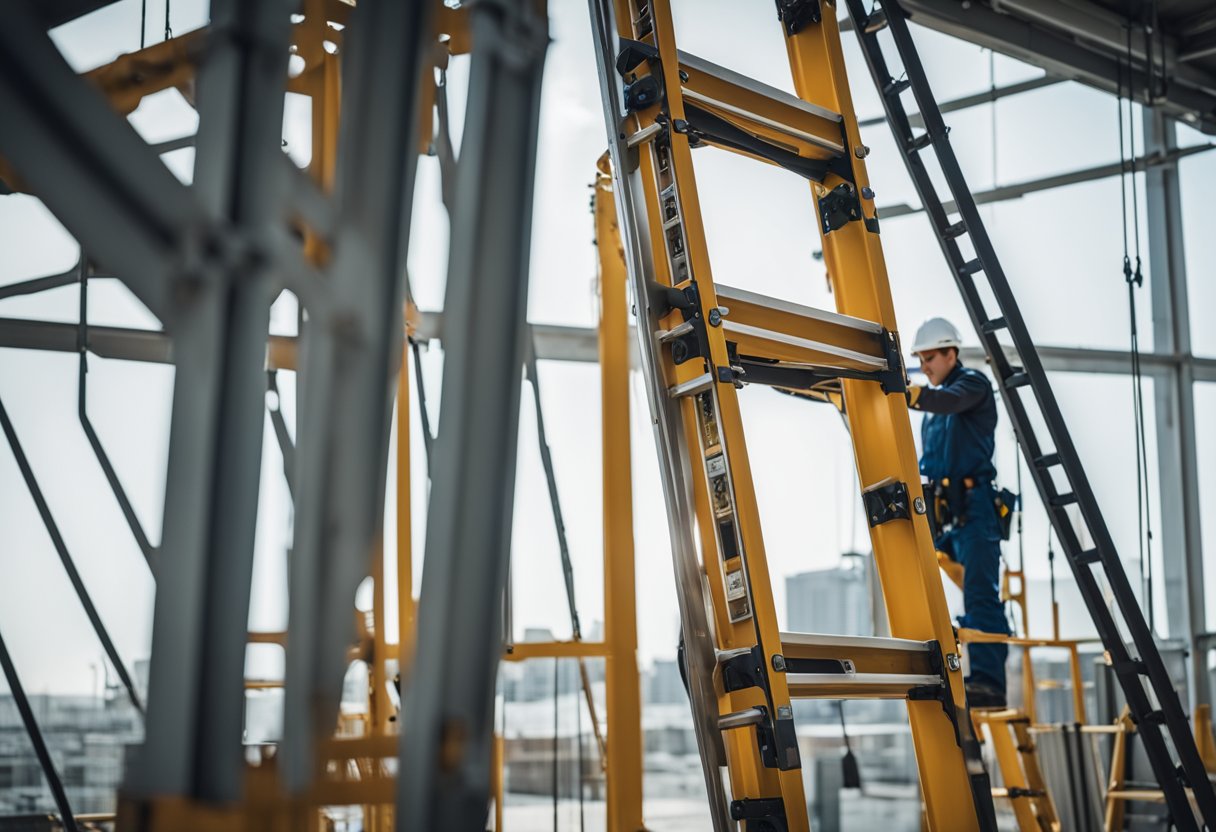
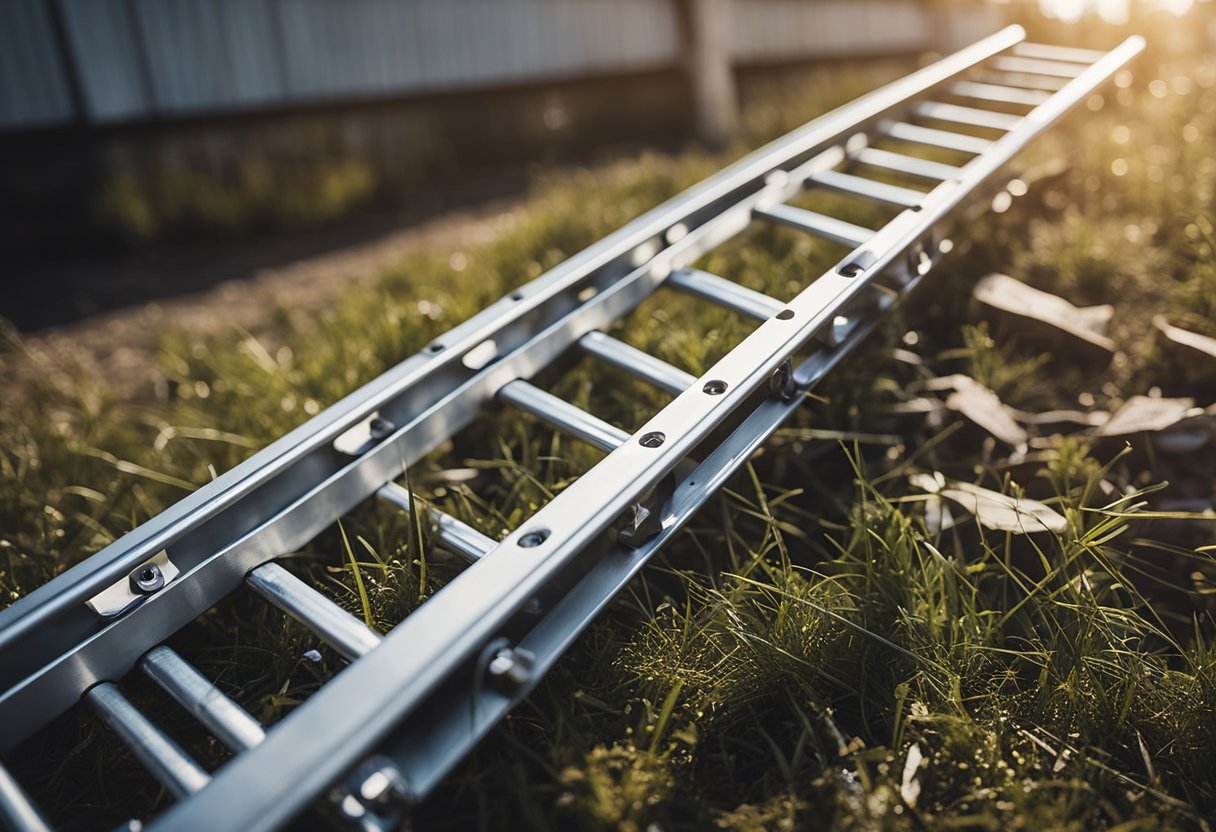
Before we dive into the steps, it’s important to identify the different parts of an extension ladder. Extension ladders consist of two or more sections that slide together for compact storage and extend for use. Each section has two side rails connected by rungs. The top section is called the fly, and the bottom section is called the base. The fly section slides up and down the base section by means of metal guides or brackets. The rungs on each section are locked in place by rung locks. Understanding the different parts of an extension ladder is crucial to successfully reassembling it.
Key Takeaways
- Identifying the different parts of an extension ladder is crucial to reassembling it.
- The necessary tools for reassembling an extension ladder include a wrench, screwdriver, and pliers.
- When reassembling an extension ladder, it’s important to follow safety precautions and properly use and store the ladder.
Identifying the Parts of an Extension Ladder
As a DIY enthusiast, it’s important to know how to put an extension ladder back together. Before we get started, let’s first identify the different parts of an extension ladder.
Components of an Extension Ladder
Extension ladders are made up of two or more sections that slide together for storage and slide apart for use. The two main components of an extension ladder are the base section and the fly section. The base section is the section that rests on the ground, while the fly section is the section that slides up and down to extend the ladder’s length.
Rung and Rung Locks
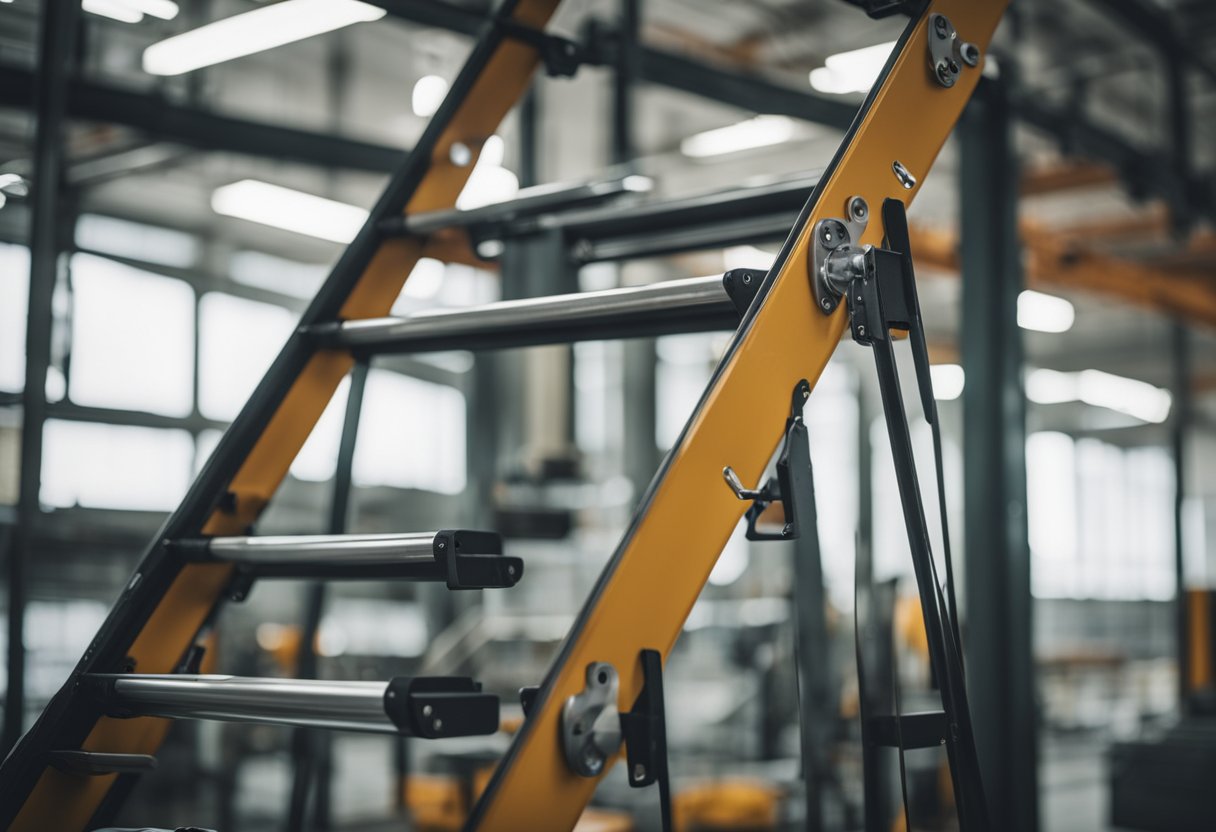
The ladder rungs are the horizontal steps that you stand on when using the ladder. Extension ladders have rung locks that secure the fly section to the base section. These locks prevent the sections from separating accidentally while in use.
Ladder Rungs
Ladder rungs are the horizontal steps that you stand on when using the ladder. They are spaced at regular intervals and are designed to provide a secure foothold. Extension ladder rungs are usually made of aluminum or fiberglass and are either round or D-shaped.
Other Ladder Parts
Extension ladders also have other parts, such as the rope and pulley system that is used to raise and lower the fly section, as well as the feet that keep the ladder stable on the ground.
Now that we have identified the different parts of an extension ladder, we can move on to putting it back together.
Necessary Tools for Reassembly
When putting an extension ladder back together, having the right tools is essential. Here are the tools you will need to reassemble your extension ladder:
1. Screwdriver
A screwdriver is one of the most important tools you will need to put your extension ladder back together. You will need it to tighten the screws that hold the ladder together. Make sure you have the right size screwdriver for the job.
2. Rope
When you are putting your extension ladder back together, you may need to tie it down to keep it from moving around. A rope can be used for this purpose. You can tie the rope around the ladder and secure it to a nearby object to keep it steady.
3. Straps
Straps can be used to secure the ladder to the roof of your car or truck when transporting it. Make sure the straps are tight and secure before driving.
4. Other Tools
Depending on the type of extension ladder you have, you may need other tools such as pliers, a hammer, or a wrench. Check the manufacturer’s instructions to see what tools are required for reassembly.
In summary, having the right tools is essential when putting an extension ladder back together. Make sure you have a screwdriver, rope, straps, and any other necessary tools before you start reassembly.
Disassembling and Inspecting the Ladder
As I prepare to put an extension ladder back together, the first step is to disassemble it properly. This involves lowering the fly section, which is the moving part of the ladder. I then release the rung locks on each section of the ladder by lifting the rungs and disengaging the locks.
Once the ladder is disassembled, I inspect each section for any damage, rust, or dents. It is important to inspect the ladder thoroughly to ensure that it is safe to use. If I find any damage, I will need to repair or replace the affected parts before putting the ladder back together.
During the inspection process, I check for any cracks or bends in the ladder rails, rungs, or feet. I also check the ladder’s hardware, such as the bolts and screws, to ensure that they are secure and in good condition.
If I find any damaged parts, I will need to order replacement parts or take the ladder to a professional for repair. It is important not to use a damaged ladder, as it can be unsafe and may cause injury.
Overall, disassembling and inspecting the ladder is an important step in putting an extension ladder back together. By carefully inspecting each section for damage, rust, or dents, I can ensure that the ladder is safe to use and will function properly.
Assembling the Extension Ladder
https://www.youtube.com/watch?v=HE1cJPPWyHY&embed=true
Now that we have all the parts laid out and ready to go, it’s time to put the extension ladder back together. Follow these steps to ensure a safe and sturdy ladder:
-
Align the Rungs: Start by aligning the rungs of each section of the ladder. Make sure the holes in each rung line up with the corresponding holes in the other rungs.
-
Insert the Hinge Pin: Once the rungs are aligned, insert the hinge pin through the holes in both rungs. The hinge pin will hold the ladder sections together.
-
Secure the Rungs: Move up to the next ladder section, insert the bottom rung into the top rung of the previous section, and secure it with the hinge pin. Repeat this process for each remaining section until you have reassembled the entire ladder.
-
Connect the Base Rung and Feet: Once the ladder is assembled, connect the base rung to the feet of the ladder. Make sure the feet are securely attached to prevent any wobbling or instability.
-
Extend the Ladder and Lock in Place: Finally, extend the ladder to its full length and lock it in place. Make sure the rung locks are engaged and secure before climbing the ladder.
Remember to always use the right tools and follow the manufacturer’s instructions when assembling your extension ladder. Improper assembly can lead to serious injury or even death.
Setting Up and Extending the Ladder
https://www.youtube.com/watch?v=M8Aa5HTL1eE&embed=true
When it comes to setting up and extending an extension ladder, there are a few things that you should keep in mind to ensure that the process is safe and efficient. First, it is important to make sure that the ladder is set up on a stable and level surface. This will help to prevent the ladder from tipping over while you are working on it.
Once you have found a stable surface to set up the ladder, you can begin the process of extending it. Before you start, it is important to make sure that the ladder is not too heavy for you to raise and extend on your own. If the ladder is too heavy, you may need to enlist the help of a partner to assist you.
To raise the ladder, start by extending the bottom section to its full length. Then, position the ladder at the base of the wall or structure that you will be working on. Once the ladder is in position, you can begin to extend the top section. To do this, pull the rope or use the pulley system to raise the top section of the ladder.
As you extend the ladder, make sure that the rungs are locked into place and that the ladder is fully extended to its maximum length. This will help to ensure that the ladder is stable and safe to use while you are working.
Overall, setting up and extending an extension ladder may seem like a daunting task, but with the right tools and techniques, it can be done safely and efficiently. By following these simple steps, you can ensure that your ladder is set up correctly and ready for use.
Safety Precautions and Proper Ladder Use
https://www.youtube.com/watch?v=RyipCxXZzWw&embed=true
As I mentioned earlier, safety is of utmost importance when it comes to using an extension ladder. Here are some safety precautions and ladder use tips to keep in mind:
-
Always maintain three points of contact when climbing the ladder. This means that you should have two feet and one hand, or two hands and one foot, on the ladder at all times. This will help ensure stability and prevent falls.
-
Make sure the ladder is stable before climbing. The ladder should be on a level surface and the feet should be firmly planted. If the ladder is on an uneven surface, use a ladder leveler to stabilize it.
-
Check the ladder for damage before use. Look for cracks, splits, or other signs of wear and tear. If you notice any damage, do not use the ladder.
-
Use the ladder for its intended purpose. Extension ladders are designed for reaching high places, not for use as a bridge or scaffold.
-
Do not exceed the weight limit of the ladder. The weight limit should be clearly marked on the ladder. If you need to carry heavy objects up the ladder, use a tool belt instead of carrying them in your hands.
-
Avoid using the ladder in inclement weather. Rain, snow, and wind can make the ladder slippery and unstable.
-
Always face the ladder when climbing up or down. Do not lean to the side or overreach, as this can cause the ladder to tip over.
By following these safety precautions and ladder use tips, you can help ensure a safe and successful experience when putting your extension ladder back together.
Maintenance and Storage of Extension Ladders
https://www.youtube.com/watch?v=Bk39AbnMCeg&embed=true
As a professional handyman, I know that extension ladders are essential tools for various tasks that require reaching high places. However, it’s crucial to maintain and store them properly to ensure their durability and safety. In this section, I will share some tips on how to maintain and store your extension ladder.
Maintenance
Regular maintenance of your extension ladder is essential to keep it in good condition and avoid any potential safety hazards. Here are some tips on maintaining your extension ladder:
- Clean your extension ladder regularly to remove any dirt, dust, or debris that may accumulate on it. You can use a mild detergent and water to clean it. Avoid using harsh chemicals that may damage the ladder’s surface.
- Check your ladder for any signs of wear and tear, such as cracks, bends, or broken parts. If you notice any damage, replace the damaged parts or the entire ladder if necessary.
- Lubricate the moving parts of your ladder, such as the rung locks and pulleys, to ensure they operate smoothly. You can use a silicone-based lubricant for this purpose.
- Store your ladder in a dry and cool place to prevent rust or corrosion. Avoid storing it in direct sunlight or damp areas that may cause damage to the ladder’s surface.
Storage
Proper storage of your extension ladder is crucial to ensure its safety and longevity. Here are some tips on storing your extension ladder:
- Store your ladder in a vertical position to save space. You can use a ladder storage rack or wall-mounted brackets for this purpose.
- If you don’t have enough wall space, you can store your ladder horizontally by laying it on a sturdy shelf or rack. Make sure the ladder is secure and won’t fall off the shelf.
- If you need to store your ladder outside, cover it with a waterproof cover to protect it from the elements.
- Make sure you have enough available space to store your ladder. Avoid storing it in areas where it may obstruct walkways or other equipment.
By following these tips, you can ensure that your extension ladder remains in good condition and safe to use for years to come.
Final Words on Extension Ladder Reassembly
Putting an extension ladder back together can be a daunting task, but with the right techniques and support, it can be done with ease. As I have discussed earlier, the purpose of reassembling an extension ladder is to ensure that it is sturdy and safe to use.
When reassembling an extension ladder, it is important to follow weight capacity guidelines. Each ladder has a specific weight capacity, and exceeding this limit can lead to accidents and injuries. It is crucial to check the weight capacity of your ladder before using it.
To ensure that your ladder is sturdy, it is important to use the right techniques. When putting an extension ladder back together, make sure that all the rungs are secure and locked in place. You can use a rubber mallet to tap the rungs into place if necessary.
It is also important to check the support of your ladder. Make sure that the ladder is resting on a level surface and that the feet are secure. If the feet are worn or damaged, replace them before using the ladder.
In conclusion, reassembling an extension ladder requires careful attention to detail. Always follow weight capacity guidelines, use the right techniques, and check the support of your ladder. With these tips, you can ensure that your ladder is safe and sturdy to use.
Frequently Asked Questions
https://www.youtube.com/watch?v=WrTps7Y2I2E&embed=true
How to raise an extension ladder by yourself
Raising an extension ladder by yourself can be a bit tricky, but it’s definitely doable. First, make sure that the ladder is on a stable surface. Next, position the ladder so that it’s leaning against the wall at the correct angle. Then, grab the base of the ladder with one hand and the side rails with the other hand. Finally, lift the ladder up and walk it up the wall until it’s in the desired position.
How to extend a ladder without a rope
If your extension ladder doesn’t have a rope, you can still extend it by using the rung locks. First, make sure that the ladder is on a stable surface. Next, unlock the rung locks on the side that you want to extend. Then, lift the other side of the ladder up and away from the wall. Finally, extend the ladder to the desired length and lock the rung locks back into place.
How to move an extension ladder
Moving an extension ladder can be a bit challenging, especially if it’s a larger ladder. The best way to move an extension ladder is to first collapse it down to its smallest size. Then, lift the ladder up and carry it by the side rails. If the ladder is too heavy to carry, you can use a dolly or a wheelbarrow to move it.
How to fully extend a triple extension ladder
Fully extending a triple extension ladder can be a bit more complicated than extending a regular extension ladder. First, make sure that the ladder is on a stable surface. Next, extend the first section of the ladder to its full length. Then, extend the second section of the ladder to its full length. Finally, extend the third section of the ladder to its full length.
What is the rope for on an extension ladder
The rope on an extension ladder is used to control the extension of the ladder. By pulling on the rope, you can extend the ladder to the desired length. The rope is usually located on the side of the ladder opposite the rung locks.
How to use an extension ladder safely
Using an extension ladder safely is extremely important to prevent accidents and injuries. Always make sure that the ladder is on a stable surface and that it’s positioned at the correct angle. Never lean the ladder against an unstable surface or try to extend it beyond its maximum length. Always wear appropriate footwear and clothing, and never carry heavy objects up or down the ladder.

Hi, I’m Sal Muller of Tooltrip.com. My DIY experience led me to understand essential power tools for home projects. Tooltrip.com guides enthusiasts and professionals in choosing right tools for any job. I provide concise top tool reviews for easier, efficient DIY.

