
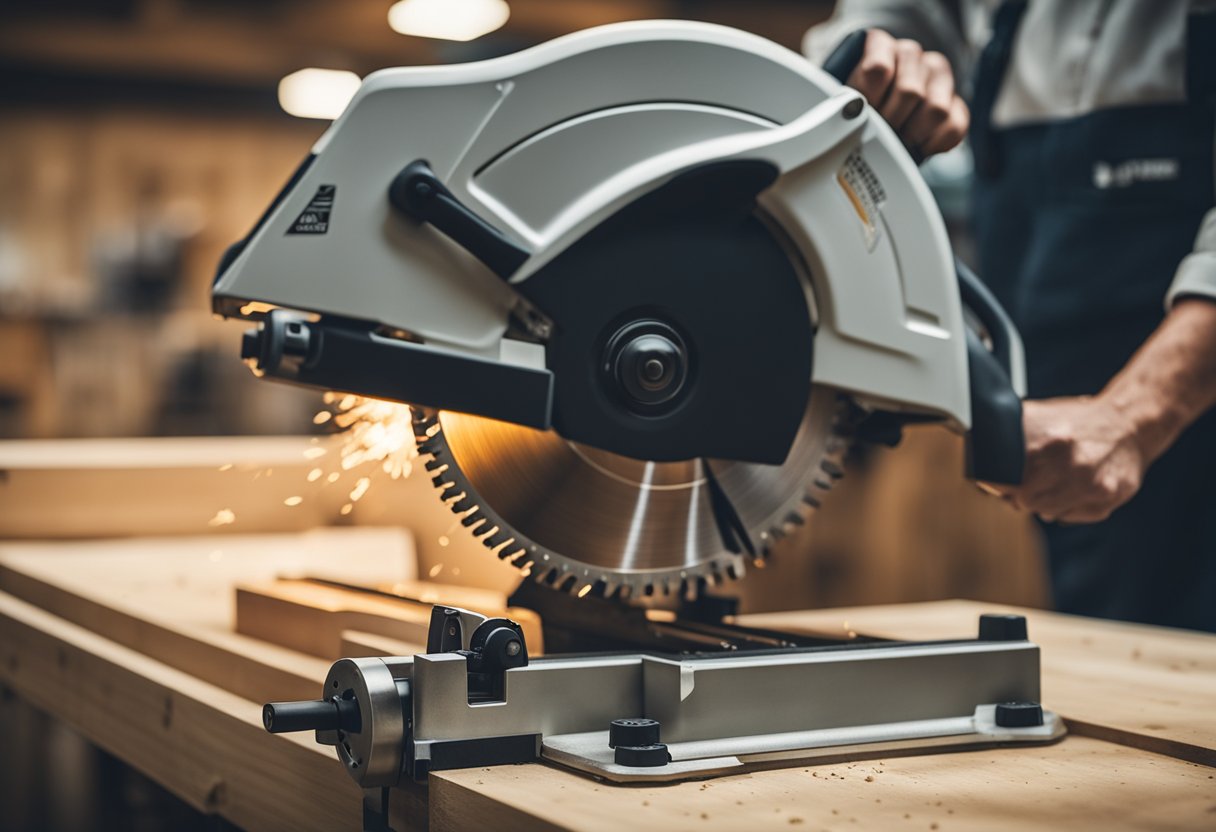
As a woodworker, nothing is more frustrating than experiencing tear-out on your miter saw. Tear-out refers to the splintering or chipping of wood as it is being cut, which can ruin the look of your project. Fortunately, there are several techniques you can use to prevent tear-out and ensure that your cuts are clean and precise.
Understanding tear-out is the first step in preventing it. Tear-out occurs when the saw blade pulls the wood fibers away from the wood, rather than cutting them cleanly. This can happen for a variety of reasons, including a dull blade, improper blade alignment, and the wrong blade type for the material you are cutting. By understanding the root causes of tear-out, you can take steps to prevent it from happening in the first place.
Key Takeaways
- Proper blade selection and alignment are crucial to preventing tear-out on a miter saw.
- Working with different materials requires different techniques to prevent tear-out.
- Safe and efficient cutting practices, as well as proper maintenance of your miter saw, can help prevent tear-out.
Understanding Tear-Out
As a woodworker, I understand how frustrating it can be to experience tear-out on a miter saw. Tear-out occurs when the blade of the saw pulls the wood fibers away from the piece you’re cutting, leaving behind a rough, jagged edge. This can ruin the appearance of your workpiece and make it difficult to achieve a clean, professional-looking cut.
Tear-out is caused by a variety of factors, including the sharpness of the blade, the angle of the cut, and the type of wood you’re working with. Some woods, such as oak or maple, are more prone to tear-out than others due to their unique grain patterns.
To prevent tear-out, it’s important to use a sharp blade that’s specifically designed for the type of cut you’re making. A blade with a high tooth count will produce a smoother cut, while a blade with a low tooth count will be more aggressive and may cause tear-out.
Another way to prevent tear-out is to use a zero-clearance insert on your saw. This is a small piece of wood that’s cut to fit around the blade, providing support for the wood fibers as they’re cut. This can help prevent the fibers from tearing away from the piece you’re cutting.
Finally, it’s important to pay attention to the direction of the wood fibers when making your cut. Cutting against the grain can cause tear-out, while cutting with the grain will produce a cleaner cut.
By taking these steps, you can prevent tear-out and achieve clean, professional-looking cuts on your miter saw.
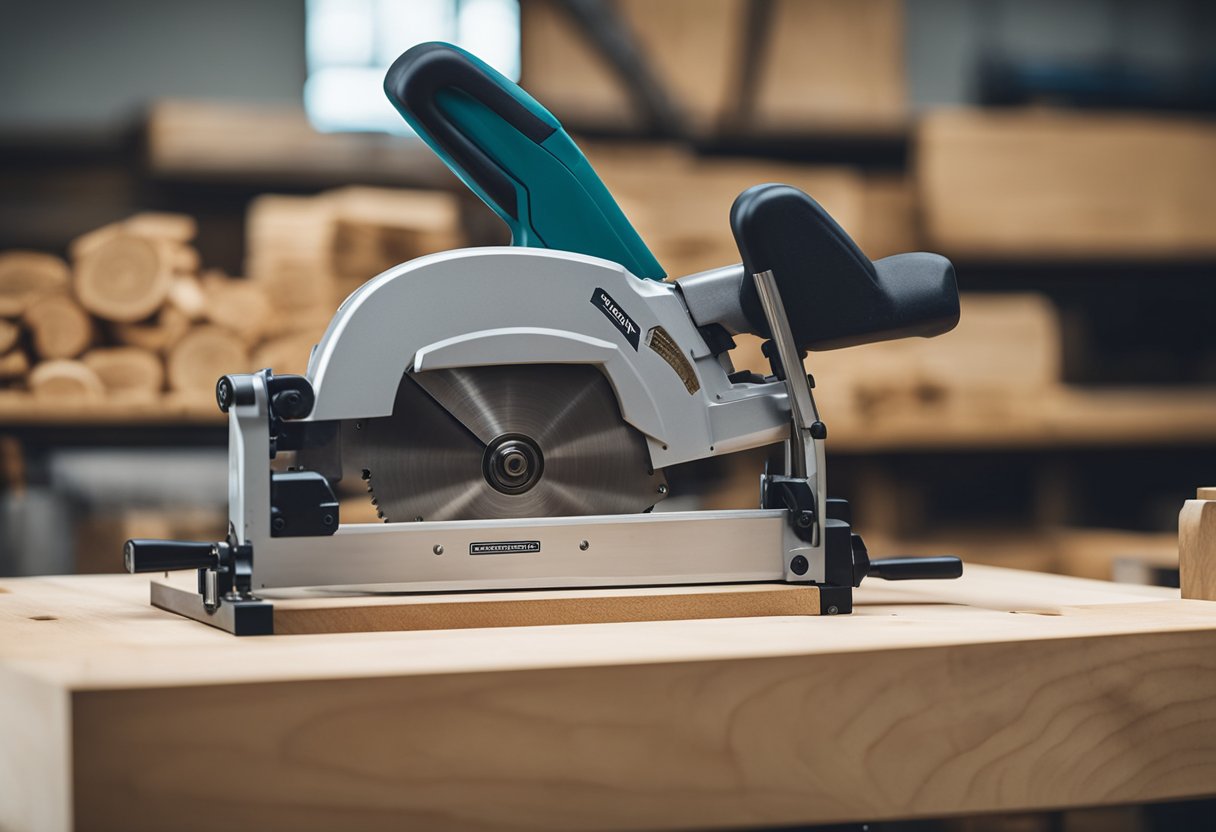
Selecting the Right Miter Saw
When it comes to preventing tear-out on a miter saw, selecting the right tool is crucial. There are a few factors to consider when choosing a miter saw that will help you achieve accurate and clean cuts.
Detent Plate
One important feature to look for in a miter saw is a detent plate. This is a mechanism that allows you to set the saw blade at specific angles, typically at 15-degree increments. Having a detent plate will make it easier to set the saw blade to the correct angle, which will help prevent tear-out.
Micro-Adjust
Another feature to consider is a micro-adjustment mechanism. This allows you to make small adjustments to the angle of the saw blade, which can be helpful when trying to achieve precise cuts. A micro-adjustment mechanism can help you avoid tear-out by allowing you to fine-tune the angle of the saw blade.
Blade Quality
The quality of the saw blade is also important when it comes to preventing tear-out. A high-quality blade will be sharper and more durable, which will result in cleaner cuts. Look for a blade that is designed for your specific type of cutting, whether that be wood, metal, or another material.
Conclusion
By selecting the right miter saw with a detent plate, micro-adjustment mechanism, and high-quality blade, you can help prevent tear-out and achieve clean and accurate cuts.
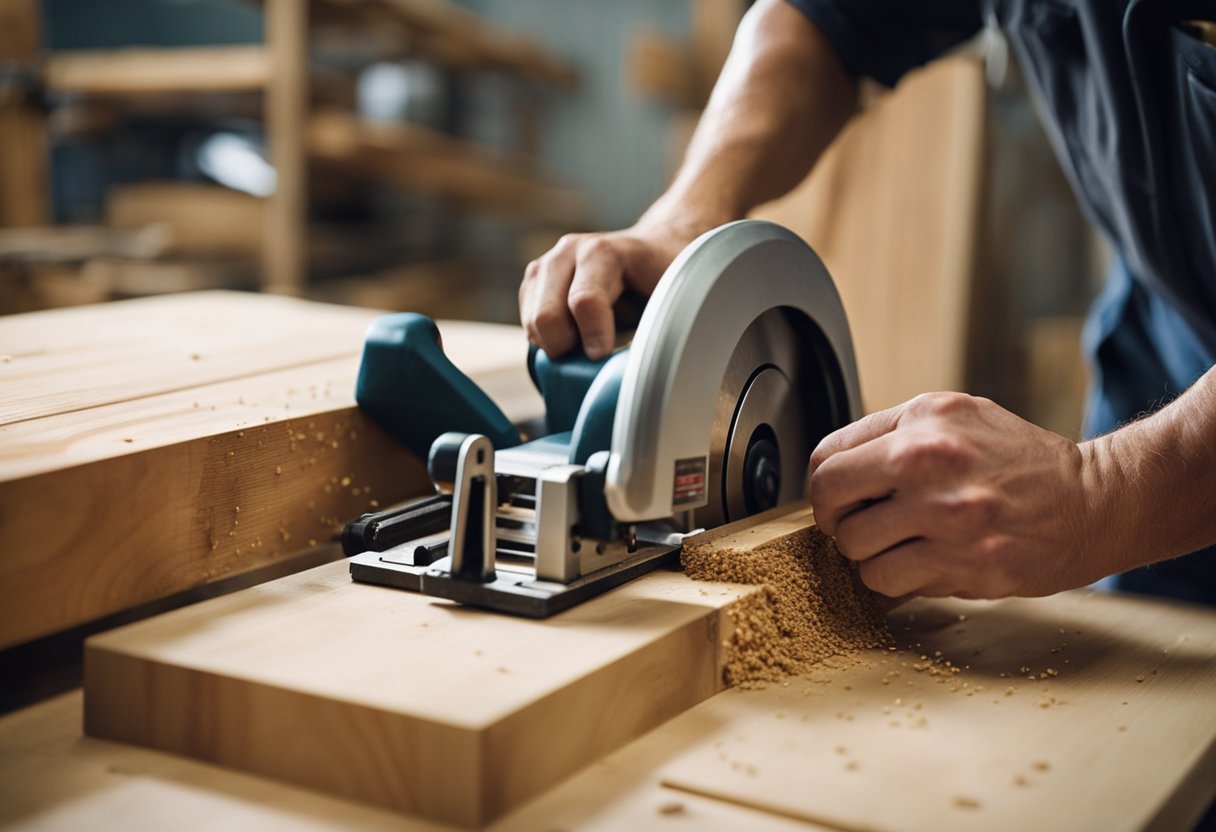
Proper Use of Blades
When it comes to preventing tear-out on a miter saw, the blade you choose is crucial. First and foremost, you want to make sure that you are using a sharp blade. A dull blade will cause more tear-out than a sharp blade. If you notice that your blade is getting dull, it’s important to either sharpen it or replace it.
In addition to using a sharp blade, it’s also important to choose the right blade for the job. Blades with a higher tooth count give a finer finish with less tear-out, but cut slower than blades with fewer teeth. If you’re working with a particularly delicate piece of wood, a blade with a higher tooth count may be your best bet.
Some blades are made of the same steel as the blade body, while others have tungsten carbide tips mounted on the teeth. Carbide tipped blades normally last longer and can be resharpened more often. It’s important to choose the right blade for the job in order to prevent tear-out and get the best possible finish on your cuts.
Overall, proper use of blades is one of the most important things you can do to prevent tear-out on a miter saw. By choosing the right blade for the job and keeping it sharp, you can ensure that your cuts are clean and precise every time.
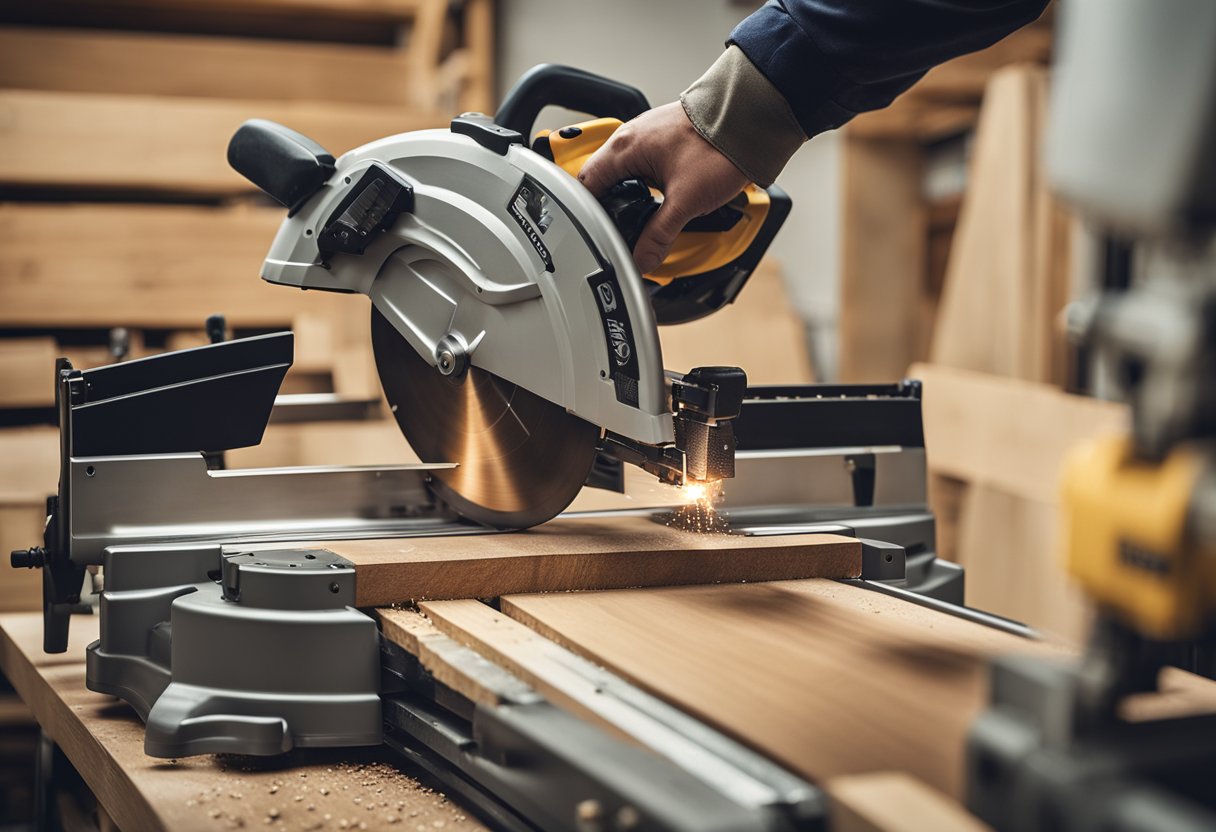
Setting Up Your Miter Saw
When it comes to preventing tear-out on a miter saw, setting up the saw correctly is crucial. Here are a few steps that I follow to ensure that my miter saw is set up correctly:
1. Align the Blade
The first step is to align the blade of the saw. The blade should be perpendicular to the table and fence of the saw. This can be done by using a square to check the alignment of the blade. If the blade is not perpendicular, it can cause the wood to tear-out.
2. Check the Fence
The next step is to check the fence of the saw. The fence should be parallel to the blade of the saw. If the fence is not parallel, it can cause the wood to tear-out. Some miter saws come with a two-piece fence that can be adjusted to ensure that it is parallel to the blade.
3. Use a Support
Using a support can also help prevent tear-out. A support can be a piece of scrap wood or a support block that is placed behind the wood being cut. This will provide support for the wood and prevent it from tearing out.
4. Clamp the Wood
Clamping the wood to the table of the saw can also help prevent tear-out. This will hold the wood in place and prevent it from moving during the cut.
5. Adjust the Angle and Bevel
Adjusting the angle and bevel of the saw can also help prevent tear-out. The angle and bevel should be set correctly for the type of cut being made. If the angle and bevel are not set correctly, it can cause the wood to tear-out.
6. Check the Alignment
Finally, it is important to check the alignment of the saw before making any cuts. This can be done by making a test cut on a scrap piece of wood. If the test cut is clean and there is no tear-out, then the saw is set up correctly.
By following these steps, I am able to set up my miter saw correctly and prevent tear-out.
Working with Different Materials
When it comes to preventing tear-out on a miter saw, the type of material being cut plays a significant role. Different materials have varying densities, grains, and hardness, which affect tear-out. Here’s what I have learned about working with different materials:
Wood
Wood is the most common material used in woodworking, and it is prone to tear-out when cut on a miter saw. One way to prevent tear-out is to use a sharp blade that is specifically designed for cutting wood. Another way is to use a zero-clearance insert that supports the wood fibers during the cut.
Plywood
Plywood is made up of layers of wood veneers glued together, which makes it prone to tear-out. To prevent tear-out, I recommend using a blade with a high tooth count and a low angle of attack. This type of blade makes a smoother cut and reduces the chances of tear-out.
MDF
MDF (medium-density fiberboard) is a type of engineered wood that is made up of wood fibers and resin. It is denser than plywood and has a more uniform texture, which makes it less prone to tear-out. However, tear-out can still occur, especially when cutting across the grain. To prevent tear-out, I recommend using a blade with a high tooth count and a low angle of attack, just like with plywood.
Solid Wood
Solid wood is the most challenging material to work with when it comes to preventing tear-out. It has a natural grain pattern that can be unpredictable, which makes it prone to tear-out. To prevent tear-out, I recommend using a sharp blade that is specifically designed for cutting solid wood. Another way is to use a zero-clearance insert that supports the wood fibers during the cut.
In summary, preventing tear-out on a miter saw requires different techniques depending on the type of material being cut. Using a sharp blade, a zero-clearance insert, and a blade with a high tooth count and a low angle of attack are some of the ways to prevent tear-out.
Preventing Tear-Out Techniques
When making precise cuts on a miter saw, tear-out can be a frustrating and time-consuming issue. Fortunately, there are several techniques that can help prevent tear-out and ensure that your cuts are clean and accurate.
Clamping
One of the most effective ways to prevent tear-out is to clamp your workpiece securely to the miter saw’s fence. This will help keep the wood from moving or vibrating during the cut, which can cause tear-out. Make sure that the clamp is tight enough to hold the wood in place, but not so tight that it damages the wood.
Sacrificial Fence
Another technique that can help prevent tear-out is to use a sacrificial fence. A sacrificial fence is a piece of scrap wood that is attached to the miter saw’s fence. By making the cut through the sacrificial fence instead of the actual workpiece, you can help prevent tear-out and extend the life of your saw blade.
Accurate Cuts
Making accurate cuts is also important in preventing tear-out. Take the time to set up your miter saw properly and ensure that the blade is aligned correctly. This will help ensure that your cuts are straight and clean, which can help prevent tear-out.
Scribing
Scribing is a technique that involves using a sharp blade to score the wood ahead of the cut. This can help sever the wood fibers and prevent tear-out. You can use a marking knife or a cutting gauge to make the scribe line. Alternatively, you can use a straight edge and an X-Acto knife.
Straight Edge
Using a straight edge can also help prevent tear-out. By holding the straight edge firmly against the wood, you can help guide the saw blade and ensure that the cut is straight and clean. Make sure that the straight edge is securely in place before making the cut.
Overall, preventing tear-out on a miter saw requires a combination of accurate cuts, proper setup, and effective techniques like clamping, sacrificial fence, scribing, and using a straight edge. By taking the time to set up your saw properly and using these techniques, you can help ensure that your cuts are clean, precise, and free of tear-out.
Maintaining Your Miter Saw
Maintaining your miter saw is essential to ensure its longevity and prevent tear-out. Here are some tips to help you keep your miter saw in top condition:
Keep Your Miter Saw Clean
Cleaning your miter saw regularly can help prevent dust and debris buildup, which can cause damage to the saw’s components. Use a soft-bristled brush to remove sawdust and debris from the saw’s surface, and a vacuum to clean the dust collection bag.
Lubricate the Components
Lubricating the moving joints and sliding surfaces of your miter saw is key to keeping it operating smoothly. Over time, friction caused when two dry surfaces rub against each other can lead to wear and tear. Use a lubricant that is recommended by the manufacturer to keep your saw in good condition.
Check the Blade
The blade is the most important component of your miter saw, and it’s essential to keep it sharp and aligned properly. A dull blade can cause more tear-out than a sharp blade. Check the blade regularly for signs of wear and tear, and replace it if necessary. Make sure the blade is aligned properly, and use a zero-clearance insert on the saw to prevent tear-out.
Tighten the Bolts
Check the bolts on your miter saw regularly to make sure they are tight. Loose bolts can cause the saw to vibrate, which can lead to inaccurate cuts and even damage to the saw’s components. Use a torque wrench to tighten the bolts to the manufacturer’s specifications.
By following these tips, you can maintain your miter saw and prevent tear-out. Regular maintenance will not only prolong the life of your saw but also ensure that it performs at its best.
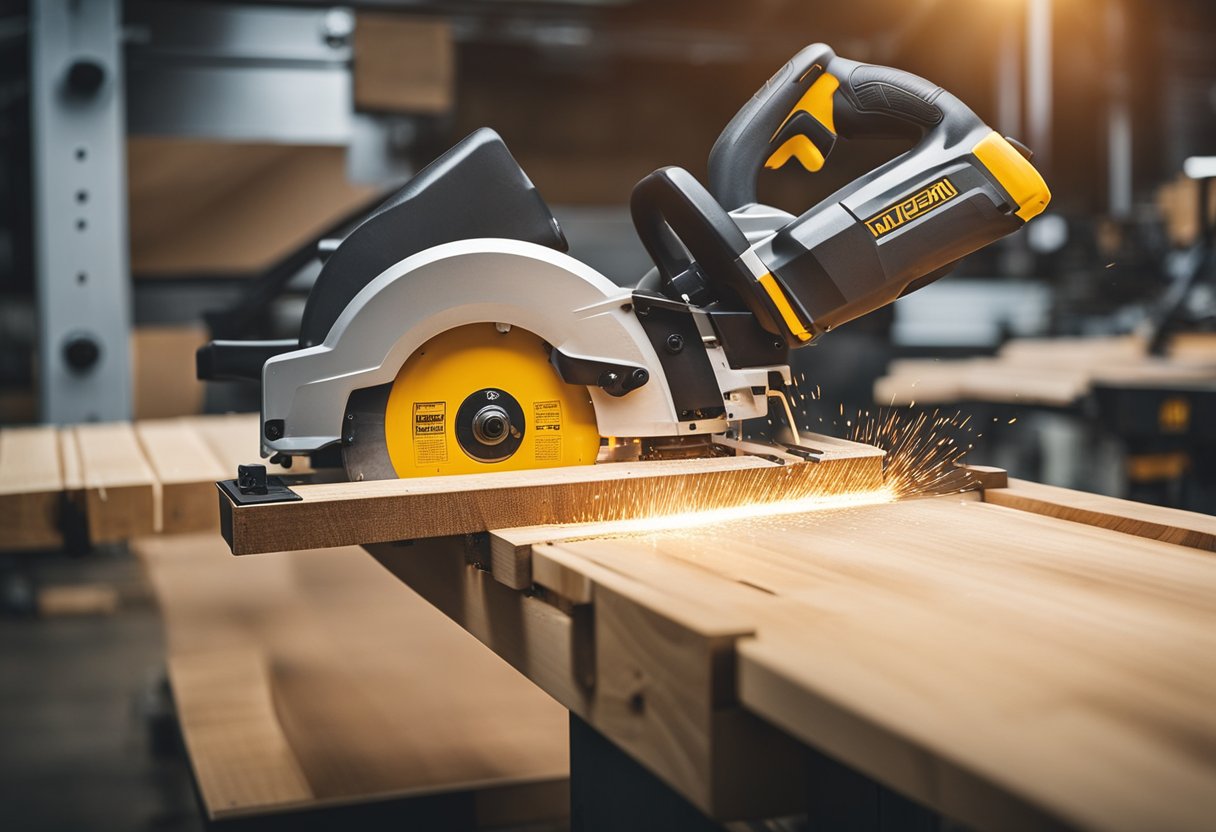
Safe and Efficient Cutting Practices
When using a miter saw, it’s important to follow safe and efficient cutting practices to prevent tear-out and ensure a smooth, clean cut. Here are some tips to keep in mind:
Feed Rate
One of the most important factors in preventing tear-out is controlling the feed rate of the wood through the saw blade. If you push the wood too quickly through the blade, you risk tearing out the wood fibers and creating a rough cut. On the other hand, if you feed the wood too slowly, you risk burning the wood and creating a gap in the cut. To find the right feed rate, start with a slow, steady push and gradually increase the speed until you find the sweet spot.
Stop Block
A stop block is a simple but effective way to ensure consistent, accurate cuts. By setting the stop block at the desired length, you can make repeated cuts without having to measure each piece individually. This not only saves time but also reduces the risk of error and tear-out.
Sawdust
Sawdust can build up quickly around the blade and interfere with the cutting process. To prevent this, make sure to clear away the sawdust regularly with a brush or vacuum. This will keep the blade clean and free from debris, allowing it to cut smoothly and efficiently.
Rough Cut
If you’re working with rough or uneven wood, it’s important to take extra precautions to prevent tear-out. One option is to use a sacrificial board underneath the workpiece to support the wood fibers and reduce tear-out. Another option is to make a shallow scoring cut along the line of the intended cut. This will sever the wood fibers and create a clean, crisp edge.
Table Saw
If you’re using a table saw instead of a miter saw, many of the same principles apply. Make sure to use a sharp blade with a high tooth count and a negative rake angle to reduce tear-out. Also, be sure to adjust the fence and blade height for each cut to ensure a smooth, clean cut.
Woodworking Projects
Whether you’re building a box or a piece of furniture, tear-out can be a frustrating and time-consuming problem. By following these safe and efficient cutting practices, you can reduce the risk of tear-out and create high-quality, professional-looking projects.
Frequently Asked Questions
What are some tips to prevent tear-out on a miter saw?
To prevent tear-out on a miter saw, there are several tips to keep in mind:
- Make sure the saw blade is sharp. A dull blade will cause more tear-out than a sharp blade.
- Use a zero-clearance insert on the saw to reduce the gap between the blade and the saw’s throat plate.
- Use a backer board behind the workpiece to support the wood fibers and reduce tear-out.
- Make sure the saw blade is aligned properly. If the blade is not perpendicular to the workpiece, it will cause tear-out.
How can zero clearance tape help prevent tear-out on a miter saw?
Zero clearance tape is a thin adhesive strip that can be applied to the throat plate of a miter saw. By covering the gap around the blade, the tape creates a zero-clearance effect, which helps to reduce tear-out by supporting the wood fibers.
What is the difference between a circular saw and a miter saw when it comes to preventing tear-out?
When it comes to preventing tear-out, a miter saw is generally more effective than a circular saw. This is because a miter saw has a stationary base and a rotating blade that can be angled to make precise cuts. Additionally, a miter saw is designed to make crosscuts and miter cuts, which are common types of cuts that can be prone to tear-out.
What are some techniques to get clean cuts with a miter saw?
To get clean cuts with a miter saw, there are several techniques to keep in mind:
- Use a sharp blade.
- Use a backer board to support the wood fibers.
- Clamp the workpiece securely to the saw’s fence.
- Use a slow, steady motion when cutting.
- Use a dust collection system to keep the sawdust from interfering with the cut.
How can you prevent tear-out when using a table saw?
To prevent tear-out when using a table saw, there are several tips to keep in mind:
- Use a sharp blade.
- Use a zero-clearance insert on the saw.
- Use a backer board to support the wood fibers.
- Make sure the saw blade is aligned properly.
- Use a slow, steady motion when cutting.
What type of saw blade is best for preventing tear-out on a miter saw?
The type of saw blade that is best for preventing tear-out on a miter saw is a blade with a high tooth count and a low angle. A high tooth count will produce a smoother cut, while a low angle will reduce the amount of tear-out on the backside of the cut.

Hi, I’m Sal Muller of Tooltrip.com. My DIY experience led me to understand essential power tools for home projects. Tooltrip.com guides enthusiasts and professionals in choosing right tools for any job. I provide concise top tool reviews for easier, efficient DIY.
